|
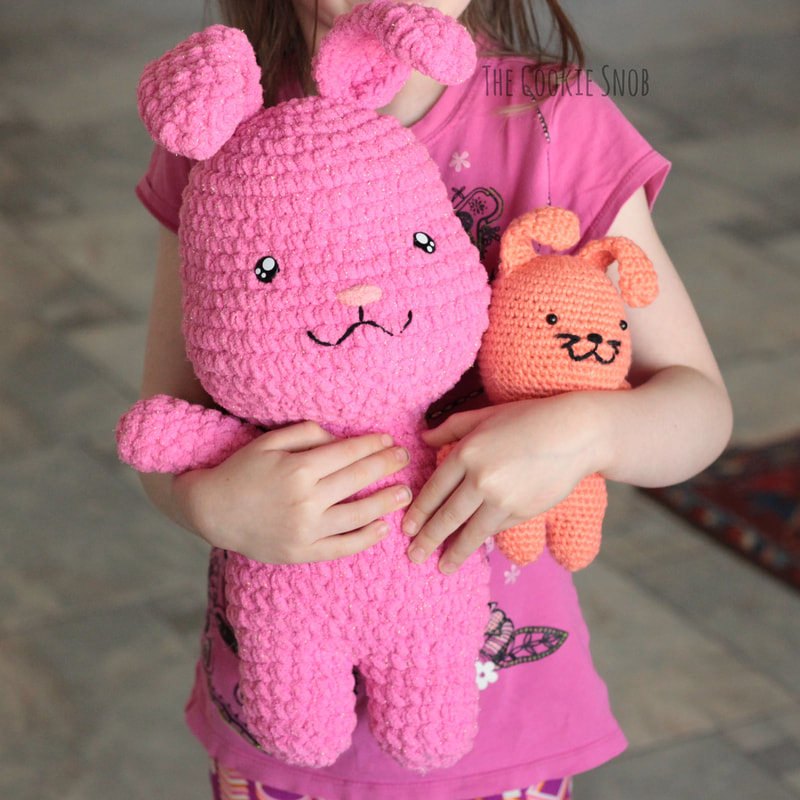
Have you ever wondered if you could take a crochet pattern and supersize it? Make it bigger somehow without having to redesign the pattern? Well, you can! By experimenting with the gauge a bit, you can get a completely different result. There are some pros and cons to doing this, but if you use it judiciously, you can make some really fun supersized projects! Since I just finished a couple supersizing projects recently, I thought I'd share some tips with you all about how to make it work.
3 Comments
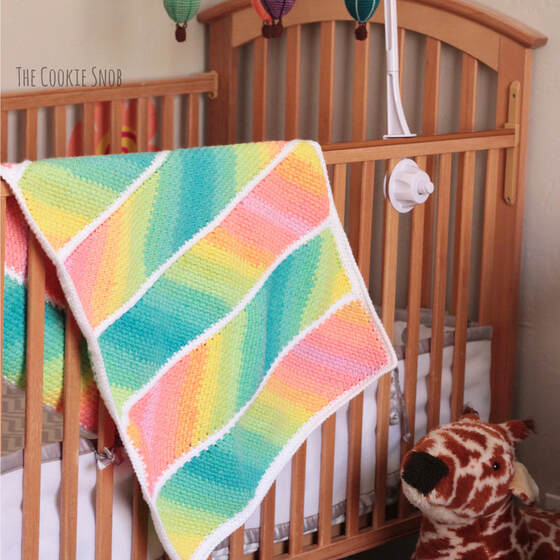
With a move looming on the horizon, I am *not* supposed to be buying more yarn right now. But the other day, I found myself at the craft store and, lo and behold, the yarn was on sale. ALL of it. It was all over the store, tempting me as I got the things that were actually on my list. I successfully resisted the siren call of new skeins until—like Odysseus—I got too curious and made the mistake of listening to their songs. I found myself holding a skein of rainbow yarn as it sang, "Buuuuy meeee! I am so beauuutifulll! I am self-striiiiiipinggg! Effortless rainbows will fly from your hooooook!" But unlike Odysseus, I wasn't tied up to the mast of ship, so the next thing I knew there were 4 skeins of it in my shopping cart. Oops. To justify my fibrous indiscretion, I vowed that I crochet with it ASAP. And thus was born the Rainbow Dreams Baby Blanket!
How NOT to design a new blanket pattern:
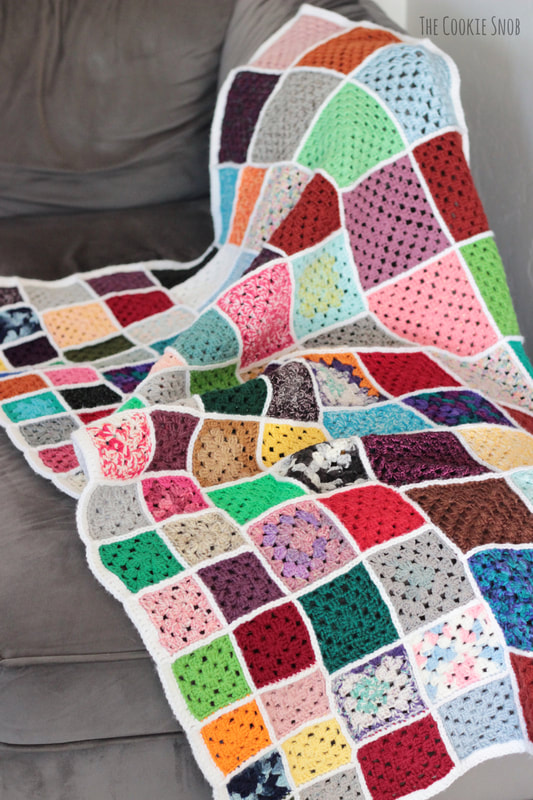
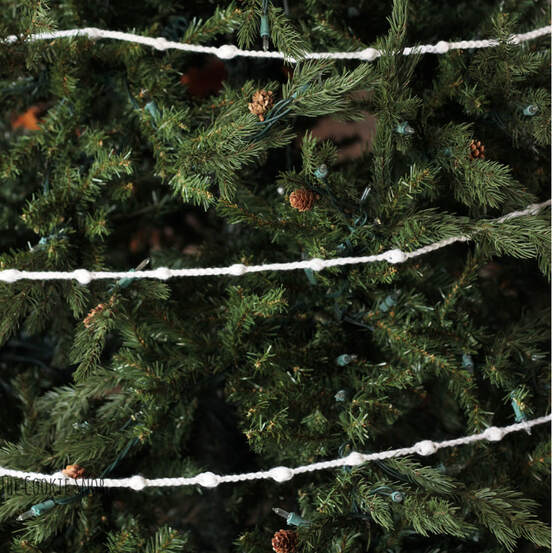
1. Sketch out a basic idea and start working on it, only to be distracted from working on it by moving cross-country with little kids during the peak of a global pandemic. Be sure to make the premise of the project unnecessarily complicated. 2. Put the project in a weird spot when you're unpacking your new home and promptly forget about it. Be sure to lose any notes you have on the project. 3. Remember about the blanket 3+ years later and pull it out. Start working on it, only to realize that you have no notes and can't remember the math you figured out to make the project possible. Pull your hair a little, but stubbornly persist by redoing all the math and redesigning it based on what you have already. Feel free to argue with a spouse about the mathematics behind it for bonus points. 4. Finish making the squares you think you need, then arrange them all so you can realize that one entire section of squares is the complete wrong size and now you have to remake them all. Cry a little over chocolate ice cream while rewatching North and South. 5. Doggedly persist in the project and remake said squares. Spend far too long arranging them and then finally start attaching them together. Realize partway through that if you calculate the number of stitches in each row, you'll have a completely different number at the top of the blanket than you will at the bottom, thus negating any rectangular properties you were going for. Come up with a methodology on the fly to hide this issue. 6. Add a border and do a happy dance because it's finished! Then realize that you didn't calculate the width correctly and now it's skinnier than you wanted it to be. But at this point, you are NOT remaking it. So do a happy dance in spite of it all, because even though it's not perfect, it's still a cozy lap blanket and it is finally DONE. Joking aside, this project was not exactly straightforward. I had a vision years ago for a "Growing Grannies" scrapghan and there were definitely some bumps along the way, but I finally pulled it off! And since I ran into all the issues, I can now give you the tips you need to avoid them, should you be interested in making your own. One of my favorite holiday traditions is pulling out all of the Christmas boxes, turning on Christmas music, and putting out all the decorations the day after Thanksgiving. But this year I am behind. It's a week later and I still haven't finished getting out all the decorations. It's been crazy over here. One thing I have managed is to finish crocheting a garland for the Christmas tree. I've always wanted one and this year I finally made one! While I suppose it's a bit "late" to be posting Christmas decor patterns, this garland works up really quickly and is the perfect addition for both the people who haven't finished decorating yet (hopefully it's not just me...) and the people who are looking for a lovely finishing touch. You can never have too much garland right? Whichever camp you fall in this year, I hope you enjoy this crochet pattern for an easy, tangle-free garland!
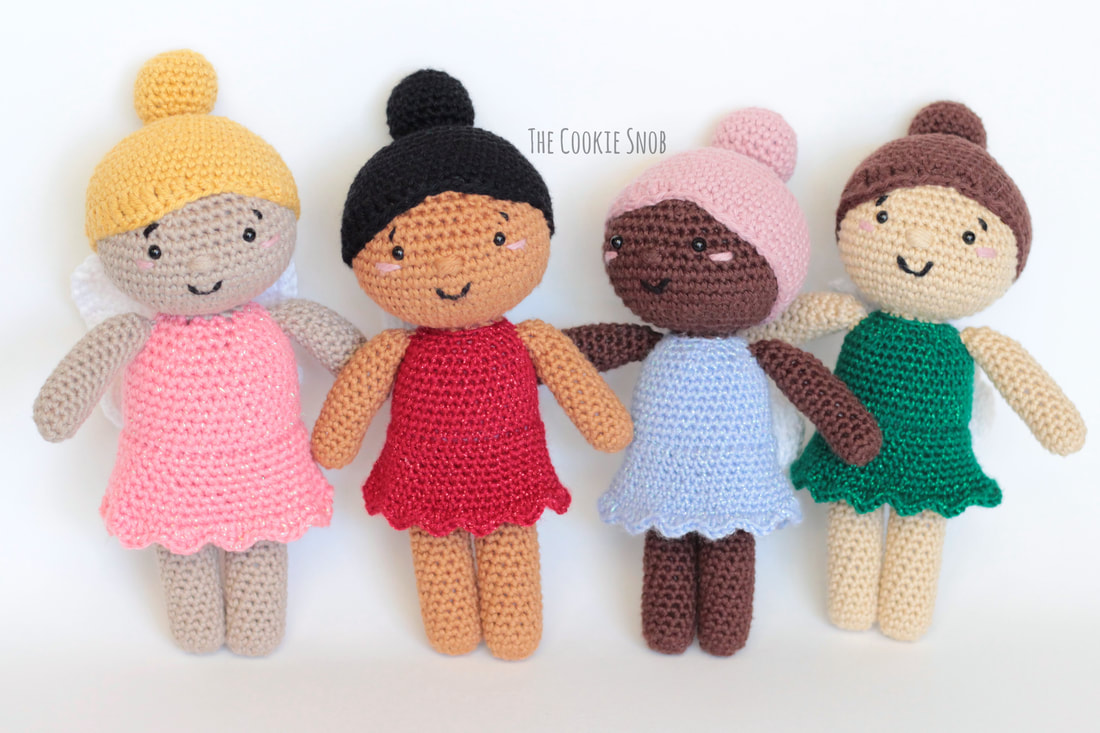
I'm excited to share a new pattern with you for a customizable fairy doll! I had lots of fun making this pattern in different color combos, so this one is perfect for personalizing to get the look you want. And, as an added bonus, you can watch a video tutorial for this pattern as part of the You.Make 2023 Crochet Summit. I don't usually make videos, so this was a new experience for me, but I hope that you'll check out my Crochet Summit class and make one of these fairies for yourself! It's free to sign up and you'll be able to watch my class on Day 3 (Wednesday, November 8th). If you're interested, you can sign up here. There are lots of other awesome projects by great crocheters, so I hope you'll check it out!
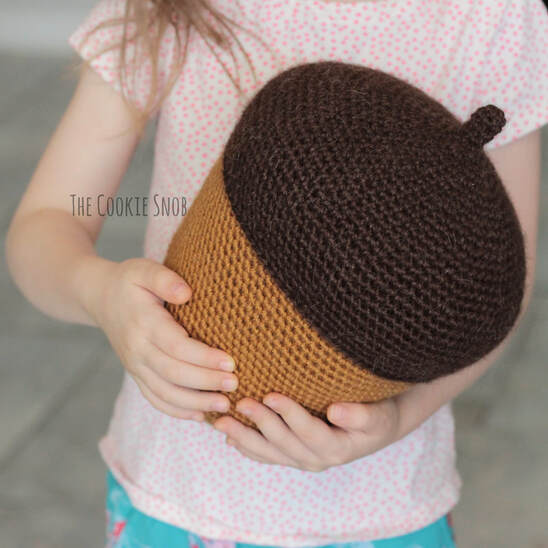
After designing an oversized mushroom throw pillow, I decided that it needed a friend, so I couldn't resist designing an oversized acorn to keep it company! This fun acorn throw pillow makes another great whimsical fall decoration or you can use it for whatever you'd like (my children keep requesting that I crochet a giant squirrel now, but the madness has to end somewhere). I hope that you all enjoy this fun free crochet pattern!
|
Welcome!Thank you for stopping by to visit my own personal corner of the web! Feel free to take a look around and check out what I've been crafting, crocheting, or baking. Hopefully you'll find something to inspire your own creativity! Archives
March 2024
|



 RSS Feed