
|
One of my favorite holiday traditions is pulling out all of the Christmas boxes, turning on Christmas music, and putting out all the decorations the day after Thanksgiving. But this year I am behind. It's a week later and I still haven't finished getting out all the decorations. It's been crazy over here. One thing I have managed is to finish crocheting a garland for the Christmas tree. I've always wanted one and this year I finally made one! While I suppose it's a bit "late" to be posting Christmas decor patterns, this garland works up really quickly and is the perfect addition for both the people who haven't finished decorating yet (hopefully it's not just me...) and the people who are looking for a lovely finishing touch. You can never have too much garland right? Whichever camp you fall in this year, I hope you enjoy this crochet pattern for an easy, tangle-free garland! 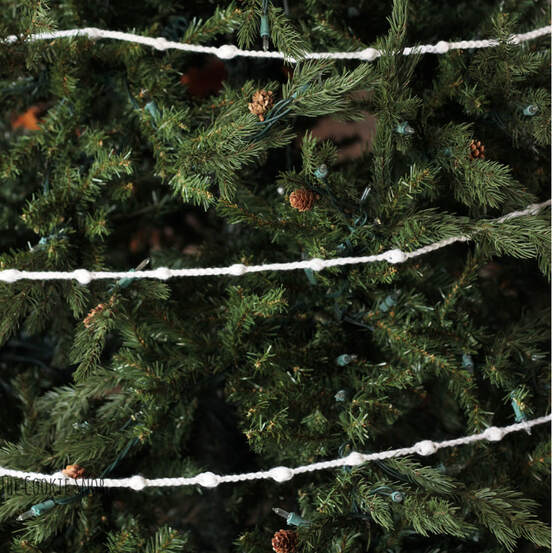 Even though it's a very simple design, I'm pretty proud of this pattern since it accomplished all my goals: 1. A fast and easy pattern 2. Stores well 3. Won't get tangled 4. Can be customized for any length you want. The key to making this garland work was making it modular, meaning it can come apart into smaller segments without looking disjointed or obviously separated. This garland has a subtle but effective way to connect one strand to the next, so you can make it in smaller pieces and then attach it all together. If anything gets tangled, just take apart the segments! Or if you want it shorter or longer, just add or take away pieces. So simple, but so awesome. I made mine in 6 foot sections, since that felt manageable, but you can easily make each section as long or as short as you'd like.
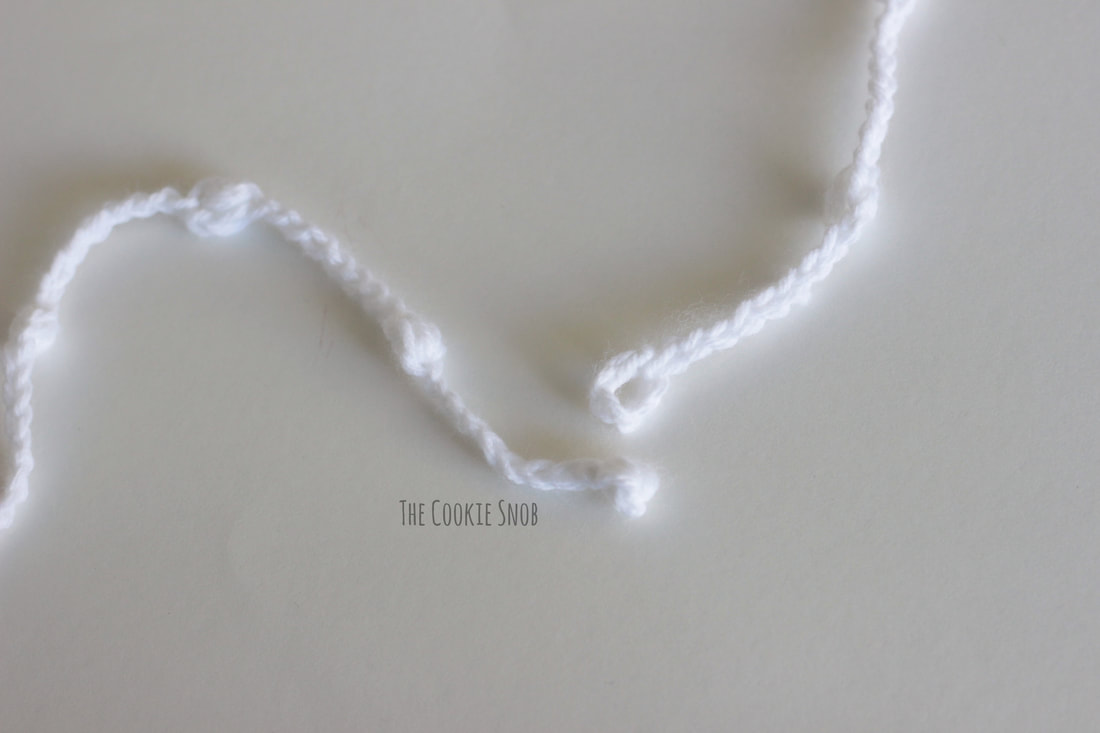
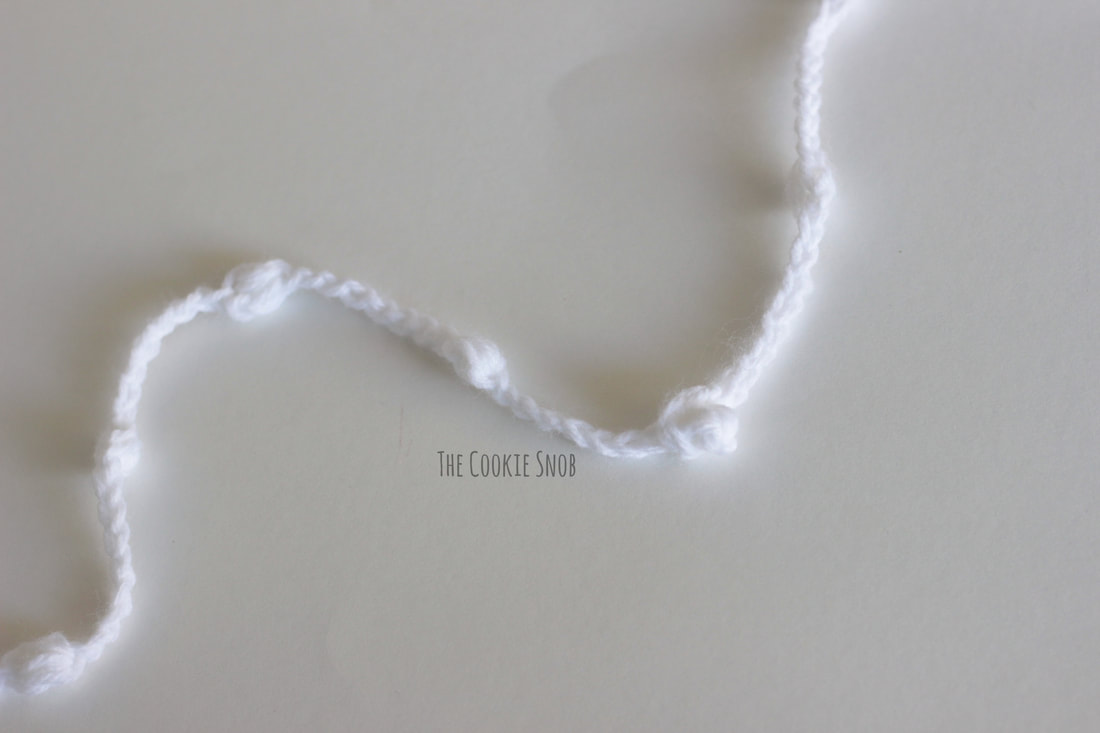
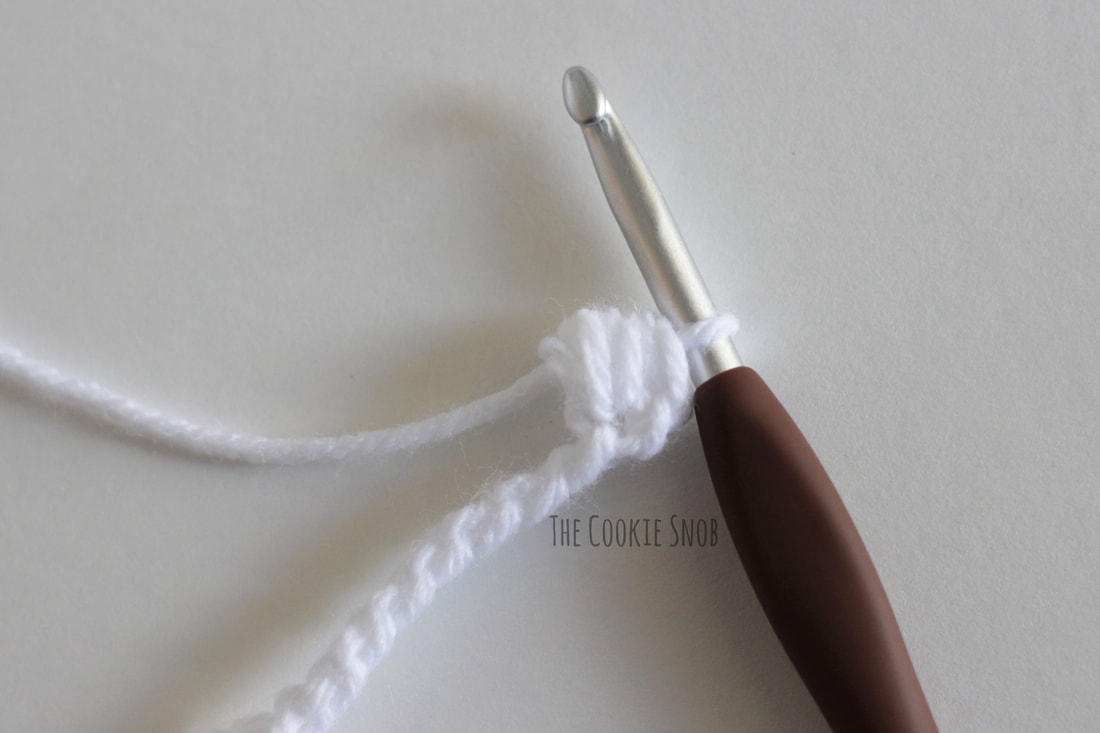
And to make storage easier, I got a great tip from my mother-in-law (she's awesome!) and cut out a rectangle of cardboard. Then I just wrapped the garland around it like a giant spool. It's perfect for storage, since it keeps everything nice and neat without getting tangled. Win-win!  To make this pattern as beginner-friendly as I can, I'm going to walk you through the basic pattern repeat with a step-by-step photo tutorial. Then I'll write out the pattern in the usual format so you don't have to scroll through the photos each time you make it. Sound good? The pattern starts with a loop that you can use to join sections of garland together (so don't skip it!). To keep it simple, we'll just chain 5, then slip stitch to the first chain made (shown with a red arrow) to form a loop.
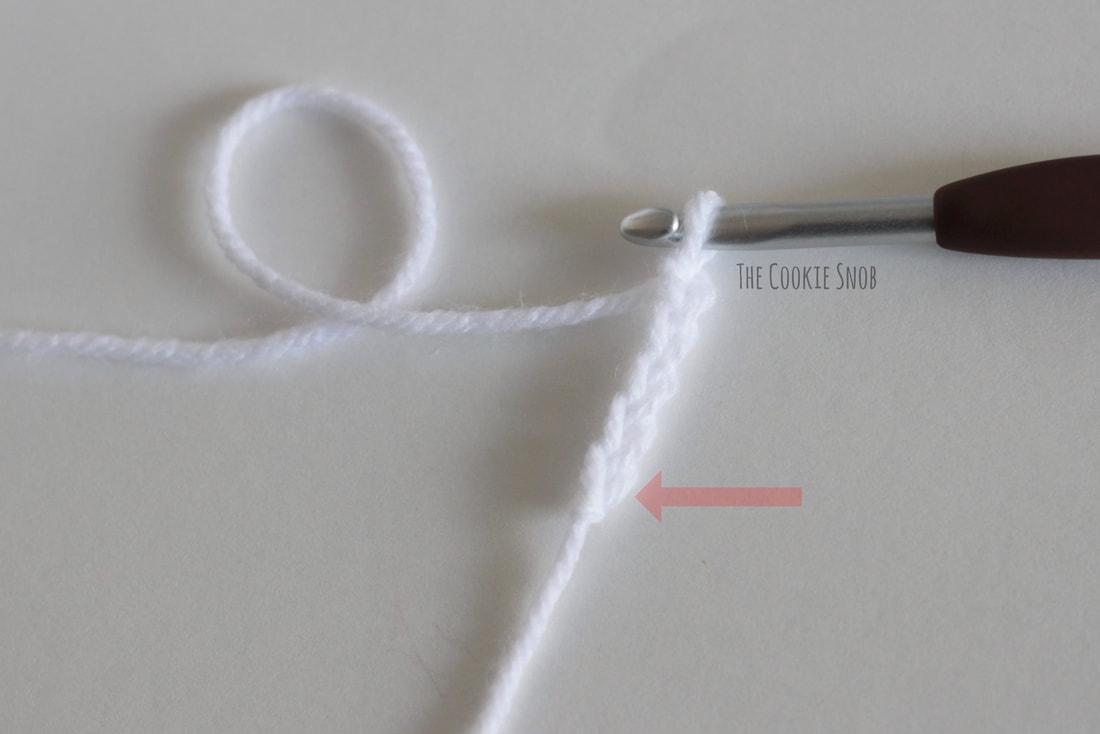
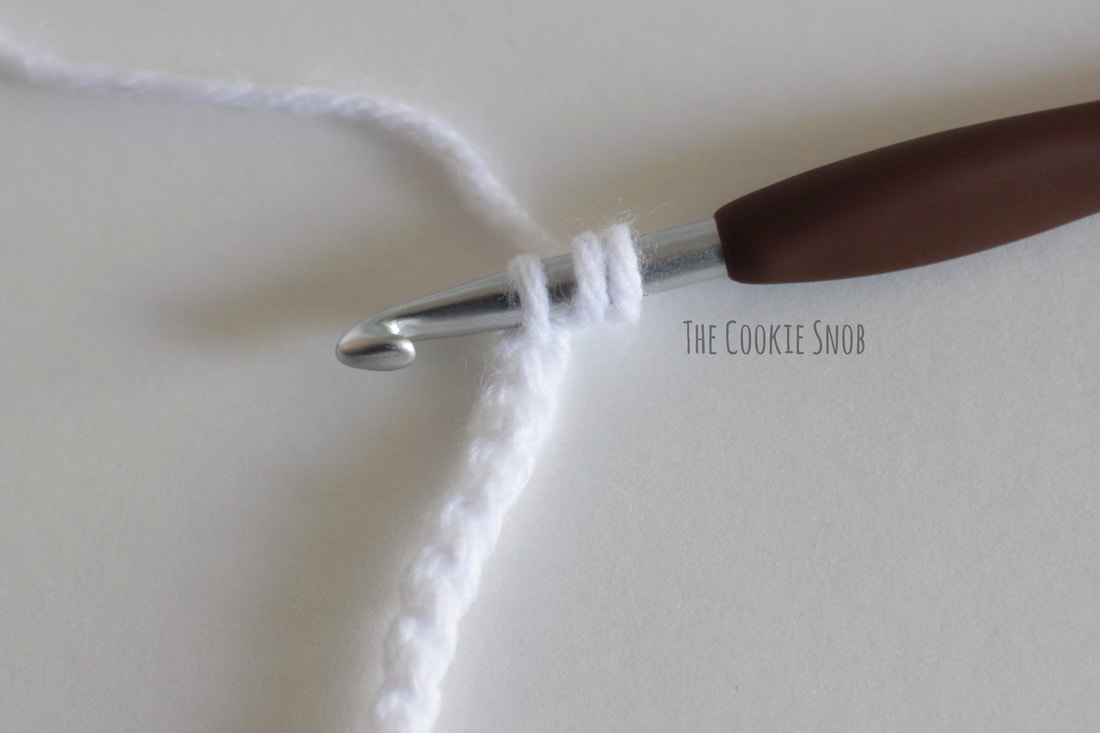
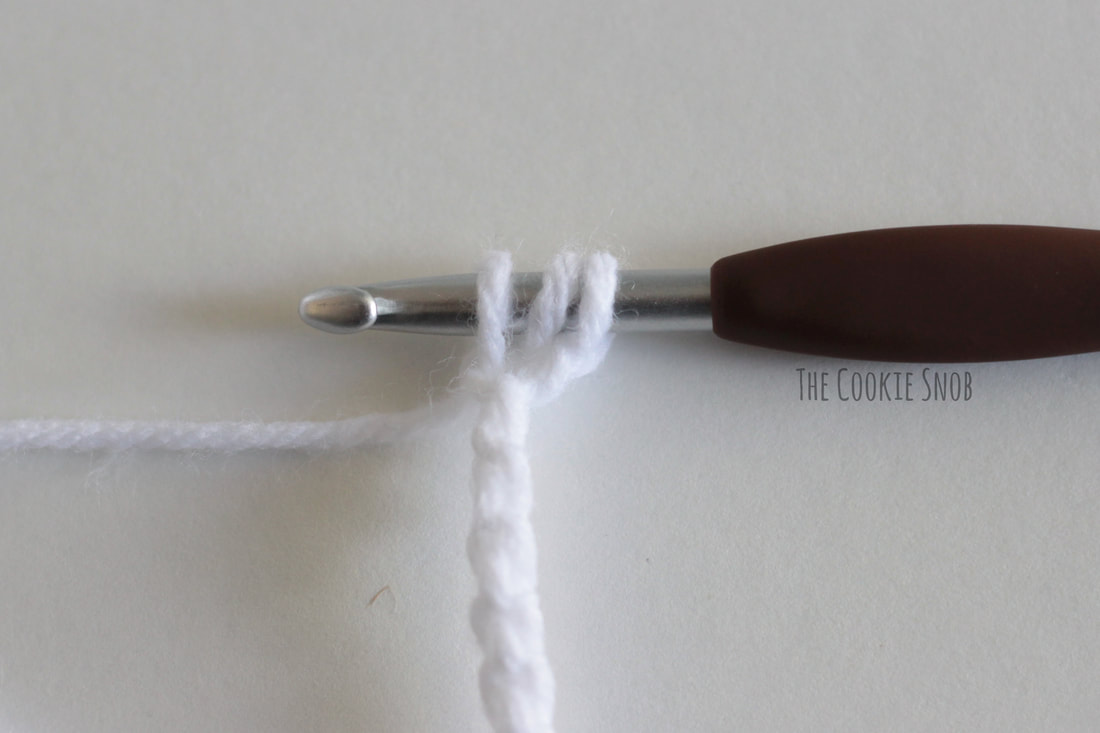
Next we'll chain 10. We're going to work the bobble stitch into the second chain from the hook. For this, you have two options. You can use the more traditional route and work into the front of the chain (the "v" highlighted below). This will work just fine, but I find that it twists the chain slightly from one bobble to the next. It probably isn't going to be noticeable to anyone else, so if that's more comfortable for you, then go for it! Or if you want to keep the chains lined up as straight as possible...  ... I find that you can get the best result by working into the BACK of the chain. If you flip the chain over, you'll notice a simple bump on the backside of the "v" found on the front. I've highlighted the backside of the second chain below so you can see what it looks like. 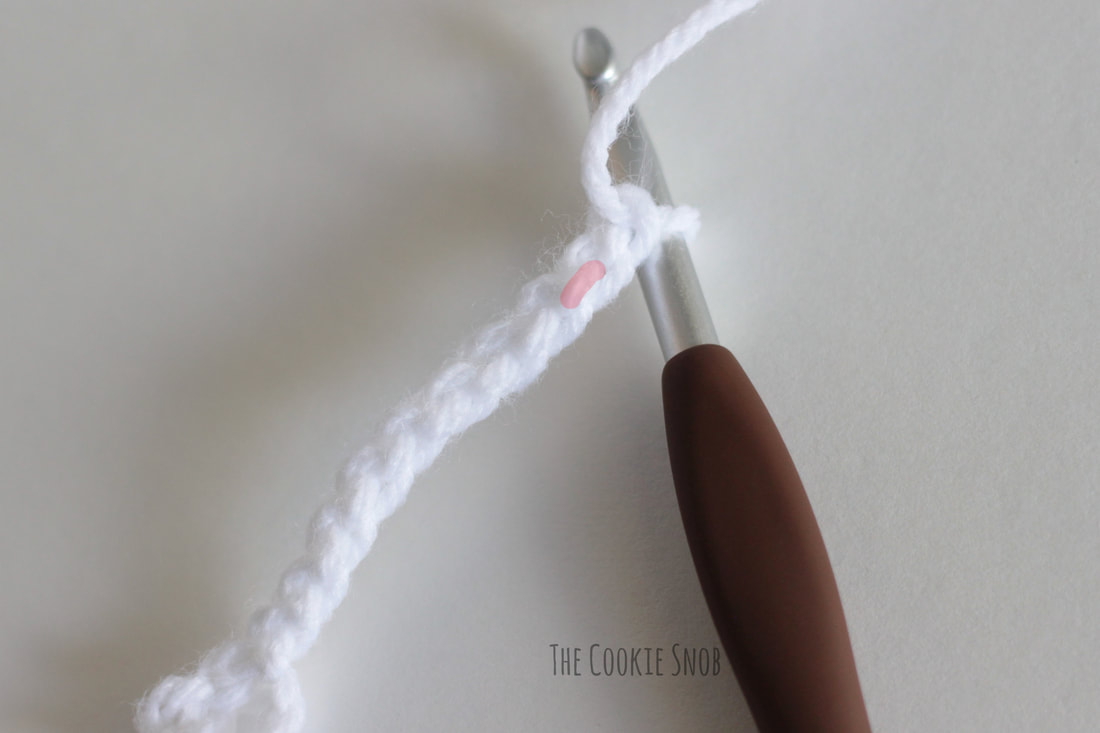 Whichever option you choose, yarn over and insert your hook into the second chain from the hook. Yarn over and pull up a loop. You should now have 3 loops on your hook.
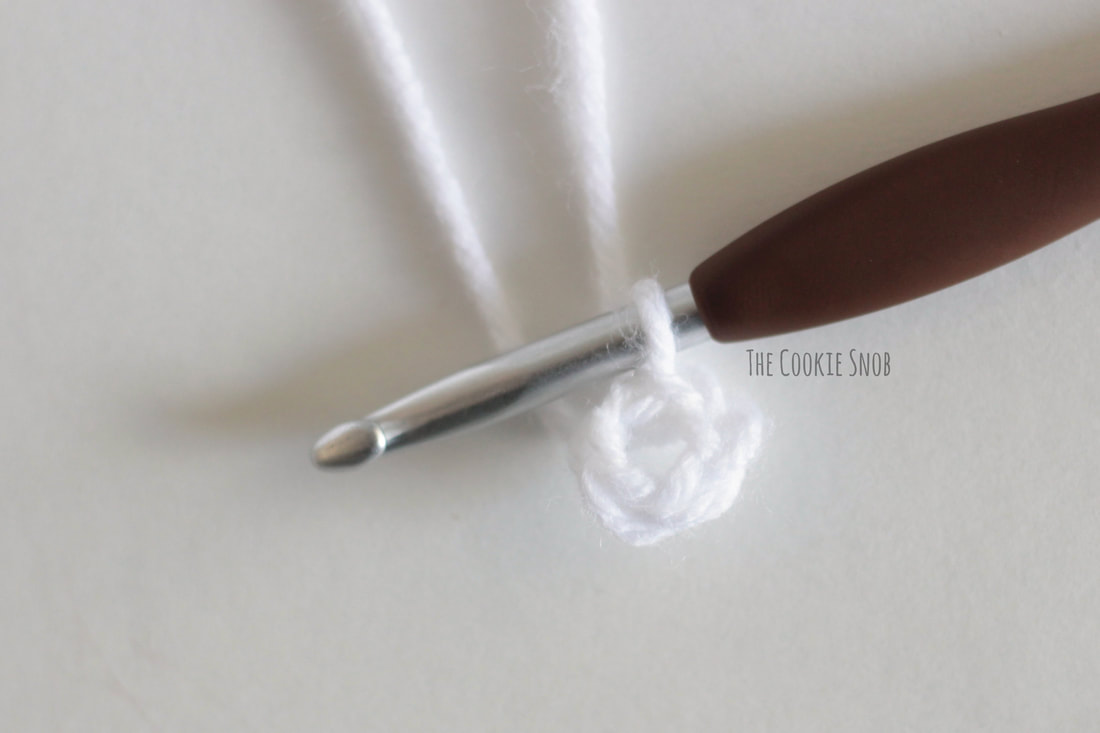
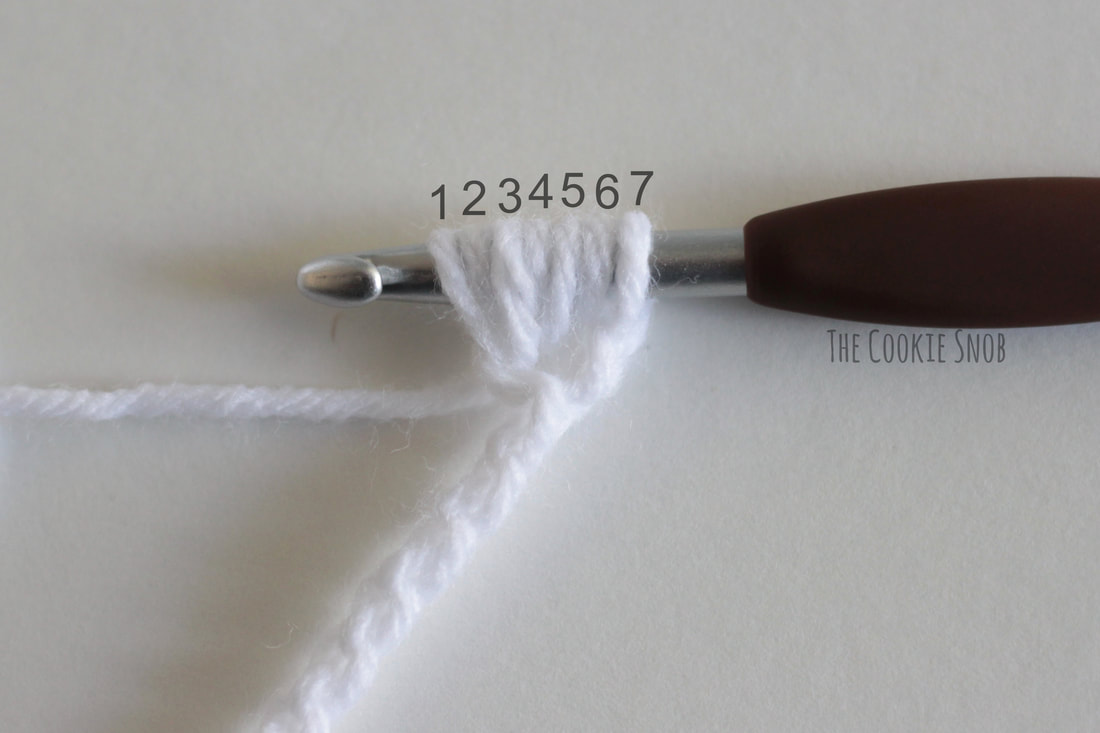
Yarn over, insert your hook into the same spot, and pull up a loop. Yarn over, insert your hook into the same spot, and pull up a loop on more time. You should now have 7 loops on your hook. Yarn over one last time and pull it through all 7 loops. Your first bobble is done!
Then we're going to chain 10 more stitches and repeat the whole process over again. Work a bobble into the second chain from the hook, chain 10, work a bobble into the second chain from the hook, chain 10...and so on, until the garland section is the length you want. When you reach the length you want, stop after the last bobble, then fasten off the yarn. Easy peasy! 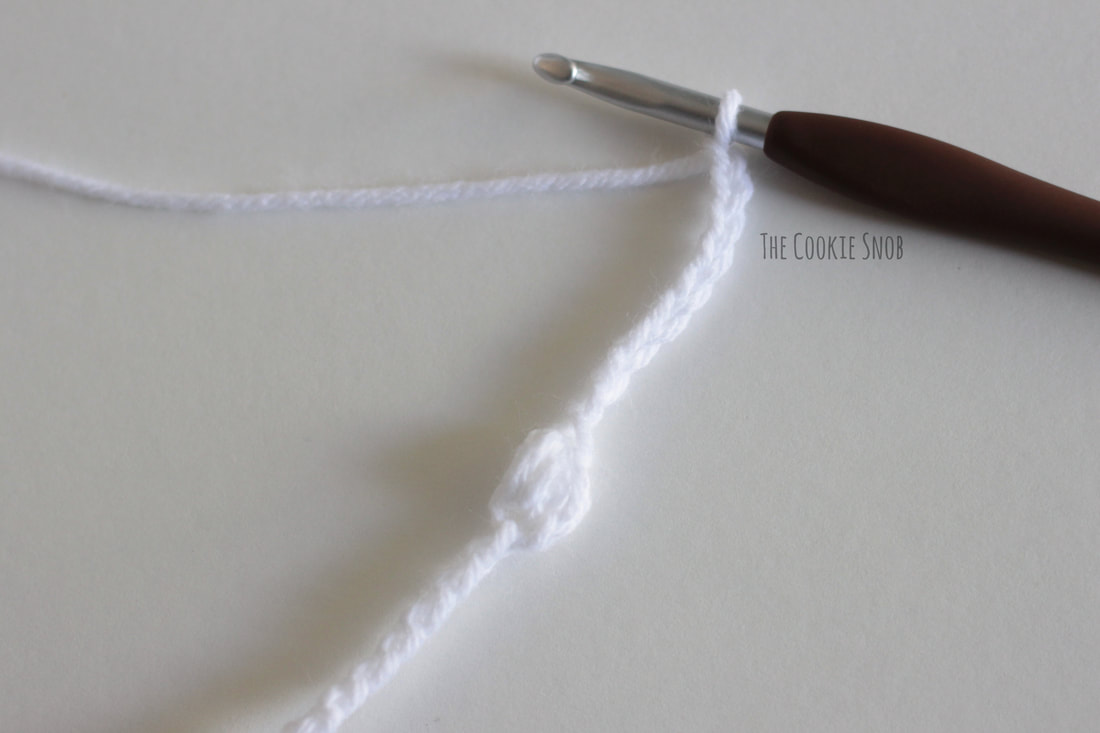 As promised, here's the pattern written out in a more traditional format. You can refer to the photos above if you get stumped, but once you've made the pattern repeat once you'll quickly master it. You can make as much or as little garland as you'd like, so I've provided the yardage for one 6 foot section. Simply multiply it by the number of sections you want to make if you need a more accurate estimate of how much yarn you'll need. But this pattern isn't a yarn eater, so you probably won't need much. In case it's helpful for anyone, Google informs me that you should have about 9 feet of garland per foot of tree height; I have no idea if that's accurate or what that's based on, but that rough estimate seemed to work pretty well for my tree. Stitch Glossary: st(s) = stitches ch = chain ss = slip stitch bobble = [yarn over, insert the hook into the next st, pull up a loop] 3 times, yarn over, pull through all 7 loops Materials:
Gauge: As written, each section should be about 6 feet long. Gauge isn't crucial for this pattern, so feel free to play around with whatever yarn you already have on hand; you can easily adjust the pattern to make each section longer or shorter as needed. Garland: Ch 5, ss to 1st ch to form a loop Row 1: [ch 10, bobble in the 2nd ch from the hook] 28 times, fasten off Weave in ends 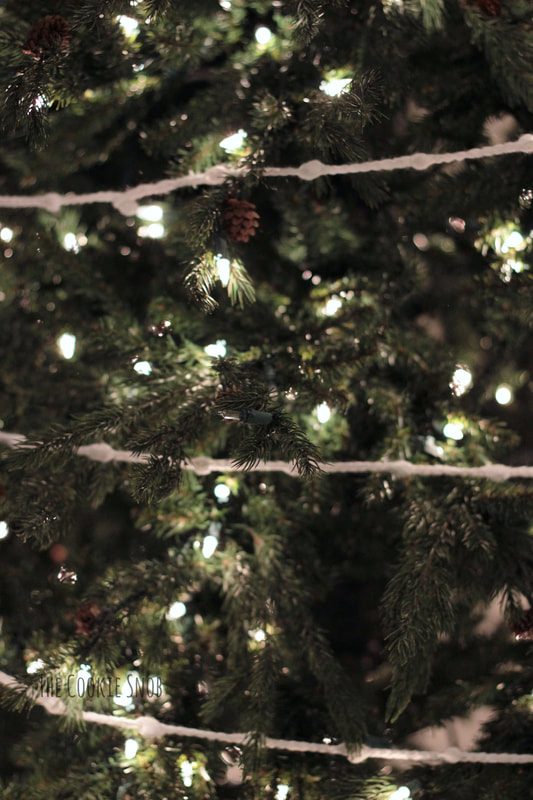 I hope that you enjoyed this crochet pattern! If you have any comments or questions about this garland pattern, you can reach me in the comments section below, by email, or on social media and I'll get back to you as soon as I can. I always enjoy seeing what you make, so feel free to share a picture or tag me if you end up making one. Happy hooking! Want to make sure you don't miss any future blog posts? Join my mailing list! (Spam-free, I promise!) 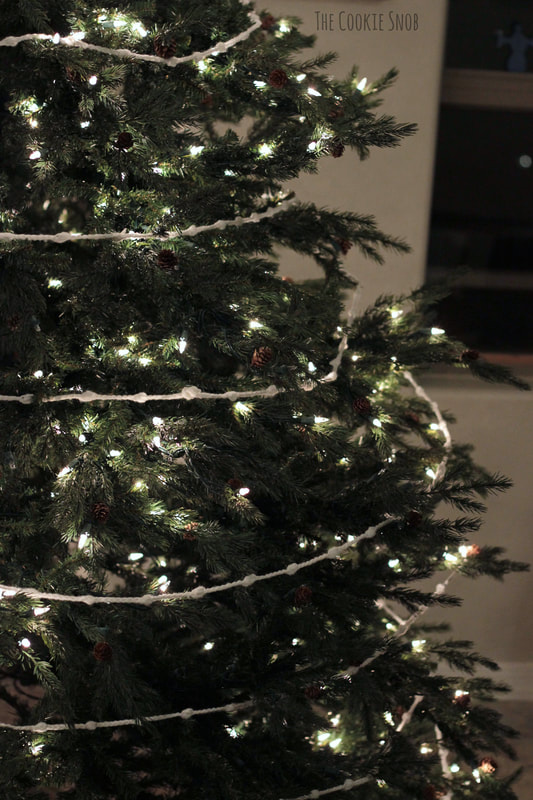 ***You're welcome to do whatever you'd like to with finished products made from this pattern but if you do sell them, I ask that you link back to my page. You may not copy this pattern, repost it anywhere (either altered or in its original form), or claim it as your own. You may not use any photos on this site for your own use. ***
18 Comments
Paige Price Mitchell
12/1/2023 12:21:59 pm
Your pictures and explanations are fabulous. I am also enjoying the clarity, excellent spelling and grammar. I am a die-hard snob about proper English. 😆I was imagining this little garland in the variegated Christmas yarn that's red, green and white. Very nice - you are so appreciated! Happy chosen winter holiday. 😁
Natalie
12/2/2023 12:11:28 am
This is an elegant Christmas garland. Thank you for sharing it with us! Leave a Reply. |
Welcome!Thank you for stopping by to visit my own personal corner of the web! Feel free to take a look around and check out what I've been crafting, crocheting, or baking. Hopefully you'll find something to inspire your own creativity!   
Archives
March 2024
|
 RSS Feed