|
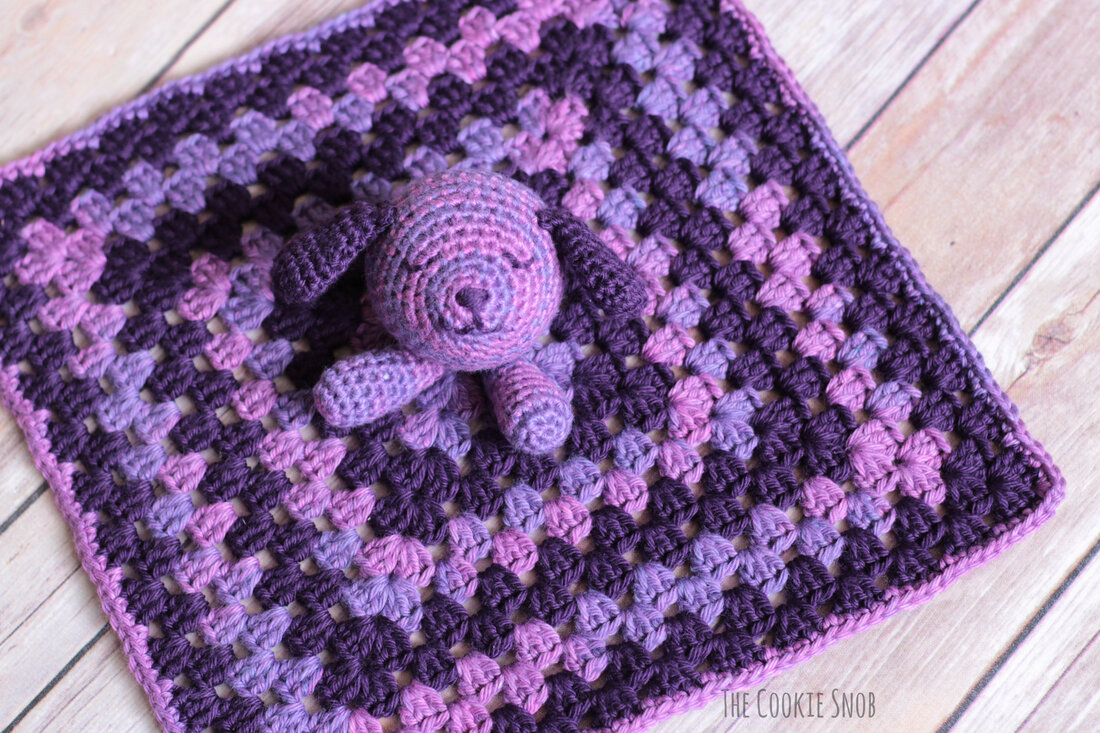
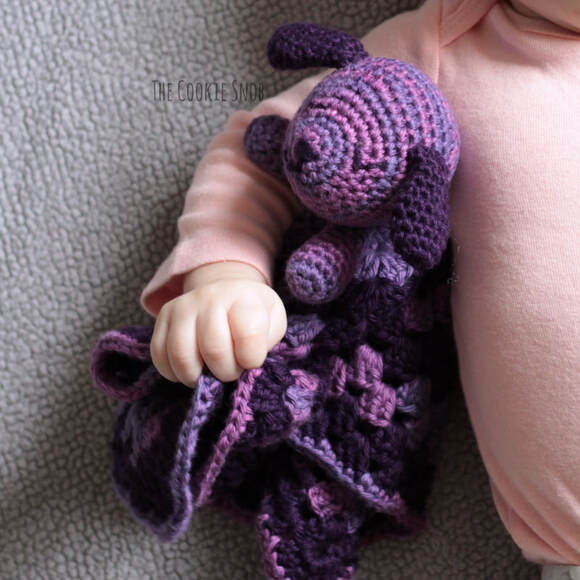
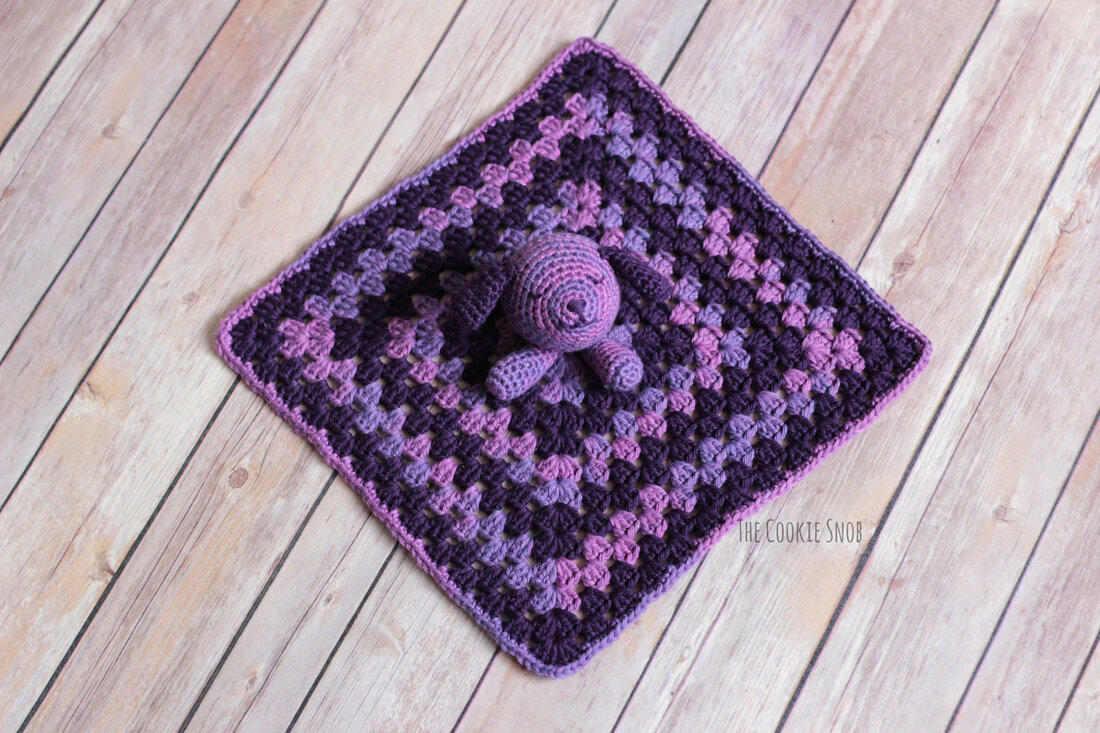
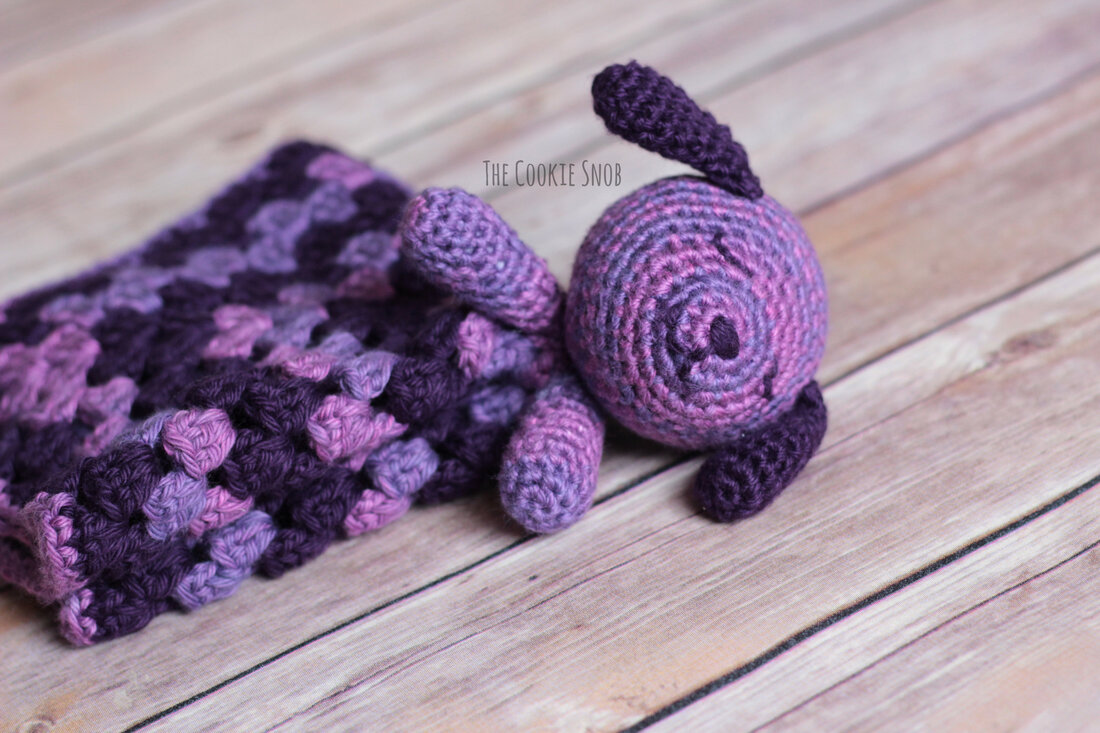
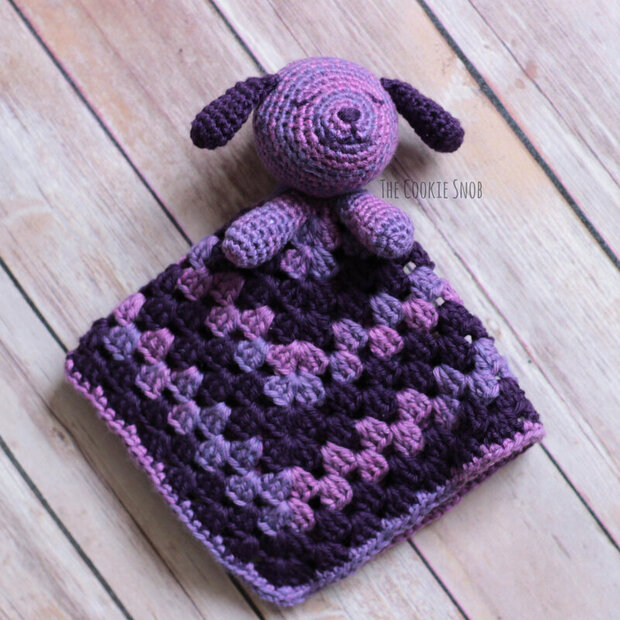
Oh look, another baby pattern! Hopefully you aren't all getting sick of them yet, since I'm sure this won't be the last baby pattern that wends its way onto this blog. (But don't worry, my next pattern is something more universal.) They say that "necessity is the mother of invention" and the latest need in our apartment is a lovey for Little #3 as we transition her to the crib. So it's time for a new lovey pattern! I debated about which animal to use for a long time, but ultimately went with a classic: a sweet sleepy puppy. Because who doesn't love puppies, right? I've previously made loveys for my boys when they were babies (the bear lovey predates the blog and has never made an appearance, but I blogged about the elephant lovey here, if you want to take a peek), so I decided to make this lovey in the same style: a head and arms centered in a granny square. Instead of reinventing the wheel, I modified my panda lovey pattern to make this cute little pup. This pattern is great for customizing and would look awesome in all sorts of color combinations. Gauge isn't crucial, but please note that I do tend to crochet tightly, so you may want to size down a hook or two if you're a looser crocheter so that your lovey doesn't turn out too large; make sure the stitches are nice and tight so that the stuffing isn't coming loose. You can decide for yourself how you'd like to add the face to the lovey, but I highly recommend AGAINST using safety eyes. I love the look and ease of safety eyes, but based on my own personal experiences, stitching on the face is well worth the extra effort to help keep things safer (unless you're planning to supervise the baby with the lovey at all times, which seems a little counterproductive for a sleep aid). And before someone mentions it: yes, the original elephant lovey I linked to does have safety eyes, but they have since been removed and replaced with some stitching. My general rule: safety eyes are for toys for bigger kids or toys that are only used under supervision, not for anything that goes in the crib. Alright, I'll get off of my soapbox now. Let's take a look at the pattern. If you're interested in an ad-free printable PDF version of this pattern, you can find one on Ravelry. (And a special thank you to everyone who supports my blog and keeps it running!) Stitch Glossary: st(s) = stitch(es) ch = chain ss = slip stitch sc = single crochet inc = sc increase (work 2 sc into the same st) dec = sc decrease (I prefer to use the "invisible decrease") dc = double crochet Materials:
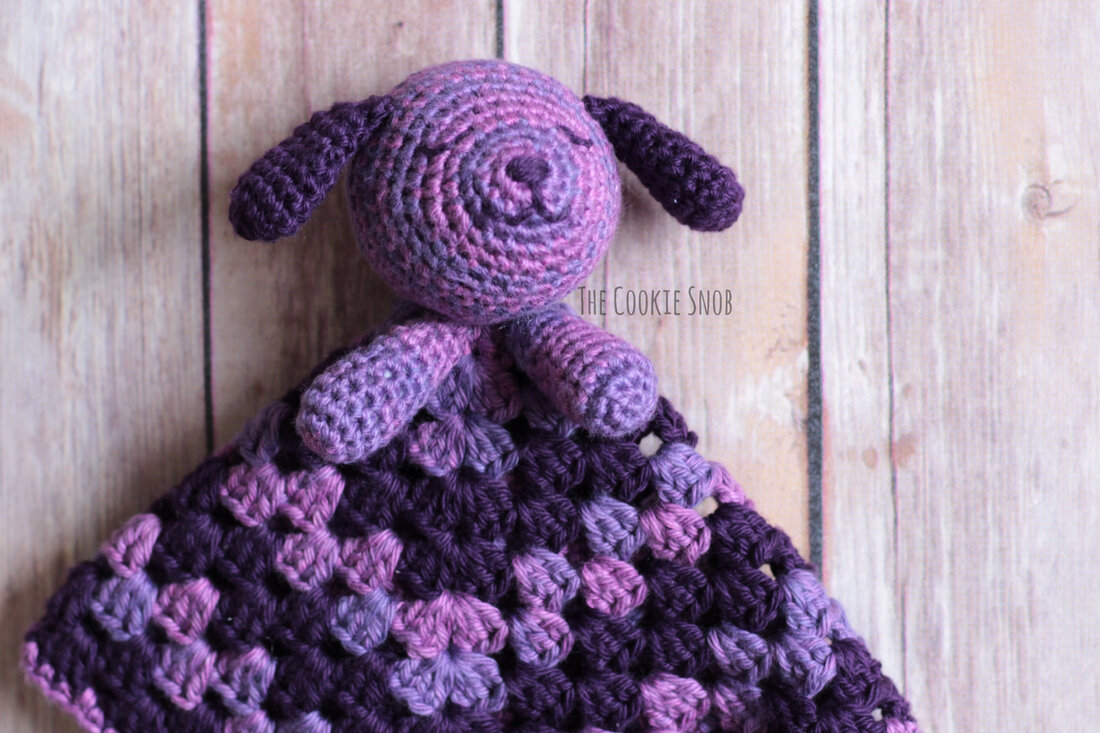
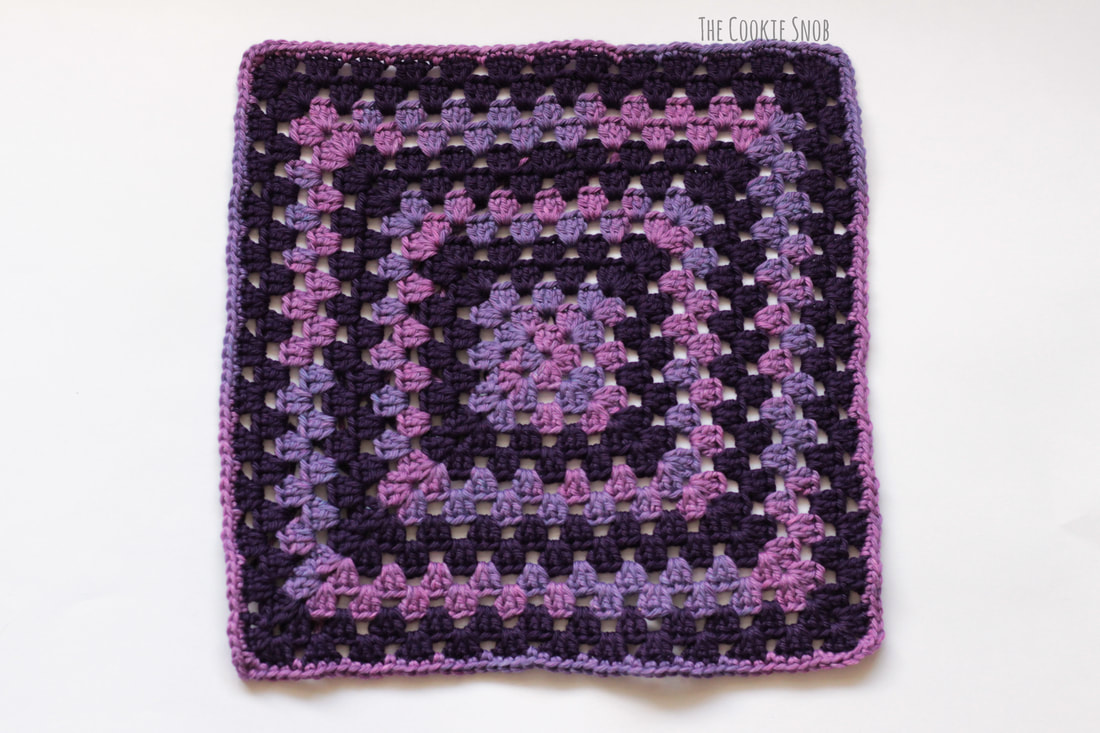
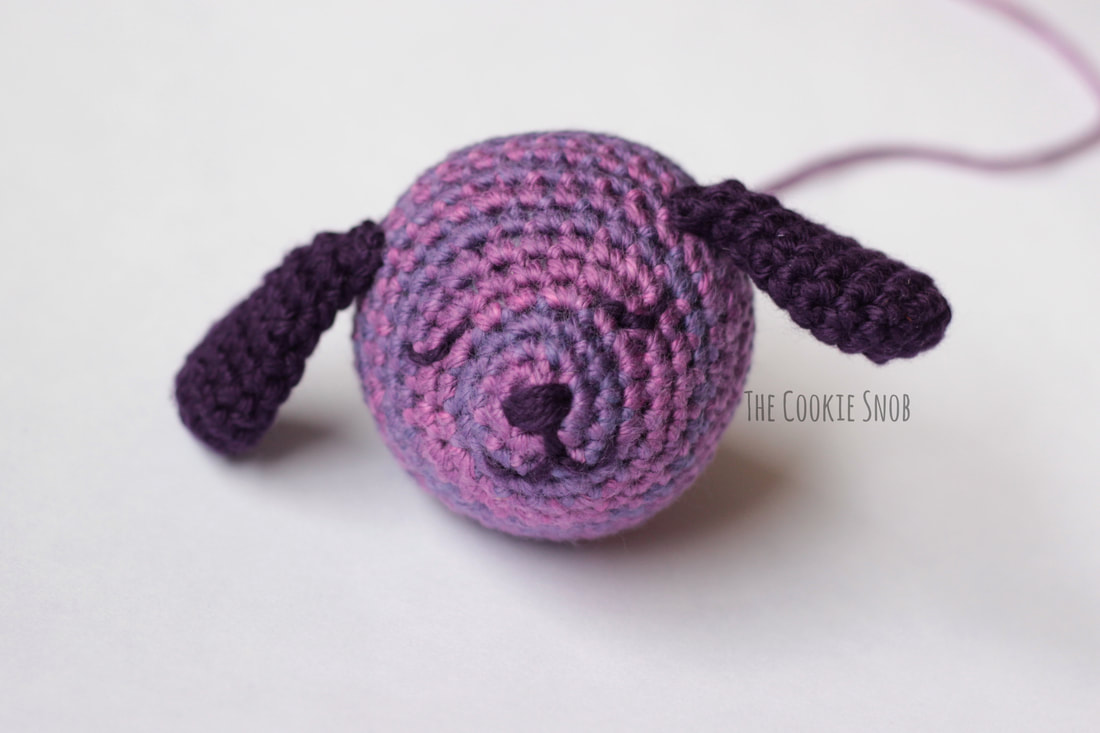
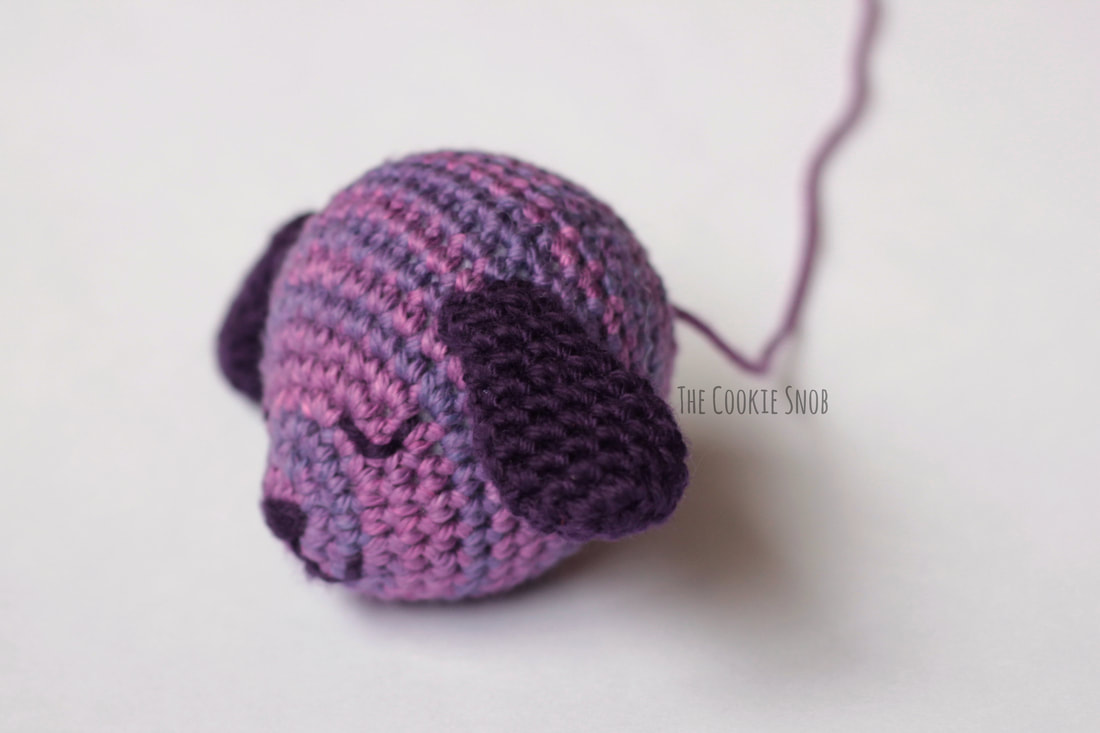
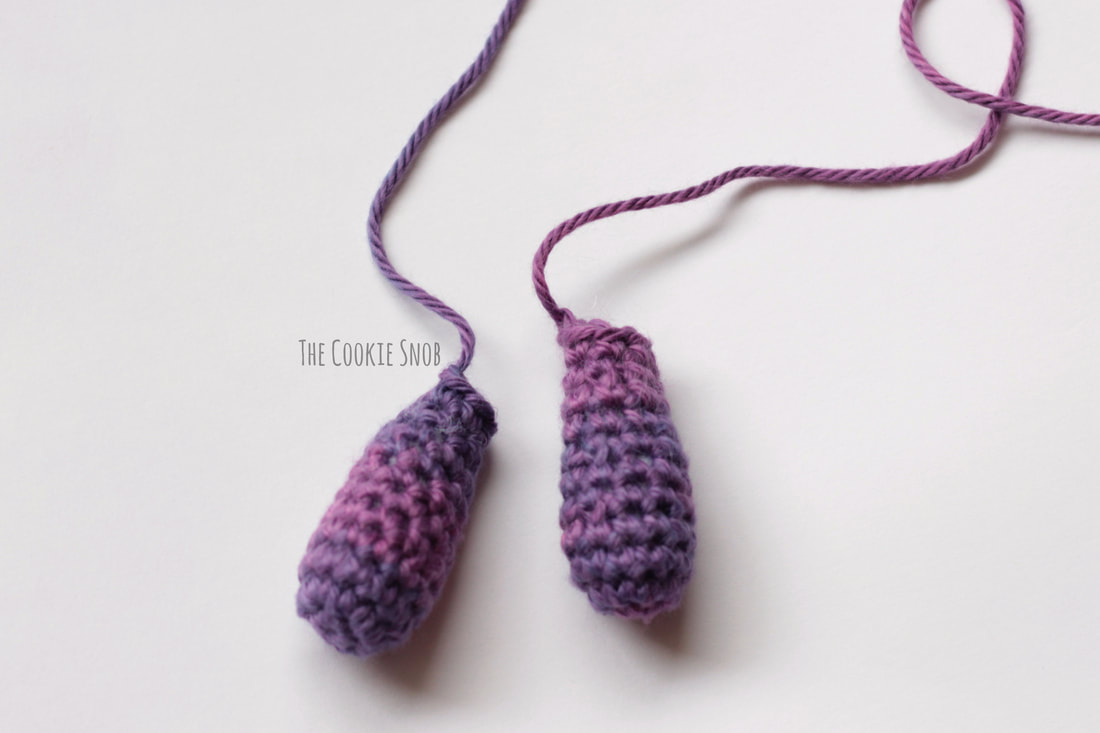
Granny Square Base: Note: There are lots of different variations to make granny squares; feel free to substitute your own favorite. If you're new to granny squares, I recommend checking out my Hip To Be Square Tie pattern, which has some photos you might find helpful. Starting with the H hook and Strawberry violet yarn: Ch 4 and ss to form a ring Round 1: ch 3, work 2 dc into the ring, ch 2, *work 3 dc into the ring, ch 2*, repeat from * to * 3 times, ss to top of the ch 3 to join Round 2: ss over to ch-2 space, ch 3, [2 dc, ch 2, 3 dc] into the ch-2 space, ch 1, *[3 dc, ch 2, 3 dc] into the next ch-2 space, ch 1*, repeat from * to * 3 times, ss to top of ch 3 to join Round 3: ss over to ch-2 space, ch 3, [2 dc, ch 2, 3 dc] into the ch-2 space, ch 1, [3 dc, ch 1] into the ch-1 space, *[3 dc, ch 2, 3 dc] into the next ch-2 space, ch 1, [3 dc, ch 1] into the ch-1 space*, repeat from * to * 3 times, ss to top of ch 3 to join Fasten off yarn. Switch to Purple yarn. Join in any ch-2 space (any corner) Round 4: ch 3, [2 dc, ch 2, 3 dc] into the ch-2 space, ch 1, [3 dc, ch 1] into each ch-1 space, *[3 dc, ch 2, 3 dc] into the ch-2 space, ch 1, [3 dc, ch 1] into each ch-1 space across*, repeat from * to * 3 times, ss to top of ch 3 to join Round 5: ss over to ch-2 space, ch 3, [2 dc, ch 2, 3 dc] into the ch-2 space, ch 1, [3 dc, ch 1] into each ch-1 space, *[3 dc, ch 2, 3 dc] into the ch-2 space, ch 1, [3 dc, ch 1] into each ch-1 space across*, repeat from * to * 3 times, ss to top of ch 3 to join Fasten off. Switch to Strawberry Violet yarn. Join in any ch-2 space (any corner) Rounds 6-7: Repeat rounds 4-5 Fasten off. Switch to Purple yarn. Join in any ch-2 space (any corner) Rounds 8-9: Repeat rounds 4-5 Fasten off. Switch to Strawberry Violet yarn. Join in any ch-2 space (any corner) Rounds 10-11: Repeat rounds 4-5 Fasten off. Switch to Purple yarn. Join in any ch-2 space (any corner) Rounds 12-13: Repeat rounds 4-5 Fasten off. Switch to Strawberry Violet yarn. Join in any ch-2 space (any corner) Round 14: ch 1, sc in each st and ch space around, ss to join Fasten off. Ear: (make 2) Note: The ear is worked in a continuous round, so I recommend using a stitch marker to keep your place Using the Purple yarn and the F hook: Round 1: Make a magic circle and work 6 sc into the circle (6) Round 2: inc around (12) Rounds 3-6: sc around (12) Round 7: [dec, sc] 4 times (8) Rounds 8-9: sc around (8) Round 10: [dec, sc in the next 2 sts] 2 times (6) Ss to even off the round and fasten off, leaving a long yarn tail for sewing. Head: Note: The head is worked in a continuous round, so I recommend using a stitch marker to keep your place. Using the Strawberry Violet yarn and the F hook: Round 1: Make a magic circle and work 6 sc into the circle (6) Round 2: inc around (12) Round 3: sc around (12) Round 4: [inc, sc] 6 times (18) Round 5: [inc, sc in the next 2 sts] 3 times, sc in the next 9 sts (21) Round 6: [inc, sc in the next 3 sts] 3 times, sc in the next 9 sts (24) Round 7: [inc, sc in the next 4 sts] 3 times, sc in the next 9 sts (27) Round 8: [inc, sc in the next 5 sts] 3 times, sc in the next 9 sts (30) Round 9: [inc, sc in the next 6 sts] 3 times, sc in the next 9 sts (33) Round 10: [inc, sc in the next 7 sts] 3 times, sc in the next 9 sts (36) Rounds 11-13: sc around (36) Before we move on to the next round, I recommend that you pause crocheting and finish the face. It'll be easier than doing it later when the back opening is smaller. Using a bit of Purple yarn and the tapestry needle, stitch on eyes, nose, and mouth. I stitched the nose back and forth 5 times across round 1, stitched the mouth as shown between rounds 2 and 3, and stitched the eyes as shown between rounds 4 and 6. Feel free to use different placements or styles for the stitches as you prefer. Then flatten the ears and stitch securely in place on both sides of the head using the tapestry needle and the yarn tails. Now back to crocheting! Round 14: [dec, sc in the next 4 sts] 6 times (30) Round 15: sc around (30) Round 16: [dec, sc in the next 3 sts] 6 times, (24) Round 17: sc around (24) Begin stuffing the head. Continue to stuff as you go. Round 18: [dec, sc in the next 2 sts] 6 times, (18) Round 19: sc around (18) Round 20: [dec, sc] 6 times (12) Round 21: dec 6 times (6) Fasten off, leaving a long yarn tail for sewing. Finish stuffing. Using the tapestry needle, pull the yarn tail through the front loops of the last round and pull taut to close the hole. Arm (Make 2): Note: The arm is made in a continuous round, so I recommend using a stitch marker to keep your place. Using the Strawberry Violet Yarn and the F hook: Round 1: Make a magic circle and work 6 sc into the circle (6) Round 2: inc around (12) Rounds 3-4: sc around (12) Round 5: [dec, sc in the next 4 sts] around (10) Round 6: sc around (10) Round 7: [dec, sc in the next 3 sts] around (8) Rounds 8-9: sc around (8) Begin stuffing the arm. Continue to stuff as you go. Round 10: [dec, sc in the next 2 sts] around (6) Round 11: sc around (6) Ss to even off the round, and fasten off, leaving a long yarn tail for sewing. Finish stuffing. Using the tapestry needle, pull the long yarn tail through the front loops of the last round and pull taut to close off the opening. Assembly: Using the yarn tails and the tapestry needle, stitch the head to the center of the granny square base. Stitch the arms directly beneath the head, slightly off to the side. Be sure to stitch everything securely in place so that nothing will fall off later. (Don't want any decapitated lovey trauma, now do we?) Weave in ends. And you're done! Great work! You now have an adorable puppy lovey, sure to charm any baby. And I'll keep my fingers crossed that it brings many magical hours of naps and sleeping through the night for everyone. If you have any questions or comments about this pattern, you can reach me in the comments section below or on social media. If you end up making one, please share a picture! I always love to see your beautiful work. Happy hooking! Want to make sure you don't miss out on any future blog posts? Join my mailing list! (Spam free, I promise!) ***You're welcome to do whatever you'd like to with finished products made from this pattern but if you do sell them, I ask that you link back to my page. You may not copy this pattern, repost it anywhere (either altered or in its original form), or claim it as your own. You may not use any photos on this site for your own use. ***
3 Comments
Liron
10/17/2019 05:06:34 pm
Another great one. I think this is the cutest thing I’ve ever made. Thank you so much!
Reply
Liron
10/18/2019 12:46:58 pm
https://www.facebook.com/216298378388952/posts/2790888907596540?sfns=mo
Reply
Leave a Reply. |
Welcome!Thank you for stopping by to visit my own personal corner of the web! Feel free to take a look around and check out what I've been crafting, crocheting, or baking. Hopefully you'll find something to inspire your own creativity! Archives
March 2024
|



 RSS Feed