|
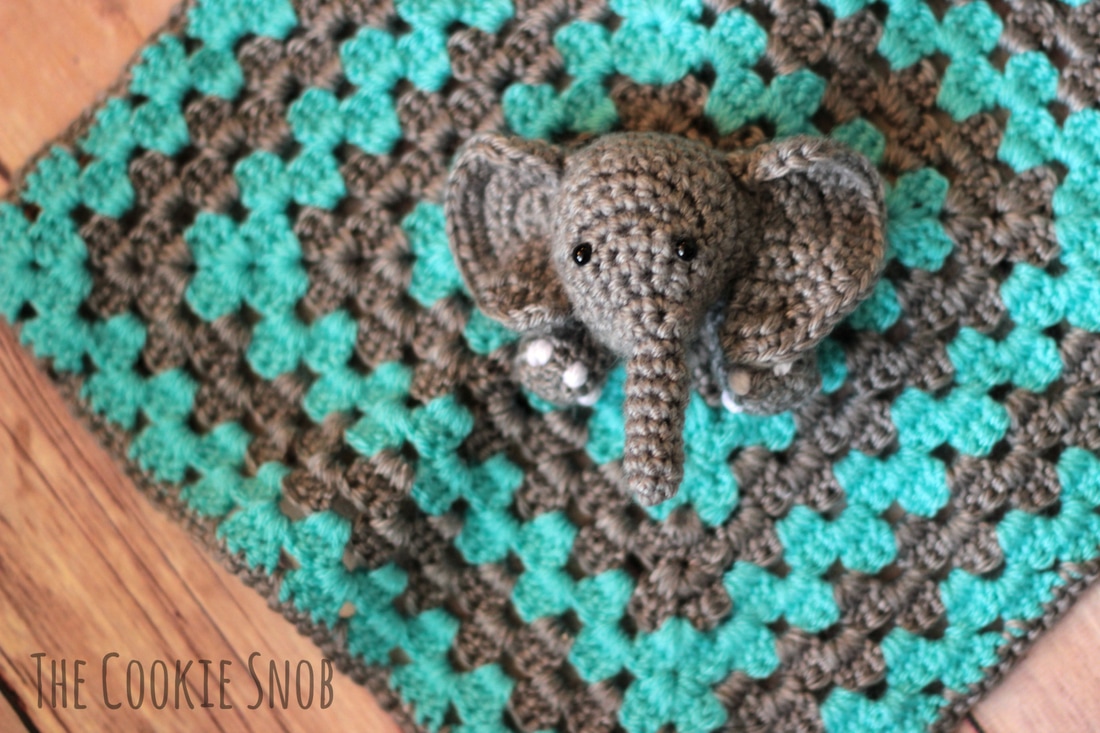
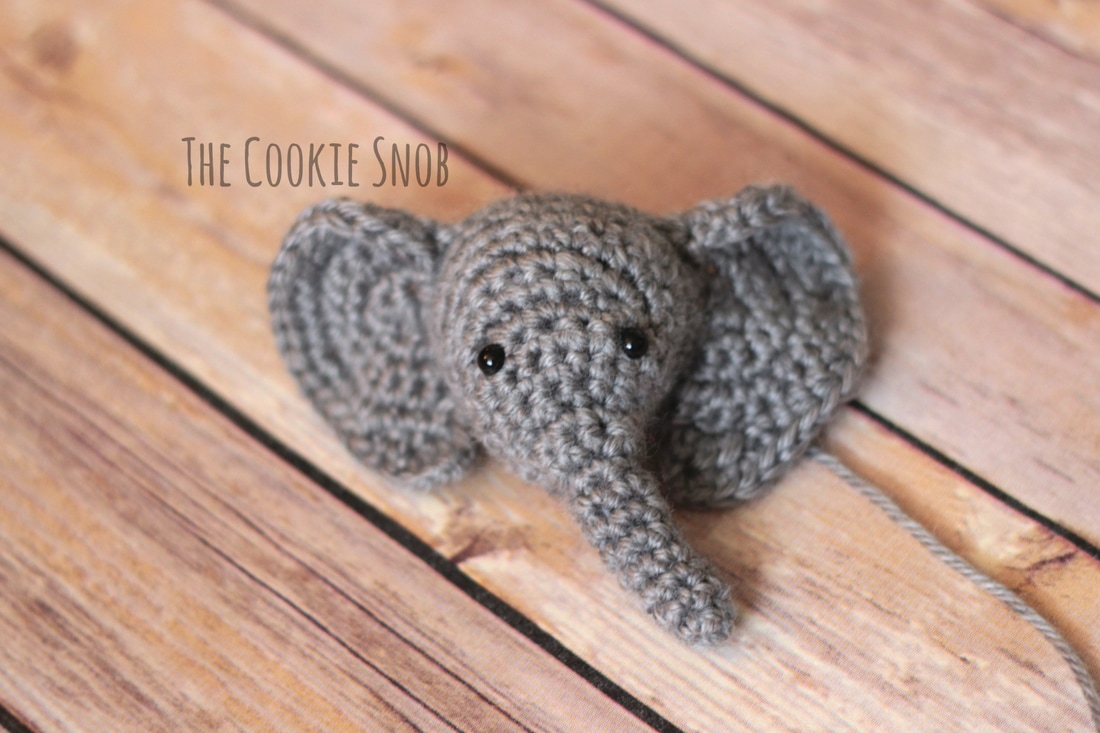
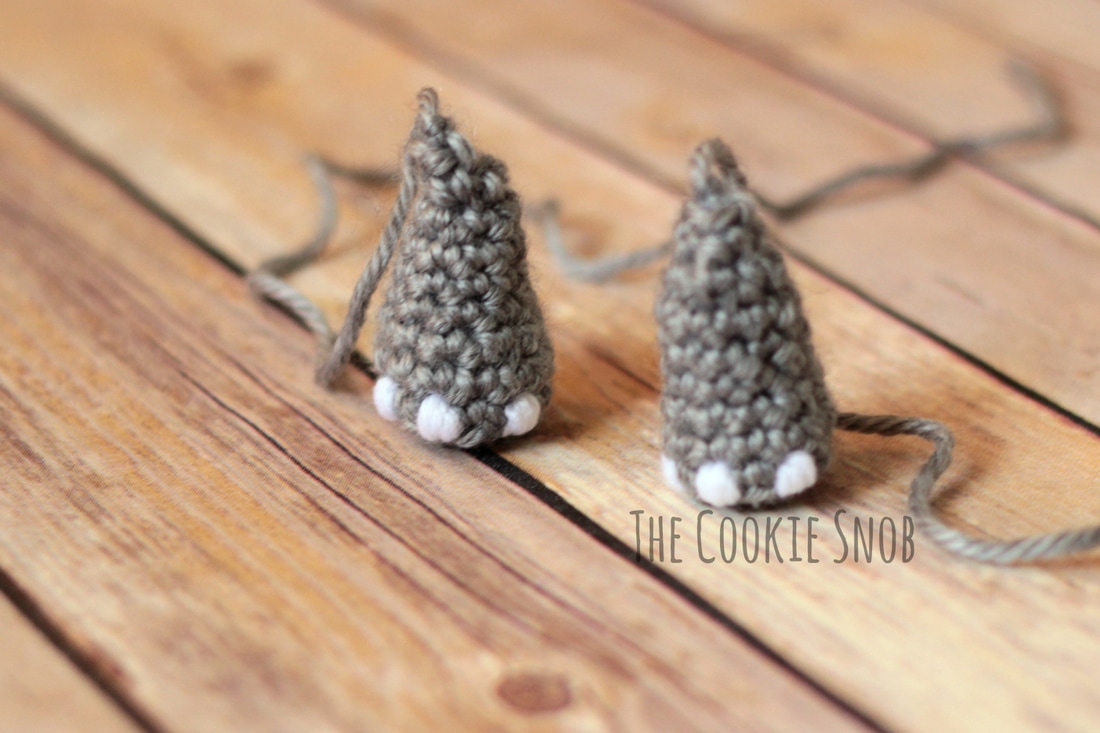
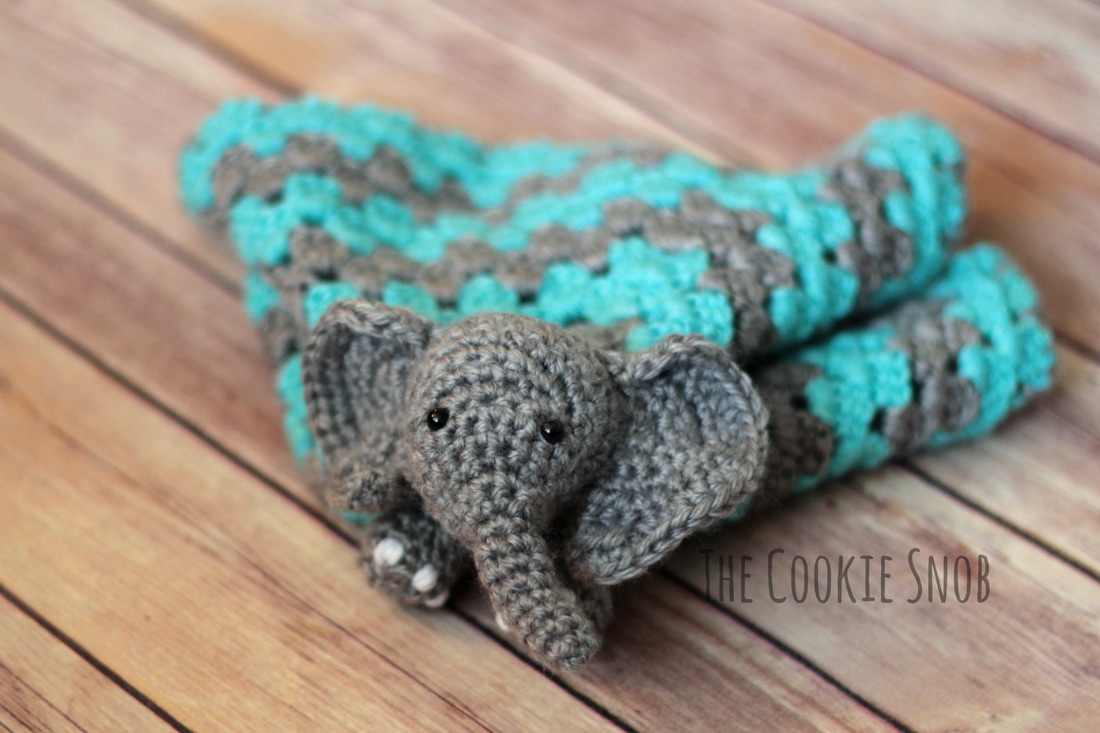
The time finally came for Little #2 to get a lovey of his own instead of stealing big brother's. Which, of course, seemed like an excellent excuse to pull out my hooks and yarn. I wanted to make something different than other loveys I've made before, so I decided on an elephant. But I couldn't quite find a pattern that was exactly what I wanted, so I put together pieces of a couple different free patterns and designed a simple piece of my own to finish it off. The elephant head comes from this lovey pattern designed by Dedri of Look What I Made. There are pictures to help with the trickier parts of the pattern, but the shaping of the elephant head still came out a little bit wonky for me, so I may have messed up a stitch somewhere. Either way, I think it turned out pretty cute and I liked the clever concept of the design (no joining is always the best). I wanted to put some legs on the lovey, so I designed some quick elephant feet. I used the same size hook and the same yarn as I did for the elephant head. Using a bit of scrap yarn, I stitched on some cute little elephant toe nails. Here's the free pattern if you want to make some of your own: Elephant Feet (make 2): Materials:
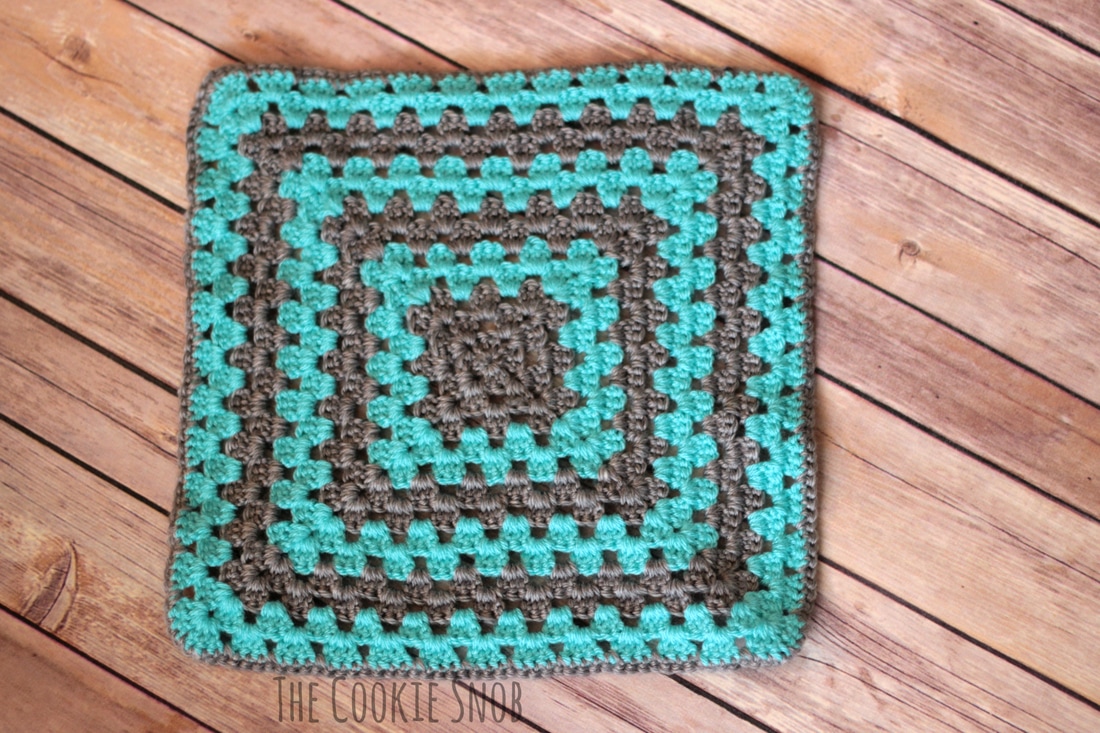
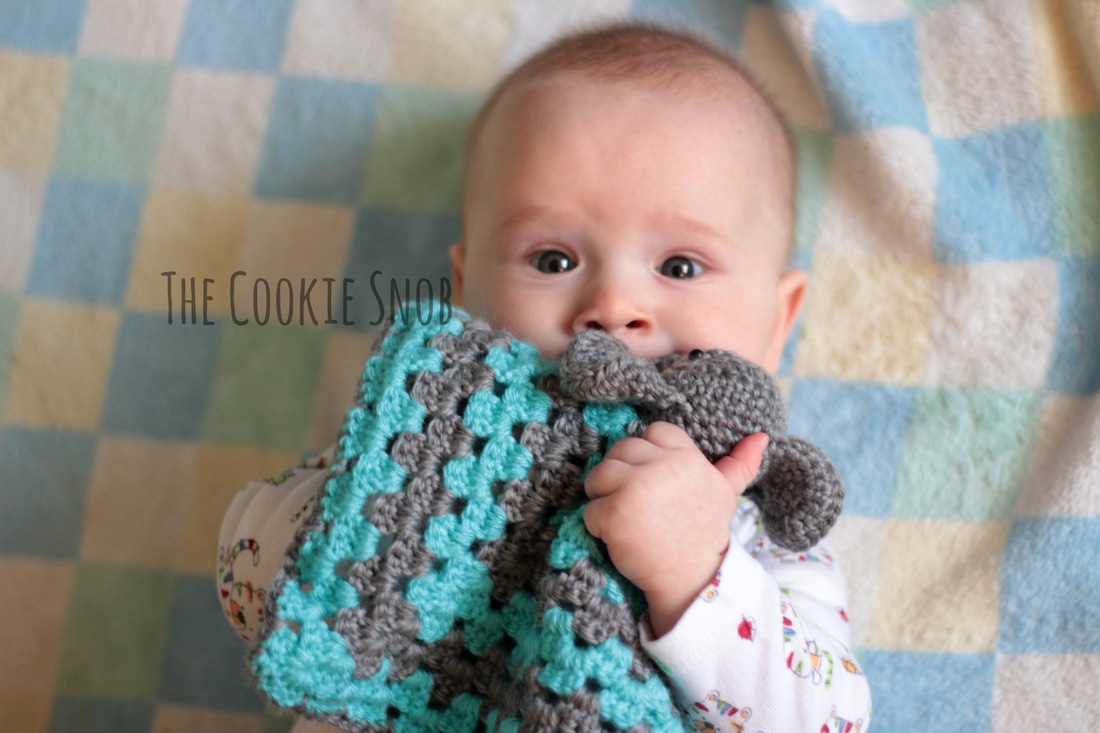
st(s) = stitch(es) ss = slip stitch sc = single crochet inc = 2 sc in the same st dec = decrease Round 1: Make a magic circle and work 6 sc into the circle, ss to the first st to join (6) Round 2: ch 1, inc around, ss to join (12) Round 3: ch 1, sc around in back loop only, ss to join (12) Round 4: ch 1, sc around, ss to join (12) Round 5: ch 1, [sc in the next 2 sts, dec] around, ss to join (9) At this point, I stitched on the three toes using some white scrap yarn and a tapestry needle, but you can add them later or leave them off entirely if you prefer. Rounds 6-8: ch 1, sc around, ss to join (9) Begin stuffing. Continue to stuff as you go. Round 9: ch 1, [sc, dec] around, ss to join (6) Round 10: ch 1, dec around, ss to join (3) Finish stuffing. Fasten off, leaving a long tail for sewing. For the blanket portion of the lovey, I decided to use the basic concept of a granny square, as found in this bunny lovey pattern by Amy of The Stitchin' Mommy. Although I know that pretty much all crocheted pieces are fairly breathable, my paranoid self felt a little better knowing that there were large holes in the piece. I may or may not have tested it for breathability by smushing it into my face...totally normal, guys. And, in other news, now is a good time to remind y'all to use your own parenting judgement with this sort of thing. If you don't think it's safe to put a lovey in the crib with your baby then don't do it. I am in no way advocating that everyone should use a lovey. Also, this thinking applies when you're deciding whether or not to use plastic eyes for the lovey head; do what you think is best and try to be as safe as you can (even if that means using a bit of glue or just stitching on the eyes instead). It'll be adorable either way. Anyway, I followed the basic pattern for the blanket piece, but only used two colors and made mine a bit smaller. Then I finished it off with a round of sc. After that, it was time to put all the pieces together. First I stitched the head to the center of the blanket and then added the legs directly below. Make sure you stitch it on tight so that you don't have to deal with lovey-decapitation trauma down the road. And, voila! Adorable elephant lovey! My toddler was impressed. "Oh, so cute! Tiny elephant! My like it!" And the baby decided that it was worth chomping on, which I'm pretty is the equivalent of two thumbs up in baby land. So overall, I'd call it a success! Hopefully this gives you some crochet inspiration when it comes to making loveys. Don't be afraid to customize things. That's the #1 perk of making things yourself, right? Happy hooking! ***You're welcome to do whatever you'd like to with finished products made from my portion this pattern but if you do sell them, I ask that you link back to my page. You may not copy this pattern, repost it anywhere (either altered or in its original form), or claim it as your own. You may not use any photos on this site for your own use. ***
5 Comments
Krys
8/6/2017 09:49:33 am
Hi! Could you please link your blanket pattern as well? It is absolutely beautiful!
Reply
Erin
8/6/2017 09:45:35 pm
The link is in the text above, but if it's easier, you can also find it here: https://www.thestitchinmommy.com/2013/04/bunny-lovey-free-crochet-pattern.html
Reply
Deb
1/10/2019 10:07:47 pm
Are there instructions on how to put the ears on?
Reply
Erin
1/11/2019 10:03:26 pm
Hi Deb! The instructions for the elephant head and its ears can be found by following the link in the blog post above. The head comes from a pattern on the blog "Look At What I Made." Hopefully that helps! :)
Reply
Victoria Karmelowicz
4/16/2021 04:37:05 pm
I am absolutely in love with this little guy...most elephant lovies look not sooo cute. Does anyone have any ideas on how to use this with bulky yarn??? I’ve been searching to no avail for an attractive pattern and cannot. I definitely need it by the beginning of May...thanks in advance guys
Reply
Leave a Reply. |
Welcome!Thank you for stopping by to visit my own personal corner of the web! Feel free to take a look around and check out what I've been crafting, crocheting, or baking. Hopefully you'll find something to inspire your own creativity! Archives
March 2024
|



 RSS Feed