|
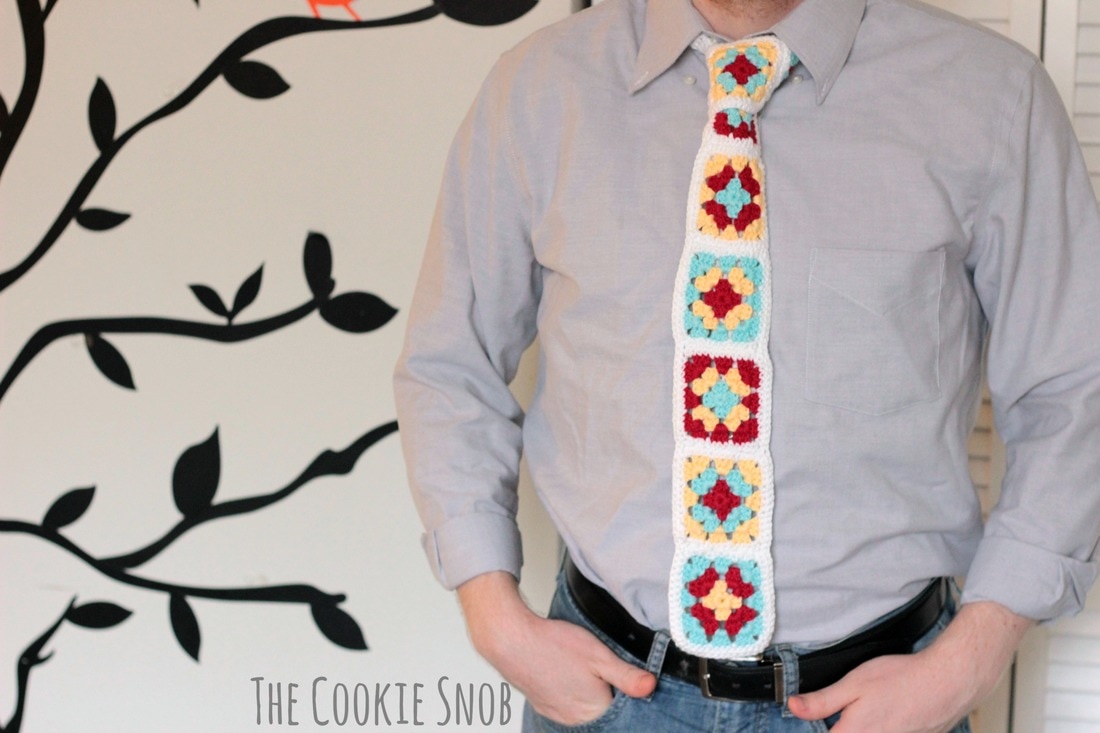
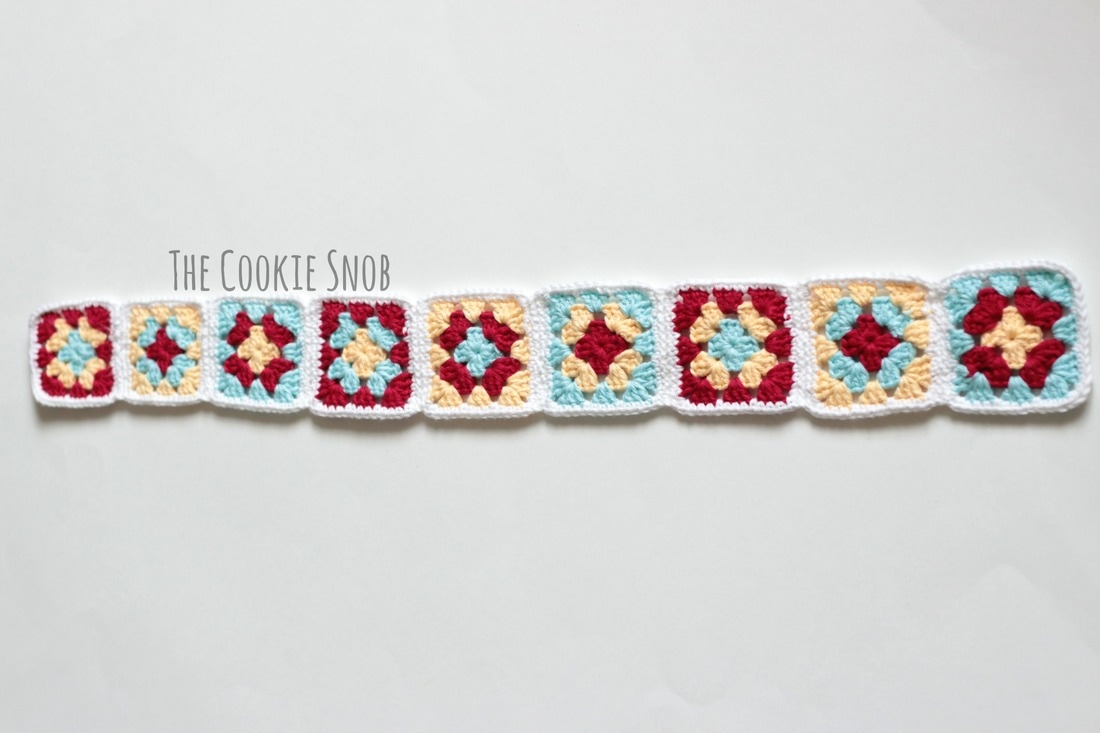
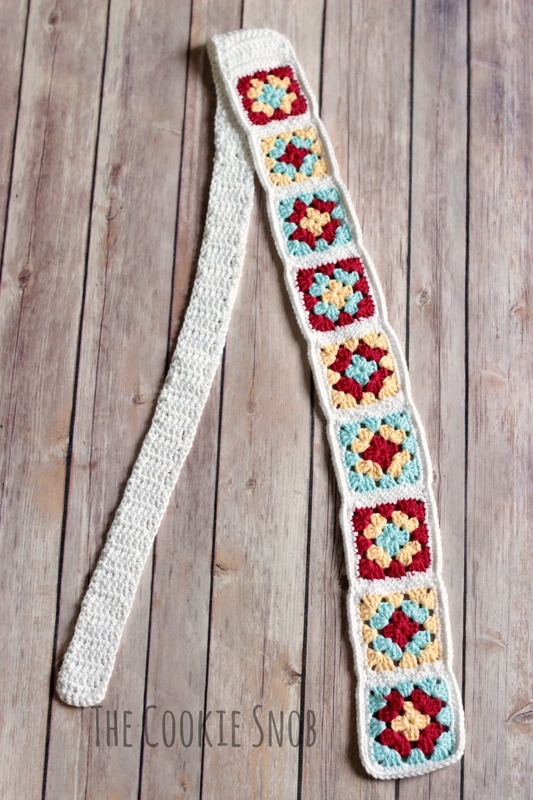
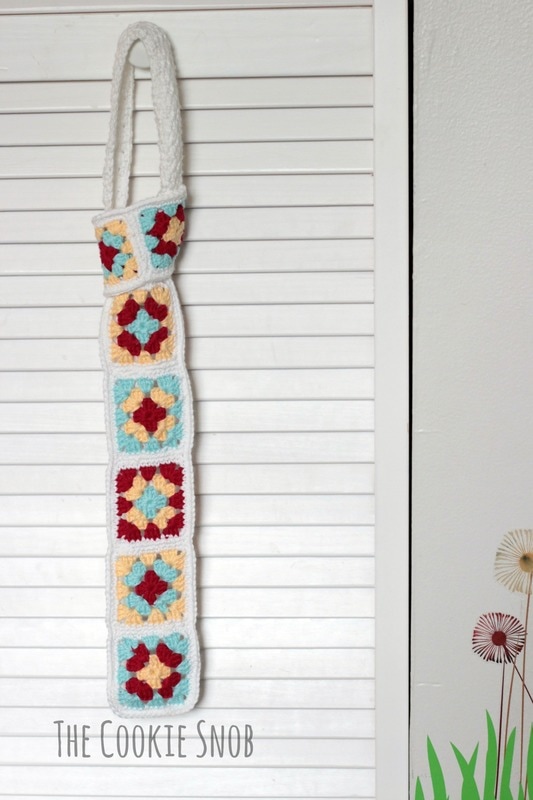
If I had to pick one motif to be the quintessential crochet element, it would have to be the granny square. It's simple yet beautiful, classic, versatile, and exclusively crocheted. (Side note: does anyone else laugh/cry anytime they see a TV character knitting a granny square?!?) So, as homage to the humble, often under-appreciated granny square, I decided to put it front and center with this fun tie pattern. The design of this unique tie is fairly simple: it's a chain of granny squares that gradually change size, followed by a long tail. So if you can make a granny square, you can make one of these! I don't have much experience with ties, but my husband tested it out for me and this tie is apparently best suited for a single Windsor knot; if you're looking for a tie that works better with a double Windsor knot, I also have a simple pattern modification you can use. If you'd like a printable, PDF version of this pattern, you can find one on Ravelry. Materials:
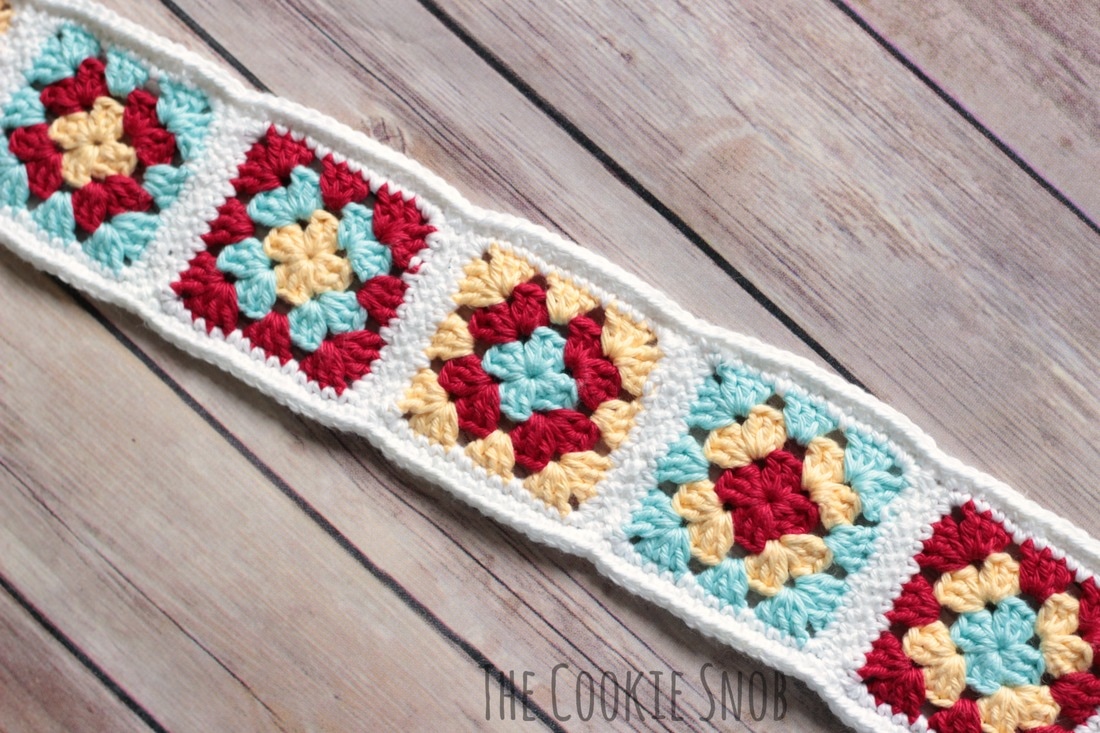
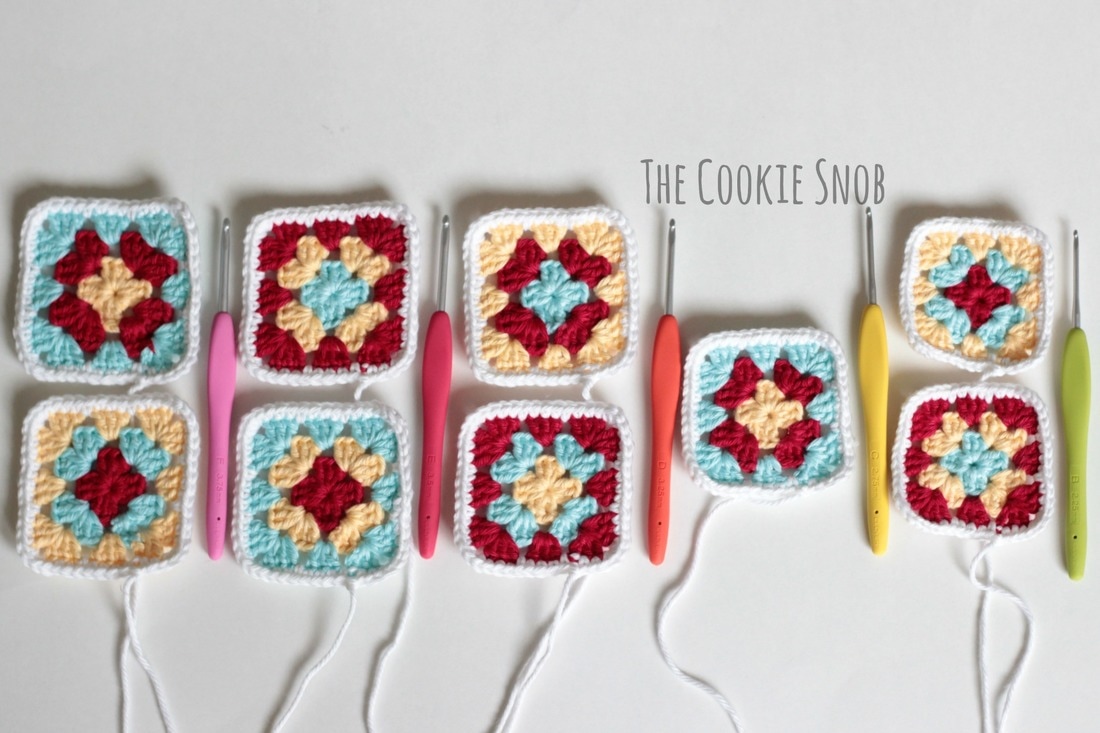
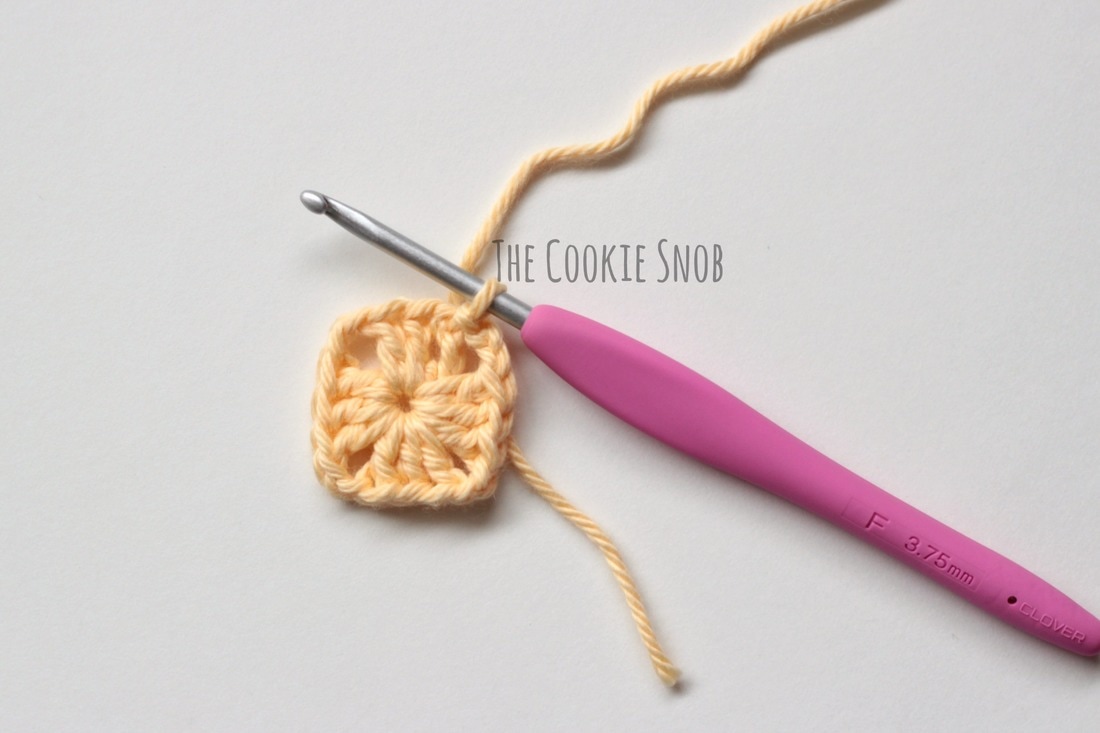
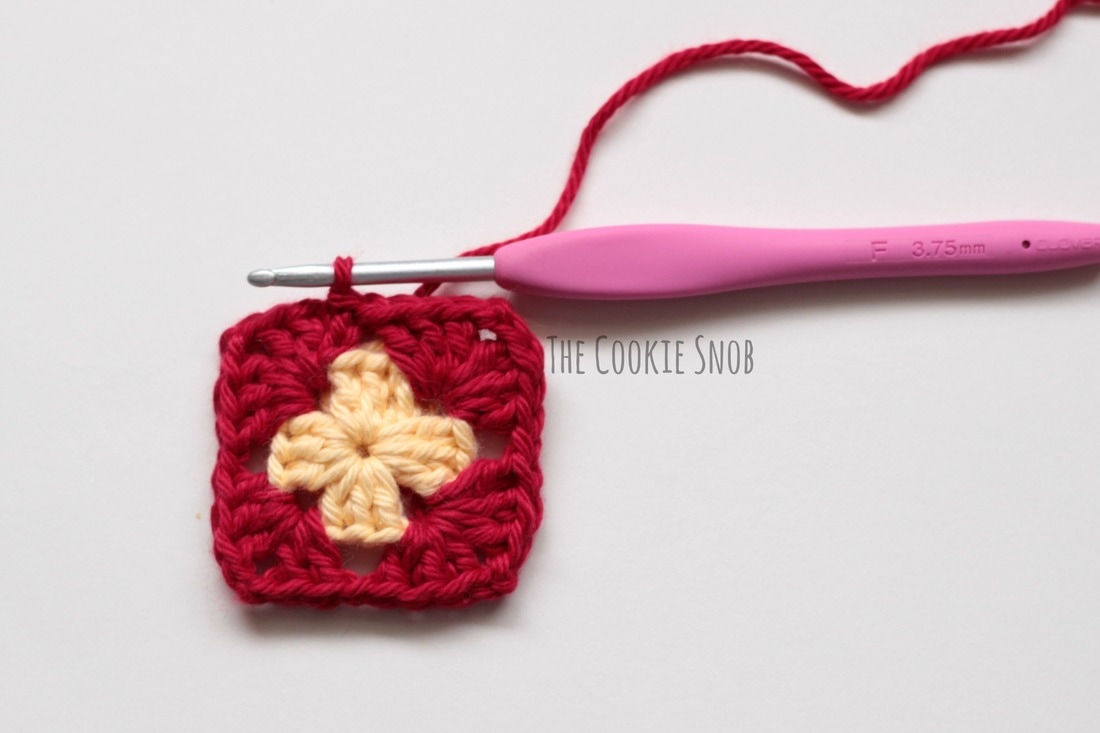
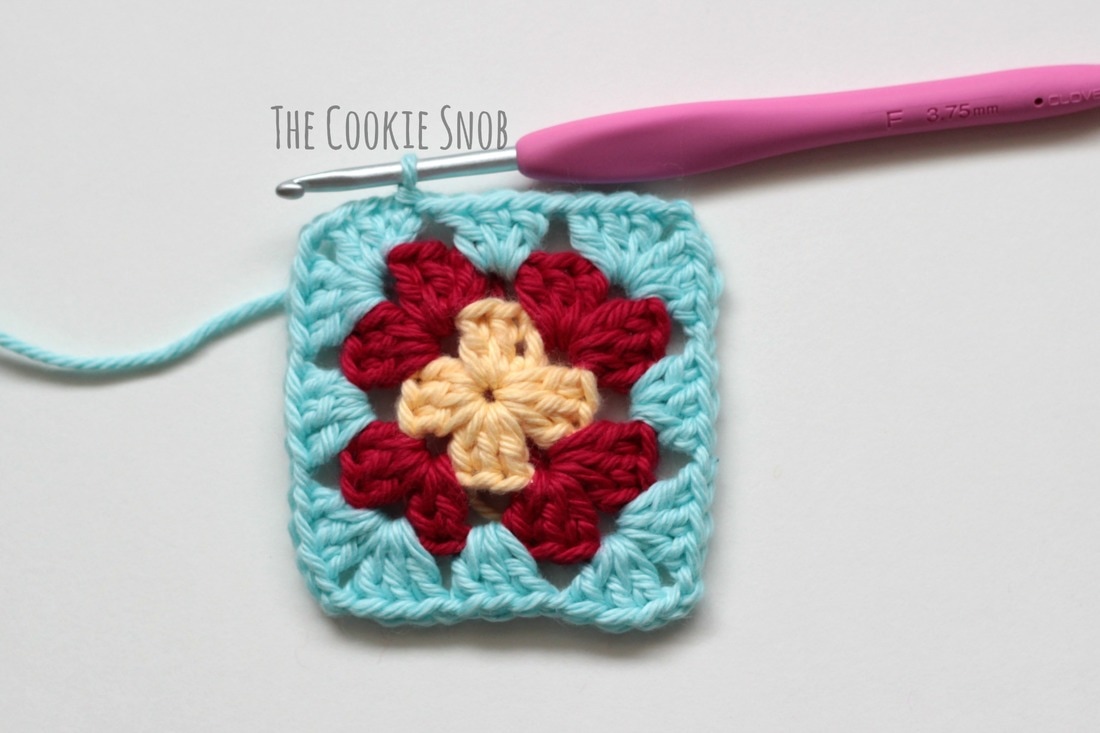
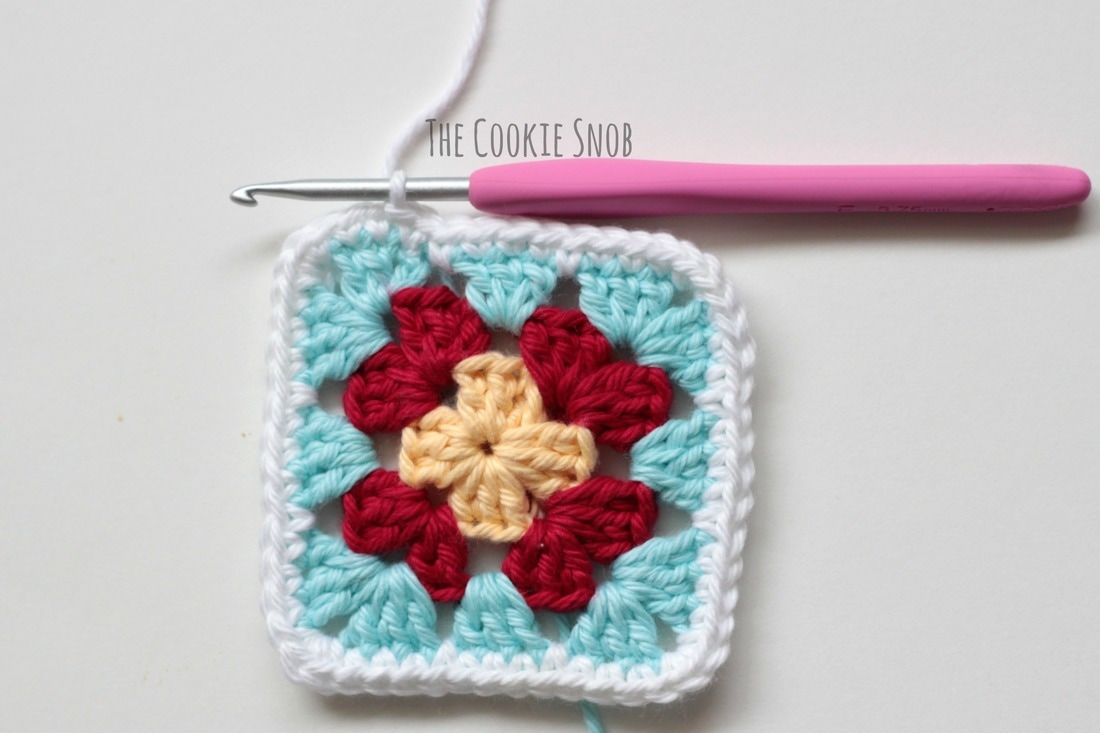
Stitch Glossary: st(s) = stitch(es) ch = chain ss = slip stitch sc = single crochet dc = double crochet dc dec = decrease across 2 dc Gauge: Size F granny square = 3" wide Size B granny square = 2.5" wide You'll need to make granny squares in several sizes for this pattern. The pattern for each is the same, but you'll use a different hook size to create different sized squares. For the original tie, you'll need to make 2 with the F hook, 2 with the E hook, 2 with the D hook, 1 with the C hook, and 2 with the B hook. If you want to make the alternative version (for the double Windsor knot), you'll need to make 2 with the F hook, 2 with the E hook, 2 with the D hook, 1 with the C hook, and only 1 with the B hook. Granny Square: Remember, all of the squares are made using the same pattern, you'll just change the hook to make them smaller or larger. With the first color, ch 4 and then join with a ss to form a ring. Row 1: ch 3 (this counts as the first dc here and throughout the pattern), work 2 dc into the ring, ch 2, [work 3 dc into the ring, ch 2] 3 times, ss to the top of the ch 3 to join Fasten off Join the second color to one of the corner spaces. Row 2: ch 3, work 2 dc into the first corner, ch 2, work 3 dc into the same corner, ch 1, [work 3 dc into the next corner, ch 2, work 3 dc into the same corner, ch 1] 3 times, ss to join Fasten off Join the third color to one of the corner spaces Row 3: ch 3, work 2 dc into the first corner, ch 2, work 3 dc into the same corner, ch 1, work 3 dc into the ch-1 space, ch 1, [work 3 dc into the next corner, ch 2, work 3 dc into the same corner, ch 1, work 3 dc into the next ch-1 space, ch 1] 3 times, ss to join Switch to white yarn Row 4: ch 1, sc in the same st and in the next 2 sts, work 3 sc in the ch-2 space, sc in the next 3 sts, sc in the ch-1 space, sc in the next 3 sts, sc in the ch-1 space, [sc in the next 3 sts, work 3 sc in the ch-2 space, sc in the next 3 sts, sc in the ch-1 space, sc in the next 3 sts, sc in the ch-1 space] 3 times, ss to join Fasten off, leaving a long tail of white yarn for sewing. Weave in all ends except for the one long yarn tail. Now that you've made your squares, it's time to stitch them all together to make up the decorative front of the tie. Line them up in size order, from smallest to largest. Then, using the long yarn tails and your tapestry needle, stitch them together into one long strip (as shown). I would recommend using the mattress stitch. Weave in any remaining ends. Tail: Beginning at the smallest end (the size B granny square) and using the D hook: Row 1: join the white yarn and work 15 sc across the top of the square, turn (15) Switch to the F hook Row 2: ch 2, dc dec, dc in the next 11 sts, dc dec, turn (13) Row 3: ch 2, dc dec, dc in the next 9 sts, dc dec, turn (11) Row 4: ch 2, dc dec, dc int the next 7 sts, dc dec, turn (9) Rows 5-6: ch 2, dc across, turn (9) Row 7: ch 2, dc dec, dc in the next 5 sts, dc dec, turn (7) Rows 8-9: ch 2, dc across, turn (7) Row 10: ch 2, dc dec, dc in the next 3 sts, dc dec, turn (5) Row 11: ch 2, dc across, turn (5) Repeat row 11 until at least 55" long. Or, if you're making the alternate version, until at least 57.5" long. Then sc evenly around the border of the entire tie to give a clean edge. Fasten off and weave in ends. And there you have a granny square tie! It's definitely a whimsical, one-of-a-kind addition to any wardrobe. If you make one, I'd love to hear about it. You can reach me with comments or questions in the comments section below or on social media. Happy hooking! ***You're welcome to do whatever you'd like to with finished products made from this pattern but if you do sell them, I ask that you link back to my page. You may not copy this pattern, repost it anywhere (either altered or in its original form), or claim it as your own. You may not use any photos on this site for your own use. ***
1 Comment
WOW! I am in love with this tie! Such a neat idea, and so simple to put together. Would make a great holiday, birthday or Father's Day gift. Wish I had some tops that I could wear this with - I'd make one for myself!
Reply
Leave a Reply. |
Welcome!Thank you for stopping by to visit my own personal corner of the web! Feel free to take a look around and check out what I've been crafting, crocheting, or baking. Hopefully you'll find something to inspire your own creativity! Archives
March 2024
|



 RSS Feed