
|
Looking for another project to use your C2C Moss Stitch skills? Well, look no further! I've got the perfect simple pattern for you. It's so simple, in fact, that it's more of a concept than a rigid pattern, meaning that you can personalize the sizing to your heart's content. With summer winding down and fall weather approaching, you definitely need to give this lovely cowl pattern a try. 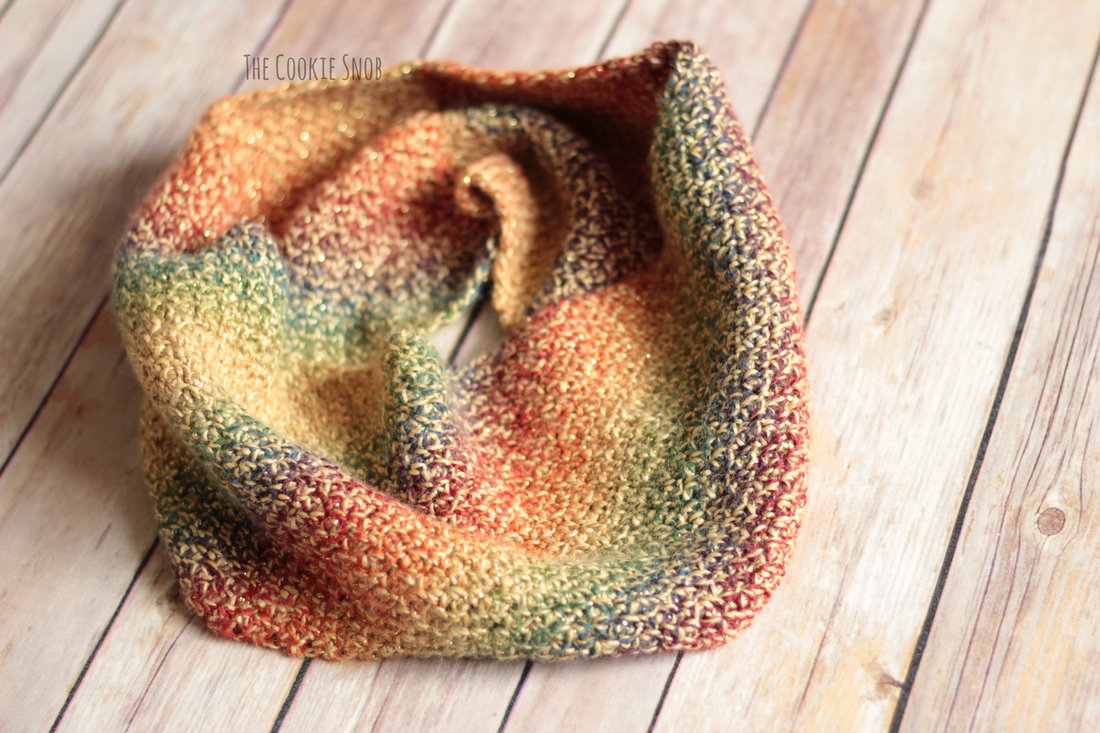 This cowl pattern originally started out as a completely different pattern. I decided to use a skein of yarn I snagged at Hobby Lobby that appeared to be just orange and yellow with sparkles. Appropriately autumnal, no? But once I started working with the yarn, I was surprised to discover that it was actually rainbow yarn! It then became clear that Plan A was a no go (but don't worry, I'm working on that one with a more apt yarn, so it'll still happen), and that meant it was time for Plan B. In this case, the B is for Better, because this stitch is perrrrrrrfect for this yarn. It's also great for any lovely variegated yarn you've got sitting in your stash. 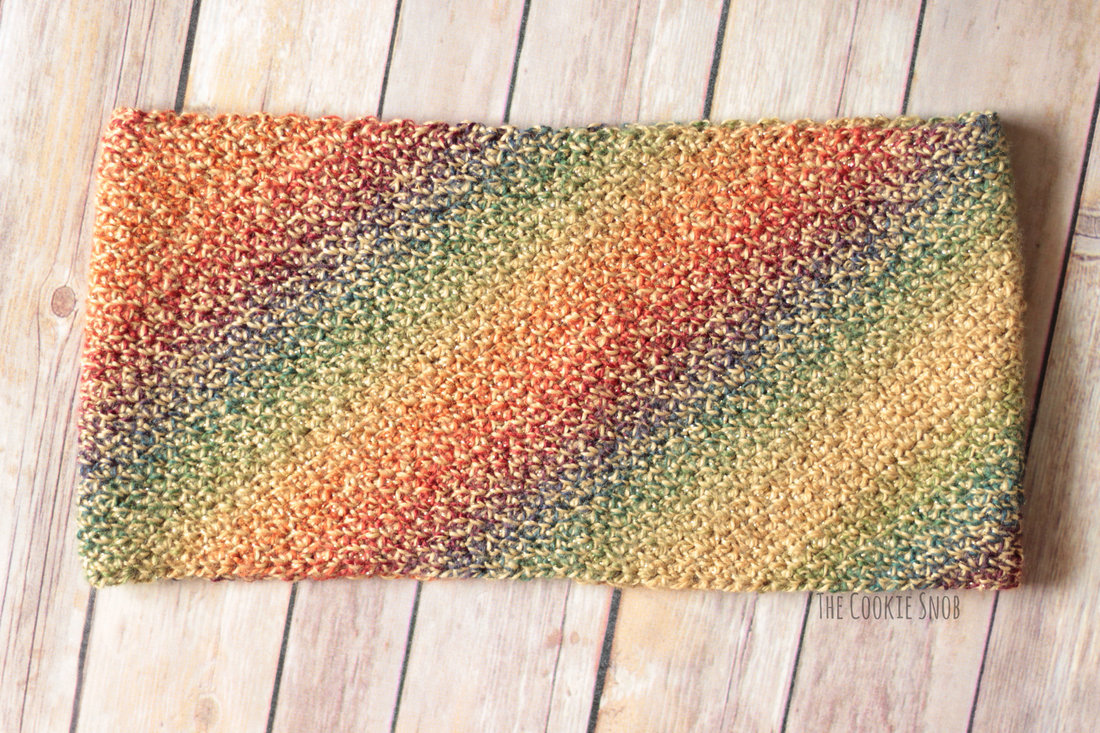 Now, I'm assuming that you've already practiced the C2C moss stitch. But if you haven't done if before, don't panic! I've got a photo tutorial to walk you through the basics of making squares and rectangles with the stitch. And there are also video tutorials out there on the interwebs if that's more your style. Either way, this cowl is basically just a C2C moss stitch rectangle. Super simple. I'll write out the instructions for making the rectangle below in case it's helpful, but if you're new to this stitch or are having trouble with stitch placement, I HIGHLY recommend looking through the photo tutorials to get a better visual. 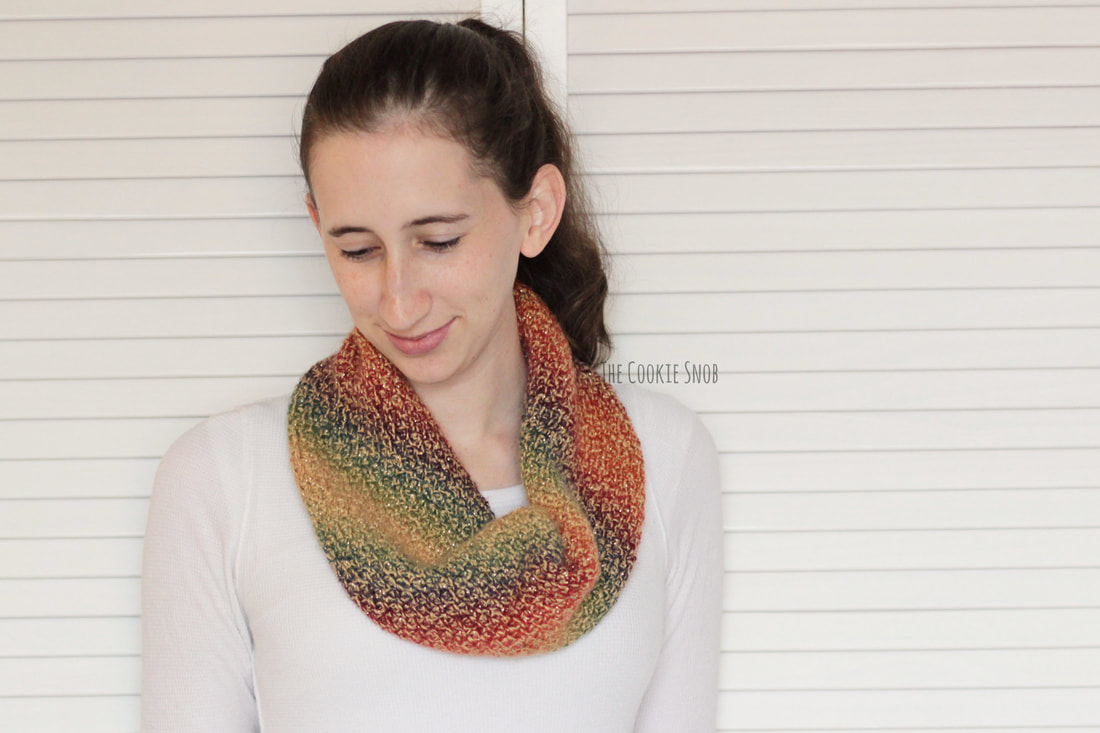 If you'd like an ad-free printable PDF version of this pattern, you can find one on Ravelry. Stitch Glossary: st(s) = stitch(es) ch = chain sc = single crochet Materials:
Ch 3 Increase Row 1: sc in the third ch from the hook, turn Increase Row 2: ch 3, [sc, ch 1, sc] in the ch-3 space from the previous row, turn Increase Row 3: ch 3, sc in the first ch-1 space, ch 1, [sc, ch 1, sc] in the ch-3 space, turn Increase Row 4: ch 3, sc in the first ch-1 space, ch 1, [sc, ch 1] in each ch-1 space across, [sc, ch 1, sc] in the ch-3 space, turn Repeat Increase Row 4 until the sides measure 8" Increase Row 5: ch 3, sc in the first ch-1 space, [ch 1, sc] in each ch-1 space across, sc in the ch-3 space, turn Increase Row 6: ch 2, skip the first 2 sts, sc in the first ch-1 space, ch 1, [sc, ch 1] in each ch-1 space across, [sc, ch 1, sc] in the ch-3 space, turn Increase Row 7: ch 3, sc in the first ch-1 space, [ch 1, sc] in each ch-1 space across, sc in the ch-2 space, turn Repeat Increase Rows 6 and 7 until the longest side measures 28" Decrease Row 1: ch 2, skip the first 2 sts, sc in the first ch-1 space, [ch1, sc] in each ch-1 space across, sc in the ch-3 space, turn Decrease Row 2: ch 2, skip the first 2 sts, sc in the first ch-1 space, [ch 1, sc] in each ch-1 space across, sc in the ch-2 space, turn Repeat Decrease Row 2 until you reach a row with only 3 sc total Decrease Row 3: ch 2, sc in the first ch-1 space, sc in the ch-2 space, turn Decrease Row 4: ch 1, sc in the ch-2 space Fasten off, leaving a long tail for sewing 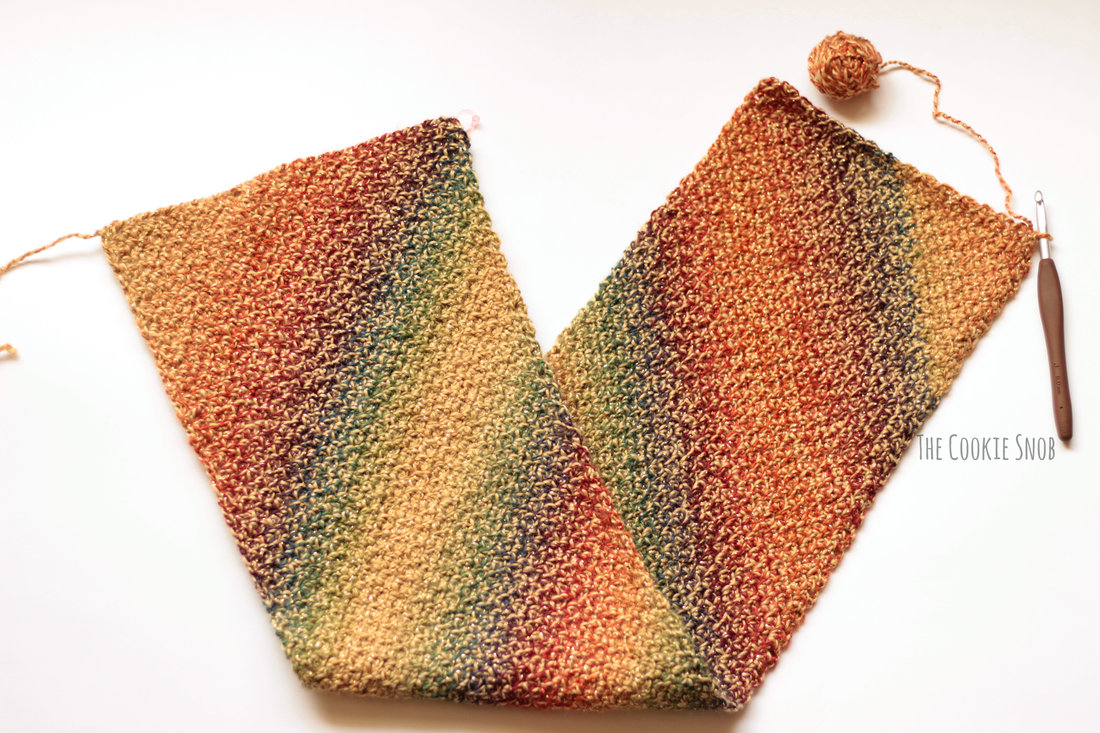 Using the tapestry needle and the long yarn tail, stitch the short ends of the rectangle together. I recommend the mattress stitch, but you can use whatever works for you. Tie off and weave in ends.  And, just like that, you have a finished cowl! 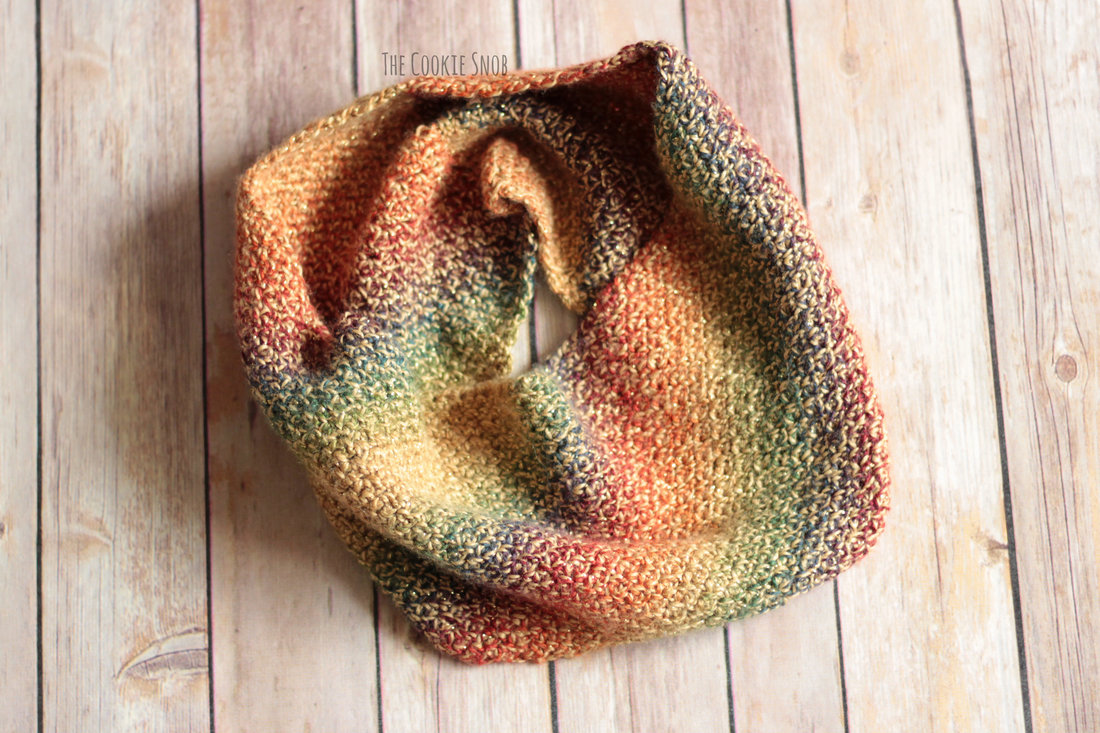 I hope that you enjoy this pattern! If you'd like an ad-free printable version, you can find one on Craftsy. And if you have any questions or comments about the pattern, you can reach me in the comments section below or on social media. As always, if you make a cowl, I'd love to see a picture! Seeing your lovely projects is always a highlight. Happy hooking! 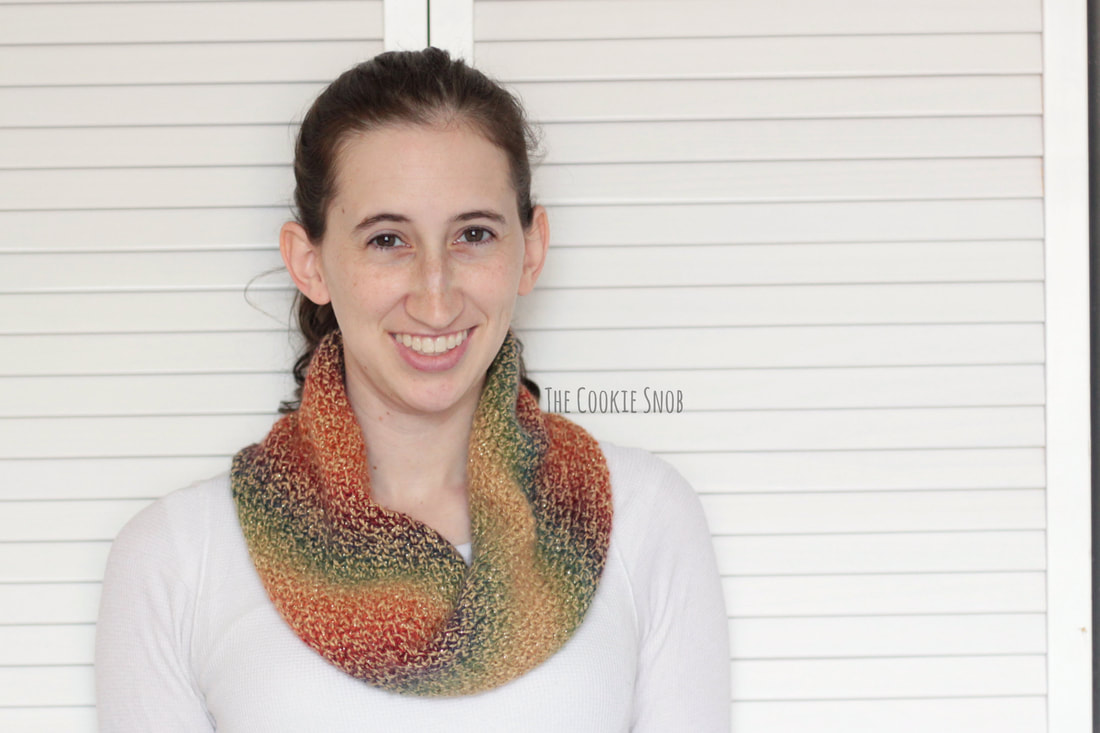 Want to make sure you don't miss out on any future blog posts? Join my mailing list! 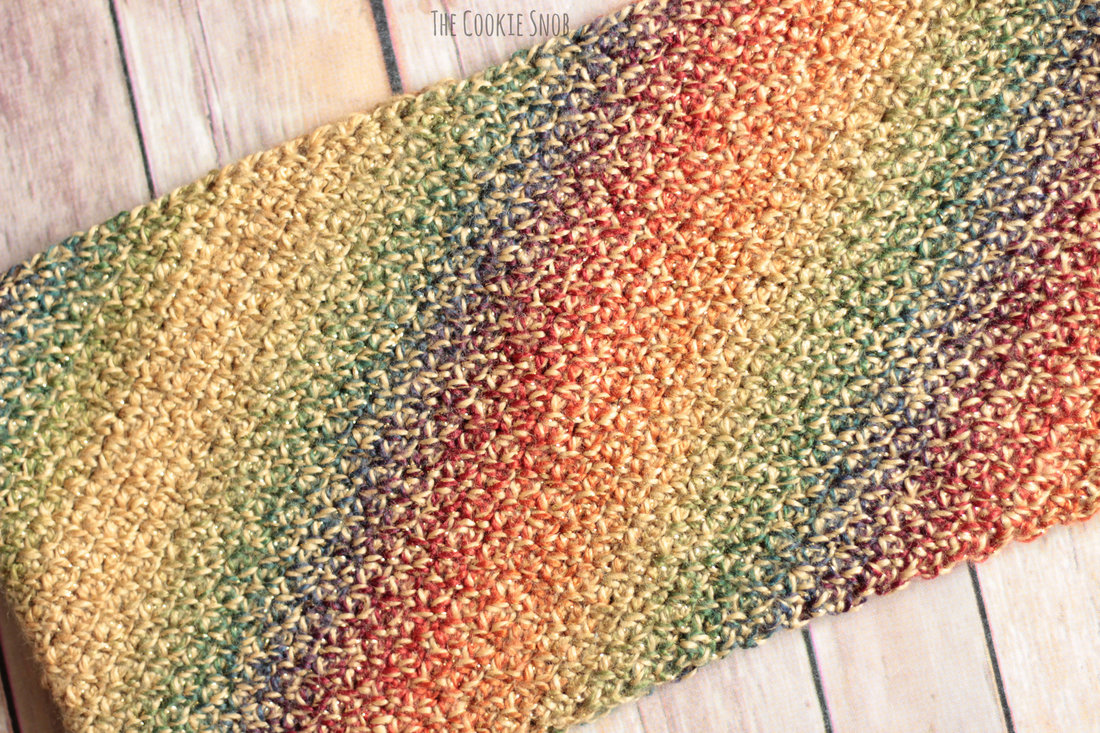 ***You're welcome to do whatever you'd like to with finished products made from this pattern but if you do sell them, I ask that you link back to my page. You may not copy this pattern, repost it anywhere (either altered or in its original form), or claim it as your own. You may not use any photos on this site for your own use. ***
1 Comment
Tamera Heck
8/28/2018 06:35:52 pm
thank you for this nice pattern. it waa alot of fun Leave a Reply. |
Welcome!Thank you for stopping by to visit my own personal corner of the web! Feel free to take a look around and check out what I've been crafting, crocheting, or baking. Hopefully you'll find something to inspire your own creativity!   
Archives
March 2024
|
 RSS Feed