|
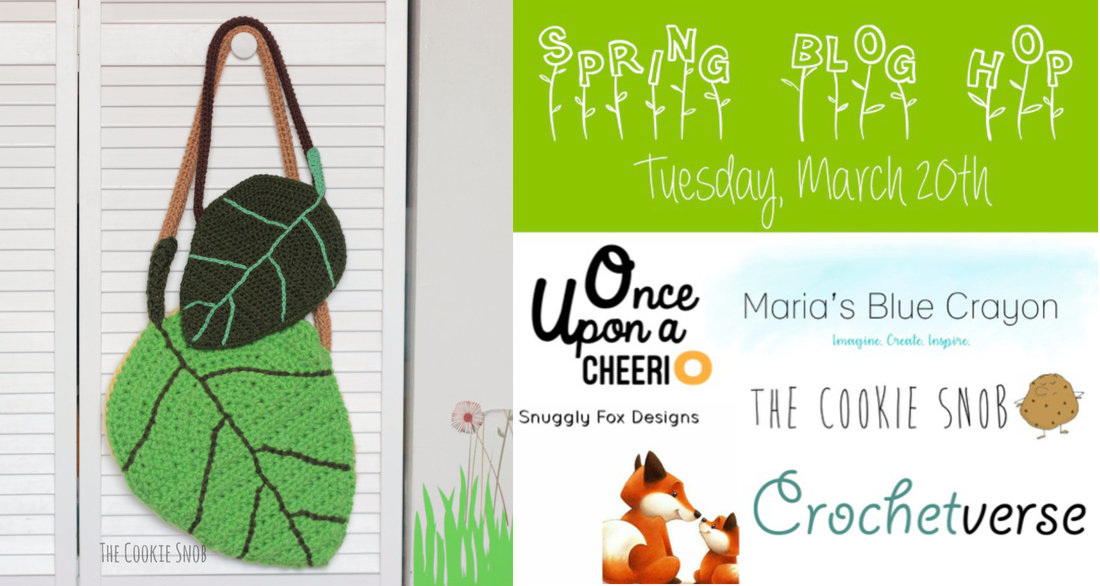
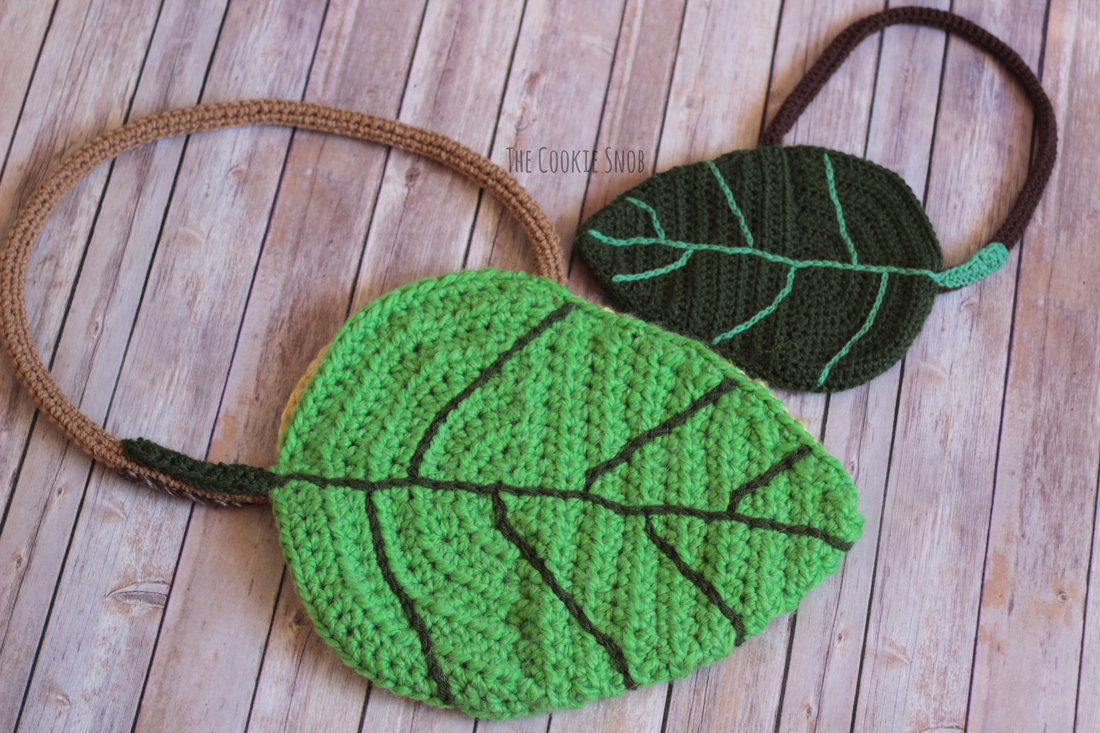
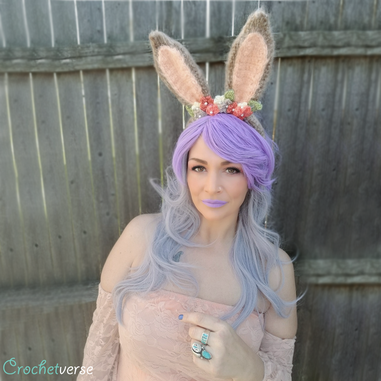
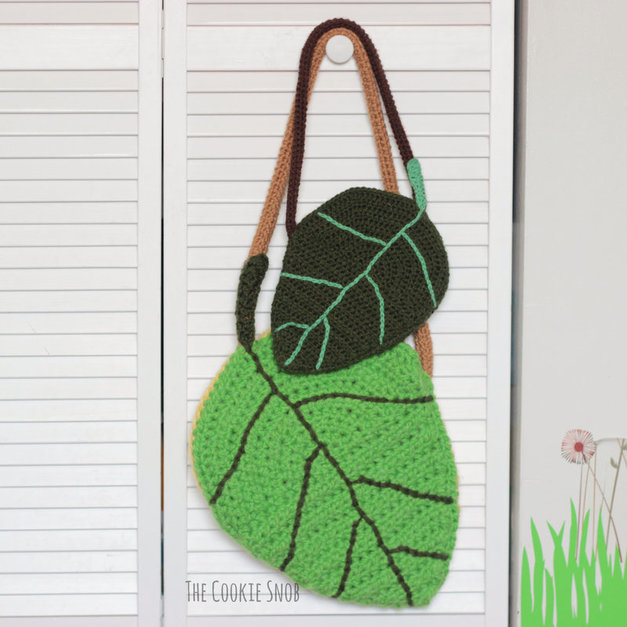
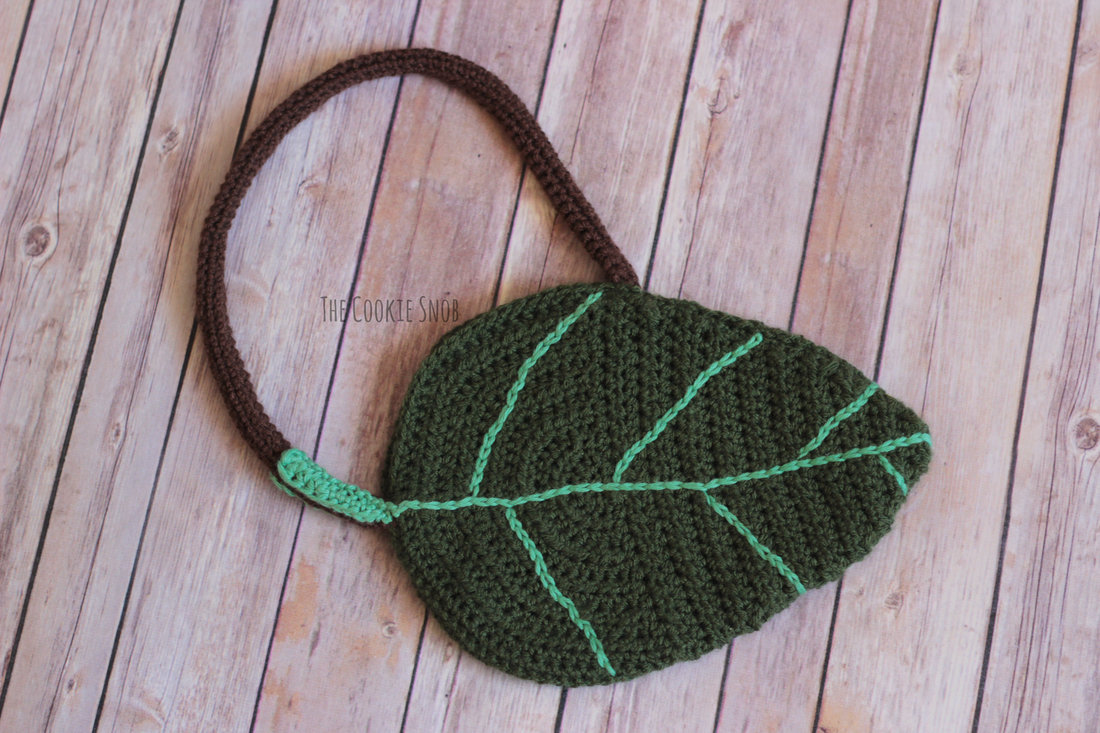
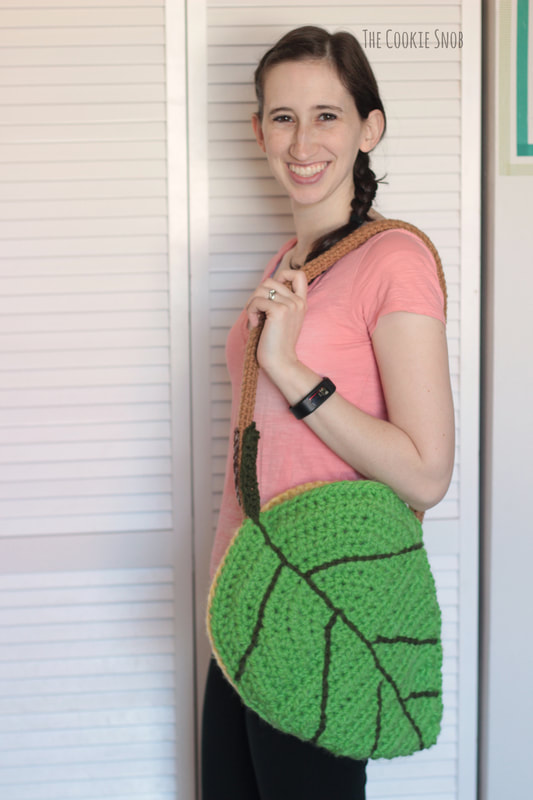
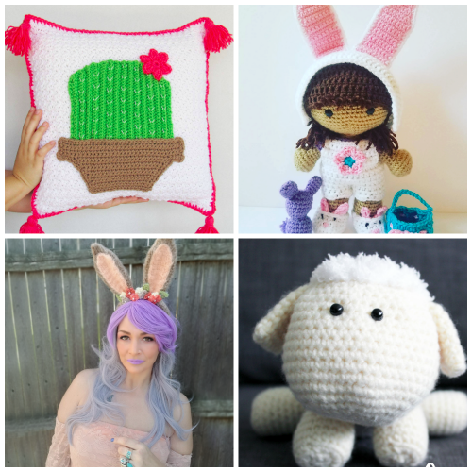
Happy first day of spring! It doesn't really feel like spring here yet, but that's not gonna stop me from celebrating! In honor of the sunshine and flowers to come, I'm excited to participate in a Spring Blog Hop with some other AMAZING crocheters. We've all got fun spring-themed patterns for you, so you definitely don't want to miss out on this one! What's a Blog Hop, you might ask? Essentially, each blog will link to the next, so you'll "hop" across to each blog and check out all of the awesome spring patterns. Make sure you click through all of them so you don't miss anything! And welcome to anyone who has hopped over from Snuggly Fox Designs! My contribution to the Blog Hop is a free crochet pattern for Leaf Bags! If you've been following my blog, you may have noticed that I kind of have a thing for quirky bags. And when I was trying to brainstorm a spring pattern idea, I kept thinking about leaves. I LOVE leaves. Few things make my heart happier than bright green spring leaves. So why not combine the two? This one-of-a-kind bag is guaranteed to bring a little bit of extra springtime to your day. Or, if you've ever found yourself wishing you had a pattern for a giant leaf (What? It could happen), then I've got you covered ;) After you're done checking out this leaf bag pattern, don't forget to hop on over to the next blog! Stephanie from Crochetverse has an adorable springtime pattern for you all. She has some awesome freebies, discounts, and giveaways going on to celebrate her pattern, so you don't want to miss it! You can find it here: http://crochetverse.com/spring-blog-hop/ (You can also find the link at the bottom of this post if you want to read through the pattern first). Now back to the bag! This pattern will show you how to make the leaf bags in two different sizes: a small purse and a larger tote bag. The leaf of the small purse is about 11" long and the larger bag is about 17" long. The step-by-step photos shown are from the small bag, but the construction is the same for both sizes, so it should be useful for making either. Let's get started! You can also find an ad-free printable PDF of this pattern on Ravelry. Stitch Glossary: st(s) = stitch(es) ch = chain ss = slip stitch sc = single crochet hdc = half double crochet hdc inc = hdc increase (work 2 hdc in the same st) hdc dec = hdc decrease (decrease across 2 hdc) hdc3tog = hdc 3 together (decrease across 3 hdc) dc = double crochet Small Leaf Bag: Materials:
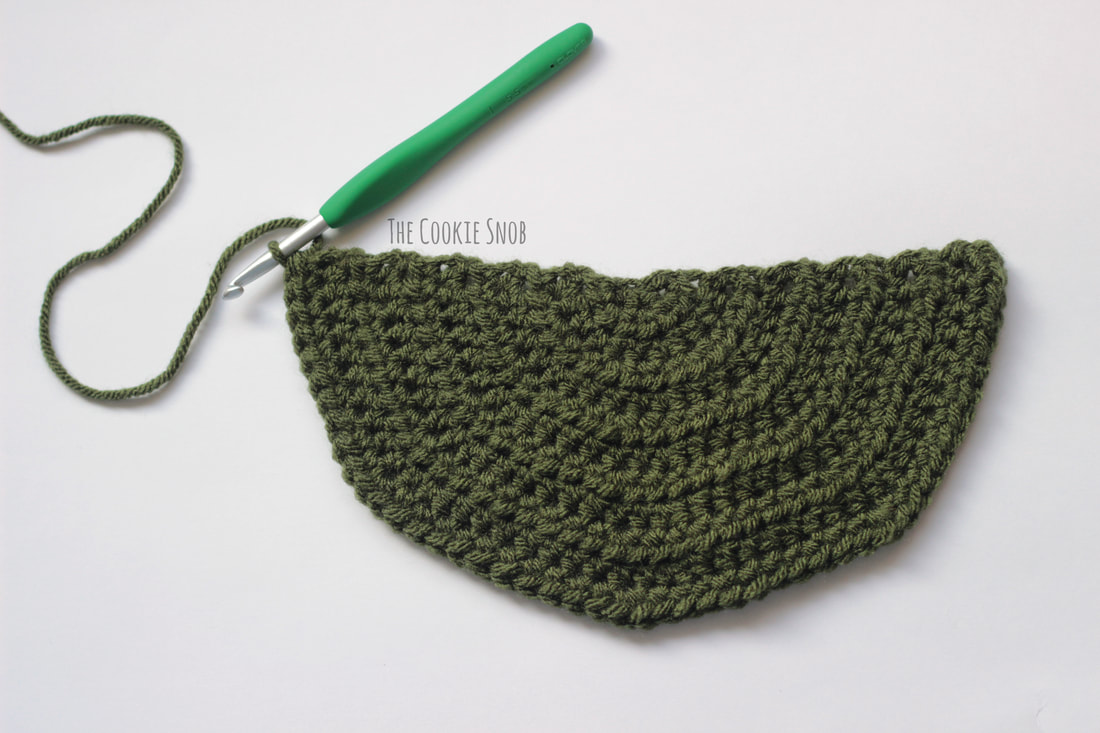
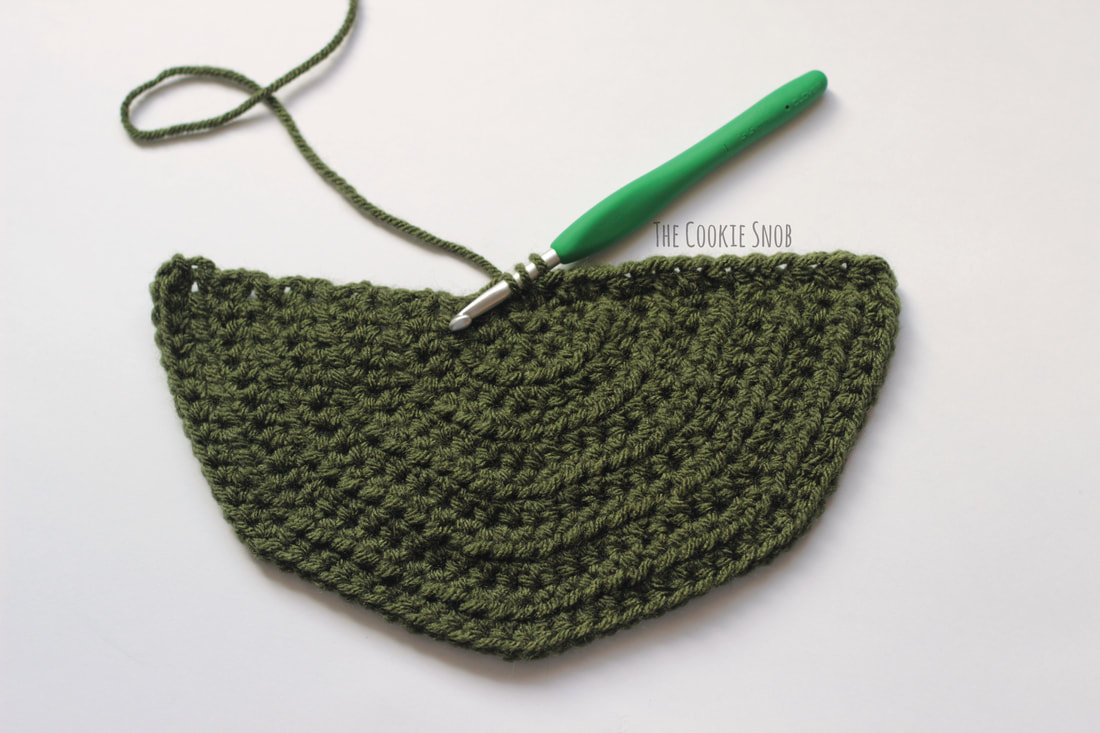
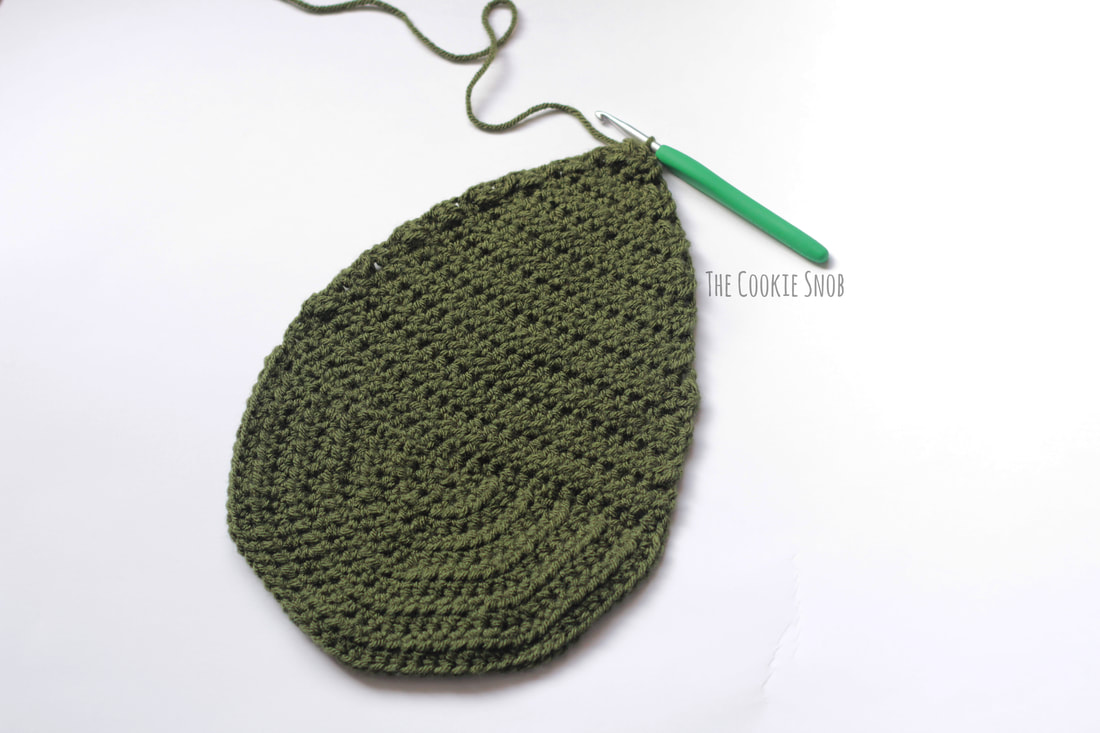
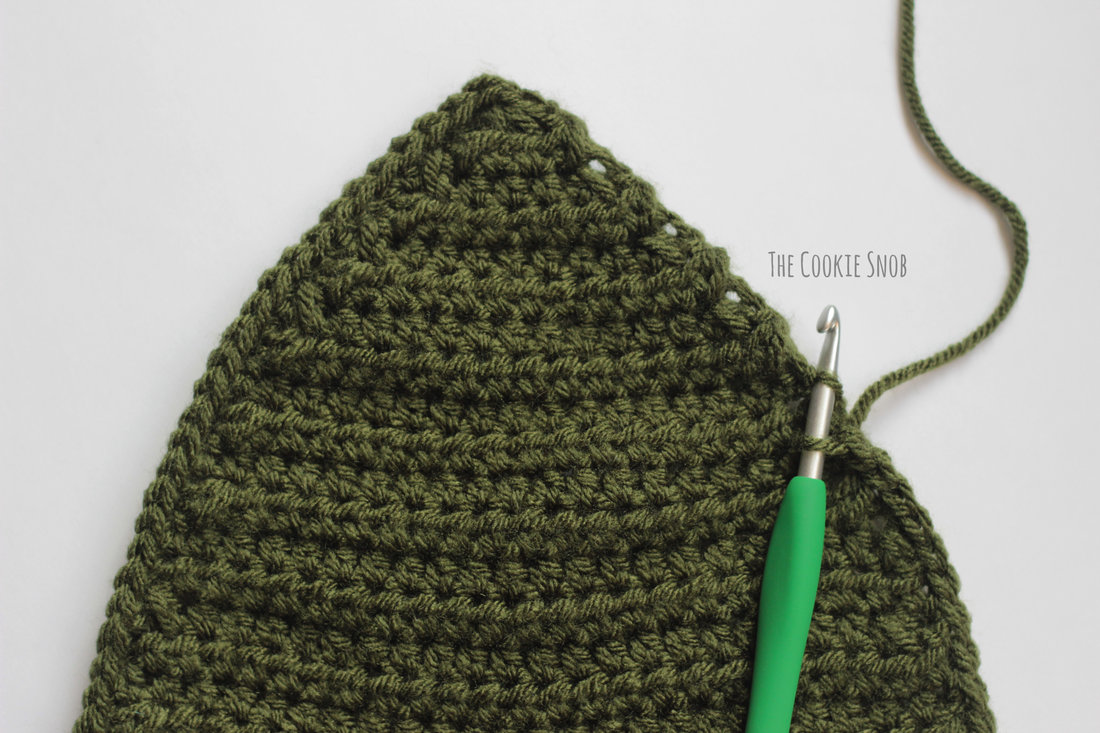
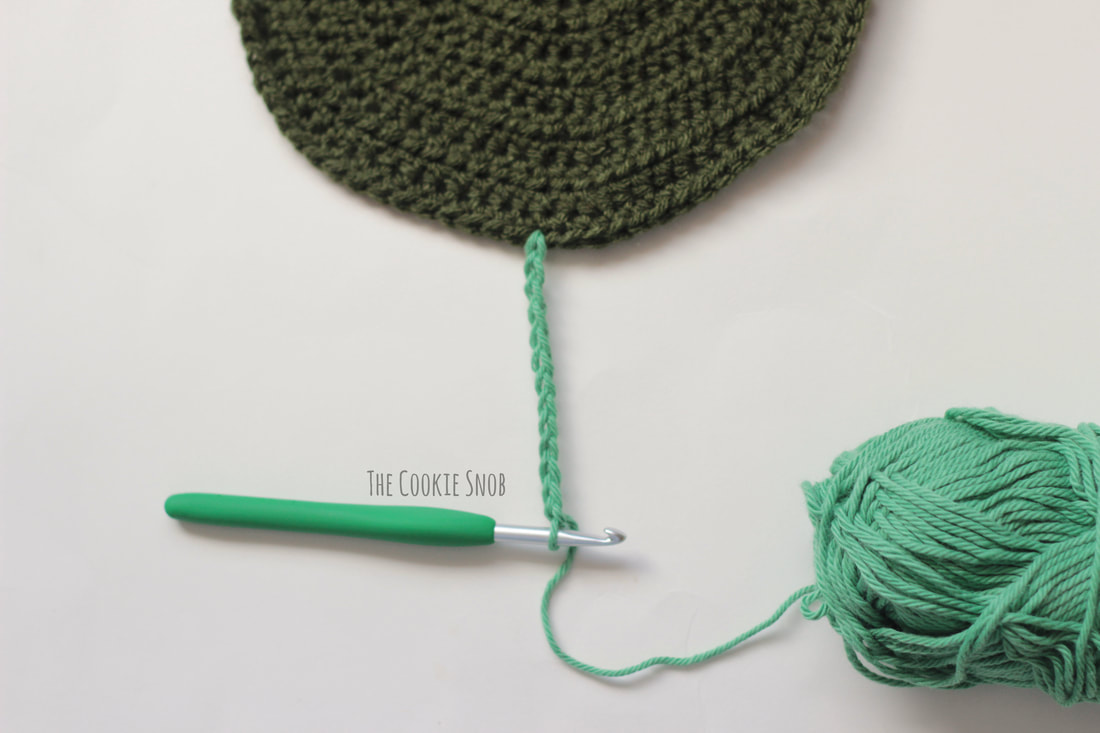
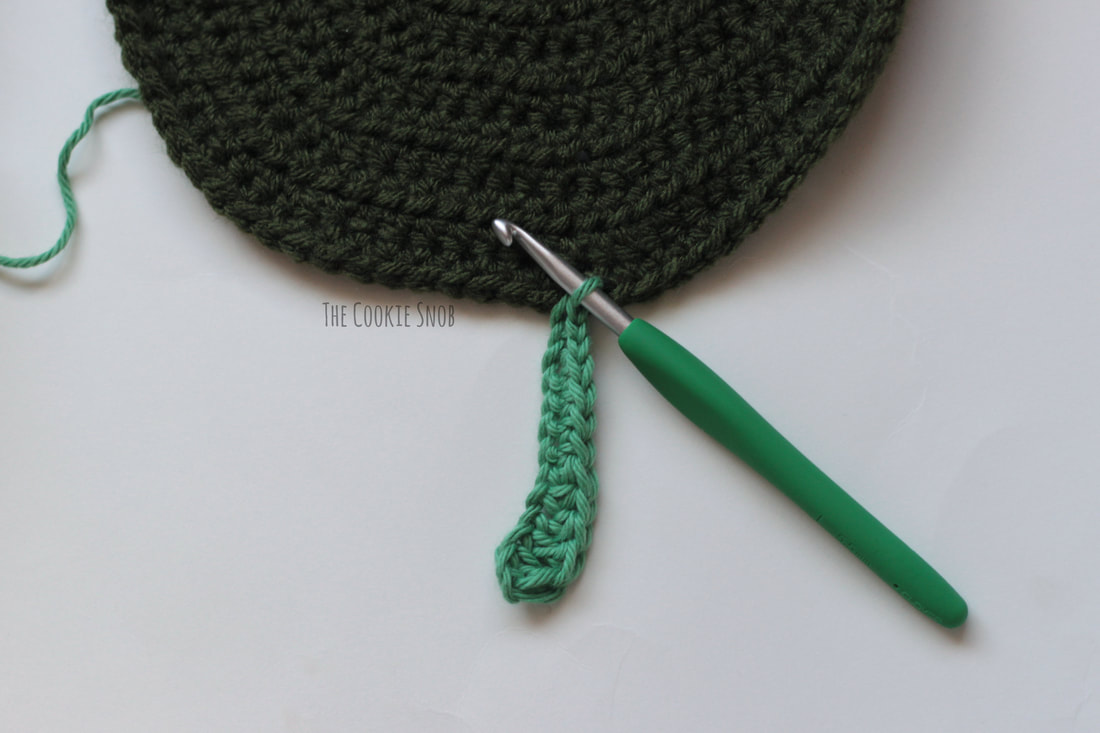
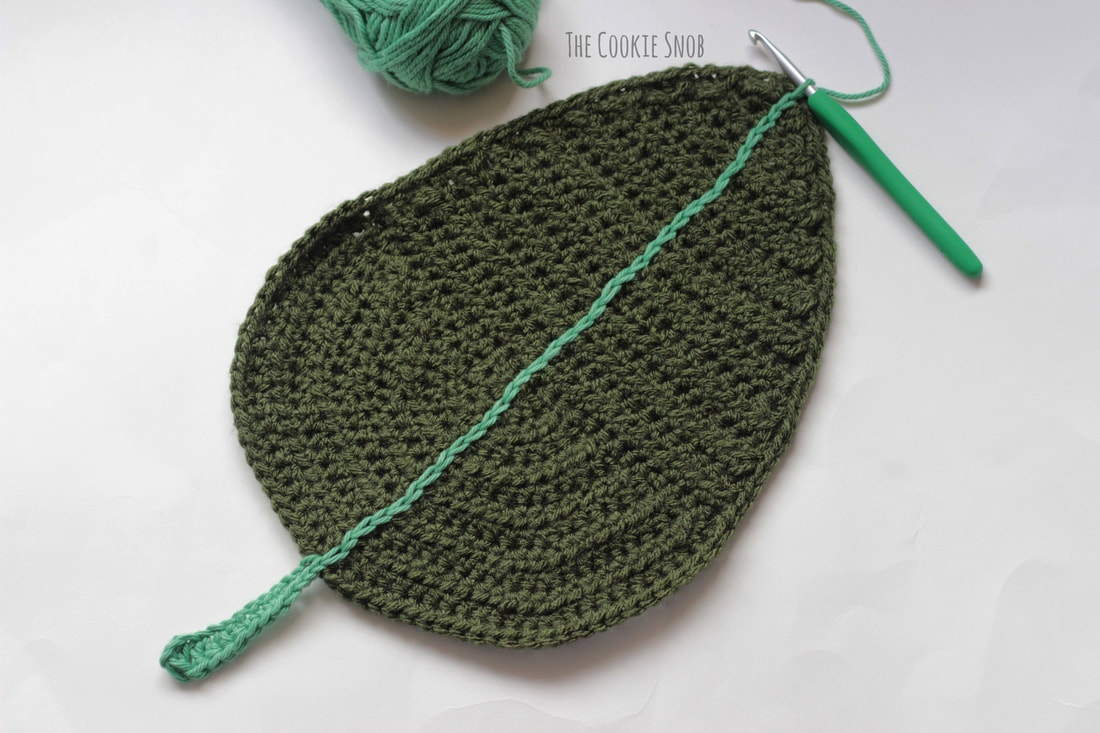
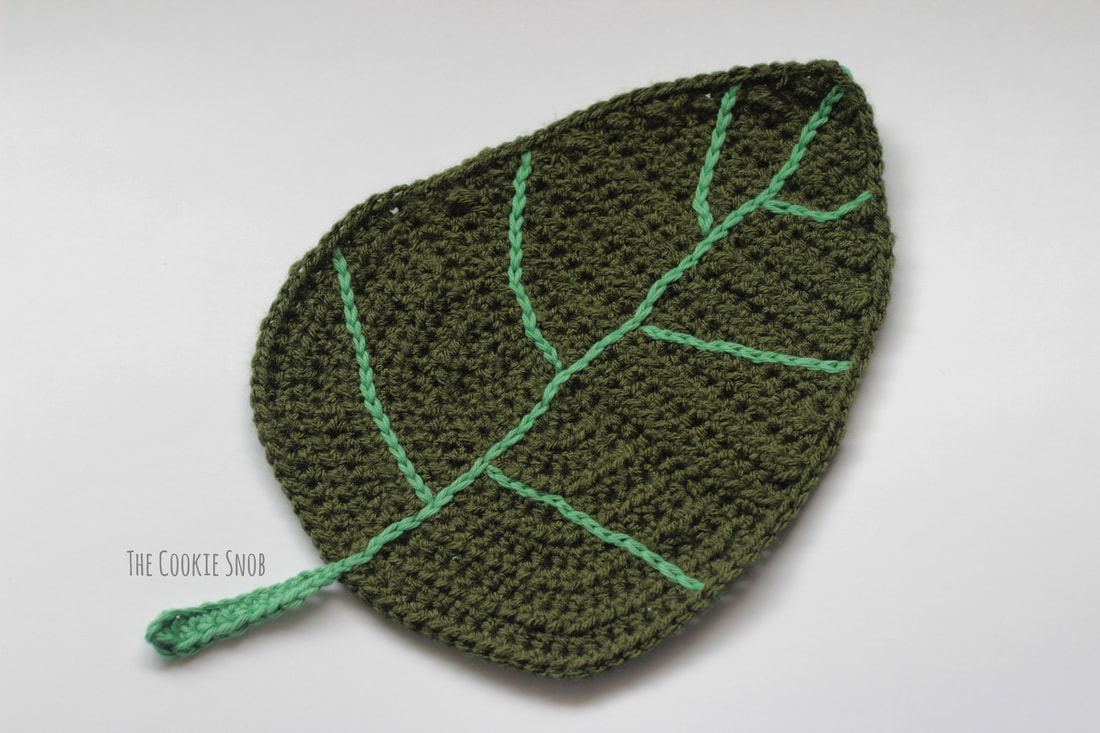
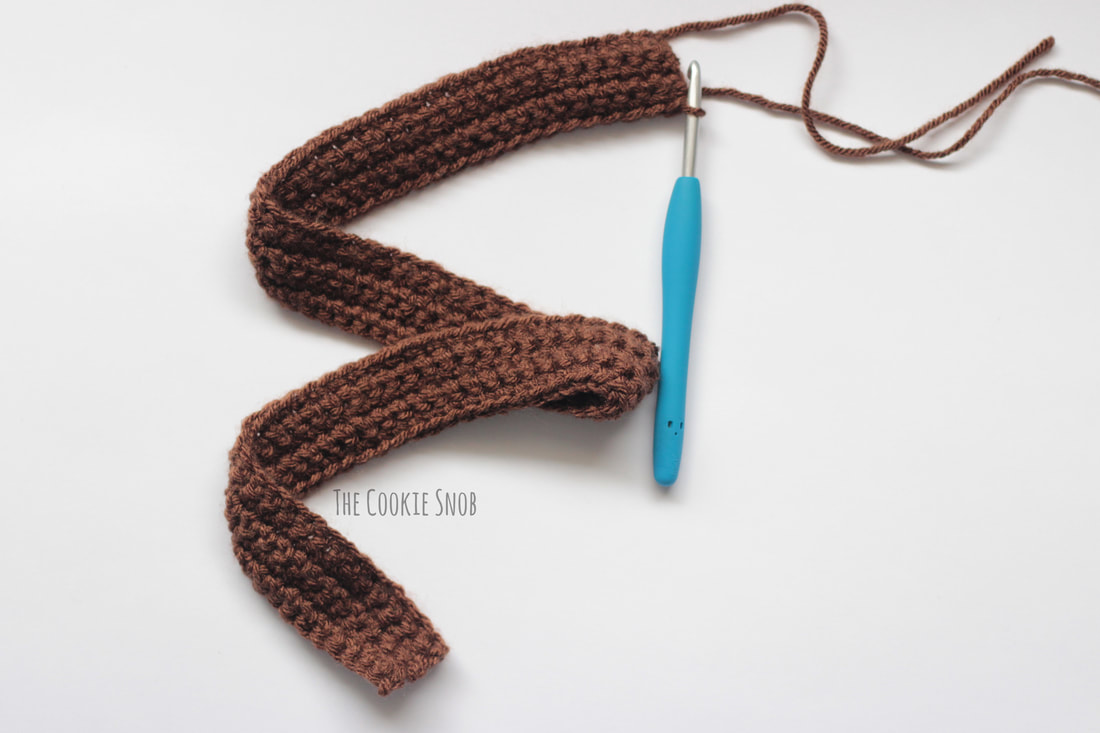
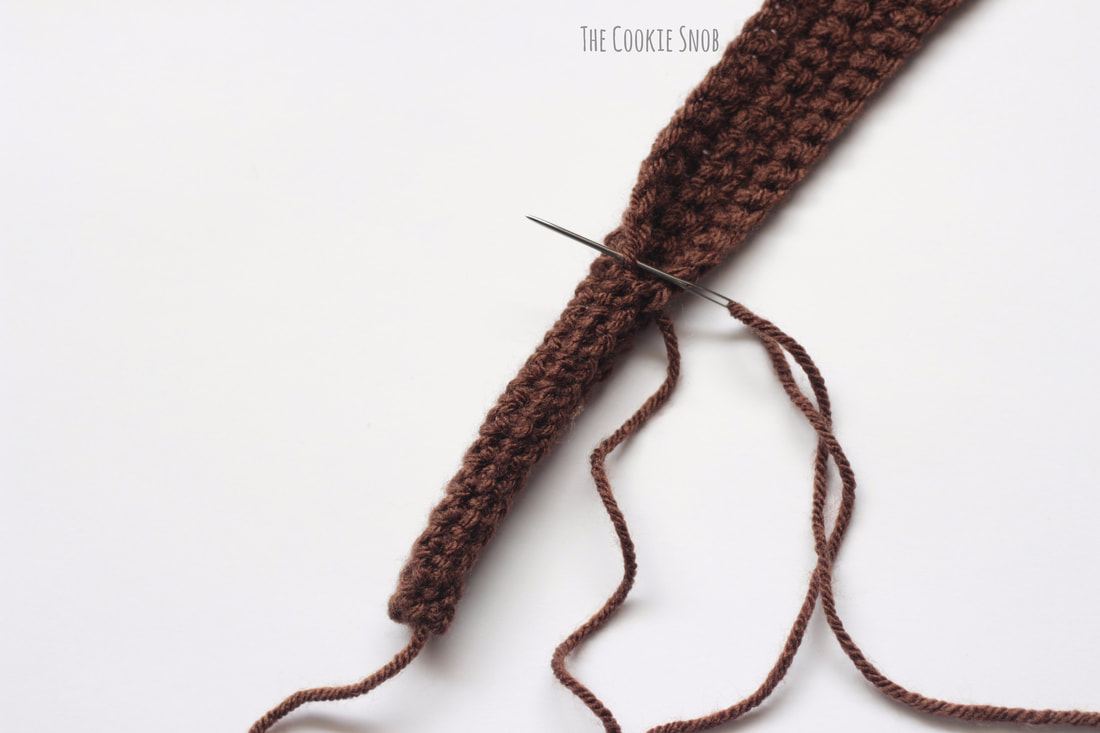
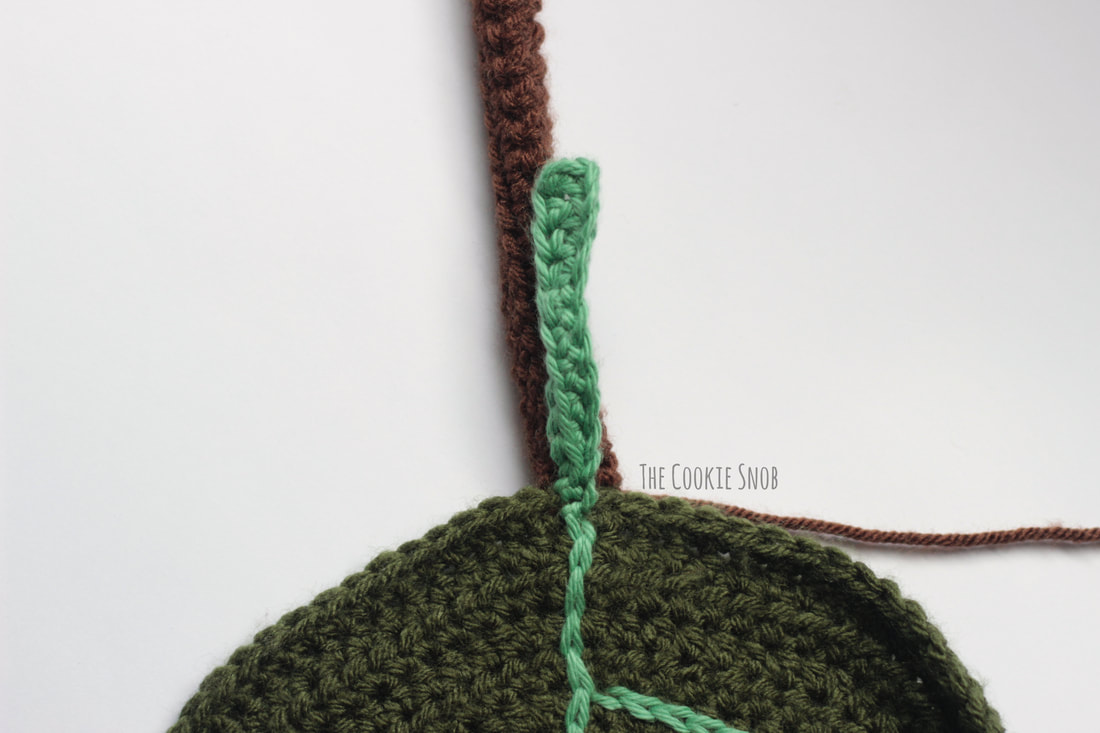
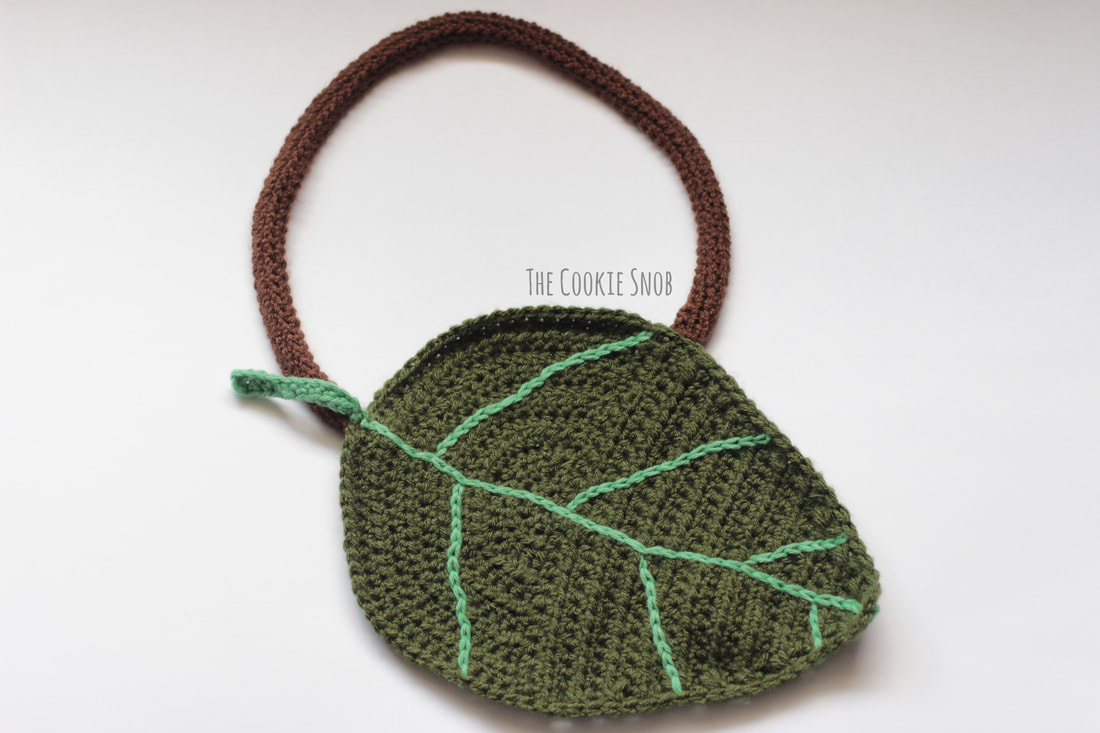
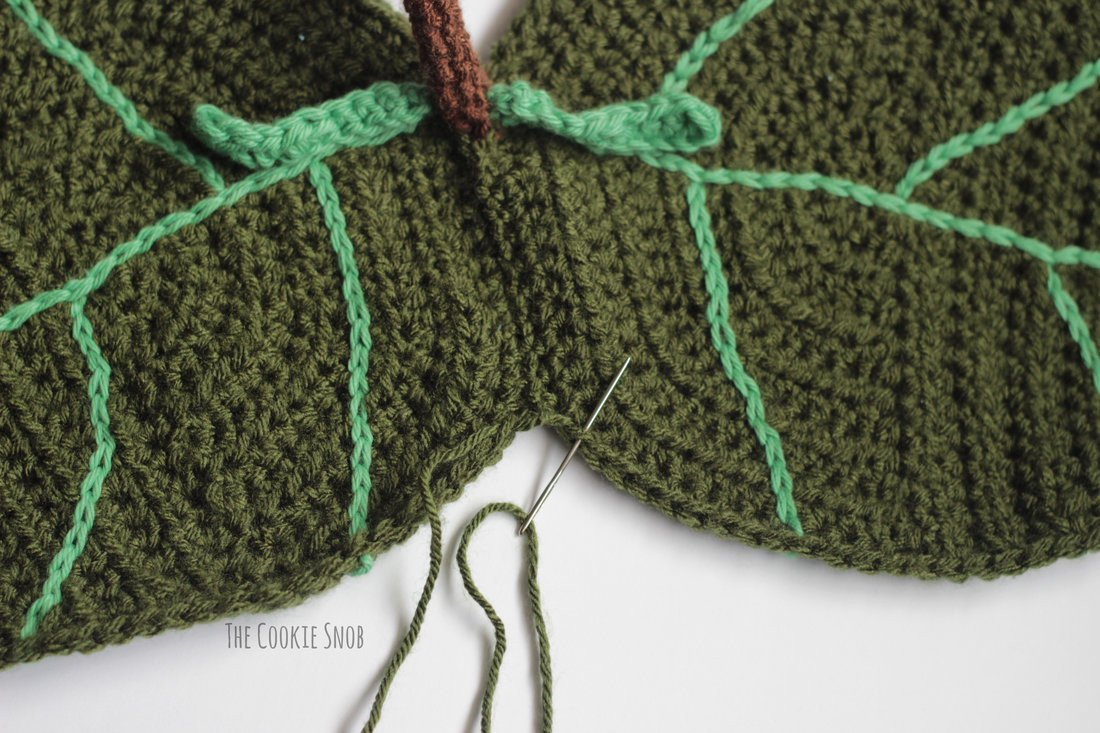
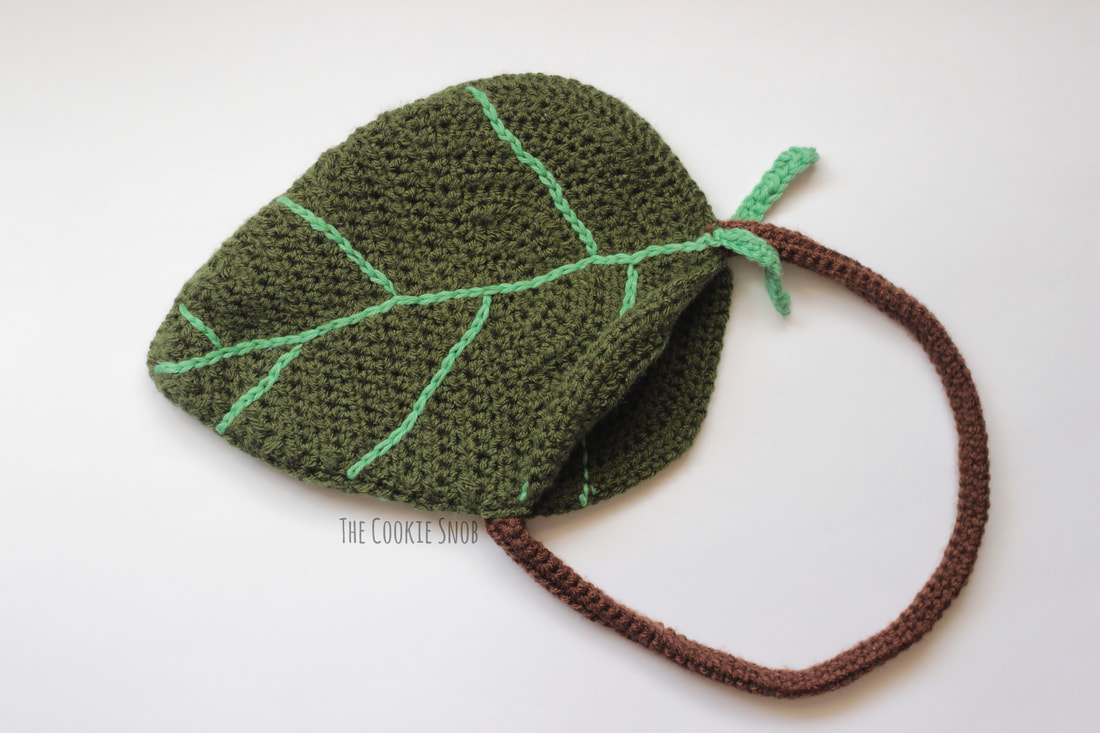
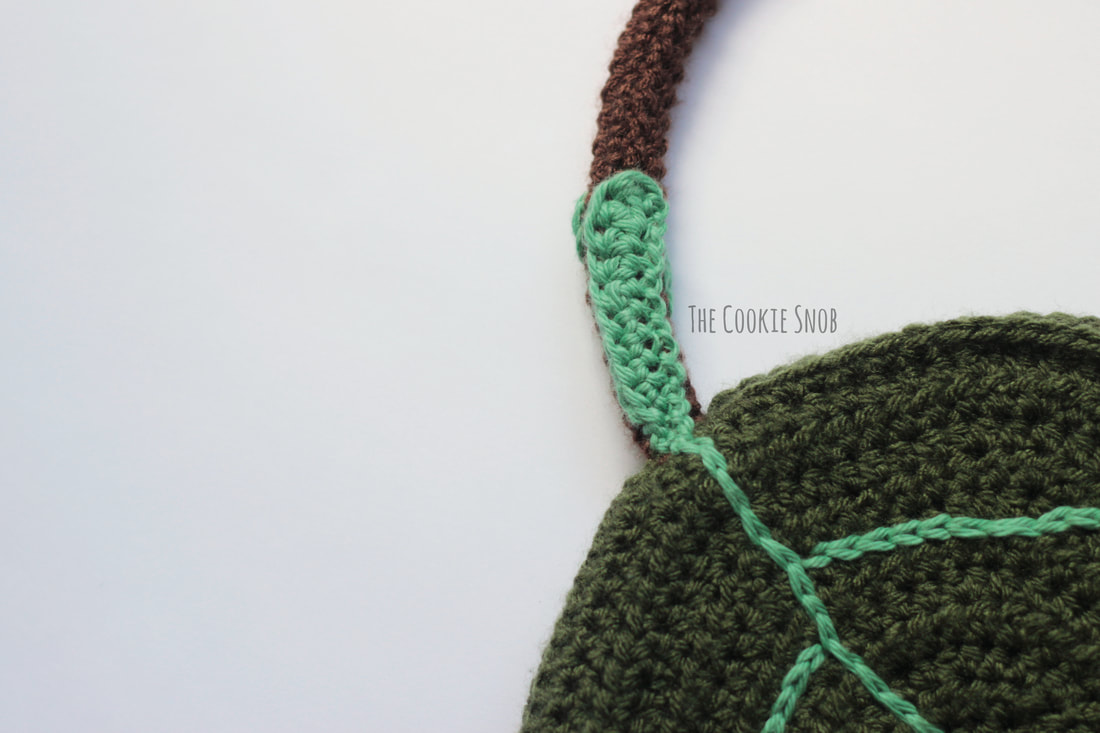
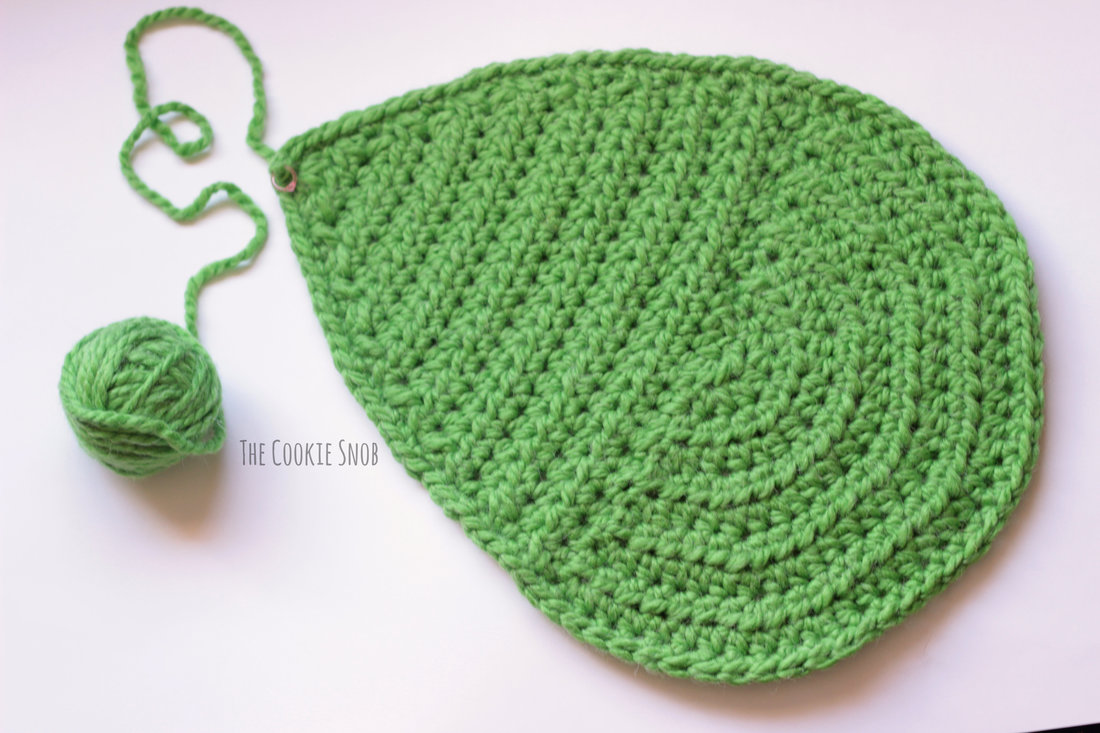
Leaf (make 2): Starting with the I hook and the Dark Olive yarn: Round 1: Make a magic circle and work 4 hdc into the circle, pull taut to close, turn (4) Round 2: ch 1, hdc inc 4 times, turn (8) Round 3: ch 1, [hdc inc, hdc] 4 times, turn (12) Round 4: ch 1, [hdc inc, hdc in the next 2 sts] .4 times, turn (16) Round 5: ch 1, [hdc inc, hdc in the next 3 sts] 4 times, turn (20) Round 6: ch 1, [hdc inc, hdc in the next 4 sts] 4 times, turn (24) Round 7: ch 1, [hdc inc, hdc in the next 5 sts] 4 times, turn (28) Round 8: ch 1, [hdc inc, hdc in the next 6 sts] 4 times, turn (32) Round 9: ch 1, [hdc inc, hdc in the next 7 sts] 4 times, turn (36) Round 10: ch 1, [hdc inc, hdc in the next 8 sts] 4 times, turn (40) Round 11: ch 1, [hdc inc, hdc in the next 9 sts] 4 times, turn (44) Round 12: ch 1, [hdc inc, hdc in the next 10 sts] 4 times, turn (46) Round 13: ch 1, work 25 hdc evenly across the flat edge of the semicircle you just made, turn (25) Rounds 14-15: ch 1, hdc across, turn (25) Round 16: ch 1, hdc dec, hdc in the next 21 sts, hdc dec, turn (23) Rounds 17-18: ch 1, hdc across, turn (23) Round 19: ch 1, hdc dec, hdc in the next 19 sts, hdc dec, turn (21) Rounds 20-21: ch 1, hdc across, turn (21) Round 22: ch 1, hdc dec, hdc in the next 17 sts, hdc dec, turn (19) Round 23: ch 1, hdc across, turn (19) Round 24: ch 1, hdc dec, hdc in the next 15 sts, hdc dec, turn (17) Round 25: ch 1, hdc across, turn (17) Round 26: ch 1, hdc dec, hdc in the next 13 sts, hdc dec, turn (15) Round 27: ch 1, hdc dec, hdc in the next 11 sts, hdc dec, turn (13) Round 28: ch 1, hdc dec, hdc in the next 9 sts, hdc dec, turn (11) Round 29: ch 1, hdc dec, hdc in the next 7 sts, hdc dec, turn (9) Round 30: ch 1, hdc dec, hdc in the next 5 sts, hdc dec, turn (7) Round 31: ch 1, hdc dec, hdc in the next 3 sts, hdc dec, turn (5) Round 32: ch 1, hdc dec, hdc, hdc dec, turn (3) Round 33: ch 1, hdc3tog (1) Sc evenly around the border to create a clean edge. Fasten off. Using the accent color yarn and the I hook: Join the yarn to the center stitch at the bottom of the leaf. Ch 13. Dc in the 3rd ch from the hook, dc in the next st, hdc in the next 3 sts, sc in the next 4 sts, ss in the last 2 sts, ss back to the center st at the bottom of the leaf. Surface crochet up the center of the leaf to create the main vein of the leaf. Don't stress about making it perfectly straight; it'll add to the realistic look. Then surface crochet the branching veins of the leaf. Feel free to get creative with them. Fasten off and weave in ends. Strap: Using the Brown yarn and the H hook: Ch 81 Row 1: sc in the 2nd ch from the hook and in each st across, turn (80) Rows 2-5: ch 1, sc across, turn (80) Fasten off, leaving an extra long tail for sewing. Pinch the long ends of the strap together. Using the tapestry needle and the long yarn tail, stitch the edges together into a tube. I like to use the mattress stitch for this one. Assembly: Using yarn ends and a tapestry needle, stitch the strap to one leaf, on the wrong side. Stitch one end securely behind the stem of the leaf . . . . . . and stitch the other end just a bit less than halfway down the length of the leaf. Now line up the two leaves you made with the right sides facing out. Using Dark Olive yarn and a tapestry needle, stitch the edges of the two leaves together. Start just above the stem strap and stitch the leaves together until just past the second strap. Make sure you leave the small space between the handles open so that you can actually use the bag. Just one last step! Using the accent color yarn and the tapestry needle, stitch the stems of the leaves onto the strap so they aren't dangling loose. Weave in any remaining ends. And now you have your very own leaf bag! Now let's look at the large version. I was using yarn leftover from Figment the Monster (remember him?), so I ended up making one side green and one side yellow because I didn't quite have enough yarn to make both match. But you can definitely make them match if you don't want a Summer/Fall vibe to your bag. Large Leaf Bag: Materials:
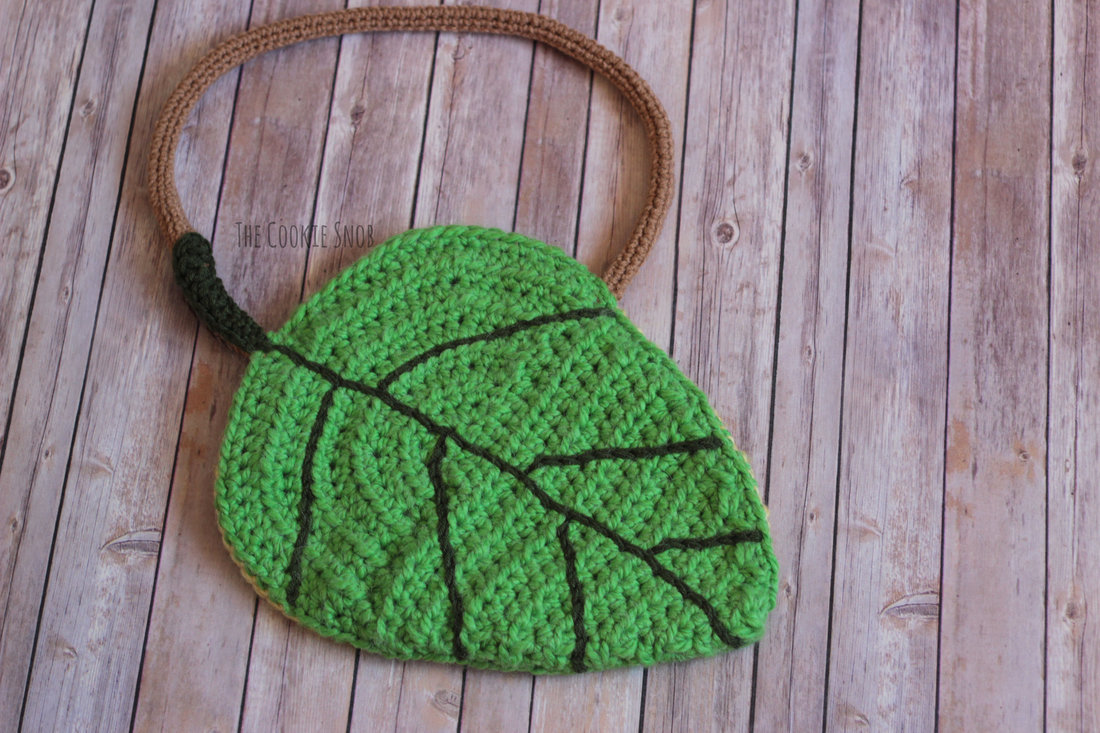
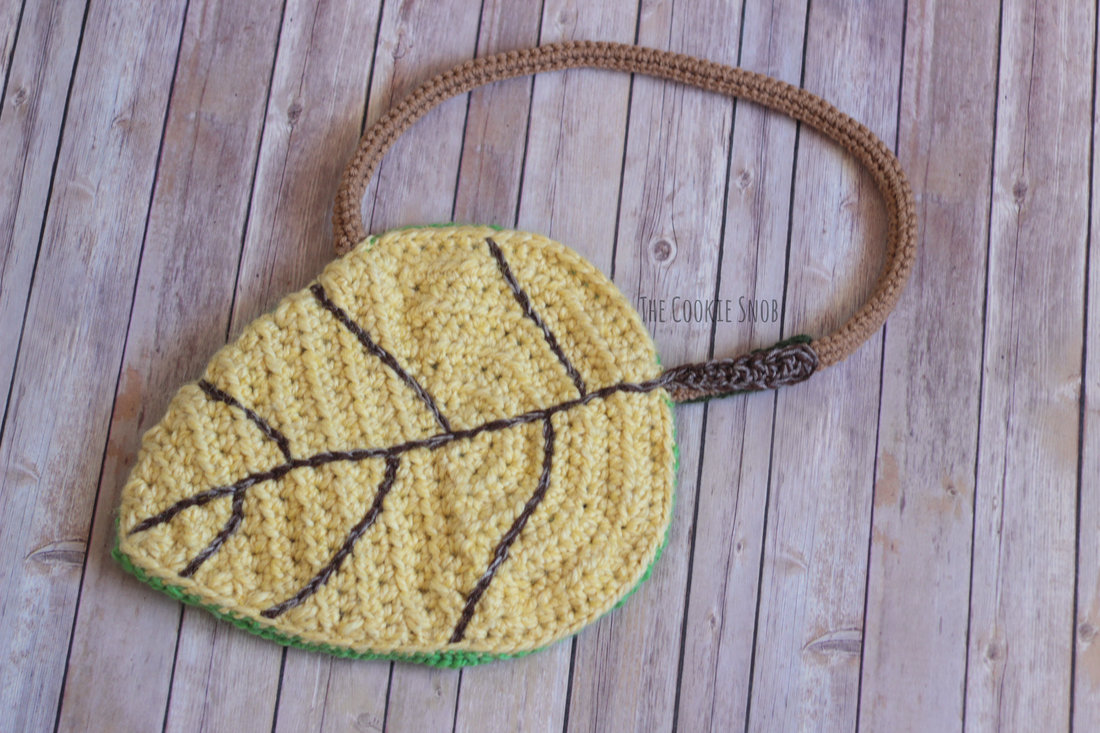
Leaf (make 2): Starting with the N/P hook and the super bulky yarn: Round 1: Make a magic circle and work 4 hdc into the circle, pull taut to close, turn (4) Round 2: ch 1, hdc inc 4 times, turn (8) Round 3: ch 1, [hdc inc, hdc] 4 times, turn (12) Round 4: ch 1, [hdc inc, hdc in the next 2 sts] .4 times, turn (16) Round 5: ch 1, [hdc inc, hdc in the next 3 sts] 4 times, turn (20) Round 6: ch 1, [hdc inc, hdc in the next 4 sts] 4 times, turn (24) Round 7: ch 1, [hdc inc, hdc in the next 5 sts] 4 times, turn (28) Round 8: ch 1, [hdc inc, hdc in the next 6 sts] 4 times, turn (32) Round 9: ch 1, [hdc inc, hdc in the next 7 sts] 4 times, turn (36) Round 10: ch 1, [hdc inc, hdc in the next 8 sts] 4 times, turn (40) Round 11: ch 1, work 21 hdc evenly across the flat edge of the semicircle you just made, turn (25) Rounds 12-13: ch 1, hdc across, turn (21) Round 14: ch 1, hdc dec, hdc in the next 17 sts, hdc dec, turn (19) Rounds 15-16: ch 1, hdc across, turn (19) Round 17: ch 1, hdc dec, hdc in the next 15 sts, hdc dec, turn (17) Round 18: ch 1, hdc across, turn (17) Round 19: ch 1, hdc dec, hdc in the next 13 sts, hdc dec, turn (15) Round 20: ch 1, hdc across, turn (15) Round 21: ch 1, hdc dec, hdc in the next 11 sts, hdc dec, turn (13) Round 22: ch 1, hdc dec, hdc in the next 9 sts, hdc dec, turn (11) Round 23: ch 1, hdc dec, hdc in the next 7 sts, hdc dec, turn (9) Round 24: ch 1, hdc dec, hdc in the next 5 sts, hdc dec, turn (7) Round 25 ch 1, hdc dec, hdc in the next 3 sts, hdc dec, turn (5) Round 26: ch 1, hdc dec, hdc, hdc dec, turn (3) Round 27: ch 1, hdc3tog (1) Sc evenly around the border to create a clean edge. Fasten off. Using the accent color yarn held double and the N/P hook: Join the yarn to the center stitch at the bottom of the leaf. Ch 13. Dc in the 3rd ch from the hook, dc in the next st, hdc in the next 3 sts, sc in the next 4 sts, ss in the last 2 sts, ss back to the center st at the bottom of the leaf. Surface crochet up the center of the leaf to create the main vein of the leaf. Then surface crochet the branching veins of the leaf. Feel free to get creative with them. Fasten off and weave in ends. Strap: Using the brown yarn and the J hook: Ch 101 Row 1: sc in the 2nd ch from the hook and in each st across, turn (100) Rows 2-5: ch 1, sc across, turn (100) Fasten off, leaving an extra long tail for sewing. Pinch the long ends of the strap together. Using the tapestry needle and the long yarn tail, stitch the edges together into a tube. Assembly: Using yarn ends and a tapestry needle, stitch the strap to one leaf, on the wrong side. Stitch one end securely behind the stem of the leaf and stitch the other end just a bit less than halfway down the length of the leaf. Now line up the two leaves you made with the right sides facing out. Using Dark Olive yarn and a tapestry needle, stitch the edges of the two leaves together. Start just above the stem strap and stitch the leaves together until just past the second strap. Make sure you leave the small space between the handles open so that you can actually use the bag. Using the accent color yarn and the tapestry needle, stitch the stems of the leaves onto the strap so they aren't dangling loose. Weave in remaining ends. Ta dah! And now you have a finished large leaf bag! And in case you're wondering what a fall leaf would look like, here's a peek at the other side of my bag. I hope that you enjoyed this free pattern! You can find an ad-free printable PDF version on Ravelry if you'd like to help support my blog. If you have any questions or comments about it, you can reach me in the comments section below or on social media. And, of course, don't forget about the Spring Blog Hop! If you haven't already, be sure to hop over to Crochetverse and check out Stephanie's gorgeous pattern. And then hop on through all of the rest of the awesome patterns. You can find a sneak peek of everyone else's lovely patterns below. A special thank you to Crochetverse, Maria's Blue Crayon, Once Upon a Cheerio, and Snuggly Fox Designs for participating in this Blog Hop with me! Happy Hooking! ***You're welcome to do whatever you'd like to with finished products made from these patterns but if you do sell them, I ask that you link back to my page. You may not copy these patterns, repost them anywhere (either altered or in their original form), or claim them as your own. You may not use any photos on this site for your own use. ***
2 Comments
Leave a Reply. |
Welcome!Thank you for stopping by to visit my own personal corner of the web! Feel free to take a look around and check out what I've been crafting, crocheting, or baking. Hopefully you'll find something to inspire your own creativity! Archives
March 2024
|



 RSS Feed