|
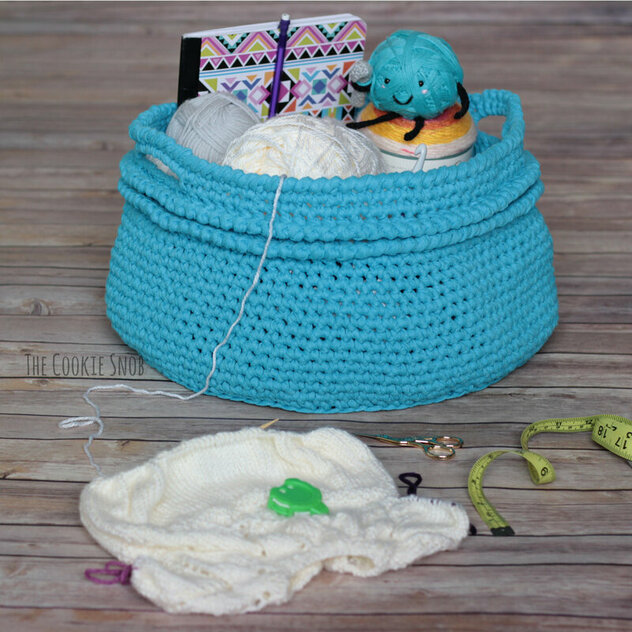
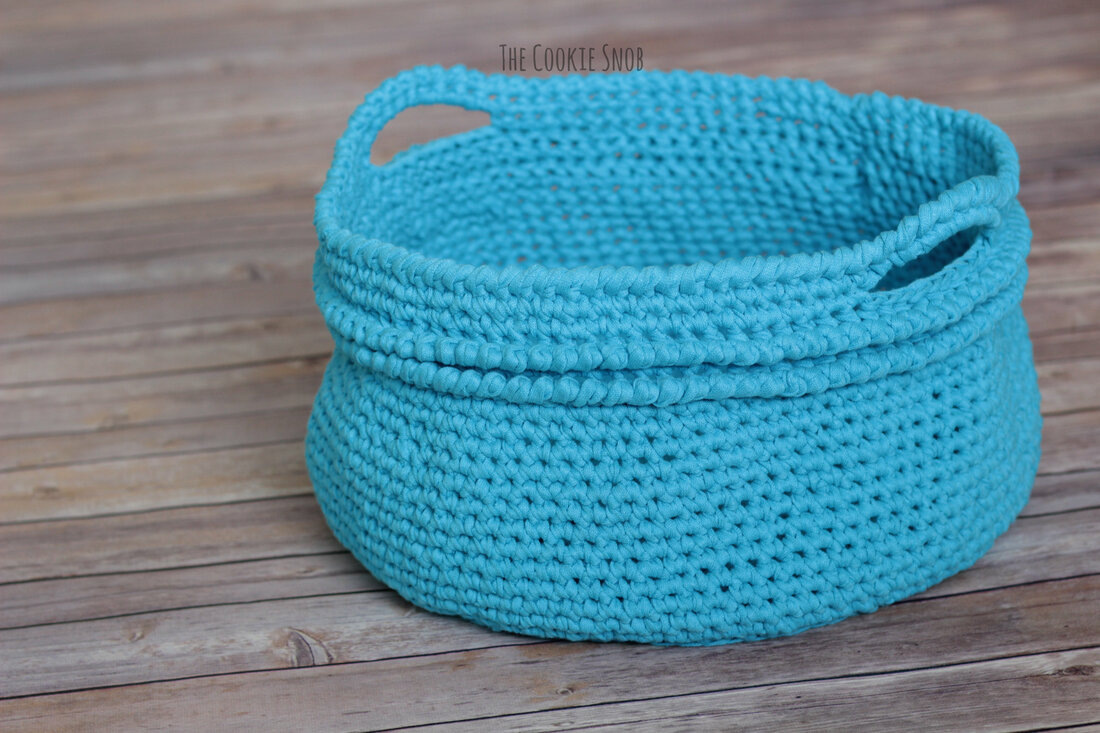
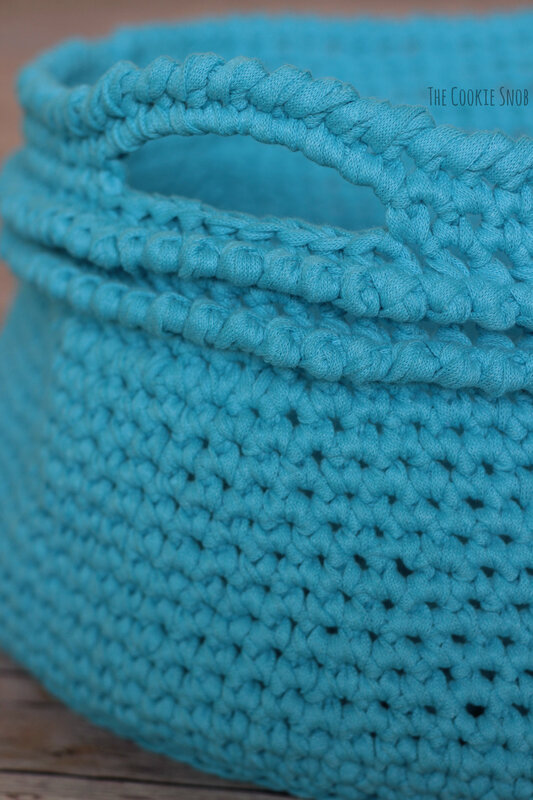
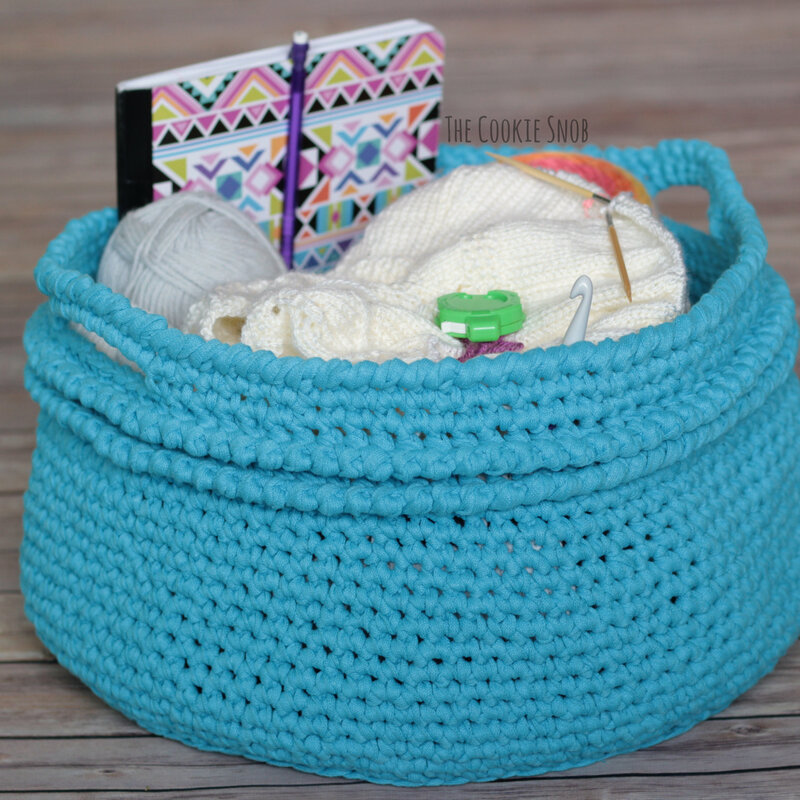
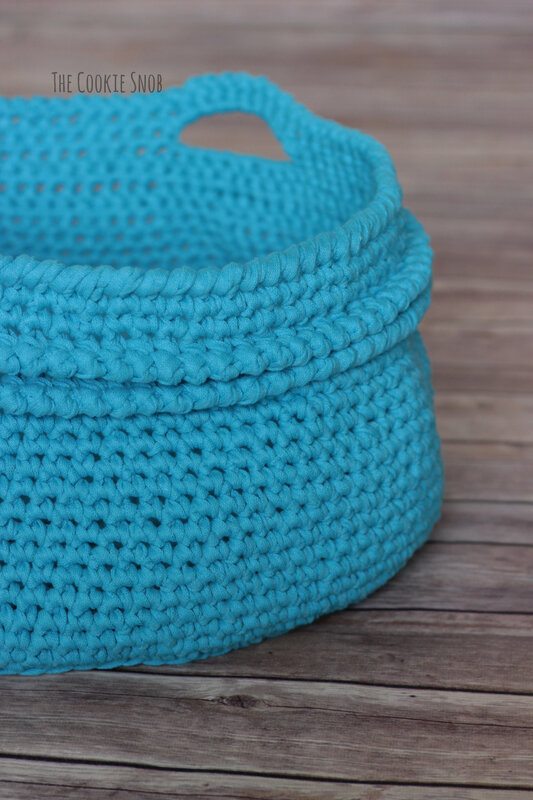
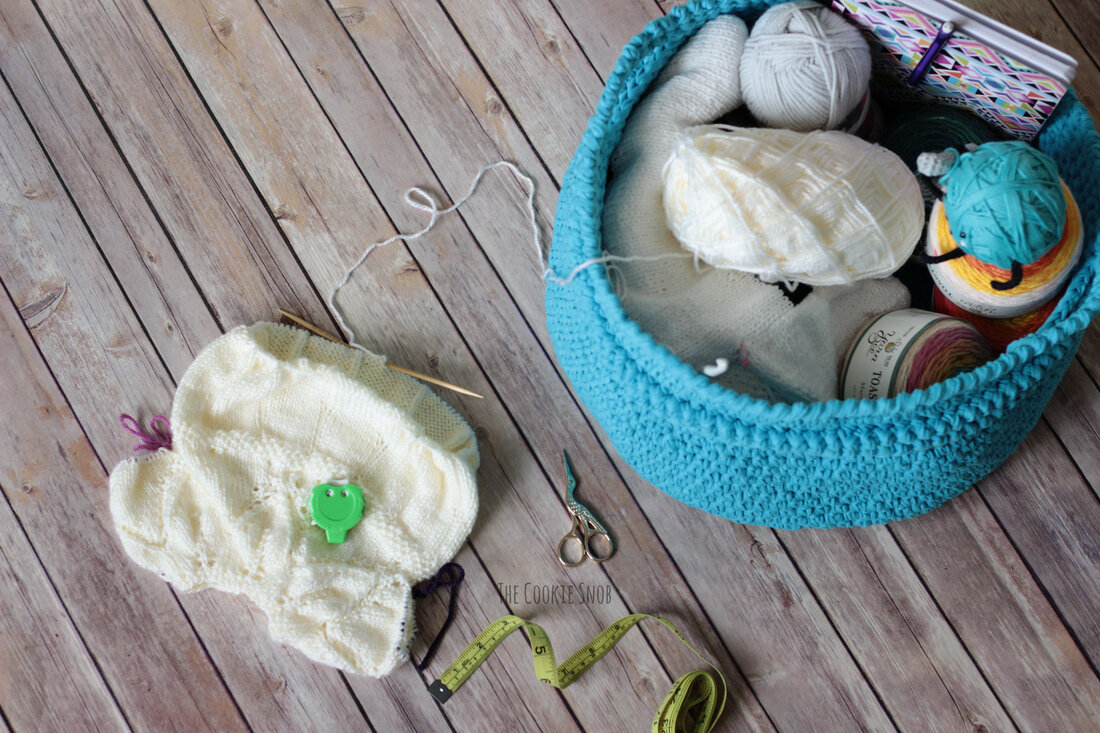
I think we've established by now that my attention span for projects isn't always the best. So it's not uncommon for me to have more than one WIP (work in progress) going at the same time. Couple that with a teeny tiny apartment with no extra storage and you get a mess. After some late night cleaning/organizing (thank you, third trimester nesting), I decided it was high time I had a basket to hold all my projects. Something large, nice to look at, stiff enough to stand on its own but still collapsible if needed, and with handles for toting it around the apartment. I'm so glad that I decided to design my own, because I just LOVE how this basket turned out! This is definitely the biggest basket I've ever made. It's not completely massive, but at 15" across and 8.5" tall, this basket can hold a lot of yarn. You can also size it up or down, depending on your preferences (the pattern is really easy to tweak and I'm happy to help you figure it out if you're not quite sure how). Or, if you're looking for something smaller, I recommend checking out my free pattern for nesting baskets. You'll definitely want to keep an eye on your gauge for this pattern. If your stitches are too loose, the basket will be a lot floppier and won't stand as well on its own. This is one pattern where you'll need to favor stiffness over drape. I'm a tight crocheter, so if you're on the looser end of the spectrum, you'll need to adjust your hook size. And, of course, I couldn't resist adding a bit of texture to make things more interesting. I used the reverse single crochet stitch (aka "crab stitch") to create the cool ridges. But if you're squarely in the anti-crab-stitch camp (some people really hate it!), you can just use regular single crochet stitches for those rows and you'll still get a nifty basket to hold your odds and ends. Now let's check out the pattern! If you're interested in an ad-free, printable PDF version of the pattern, you can find one on Ravelry. Materials:
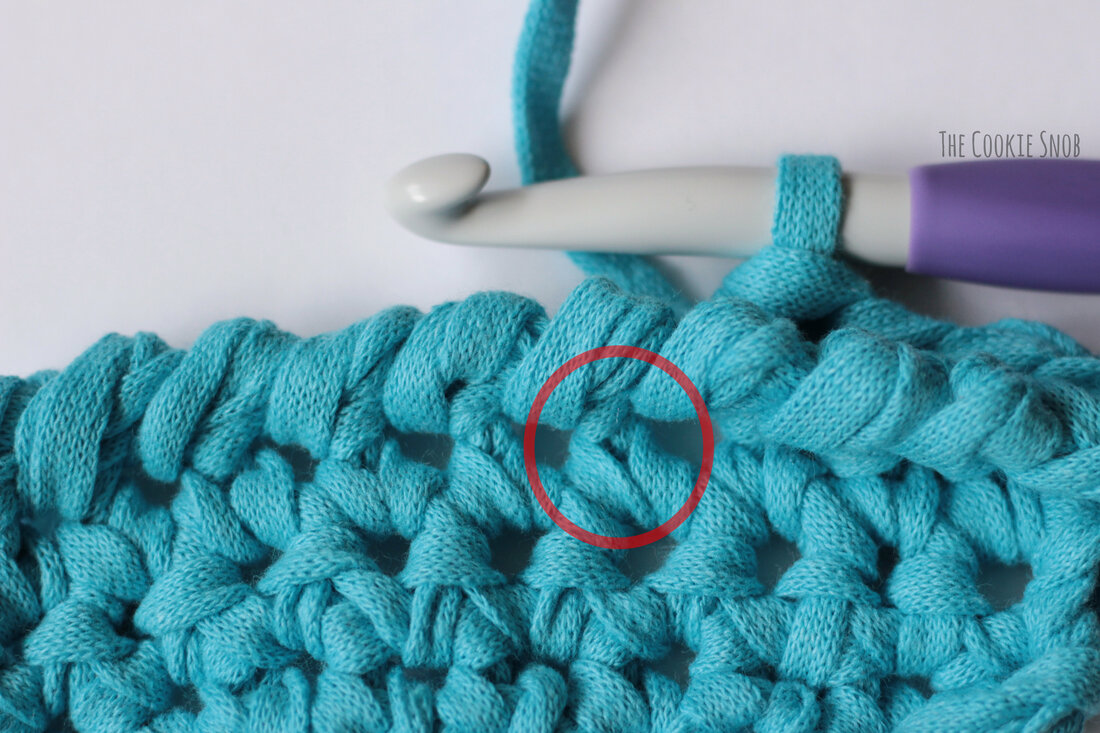
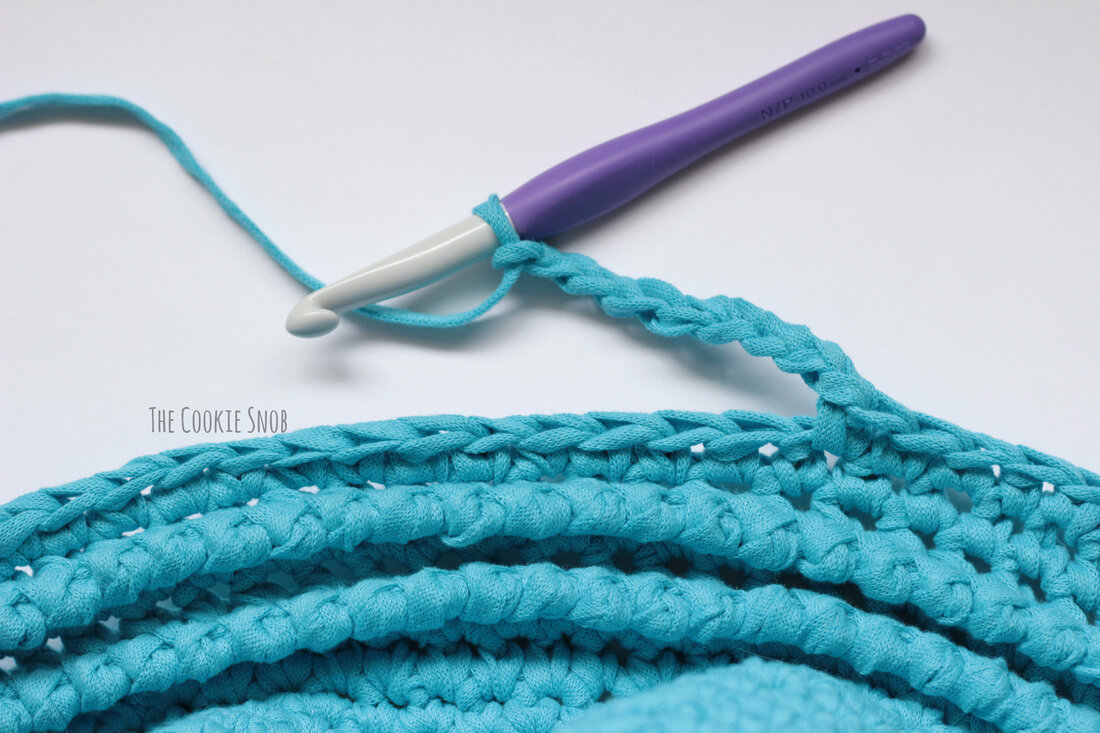
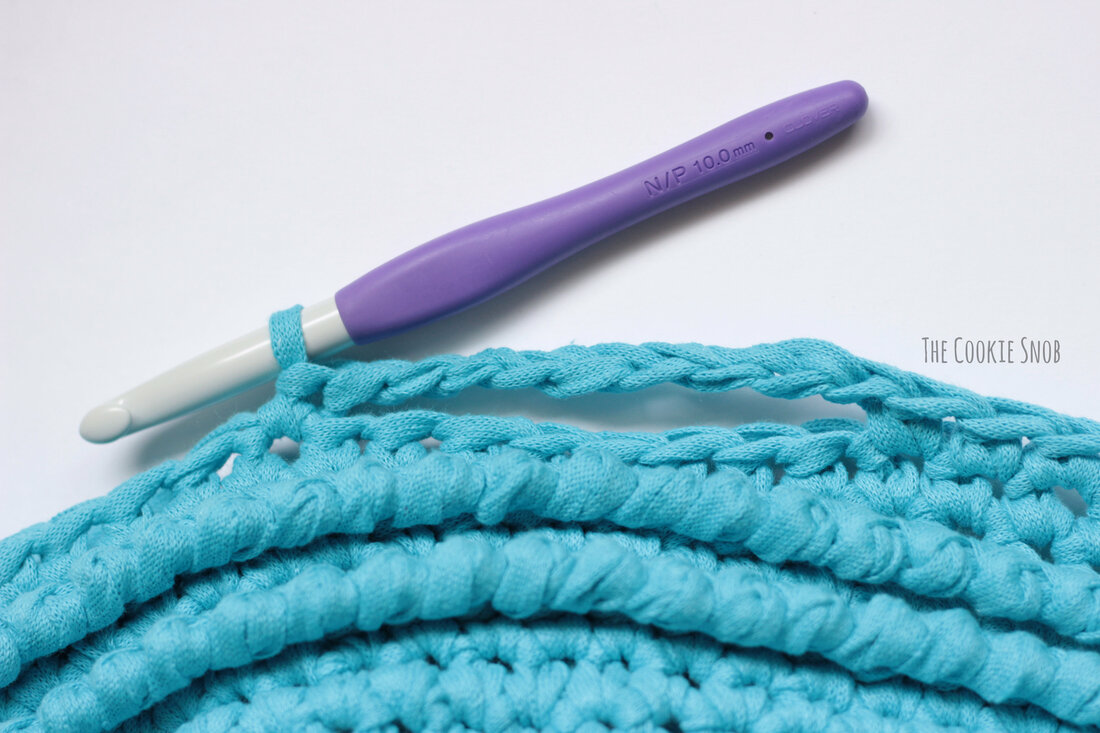
Stitch Glossary: st(s) = stitch(es) ch = chain ss = slip stitch sc = single crochet rsc = reverse single crochet ("crab stitch") bpsc = back post single crochet dec = sc decrease (decrease across 2 sc sts) hdc = half double crochet hdc inc = half double crochet increase (work 2 hdc sts into the same st) blo = back loop only Gauge: 2" = 4 sc sts 2" = 5 rows of sc Note: This pattern is worked in joined rounds, meaning you'll ss to join at the end of each round, but you won't turn the piece before moving on to the next round; the right side of the project should always be facing you Round 1: Make a magic circle, ch 1 and work 8 hdc into the circle. Pull taut and ss to the first hdc st to join (8) Round 2: ch 1, hdc inc 8 times, ss to join (16) Round 3: ch 1, [hdc inc, hdc in the next st] 8 times, ss to join (24) Round 4: ch 1, [hdc , hdc inc, hdc] 8 times, ss to join (32) Round 5: ch 1, [hdc inc, hdc in the next 3 sts] 8 times, ss to join (40) Round 6: ch 1, [hdc in the next 2 sts, hdc inc, hdc in the next 2 sts] 8 times, ss to join (48) Round 7: ch 1, [hdc inc, hdc in the next 5 sts] 8 times, ss to join (56) Round 8: ch 1, [hdc in the next 3 sts, hdc inc, hdc in the next 3 sts] 8 times, ss to join (64) Round 9: ch 1, [hdc inc, hdc in the next 7 sts] 8 times, ss to join (72) Round 10: ch 1, [hdc in the next 4 sts, hdc inc, hdc in the next 4 sts] 8 times, ss to join (80) Round 11: ch 1, [hdc inc, hdc in the next 9 sts] 8 times, ss to join (88) Round 12: ch 1, [hdc in the next 5 sts, hdc inc, hdc in the next 5 sts] 8 times, ss to join (96) Round 13: ch 1, sc around in blo, ss to join (96) Rounds 14-22: ch 1, sc around, ss to join (96) Round 23: ch 1, dec, sc in the next 46 sts, dec, sc in the next 46 sts, ss to join (94) Rounds 24-26: ch 1, sc around, ss to join (94) Round 27: ch 1, rsc around (94) Round 28: ch 1, bpsc around ss to join (94) Let's pause for one second to discuss Round 28. If you're not sure how to bpsc after a row of rsc, here's a quick visual for you. You'll be working a sc st around the post created by the previous row. I've circled it in the picture below so that it's really easy to find. Coming from the back side of the project, insert your hook through the space on the right side of the post then through the space on the left side of the post. (In the picture below, you'll see the wrong side of the project at the top and the right side of the project folded down underneath.) Then just finish your sc st like normal. These back post sts will push the ridge from the rsc to the front, almost perpendicular to the rest of the sts. Round 29: ch 1, sc around, ss to join (94) Rounds 30-31: repeat rounds 27-28 Round 32: ch 1, sc in the next 19 sts, ch 9 . . . . . . skip the next 9 sts, sc in the next 38 sts, ch 9, skip the next 9 sts, sc in the next 19 sts, ss to join (76 sc sts, 18 ch) Round 33: ch 1, sc in the next 19 sts, sc 9 times in the ch-9 space, sc in the next 38 sts, sc 9 times in the ch-9 space, sc in the next 19 sts, ss to join (94) Round 34: ch 1, rsc around (94) Fasten off and weave in ends. Make sure to close off the gap in the last row of rsc stitches if it's noticeable. Ta-dah! Your basket is now ready to hold all sorts of things! Talk about major DIY points. I hope that you love your basket as much as I do! If you have any questions or comments, you can reach me in the comments section below or on social media. And if you end up making one, I'd love to see a picture! It always makes my day to see your beautiful projects. Happy hooking! Want to make sure you don't miss any future blog posts? Join my mailing list: ***You're welcome to do whatever you'd like to with finished products made from this pattern but if you do sell them, I ask that you link back to my page. You may not copy this pattern, repost it anywhere (either altered or in its original form), or claim it as your own. You may not use any photos on this site for your own use. ***
0 Comments
Leave a Reply. |
Welcome!Thank you for stopping by to visit my own personal corner of the web! Feel free to take a look around and check out what I've been crafting, crocheting, or baking. Hopefully you'll find something to inspire your own creativity! Archives
March 2024
|



 RSS Feed