|
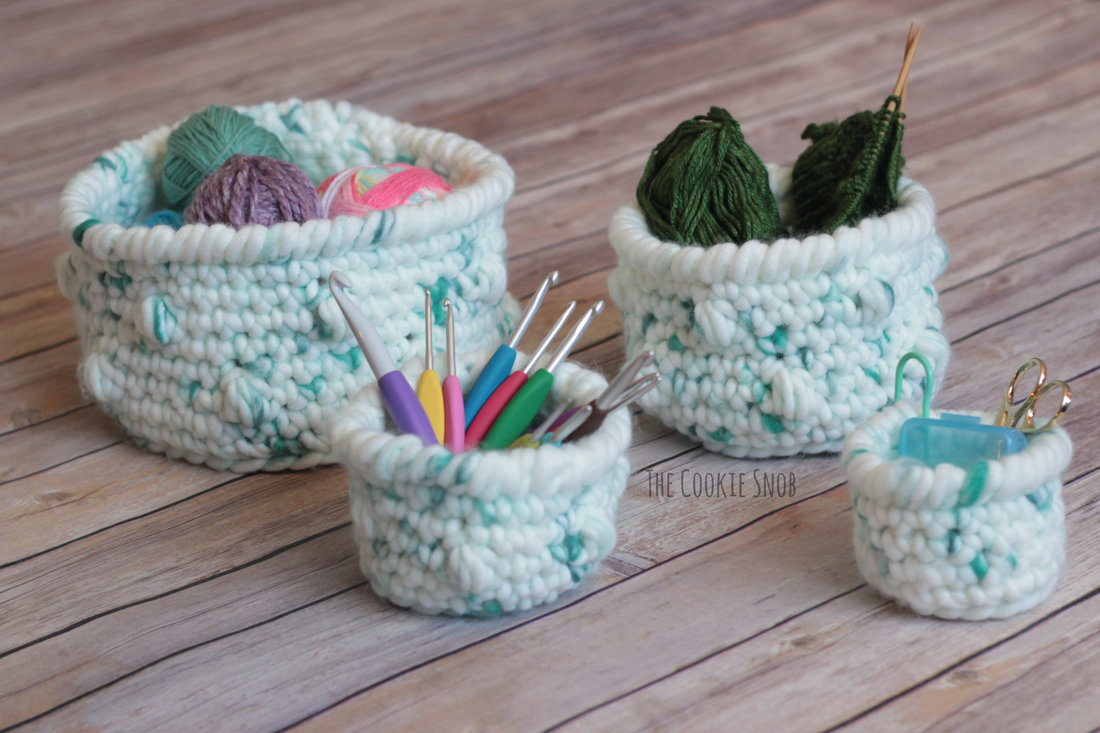
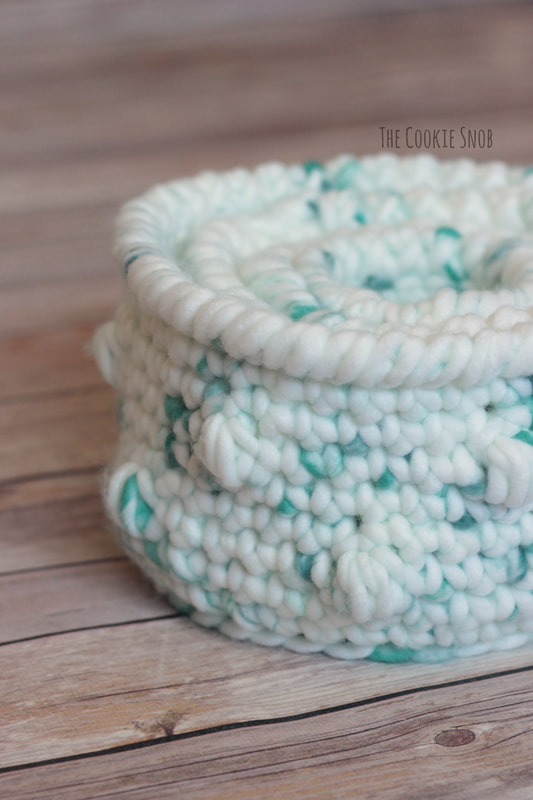
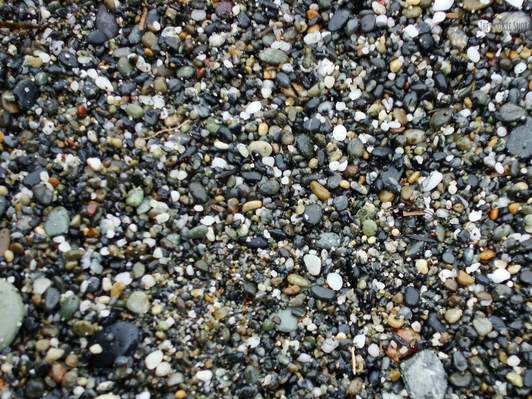
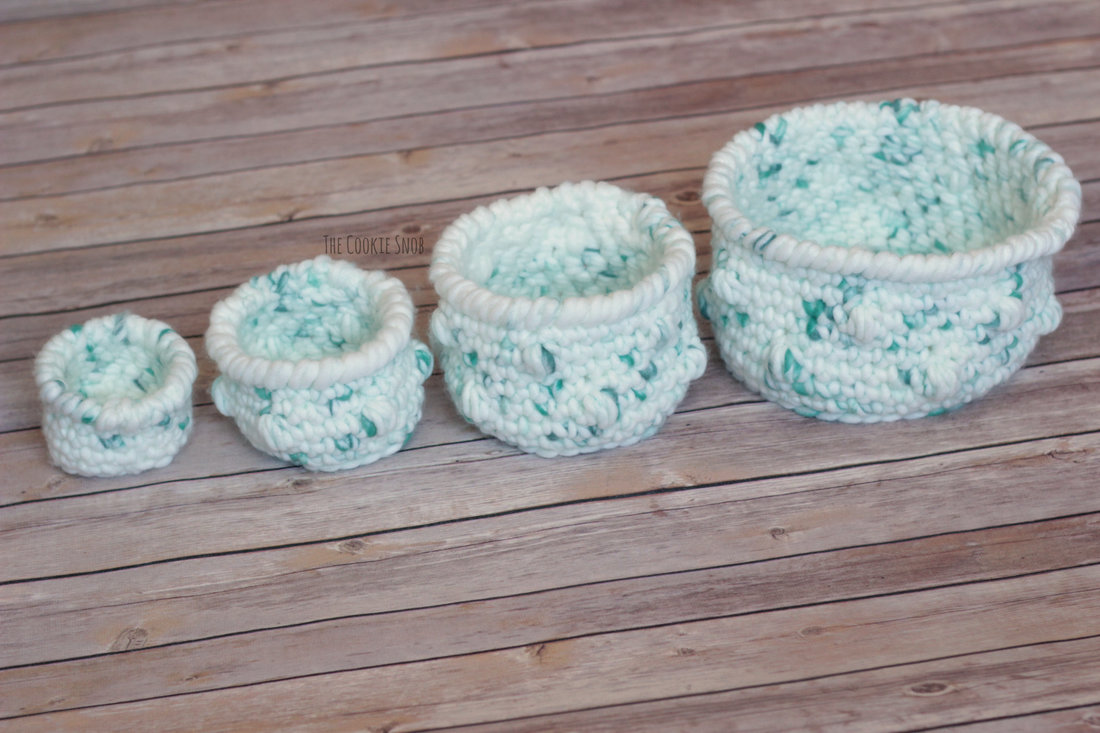
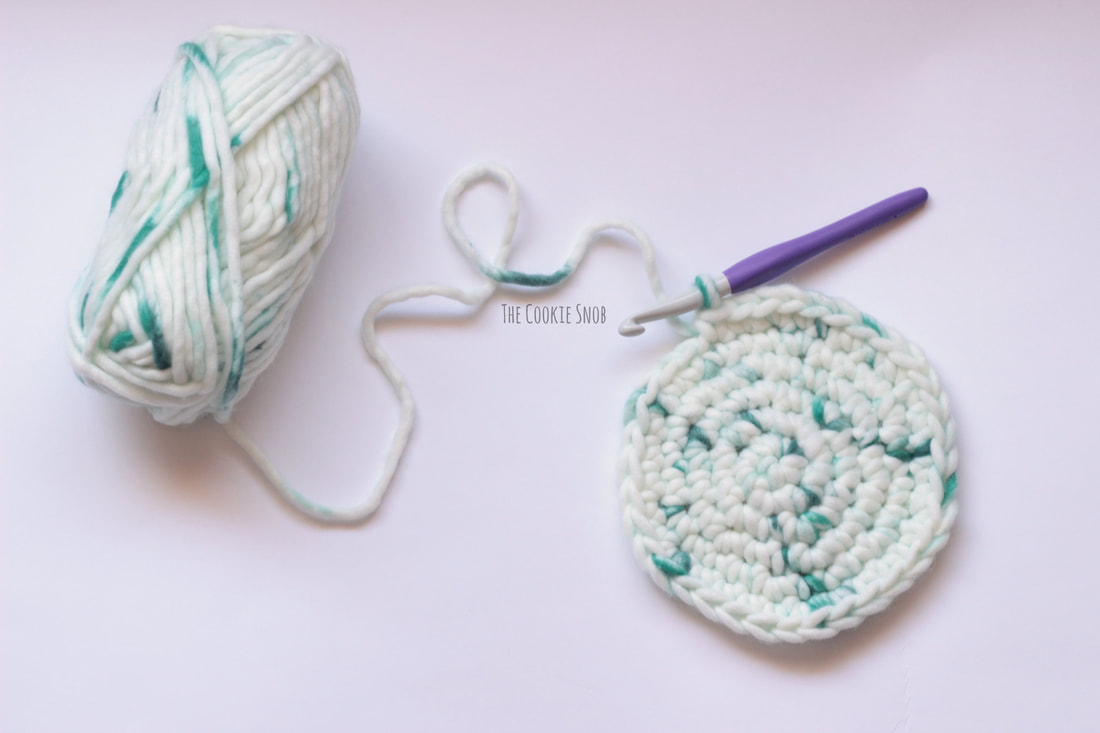
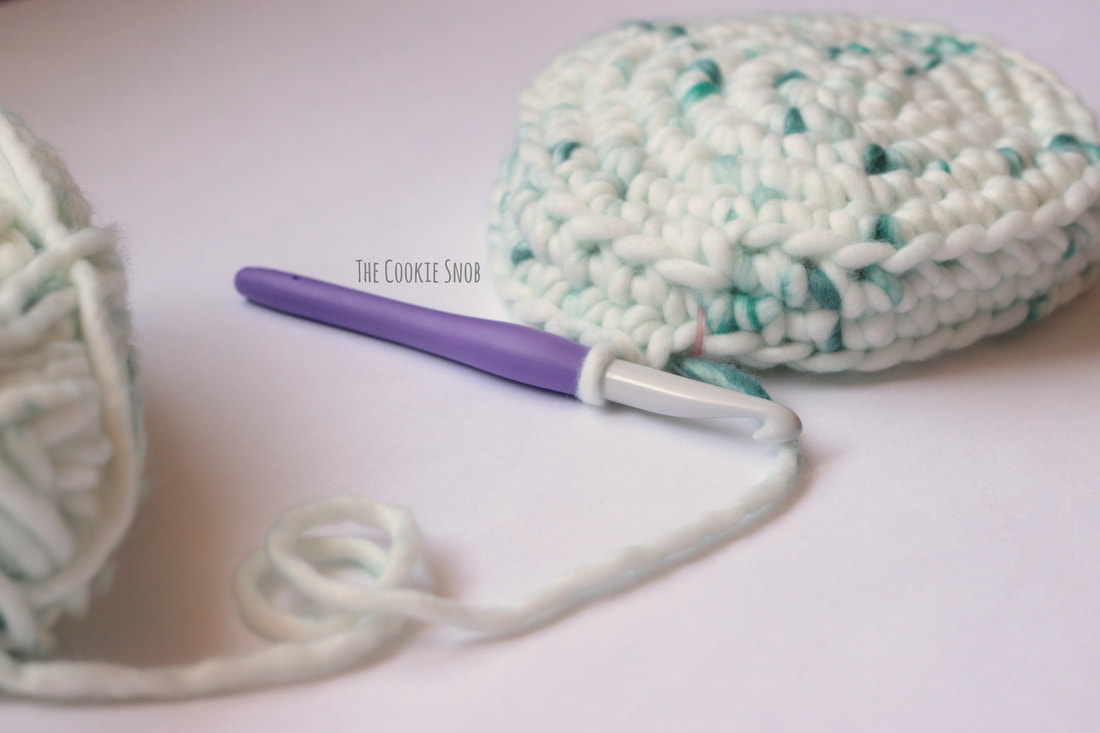
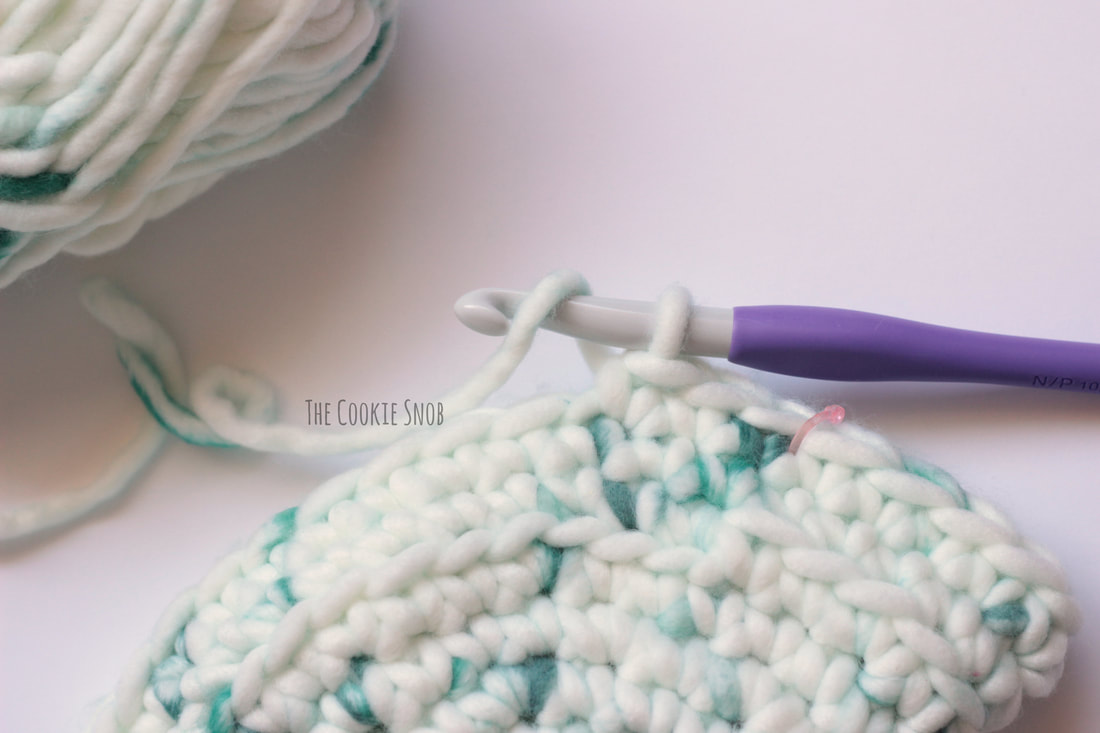
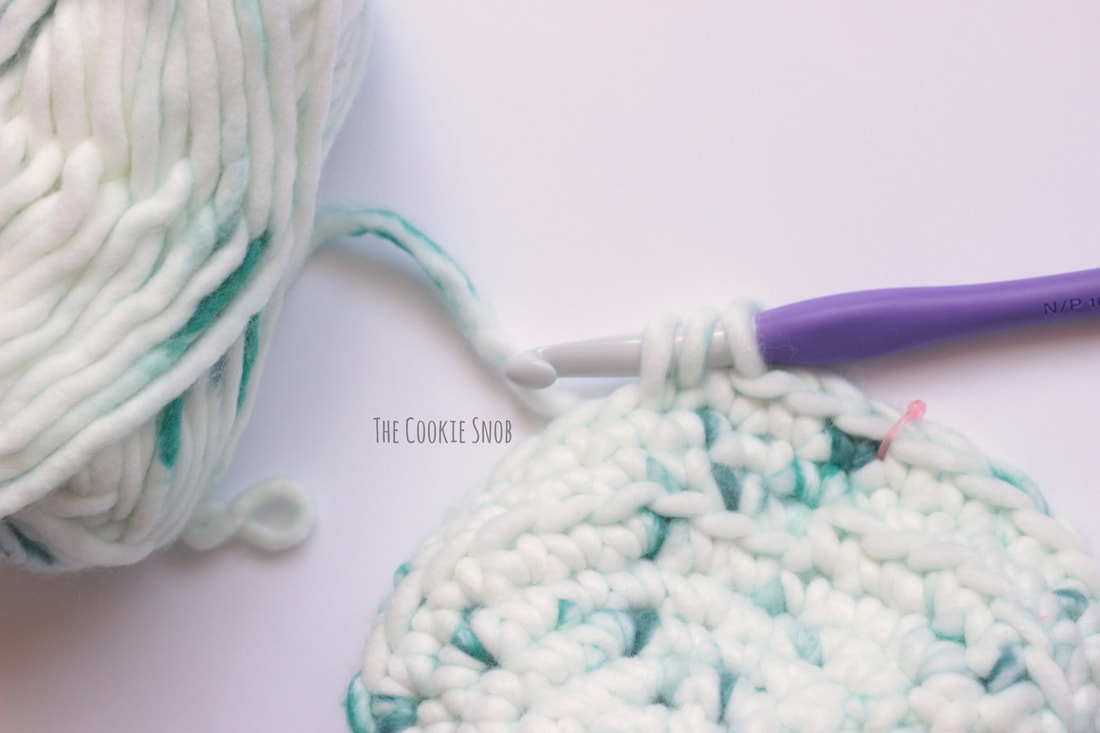
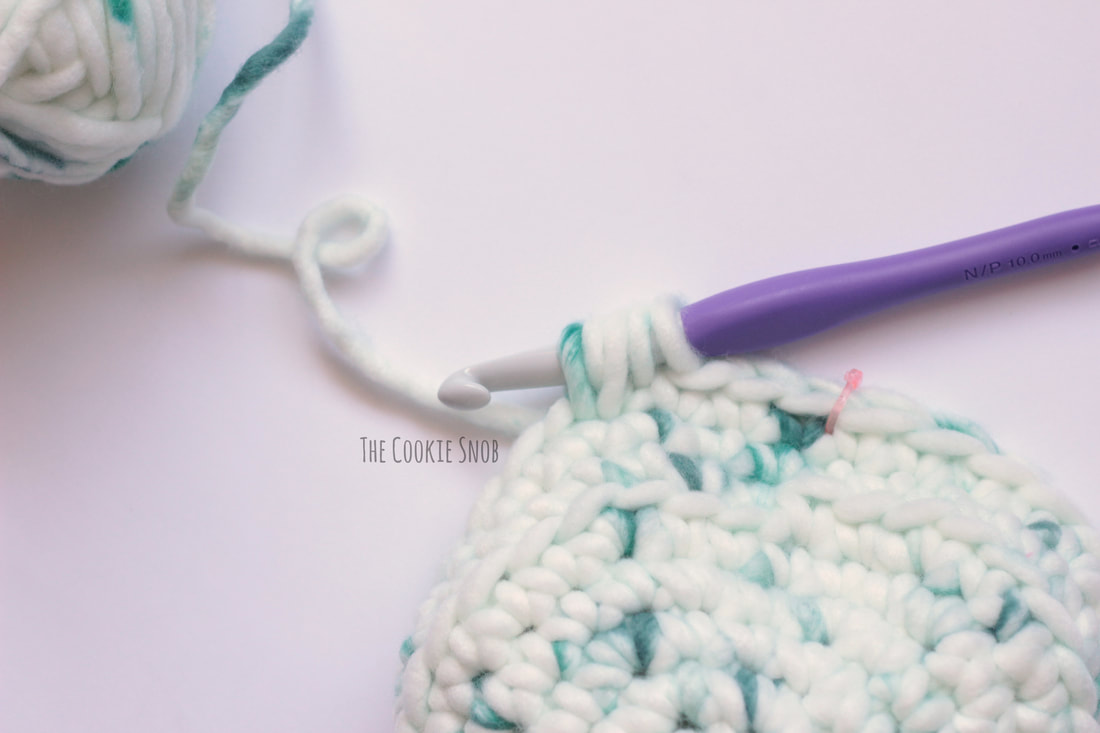
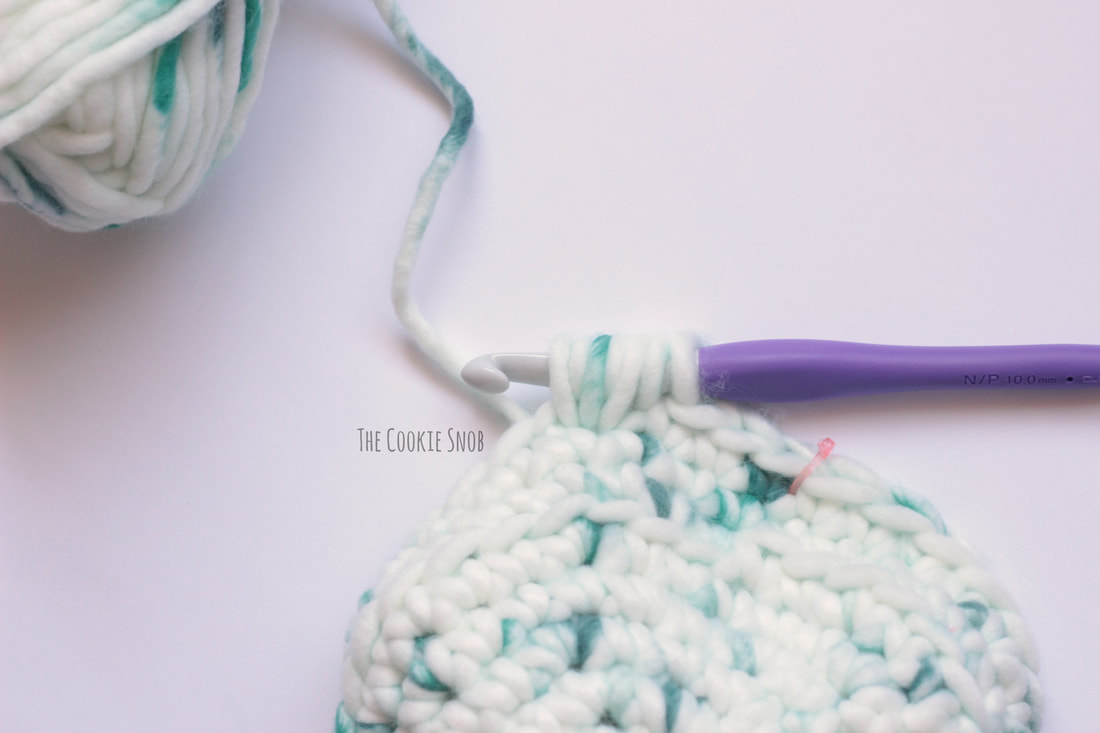
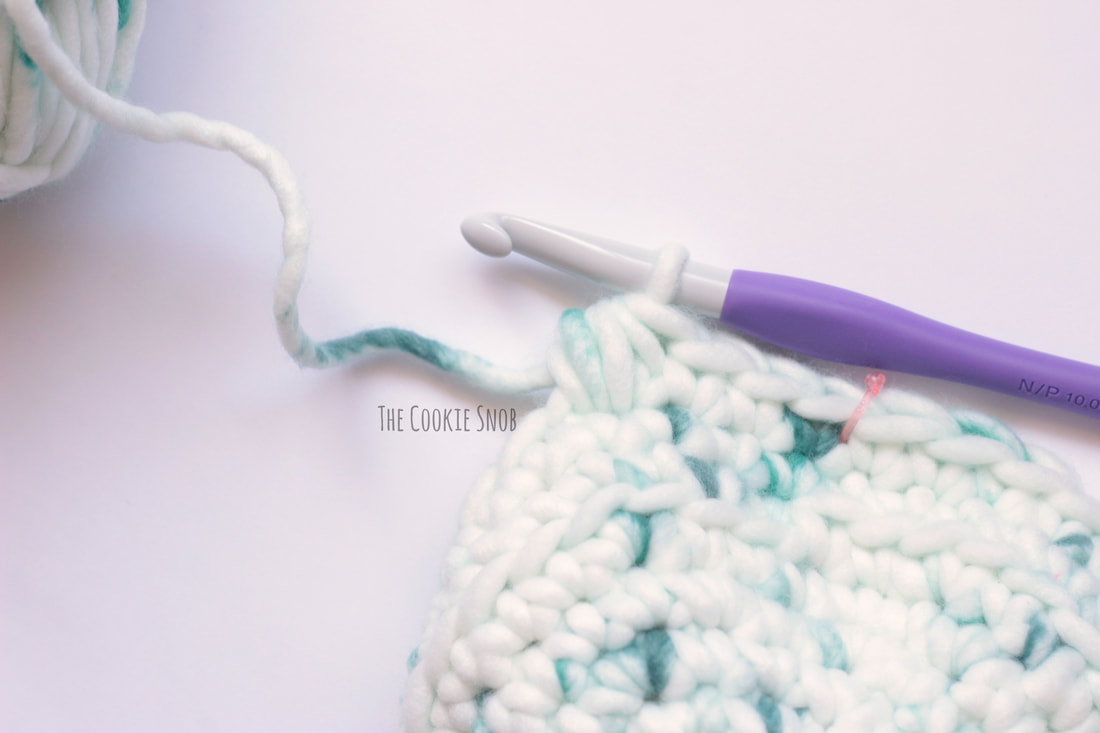
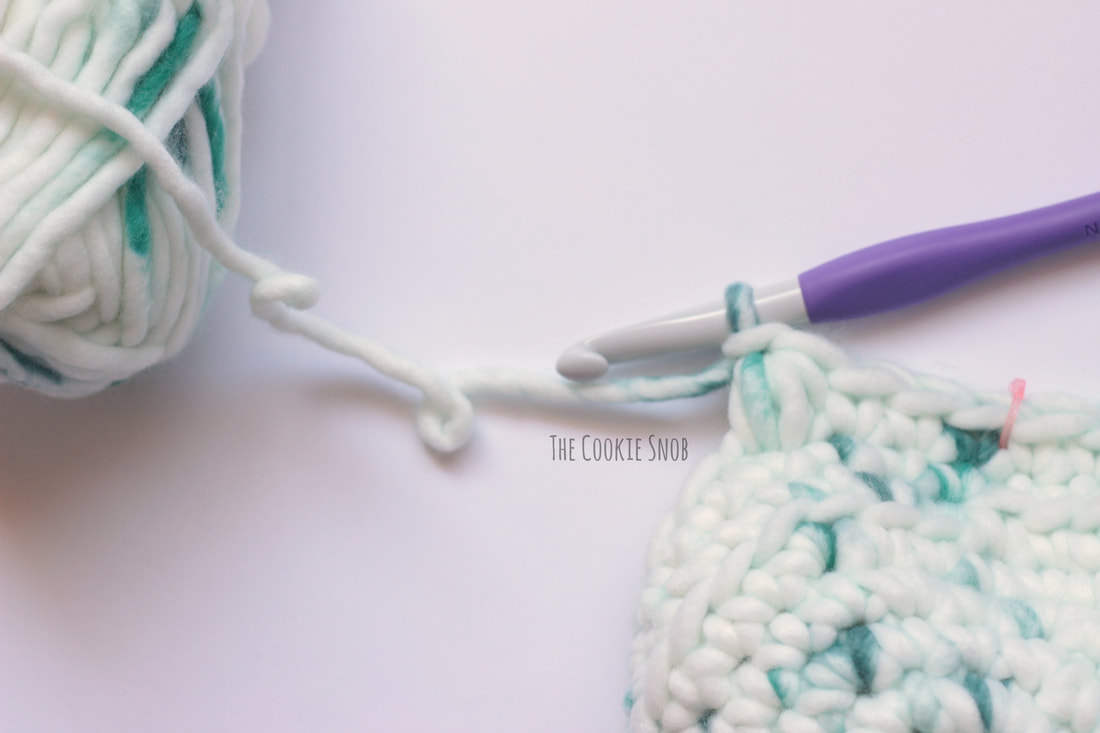
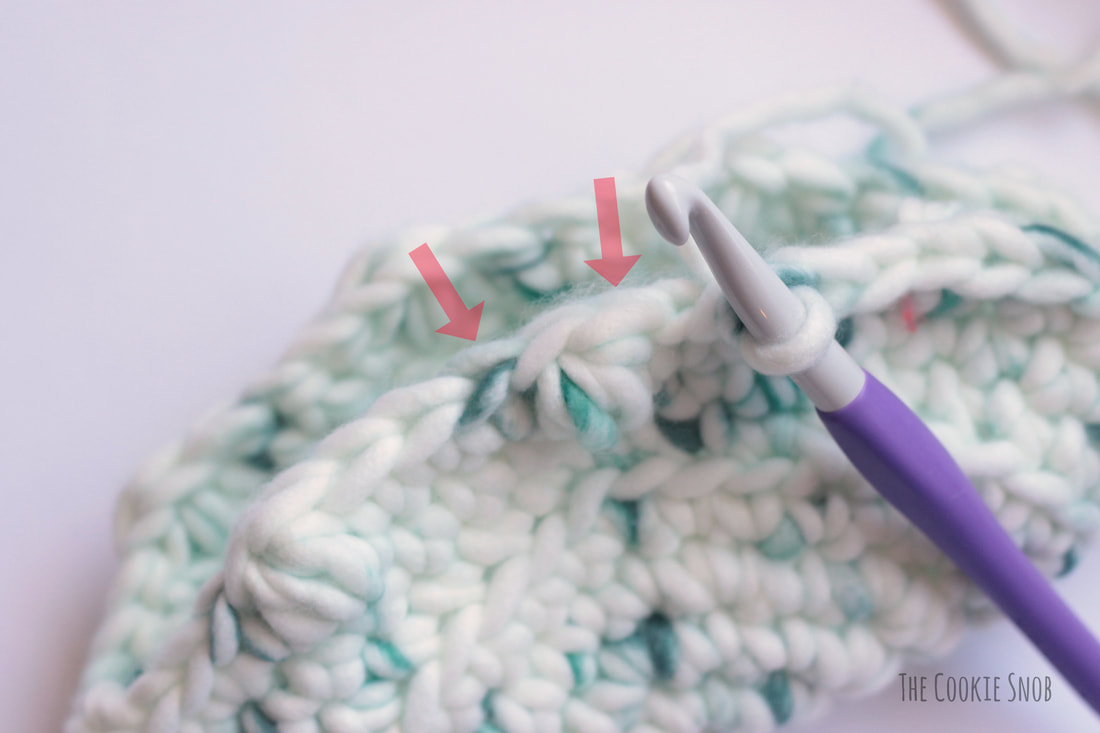
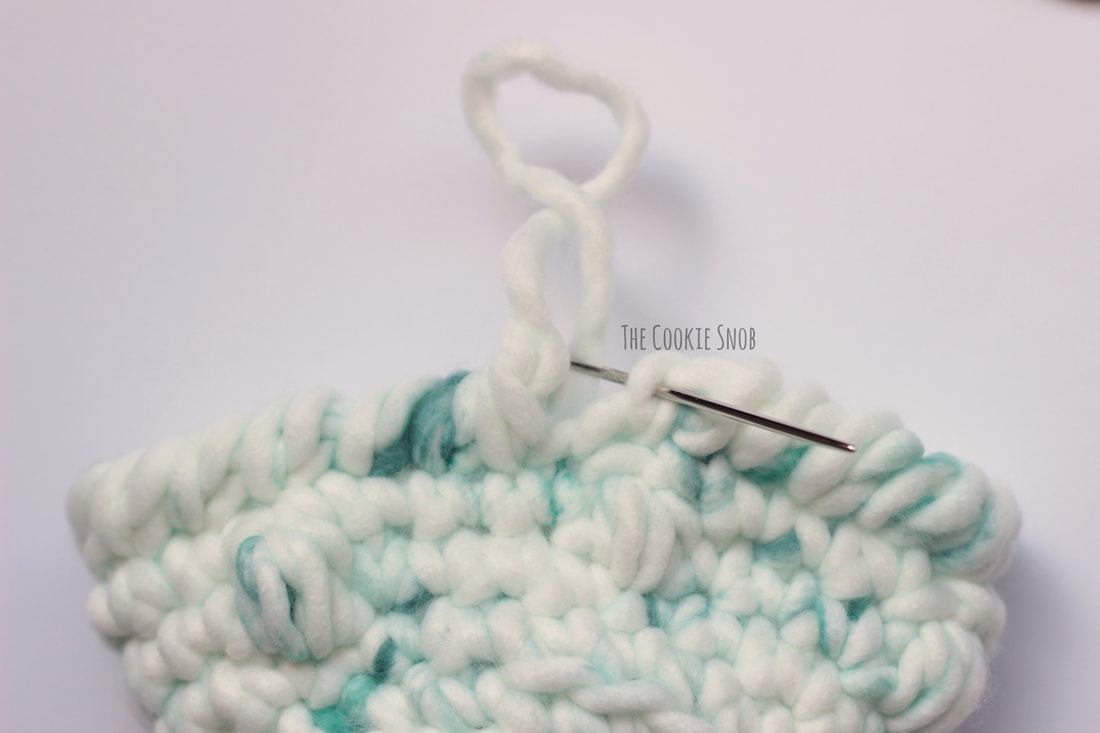
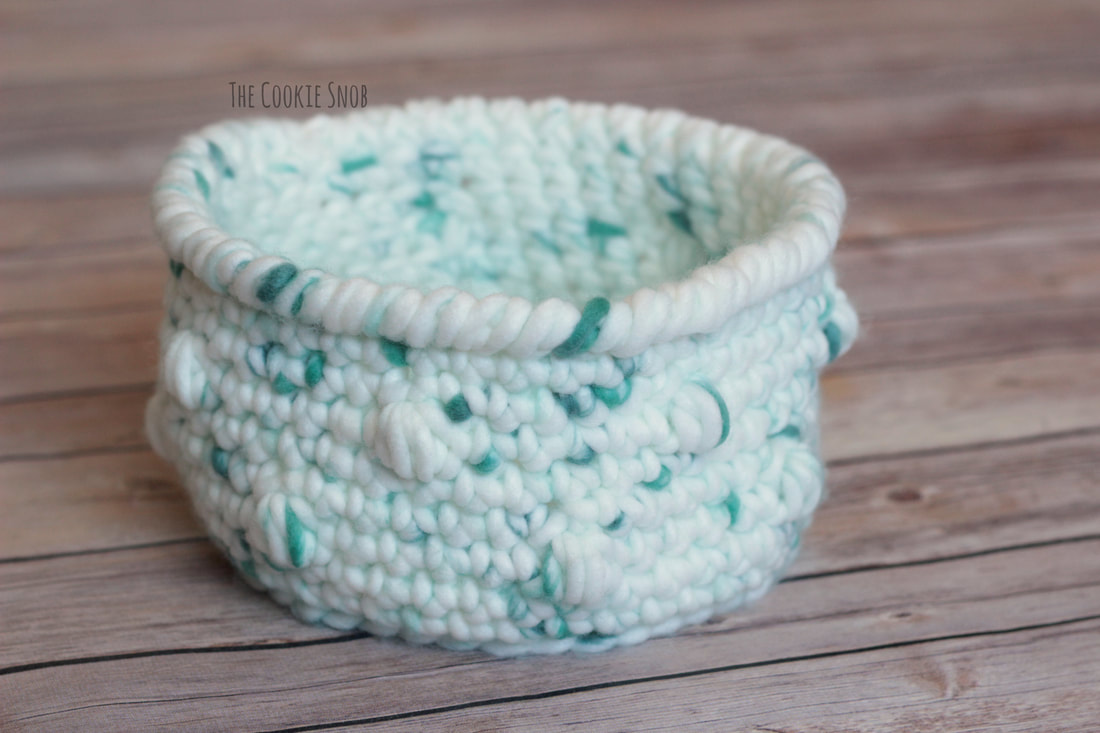
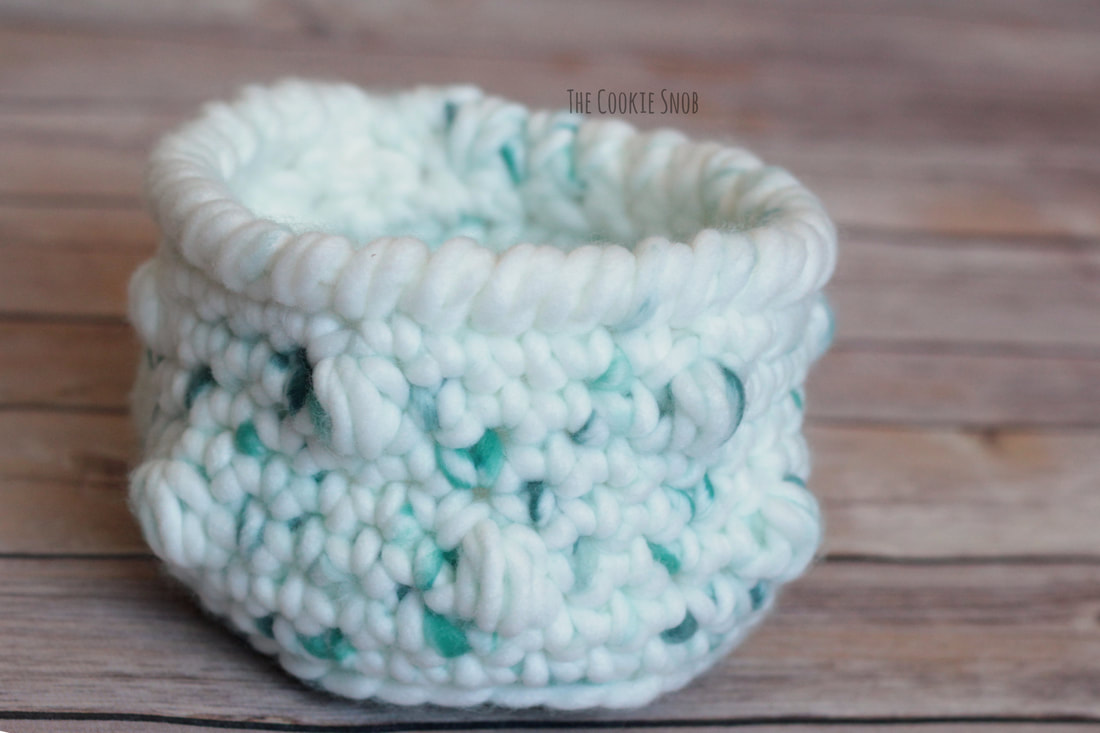
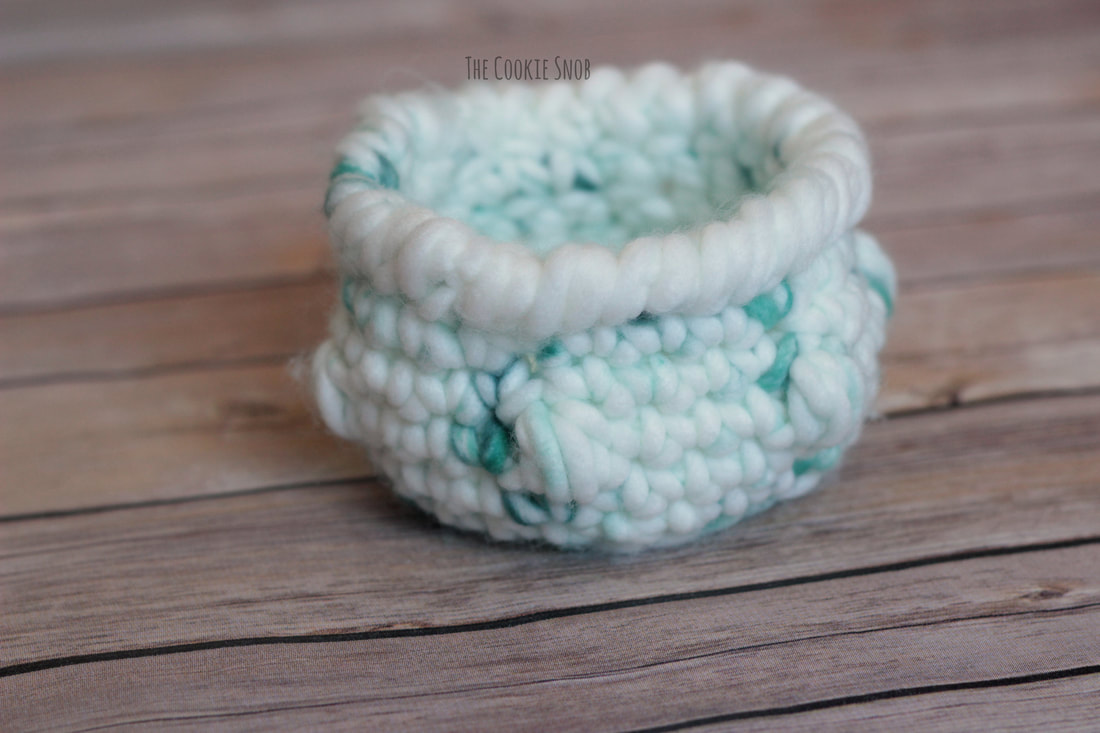
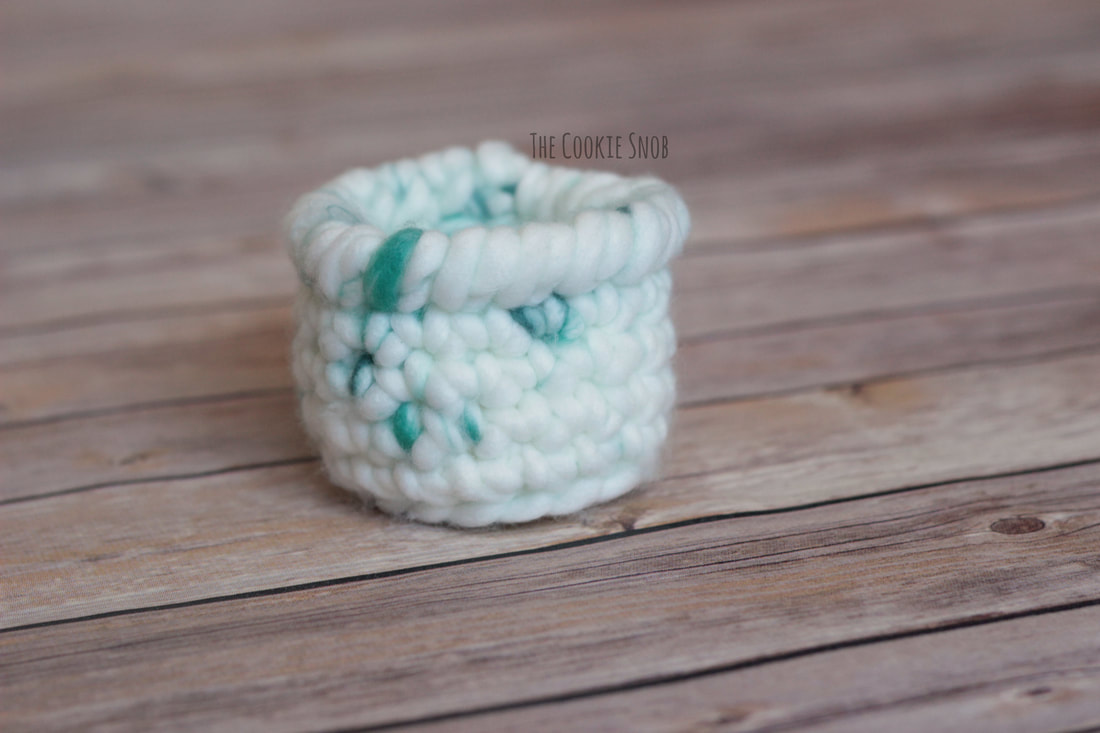
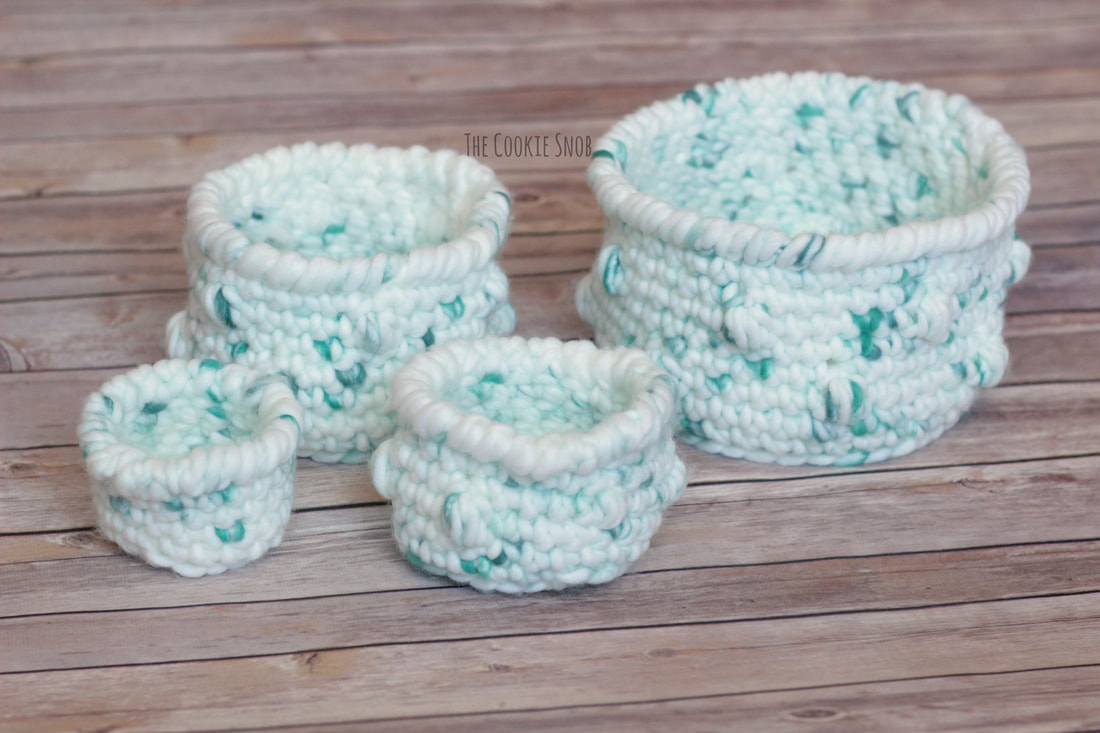
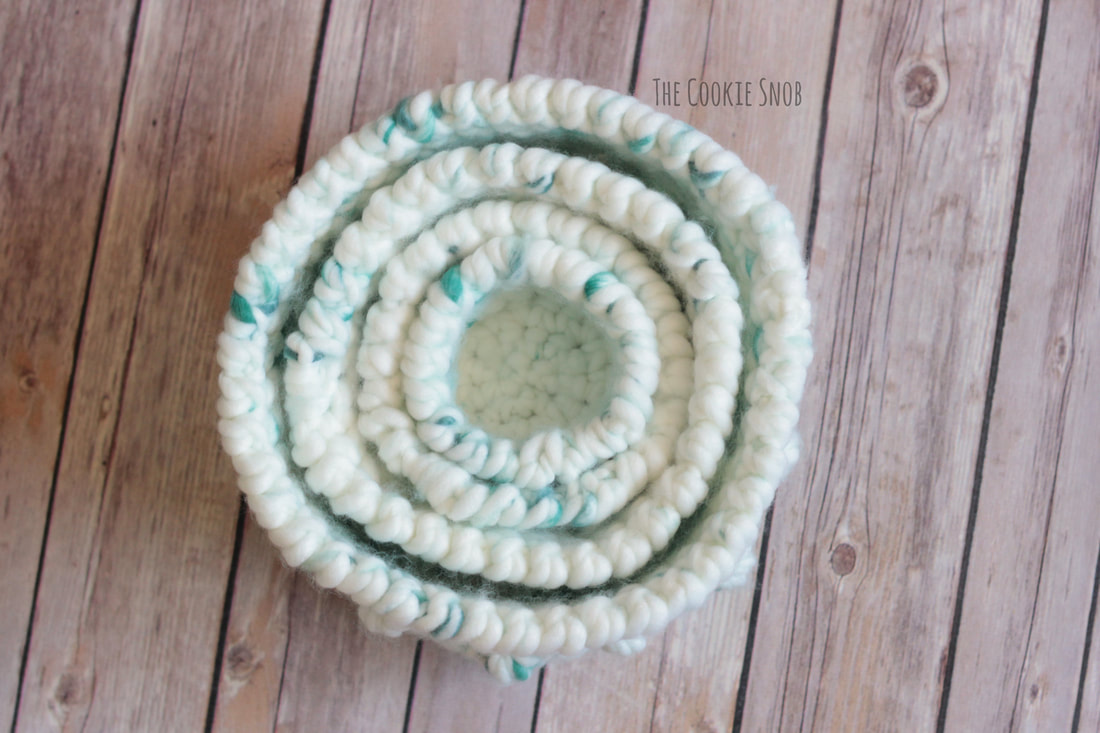
Spring has sprung and spring cleaning is underway! When I'm cleaning, there are few things I find more satisfying than organizing things into containers, especially if they're cute containers. So when I found some yarn that needed repurposing, I thought it would be a perfect opportunity to crochet up a useful basket. Which naturally led to making an entire set of baskets. (The yarn made me do it, I swear!) These nesting baskets come together quickly and are the perfect mix of simplistic and stunning. And, since you can organize things in them, making these baskets is basically equivalent to cleaning your house. Heck, making the entire set is basically the same thing as deep cleaning your bathroom. And after all that hard work, you definitely deserve a crochet break. So you can make even more baskets! (It's a vicious cycle, but someone's gotta do it...) These baskets are all about the texture. The giant squishy stitches and bobbles remind me of the agate beaches up the coast of Northern California and Oregon. If you've never been to an agate beach, I highly recommend you visit one someday. Essentially, the beach is covered in beautiful smooth little stones (way bigger than your average grain of sand). You can see a quick picture I took way back when in 2008 on the beach at Patrick's Point below; that should give you .a pretty good idea of where the name of these baskets comes from. And now onto the baskets themselves! Like I mentioned before, these are designed to be nesting baskets. There are 4 different size options, so you can make a complete set or just pick the sizes you want. I made all of these baskets from three 63 yard skeins of the super bulky yarn Yarn Bee Watercolor Hues (so it was 189 yards total for the set). The smallest three baskets used less than a skein each and the largest basket used one full skein and part of a second. All of the baskets have the same basic construction, so I'll walk you through the steps in general terms before giving you the exact pattern for each. First you'll start by making the circle base of the pattern; I decided that I wanted to use continuous rounds to avoid seams up the side of the basket. This means you’ll work in a continuous spiral without joining or turning; a stitch marker is helpful for keeping your place. Then once the base is finished, you'll work a row in the back loop only (to create the edge) and then work up the sides of the basket. There will be a small gap in the edge of the bottom because of the continuous rounds, but it's not really noticeable when you're actually using the basket since it's at the very bottom (and it's way less visible than a seam, in my opinion). In the body of the basket, you'll be working a modified puff stitch, which I'll be calling an "mps" in the pattern (you can also find this in the stitch glossary below). It's the same basic concept as a puff stitch, you'll only be inserting the hook 3 times instead of the traditional 4. If you already know what I'm talking about, feel free to skip down to the next section, but if you're not quite sure how to make the stitch, I've put together this quick photo tutorial for you. Start by yarning over. Insert the hook into the stitch and pull up a long loop. Yarn over, insert the hook into the same stitch and pull up another long loop. Yarn over again, insert the hook into the same stitch one last time and pull up another long loop. Yarn over and pull through all 7 loops on the hook Ch 1 to close off the stitch. Because of the ch 1 at the end of the stitch, each mps will create 2 new stitches instead of just 1, which could mess with the stitch count. So to keep the stitches even, when you're working the row of single crochet stitches over the top of the mps row, you should skip the first stitch created by the mps. So you'll work into the sc from the previous row and the ch 1 from the mps, but skip the stitch in between. I've marked the stitches you'll work into in the picture below to give you a visual. After you finish the sides of the basket, it will be finished off with a row of reverse single crochet (aka "crab stitch"). There will be a small gap in the border after you finish off, so you can use the yarn tail to close it up. Using the yarn tail and a large tapestry needle, pull the yarn end through the beginning of the first reverse single crochet to pull the stitches together. Then weave in the end. Now you should have everything you need to make some baskets, so let's check out the patterns! You can find an ad free, printable PDF version of this pattern on Ravelry. Stitch Glossary: st(s) = stitch(es) ch = chain sc = single crochet inc = sc increase (work 2 sc into the same st) mps = modified puff stitch (see above for photo tutorial/explanation) rsc = reverse single crochet ("crab stitch") blo = back loop only Materials:
Gauge: 2" = 4 sc 2" = 4 rows Large Basket (7" diameter): Round 1: Make a magic circle and work 6 sc into the circle (6) Round 2: inc around (12) Round 3: [inc, sc] around (18) Round 4: [sc, inc, sc] around (24) Round 5: [inc, sc in the next 3 sts] around (30) Round 6: [sc in the next 2 sts, inc, sc in the next 2 sts] around (36) Round 7: [inc, sc in the next 5 sts] around (42) Round 8: sc around in blo (42) Round 9: sc around (42) Round 10: [sc in the next 5 sts, mps] around (35 sc, 7 mps) Rounds 11-12: sc around (42) ***Remember to skip the first stitch of the mps as explained above during round 11*** Round 13: sc in the next 3 sts, mps, [sc in the next 5 sts, mps] 6 times, sc in the last 2 sts (35 sc, 7 mps) Rounds 14-15: sc around (42) ***Again, make sure you skip that first part of the mps in round 14!*** Round 16: rsc around (42) Fasten off, leaving a yarn tail to sew the border together as explained above. Medium Basket (5" diameter): Round 1: Make a magic circle and work 6 sc into the circle (6) Round 2: inc around (12) Round 3: [inc, sc] around (18) Round 4: [sc, inc, sc] around (24) Round 5: [inc, sc in the next 3 sts] around (30) Round 6: sc around in blo (30) Round 7: sc around (30) Round 8: [sc in the next 4 sts, mps] around (24 sc, 6 mps) Rounds 9-10: sc around (30) ***Remember to skip the first stitch of the mps as explained above during round 9*** Round 11: sc in the next 2 sts, mps, [sc in the next 4 sts, mps] 5 times, sc in the last 2 sts (24 sc, 6 mps) Round 12: sc around (30) ***Again, make sure you skip that first part of the mps in round 12!*** Round 13: rsc around (30) Fasten off, leaving a yarn tail to sew the border together as explained above. Small Basket (3.5" diameter): Round 1: Make a magic circle and work 6 sc into the circle (6) Round 2: inc around (12) Round 3: [inc, sc] around (18) Round 4: [sc, inc, sc] around (24) Round 5: sc around in blo (24) Round 6: sc around (24) Round 7: [sc in the next 3 sts, mps] around (18 sc, 6 mps) Rounds 8-9: sc around (24) ***Remember to skip the first stitch of the mps as explained above during round 8*** Round 10: rsc around (24) Fasten off, leaving a yarn tail to sew the border together as explained above. Extra Small Basket (2.5" diameter): Round 1: Make a magic circle and work 6 sc into the circle (6) Round 2: inc around (12) Round 3: [inc, sc] around (18) Round 4: sc around in blo (18) Rounds 5-7: sc around (18) Round 8: rsc around (18) Fasten off, leaving a yarn tail to sew the border together as explained above. And there you have a cute little set of nesting baskets! If you can resist just sitting around squishing the lovely textured stitches (not that I would know anything about that, of course... *guilty look*), these will be the perfect containers for small odds and ends. Whether you make just one or the whole set, these baskets are sure to brighten up any space; the perfect functional accent. I hope you all enjoy this pattern! Remember, you can find an ad-free printable PDF version on Ravelry. If you end up making these baskets, I'd love to hear about how it goes. And it always makes my day to see a picture. You can reach me in the comments section below or on social media. Happy hooking! Want to make sure you don't miss any future blog posts? Join my mailing list! ***You're welcome to do whatever you'd like to with finished products made from these patterns but if you do sell them, I ask that you link back to my page. You may not copy these patterns, repost them anywhere (either altered or in their original form), or claim them as your own. You may not use any photos on this site for your own use. ***
1 Comment
5/8/2018 02:03:42 pm
I love baskets of all sizes! The yarn you chose if very pretty and I like the "bumpy" detail. Thanks for sharing!
Reply
Leave a Reply. |
Welcome!Thank you for stopping by to visit my own personal corner of the web! Feel free to take a look around and check out what I've been crafting, crocheting, or baking. Hopefully you'll find something to inspire your own creativity! Archives
March 2024
|



 RSS Feed