|
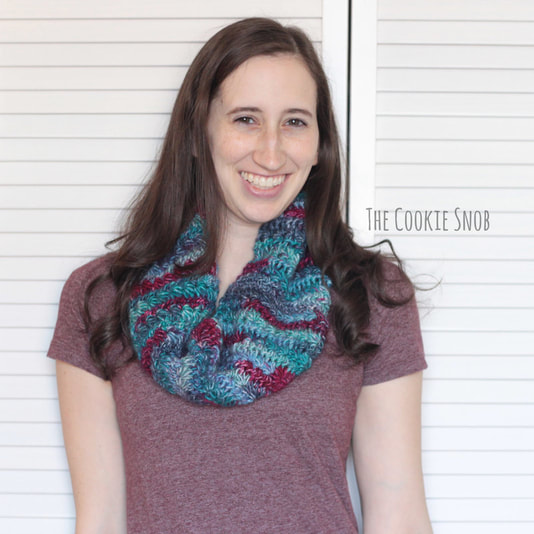
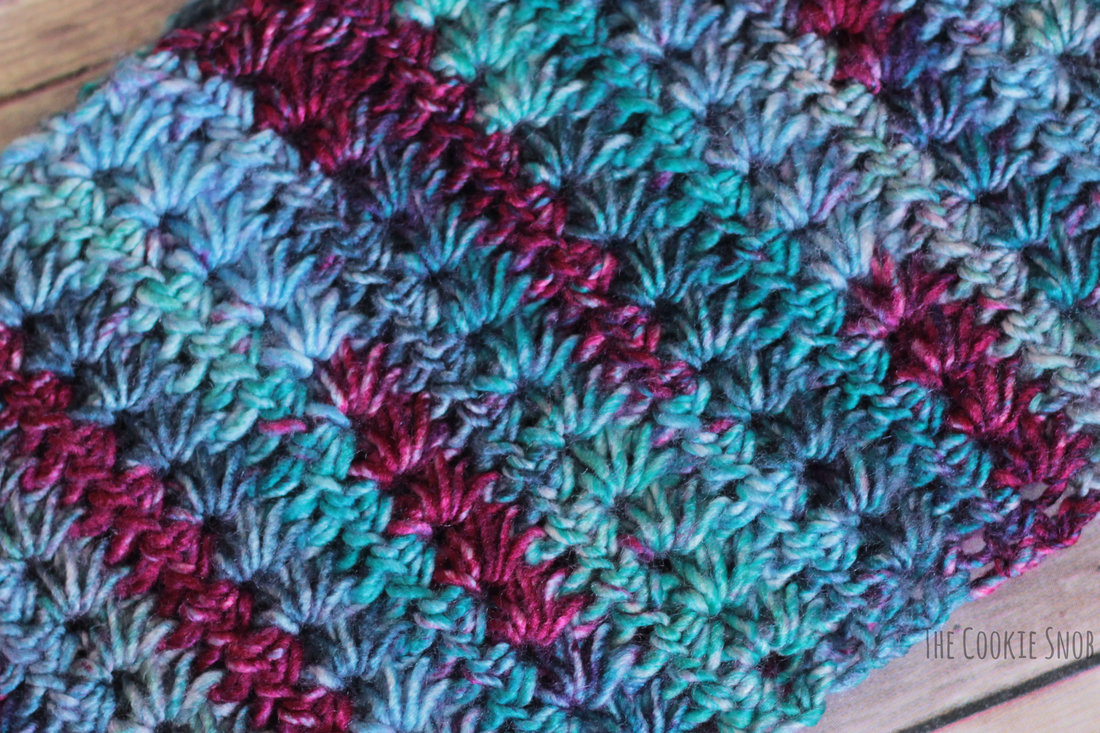
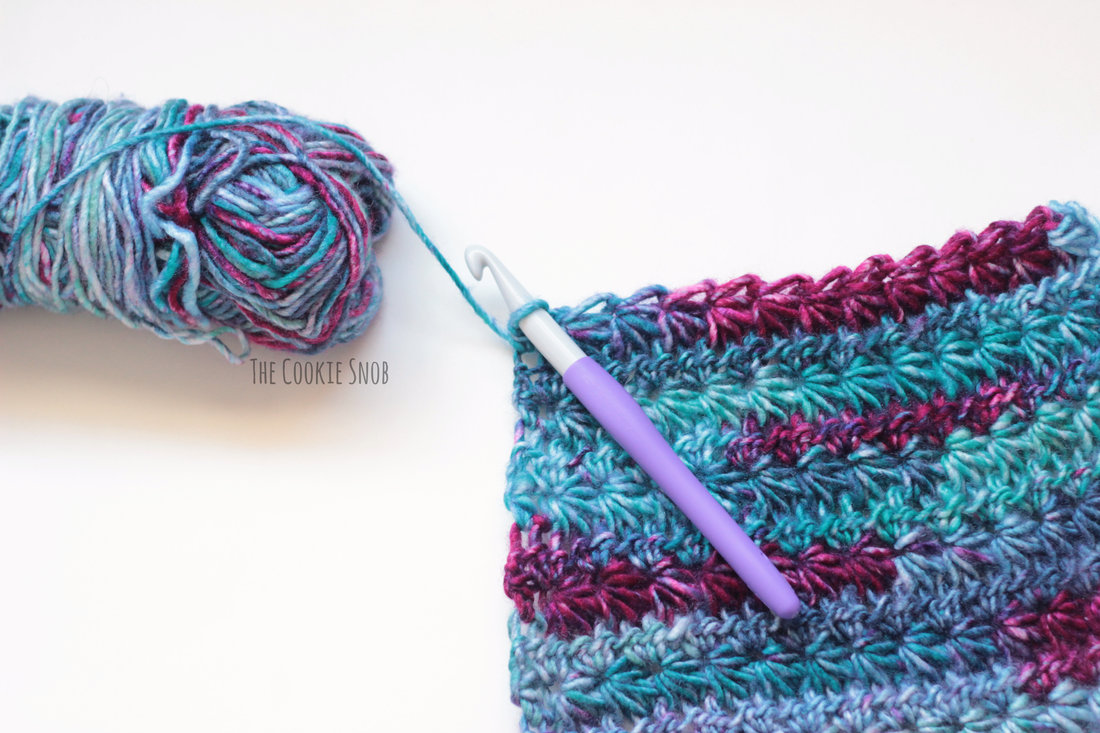
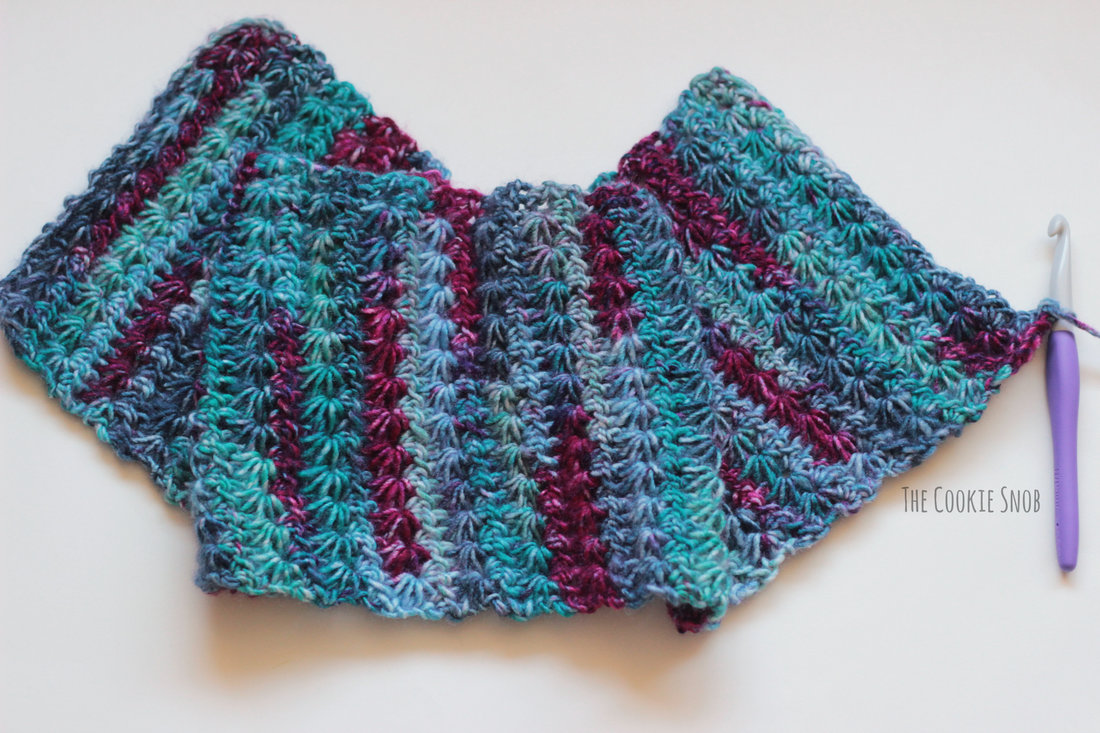
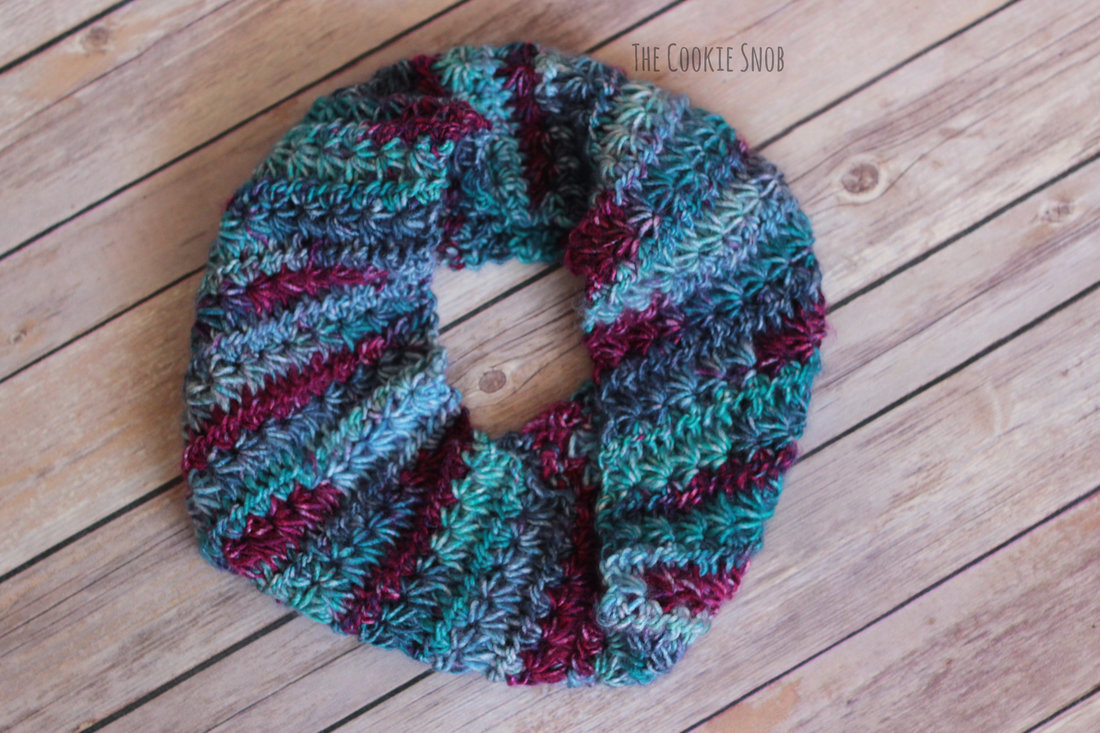
Do you ever find yourself with orphaned skeins in your yarn stash? You know, that one lone skein you bought because it was just so lovely and the price was just right? But you have no idea what to do with it, so it just sits there accusingly, saying, "Why don't I ever get to be in one of your projects? Don't you love meeee?" Okay, so maybe that's a tad overly dramatic. But I'd be willing to bet you probably have at least one abandoned skein lying around. I recently found one while digging through my stash that I just couldn't leave un-crocheted any longer. And thus was born the idea for this cowl. Who knows? Maybe it'll be perfect for your needy skein too! If you aren't familiar with the star stitch (or even if you are), you should definitely check out my Star Stitch Spotlight post first before making this pattern. It has a step-by-step photo tutorial to teach you the stitch and it also explains the terminology I'll be using. So go look! I'll wait... You read it? Perfect! Now we can get back to this cowl. Star stitch isn't often seen in cowl patterns, simply because it's too stiff and cowls need to have a lot of drape. BUT there is a way around it! To create the flowing look you need, you can just size up your hook. By a lot. Which just makes this project even better! I don't know about you, but I love working with big crochet hooks. One more note about this pattern before we begin: I made mine using the more traditional star stitch (option A, for those of you who read the spotlight post), but found that it started slanting diagonally. You can see it in some of these pictures, although it's not really noticeable when I wear the cowl. So if you want to do that, it'll still work. But I'm going to write out the pattern using option B (again, referenced in the spotlight post) because it makes a much straighter piece and looks better in every test swatch I made. Now on to the pattern! Materials:
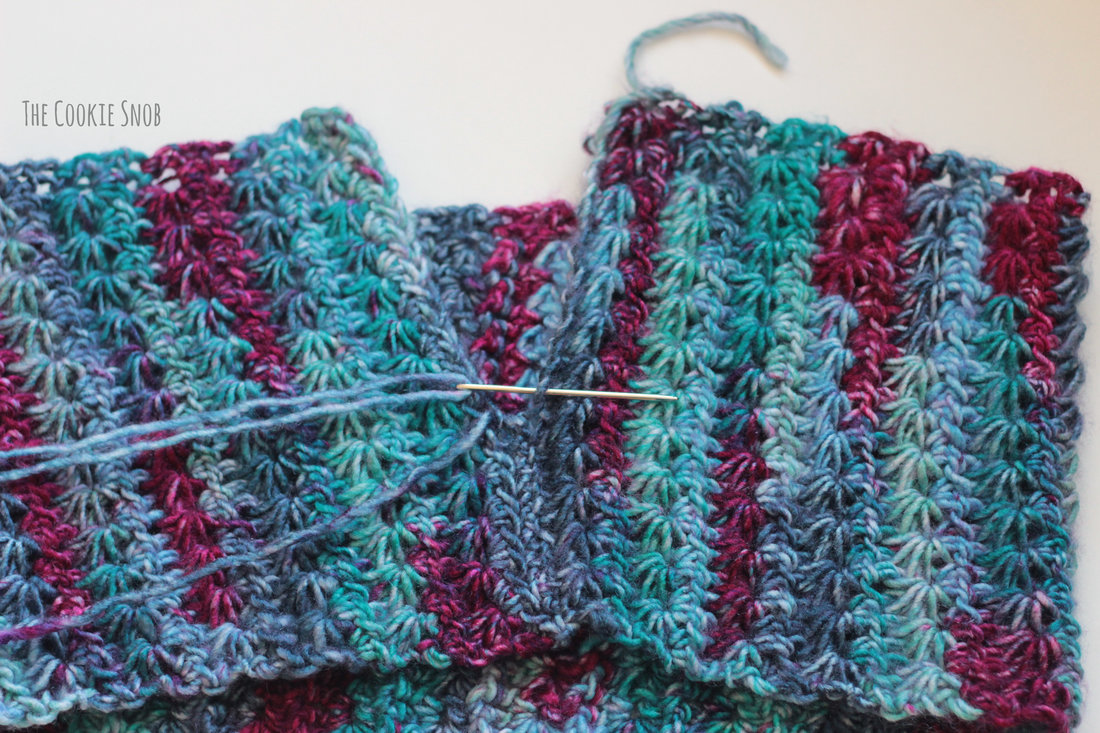
Stitch Glossary: st(s) = stitch(es) ch = chain yo = yarn over hdc = half double crochet RS = right side (the outside of the cowl) WS = wrong side (the inside of the cowl) Gauge: 4" = 7 star stitch 4" = 7 rows As written, the cowl is about 7.5" wide and about 30" long Ch 29 Row 1: (RS) Insert the hook into the 2nd ch from the hook and draw up a loop. Then insert your hook into the next st and pull up a loop. Repeat 3 more times until you have 6 loops on your hook. Yo and pull through all 6 loops. Ch 1. [Insert your hook into the eye of the star you just created, and pull up a loop. Insert your hook in between the last two "legs" of the star and pull up a loop. Insert your hook into same stitch where the last loops of previous star were worked and pull up a hook. Insert your hook into the next st and pull up loop. Insert your hook into the next st and pull up a loop. Yo and pull through all 6 loops. Ch 1] 11 times, turn Row 2: (WS) Ch 2, Work 1 hdc into the first st. Work 2 hdc into the eye of each star from the previous row. At the end of the row, work 1 hdc in the last st, turn Repeat rows 1-2 until your cowl is your desired length. I repeated the rows 24 more times, for a total of 25 star stitch rows, but you can make your cowl longer or shorter. Fasten off, leaving a long yarn tail for sewing. Being careful not to twist the cowl, line up the two ends with the RS facing out. Using the yarn tail and the tapestry needle, stitch the ends together, forming a tube. I recommend using the mattress stitch. Finish and weave in ends. And there you have your very own star stitch cowl! I hope that you enjoy this gorgeous textured cowl. If you make one, I'd love to see a picture, so feel free to tag me or share a pic. And if you have any questions or comments, you can reach me in the comments section below or on social media. Happy hooking! ***You're welcome to do whatever you'd like to with finished products made from this pattern but if you do sell them, I ask that you link back to my page. You may not copy this pattern, repost it anywhere (either altered or in its original form), or claim it as your own. You may not use any photos on this site for your own use. ***
0 Comments
Leave a Reply. |
Welcome!Thank you for stopping by to visit my own personal corner of the web! Feel free to take a look around and check out what I've been crafting, crocheting, or baking. Hopefully you'll find something to inspire your own creativity! Archives
March 2024
|



 RSS Feed