|
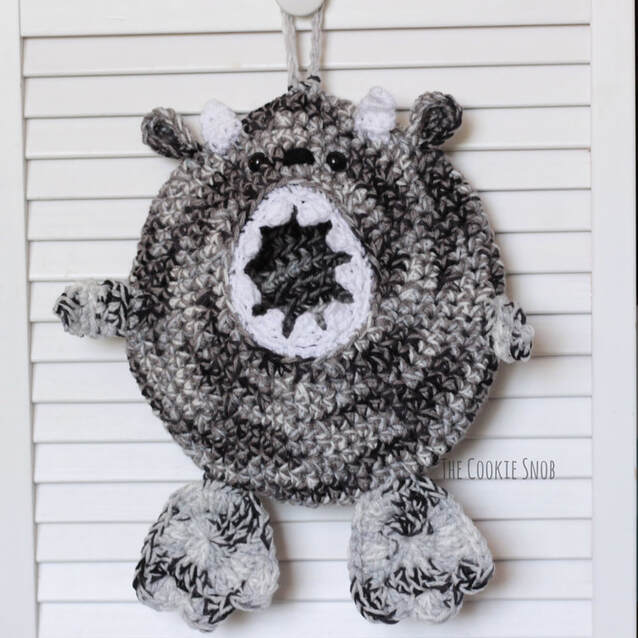
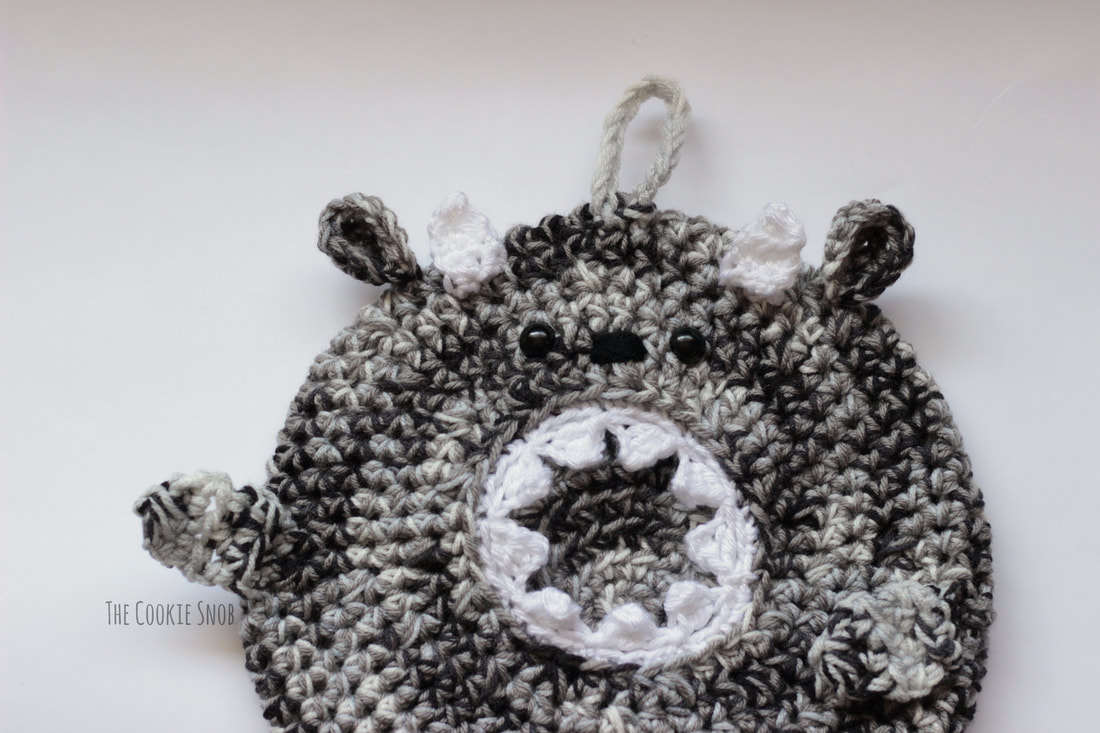
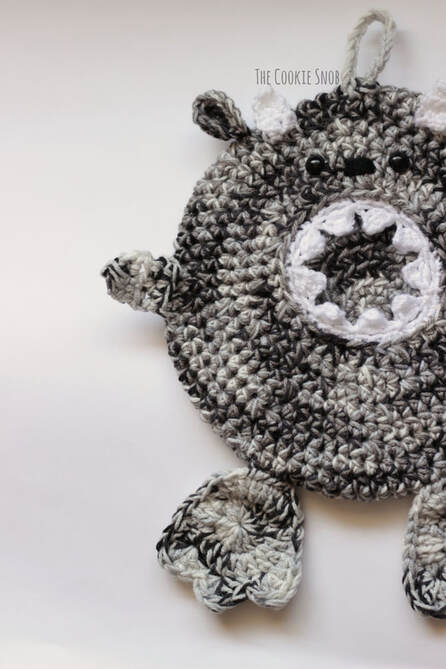
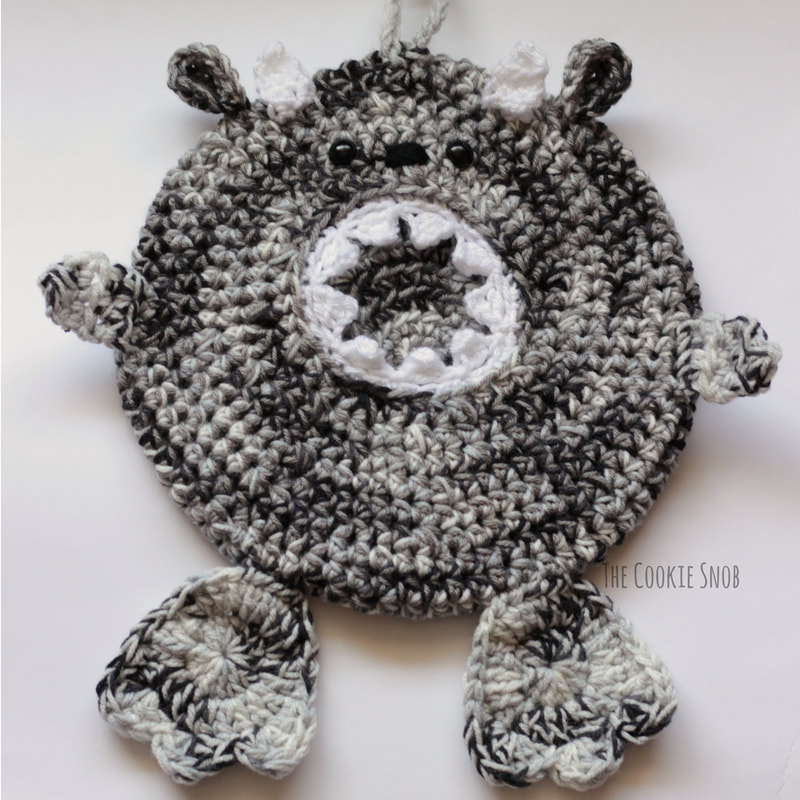
They say that "necessity is the mother of invention." Now that our kids outnumber my husband and me, one of the necessities in my life is some semblance of order. I can deal with toys and spills and what have you, but dirty socks in random places make me just a little bit bonkers. Especially since they end up hidden in bizarre locations and miss the laundry hamper entirely, leading to the boys never having any matching socks no matter how many times we do laundry (please tell me I'm not the only one this happens to). Since I find that my kids respond well to making cleanup fun, I took some inspiration from my Monster Toy Bag and created this cute and hungry hanging basket that we've dubbed "The Sock Monster." Now, obviously, you could use this hanging basket for some other purpose. But if you have similar issues at your house, this funny monster has been a perfect safe spot for socks on their way to the hamper. Just be careful not to put anything too heavy in it unless you don't mind it stretching out with use (alternatively, you can also line the bag to make it sturdier, but I didn't bother with mine since we're just using it for a few pairs of socks at a time). This pattern is basically the cousin of the Monster Toy Bag. The body is shaped a little differently, but the concept of the teeth and features are the same. The sock monster is smaller than the toy monster, but can easily be expanded to make it larger by continuing to follow the increase pattern; feel free to contact me if you're not sure how to make that work. As written, the bag is about 11.5" long and 11" wide (laid flat). Be sure to check your gauge if you're trying to create a bag with the same dimensions. Now let's take a look at the pattern! If you'd like an ad-free printable PDF version, you can find one on Ravelry. Stitch Glossary: st(s) = stitch(es) ss = slip stitch ch = chain sc = single crochet inc = sc increase (work 2 sc in the same st) hdc = half double crochet hdc inc = hdc increase (work 2 hdc in the same st) hdc2tog = hdc 2 together (decrease across 2 hdc) hdc3tog = hdc 3 together (decrease across 3 hdc) dc = double crochet dc inc = dc increase (work 2 dc in the same st) tr = treble crochet Materials:
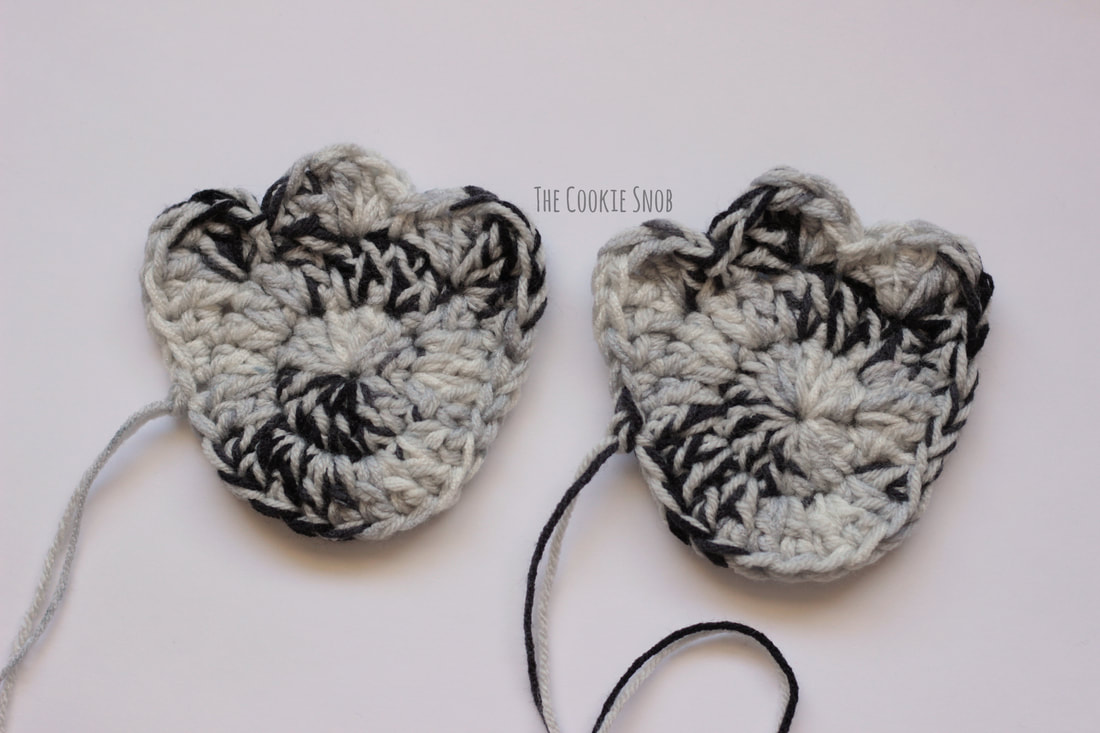
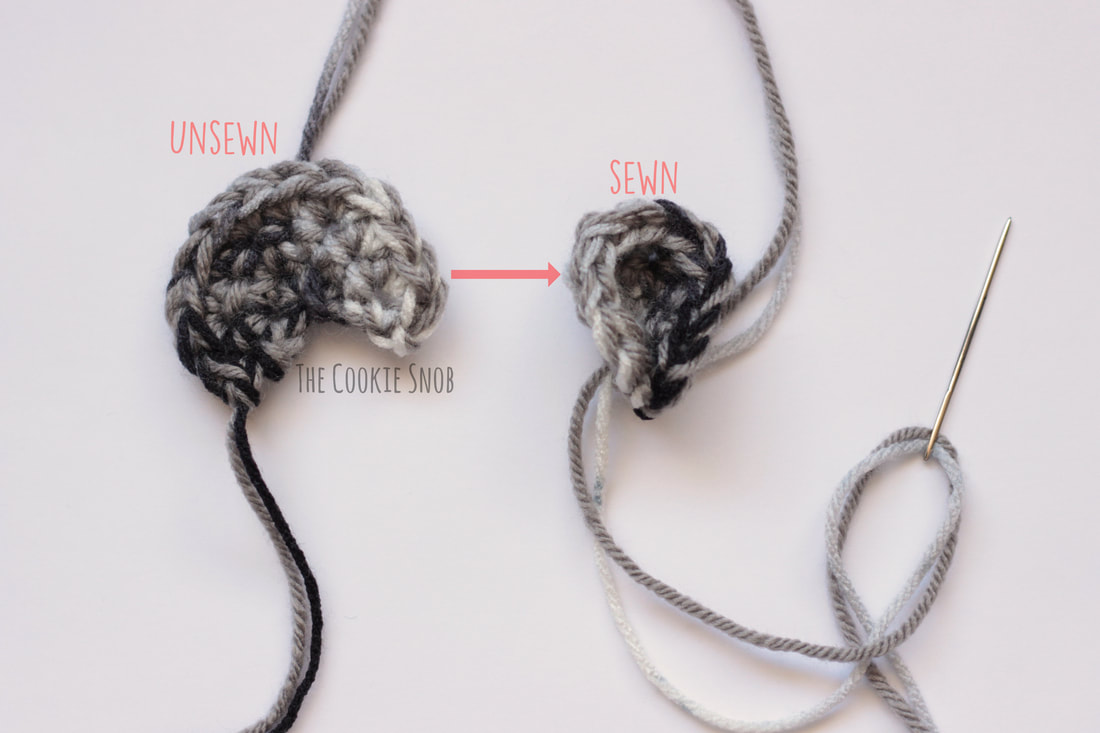
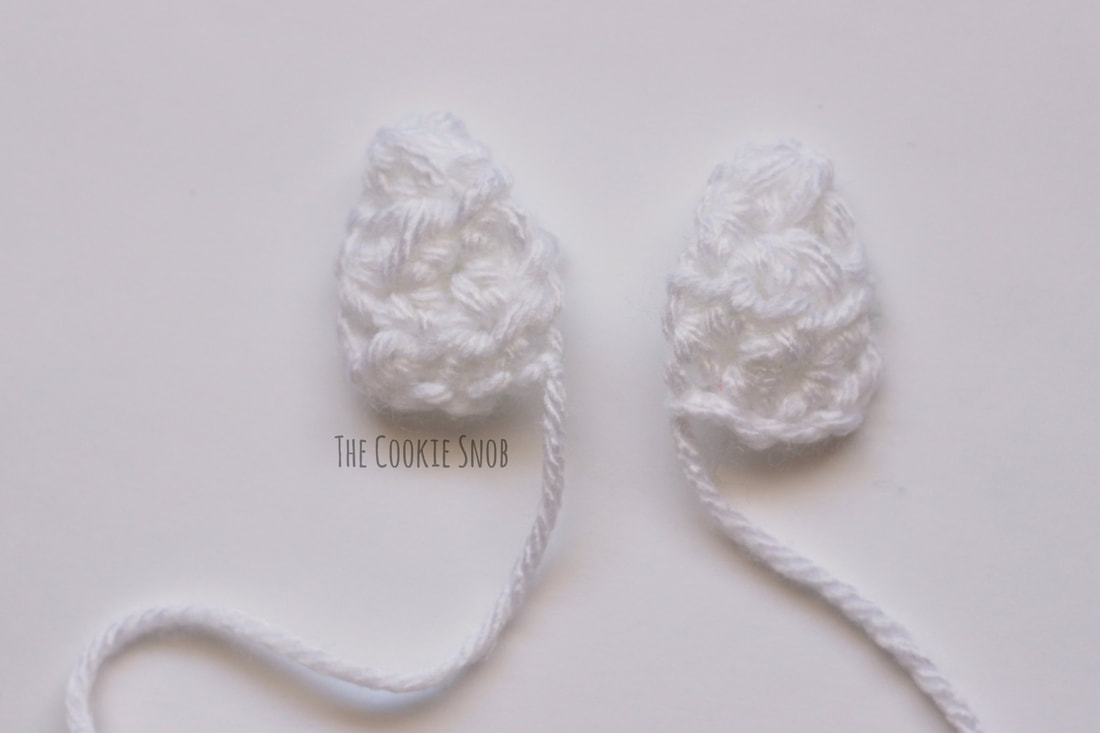
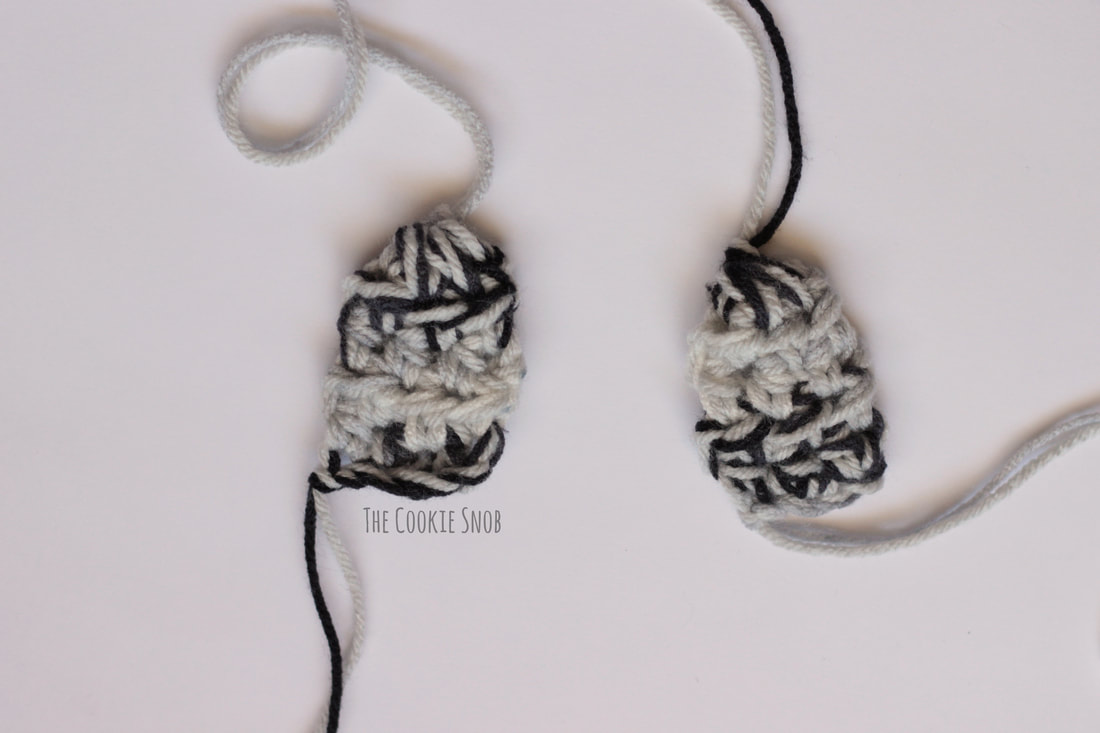
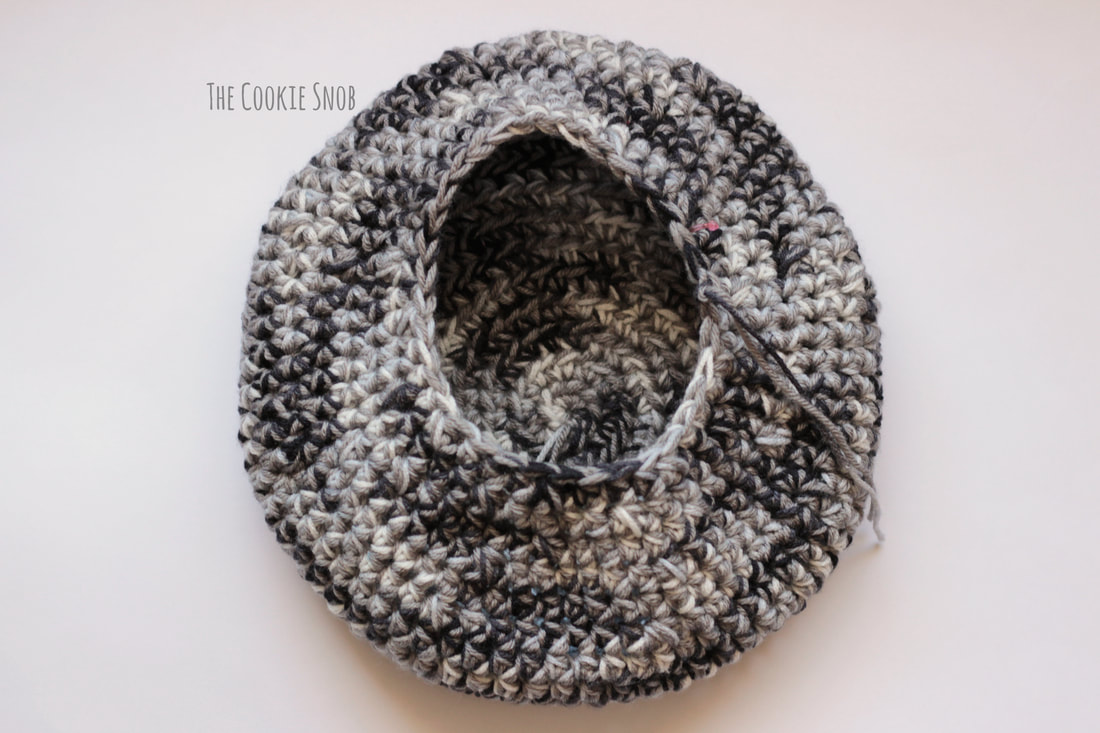
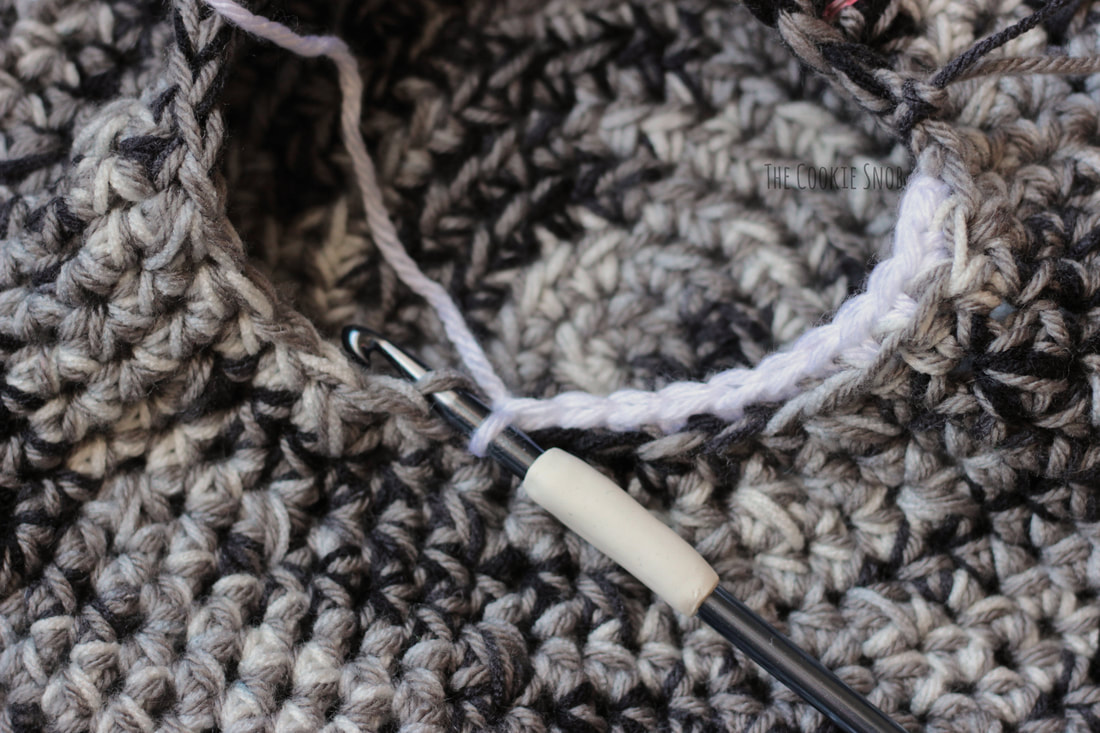
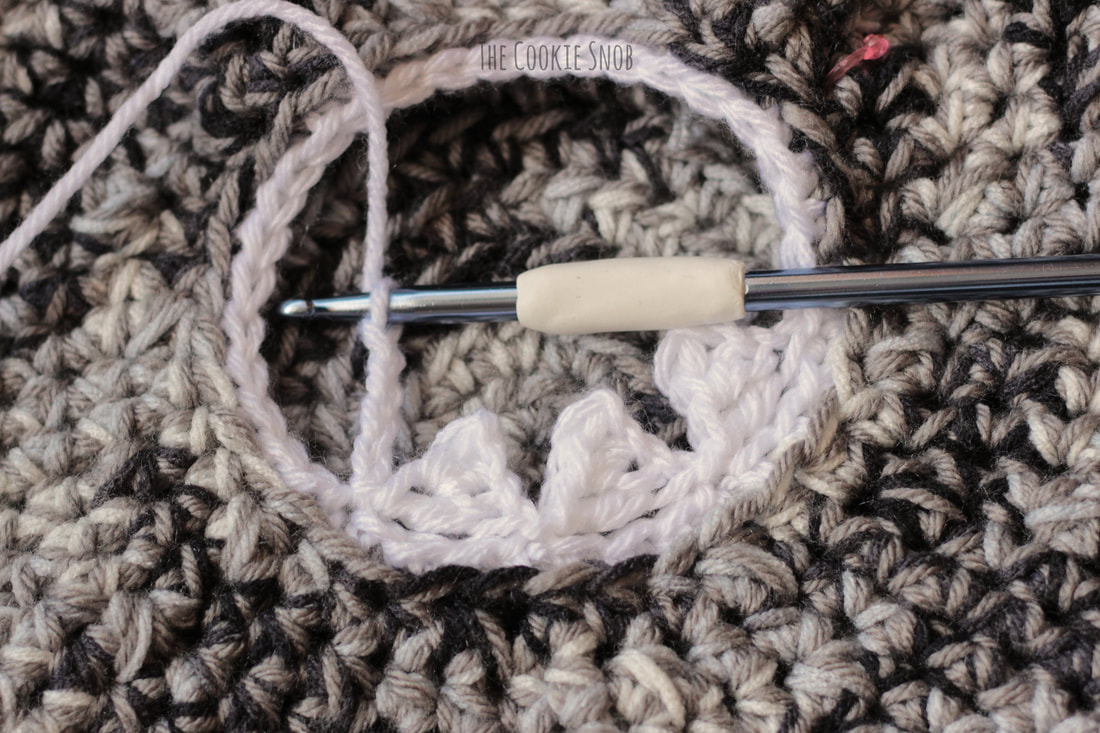
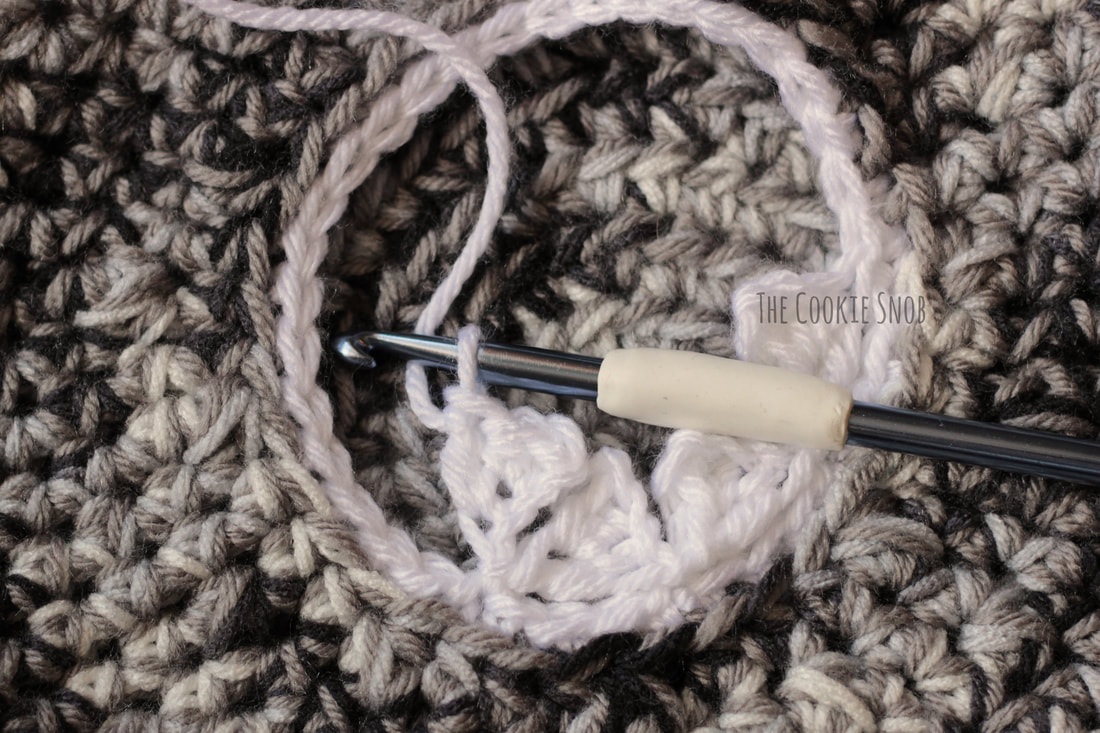
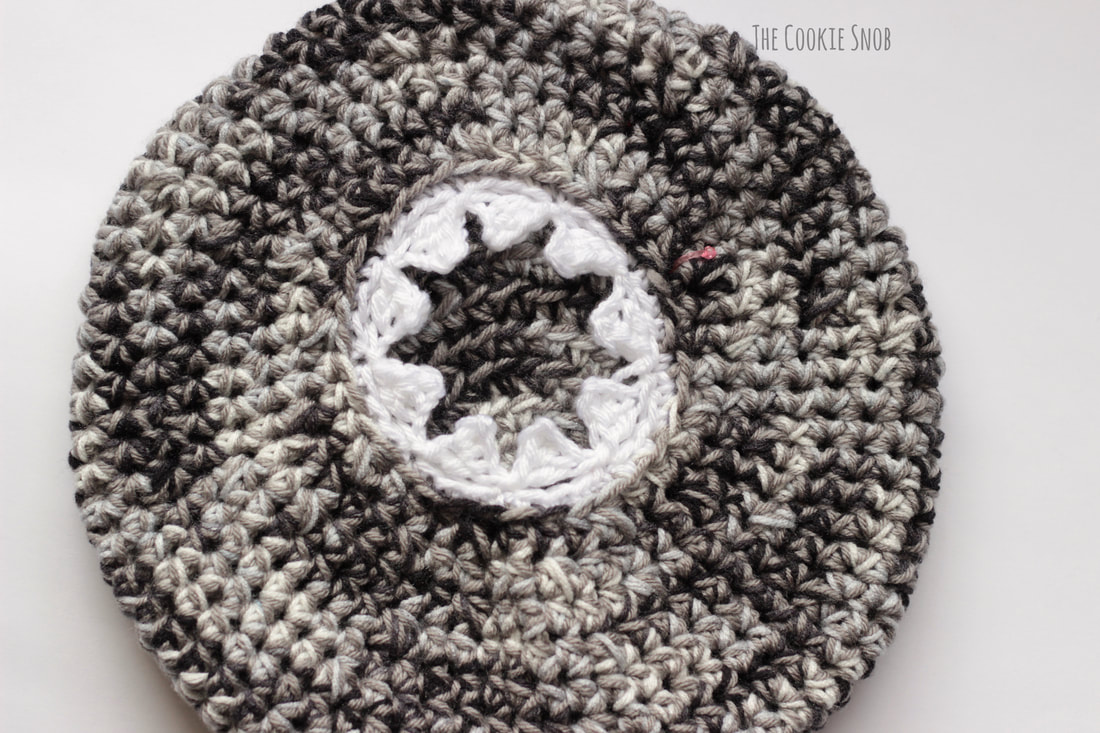
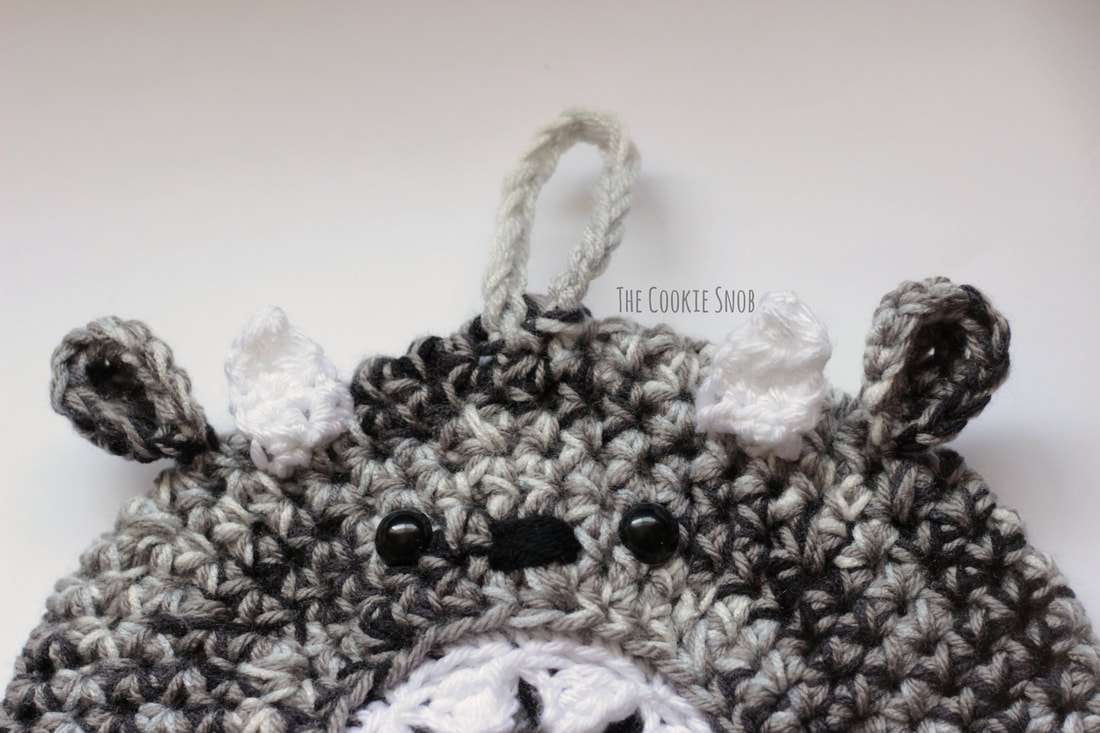
Gauge: Using the L hook and worsted weight yarn held double, 2" = 5 hdc 2" = 4 rows of hdc Foot (make 2): Using worsted weight yarn held double and the L hook: Round 1: Make a magic circle, ch 2 and work 12 dc into the circle, pull taut to close and ss to first dc to join (12) Round 2: ch 2, dc inc around, ss to join (24) Round 3: ss, sc, hdc, [dc twice, tr, dc twice] in the next st, skip the next st, ss, [dc twice, tr, dc twice] in the next st, skip the next st, ss, [dc twice, tr, dc twice] in the next st, hdc, sc, ss Fasten off, leaving a long yarn tail for sewing Ear (make 2): Using worsted weight yarn held double and the L hook: Row 1: Make a magic circle and work 4 sc into the circle, pull taut to close, turn (4) Row 2: ch 1, inc across, turn (8) Row 3: ch 1, [inc, sc in the next st] across, turn (12) Fasten off leaving a long yarn tail for sewing. It should look like the ear on the left. To finish it off, use the tapestry needle and the yarn tail to sew the bottom edges of the ear together so that it looks like the ear on the right. Horn (make 2): Using the white yarn and the K hook: Ch 4 Row 1: hdc in the 2nd ch from the hook and in remaining 2 sts across, turn (3) Row 2: ch 1, hdc across, turn (3) Row 3: ch 1, hdc2tog, hdc, turn (2) Row 4: ch 1, hdc2tog (1) Fasten off Arm (make 2): Using the worsted weight yarn held double and the L hook: Ch 4 Row 1: hdc in the 2nd ch from the hook and in the next 2 sts, turn (3) Rows 2-4: ch 1, hdc across, turn (3) Row 5: ch 1, hdc3tog (1) Fasten off Body: Note: This section of the pattern is worked in a continuous round, meaning the stitches are worked in a continuous spiral without joining or turning. I recommend using a stitch marker to help you keep your place Using the worsted weight yarn held double and the L hook: Round 1: Make a magic circle, ch 1, and work 8 hdc into the circle; pull taut to close (8) Round 2: hdc inc around (16) Round 3: [hdc inc, hdc in the next st] 8 times (24) Round 4: [hdc, inc, hdc] 8 times (32) Round 5: [hdc inc, hdc in the next 3 sts] 8 times (40) Round 6: [hdc in the next 2 sts, hdc inc, hdc in the next 2 sts] 8 times (48) Round 7: [hdc inc, hdc in the next 5 sts] 8 times (56) Round 8: hdc around (56) Round 9: [hdc in the next 3 sts, hdc inc, hdc in the next 3 sts] 8 times (64) Round 10: hdc around (64) Round 11: [hdc inc, hdc in the next 7 sts] 8 times (72) Rounds 12-14: hdc around (72) Round 15: [hdc2tog, hdc in the next 7 sts] 8 times (64) Round 16: hdc around (64) Round 17: [hdc in the next 3 sts, hdc2tog, hdc in the next 3 sts] 8 times (56) Round 18: [hdc2tog, hdc in the next 5 sts] 4 times, hdc in the next 28 sts (52) Round 19: [hdc in the next 2 sts, hdc2tog, hdc in the next 2 sts] 6 times, hdc in the next 16 sts (46) Round 20: [hdc2tog, hdc in the next 3 sts] 8 times, hdc2tog, hdc in the next 2 sts, hdc2tog (36) Sc in the next 2 sts, then ss to even out the round. Fasten off. Teeth: Using the white yarn and the K hook: Row 1: sc in the back loop only of round 20 (the last round) of the body, ss to join (36) Row 2: [Ch 4, sc in the 2nd ch from the hook, hdc in the next ch, dc in the last ch, skip the next 3 sts in row 1, ss in the next st to join] around, ss to join (9 teeth) Fasten off Assembly: You'll notice that the body of the monster is slightly asymmetrical, with the mouth closer to one end than the other. The shorter end should be the top of the monster's body. I recommend attaching the facial features here. Place the safety eyes between rounds 18 and 19 of the body, about 6 sts apart. Stitch the nose between rounds 19 and 20 with a tapestry needle and the black scrap yarn; I made mine 2 sts wide, centered between the eyes, by stitching back and forth 10 times in the same spot. Using the tapestry needle and the long yarn tails, sew the ears to the body between rounds 14 and 15, about an inch or so past the eyes. Sew the bottom edge of the horns between rounds 15 and 16, in between the eyes and the ears. To make the loop for hanging the basket, attach your worsted weight yarn held double centered above the face between rounds 14 and 15. Ch 15 (or more, if you want a longer loop, or fewer, if you want a shorter loop). Ss to join and fasten off. Using the tapestry needle, sew the bottom edges of arms on either side of the monster in between rounds 14 and 15. Then sew the bottom edges of the feet in between rounds 12 and 13 on both sides of the bottom of the body. Weave in ends. Congratulations! Your monster basket is now ready to gobble up stray socks (or whatever else you want to feed it; monsters aren't very picky eaters). I hope you enjoy this fun, kid-approved pattern! If you have any questions or comments about it, you can reach me in the comments section below or on social media. And if you end up making one, I'd love to see it! There's a ton of potential for personalization on this one and it would be super fun to see what you come up with. Happy hooking! Want to make sure you don't miss any future blog posts? Join my mailing list: ***You're welcome to do whatever you'd like to with finished products made from this pattern but if you do sell them, I ask that you link back to my page. You may not copy this pattern, repost it anywhere (either altered or in its original form), or claim it as your own. You may not use any photos on this site for your own use. ***
1 Comment
Hilda chierichetti
6/1/2019 07:31:51 pm
Me lo pueden traducir en español
Reply
Leave a Reply. |
Welcome!Thank you for stopping by to visit my own personal corner of the web! Feel free to take a look around and check out what I've been crafting, crocheting, or baking. Hopefully you'll find something to inspire your own creativity! Archives
March 2024
|



 RSS Feed