|
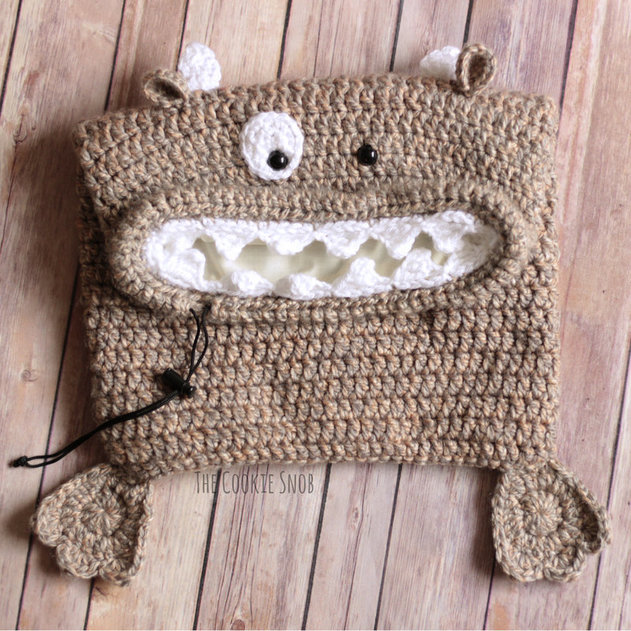
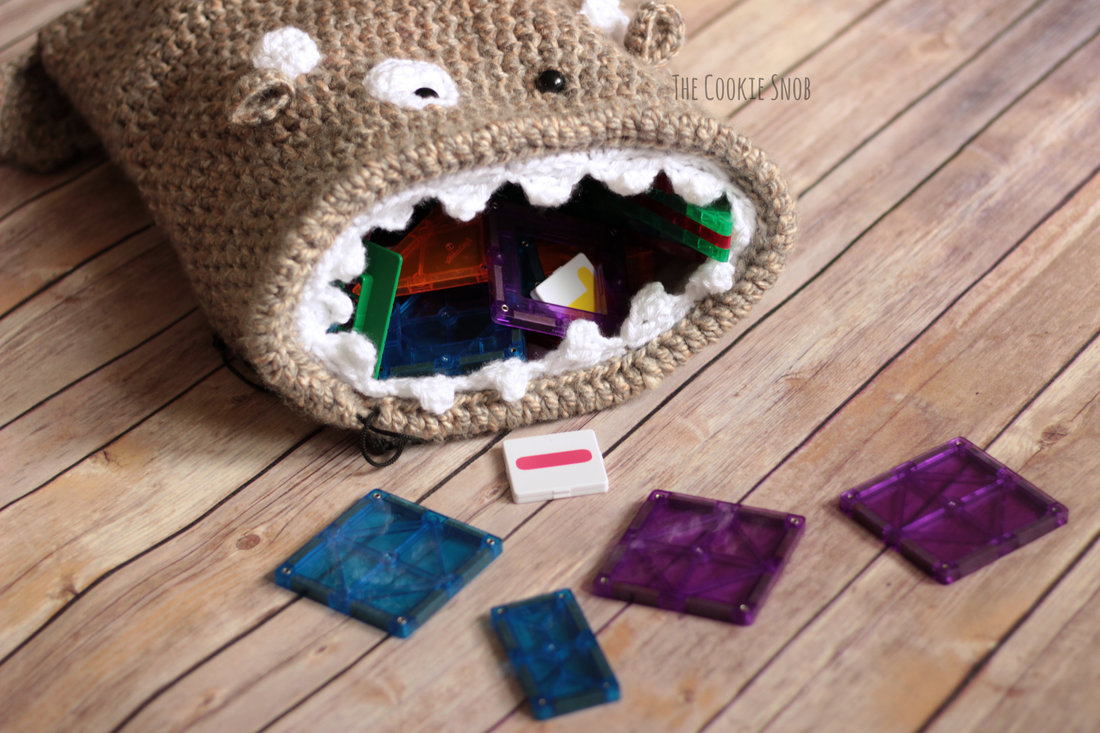
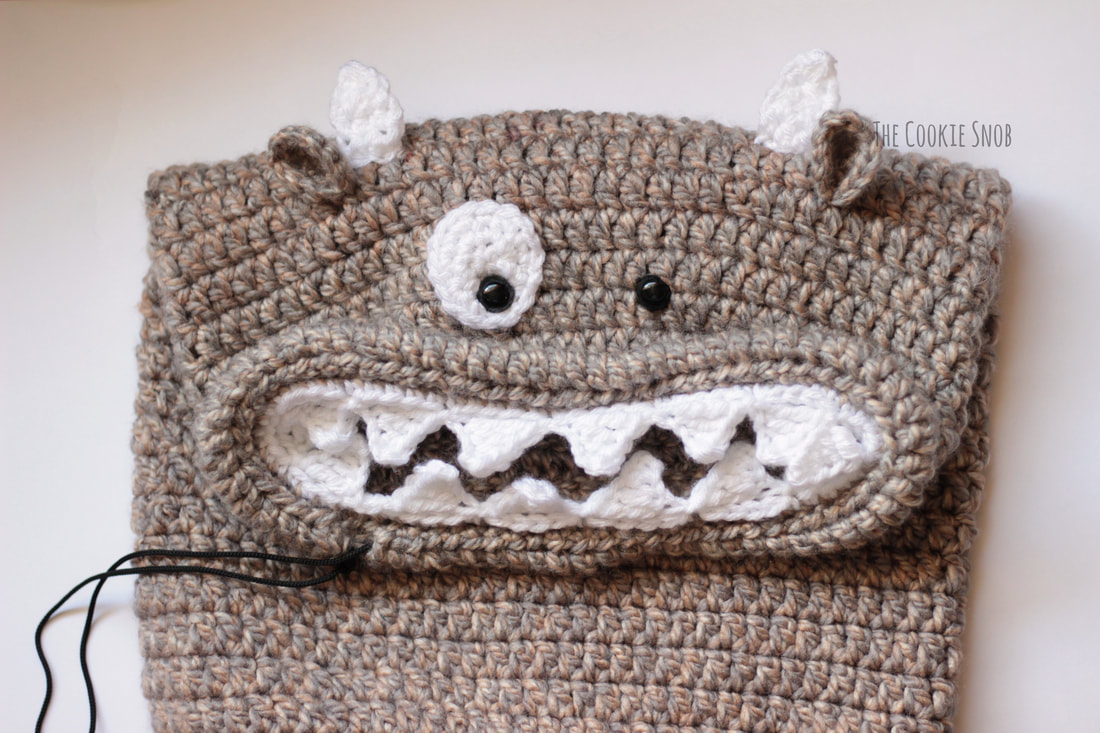
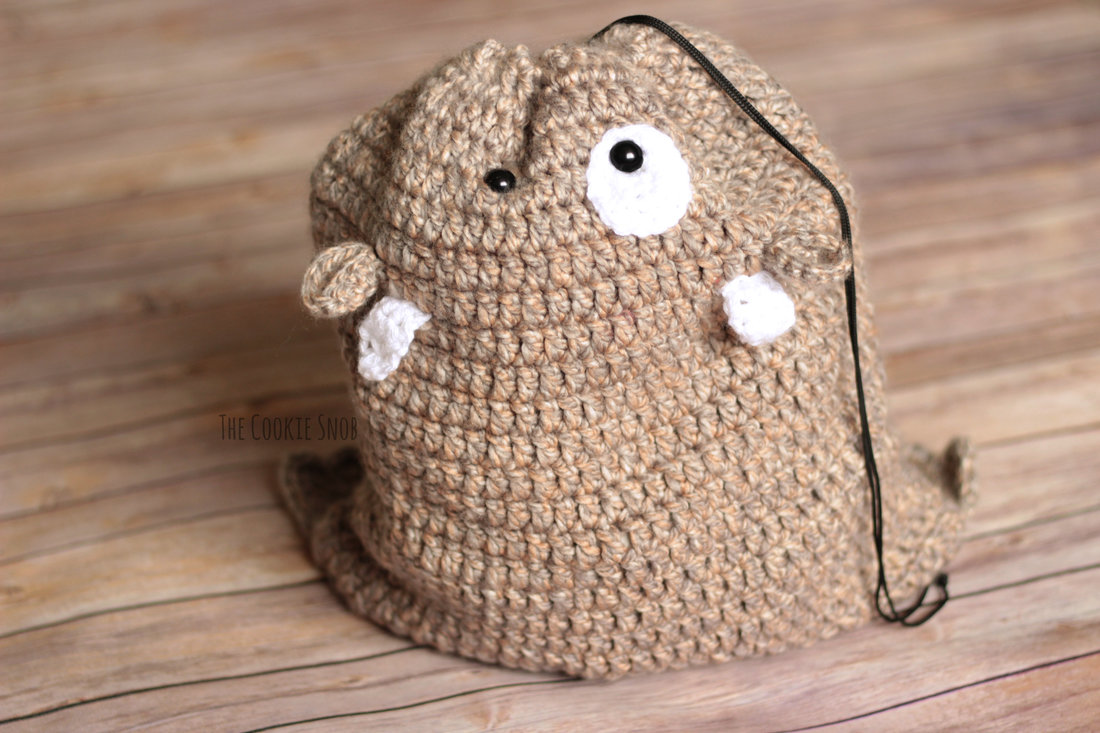
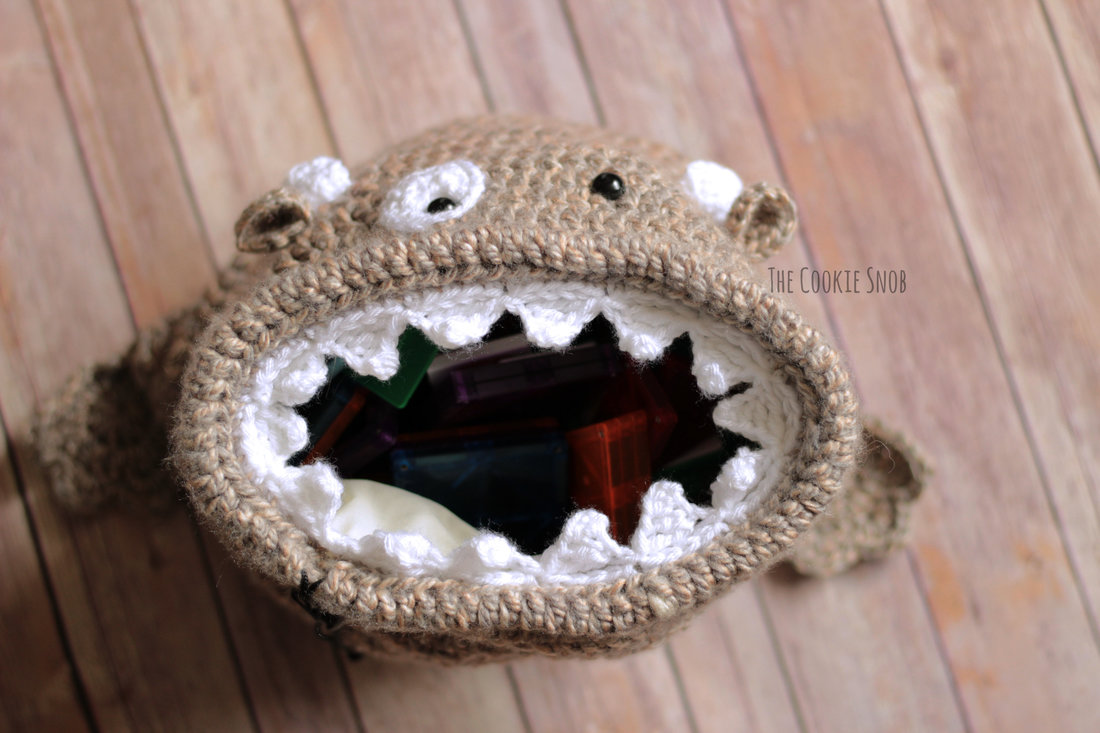
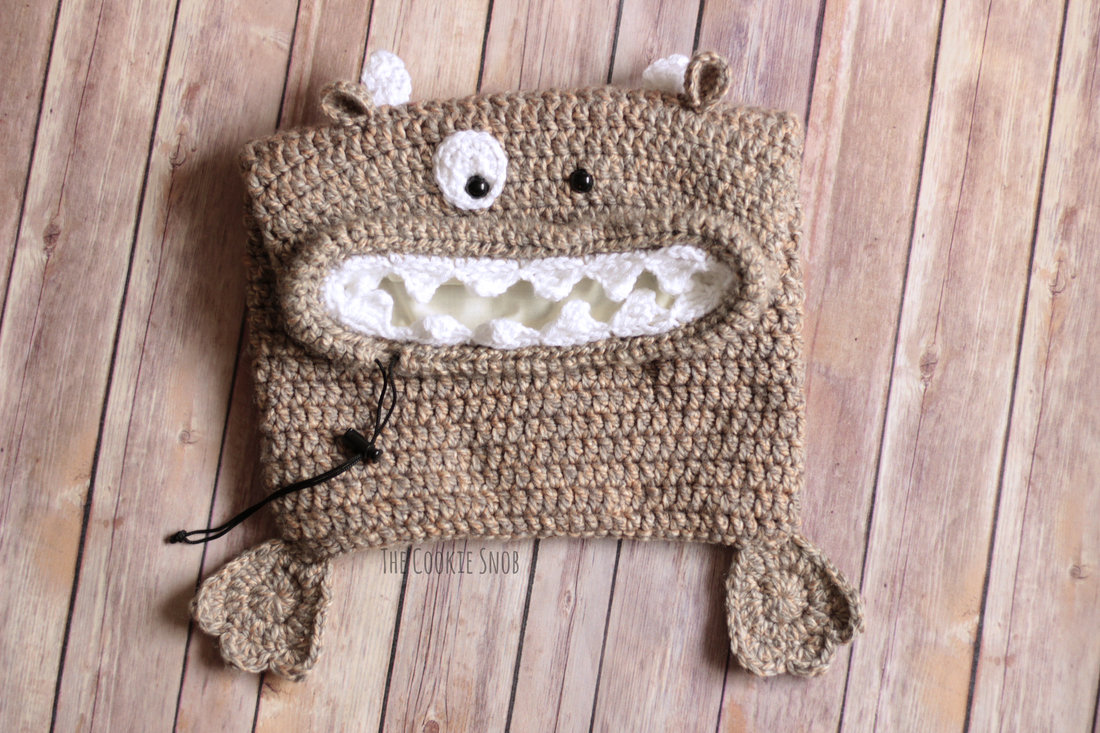
More often that not, my kids do not enjoy cleaning up their toys (shocking, I know). But I have found that turning it into a game will win over even the crankiest toddler. One of our favorite games is pretending that toy bags/containers are hungry monsters. A fine tradition inherited from my father, who was the master of the toy monster game. When the bag for our magnet blocks got completely destroyed, it seemed like the perfect opportunity to take the toy monster game to a new level with a lovable yet hungry crocheted monster. So this pattern is basically a crochet project AND a parenting hack, all in one. Score. The monster bag is essentially just a draw string bag with embellishments. We're using ours to house our magnet block set, but you could put just about anything you want in there. Monsters aren't very picky, so I'm sure this guy will be happy to chomp on anything you want to feed him. I lined my bag for extra durability, but you can decide whether or not it's worth the additional step; I would definitely recommend it if you're planning to store something small like legos. I also found that the top didn't want to stay cinched super tight when closed (due to the thickness of crocheted fabric), but that adding a small cord lock to the drawstring solved the problem perfectly. My bag came out to be 16.5" tall and 13.5" wide. Be sure to check your gauge if you're aiming for a bag with the same dimensions. I made mine with just one color, since it was what I had on hand, but you could easily incorporate stripes by switching colors for a more whimsical look. Now let's check out the pattern! If you'd like an ad-free printable PDF version of this pattern, you can find one on Ravelry. Stitch Glossary: st(s) = stitch(es) ch = chain ss = slip stitch sc = single crochet inc = sc increase (work 2 sc into the same st) hdc = half double crochet hdc2tog = hdc 2 together (decrease over 2 hdc) dc = double crochet dc inc = dc increase (work 2 dc into the same st) fdc = foundation dc fpdc = front post dc tr = treble (triple) crochet Materials:
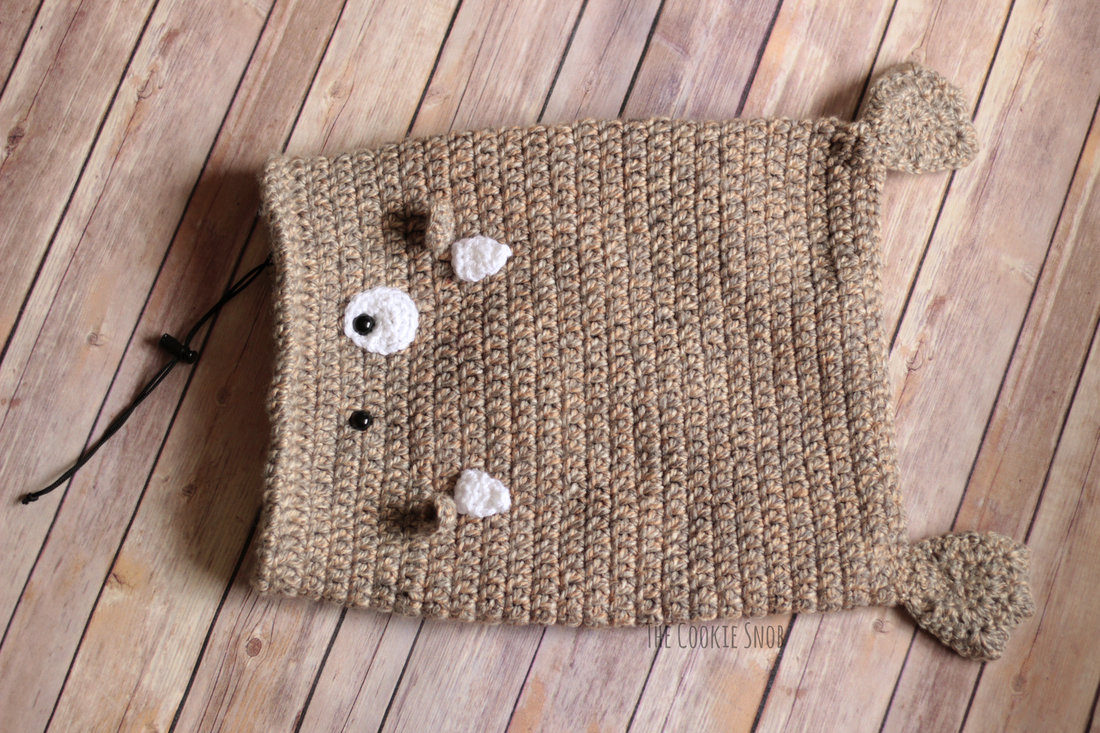
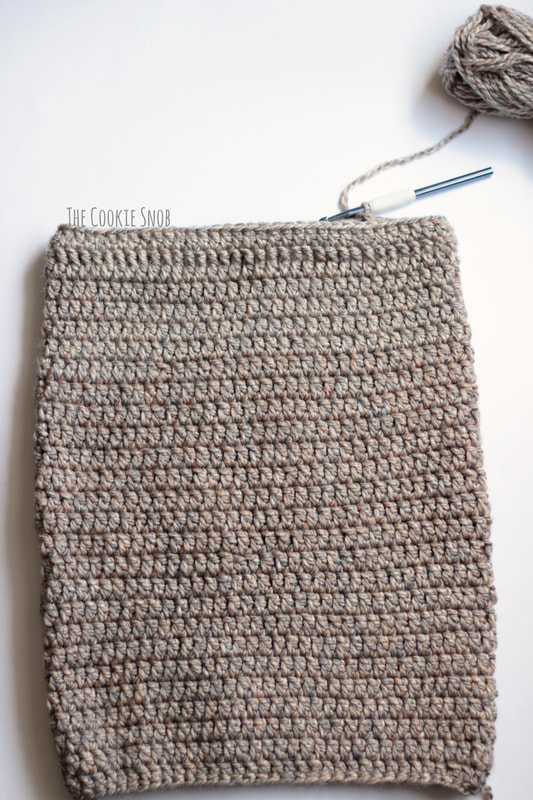
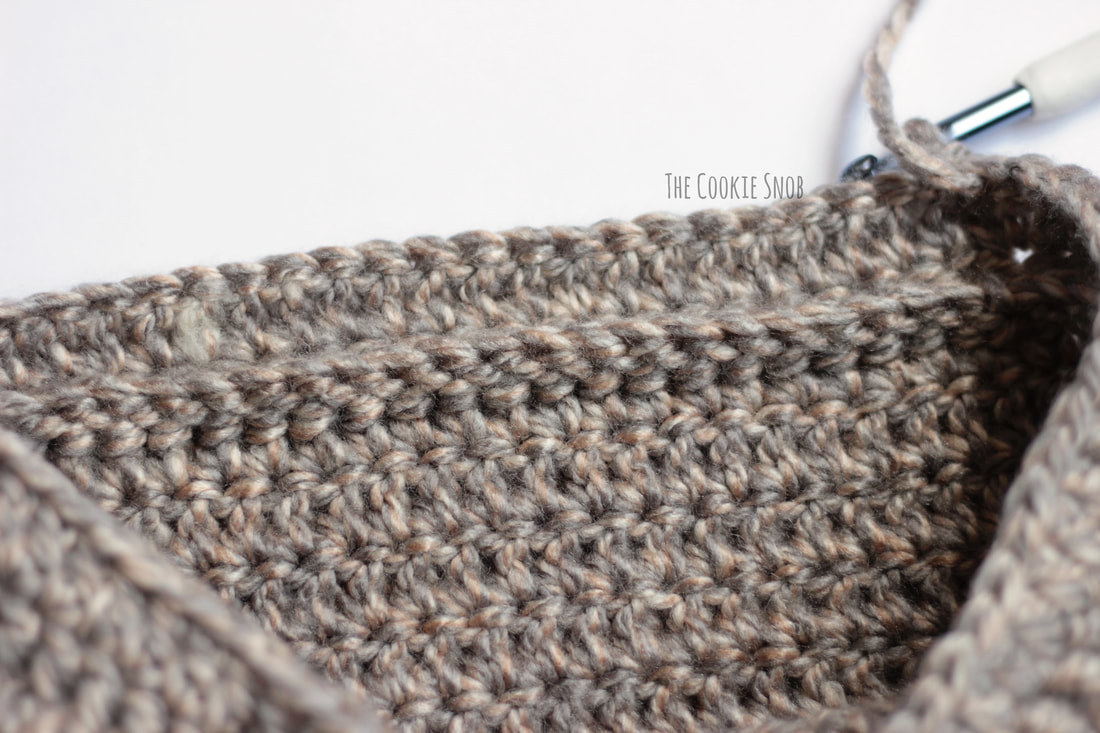
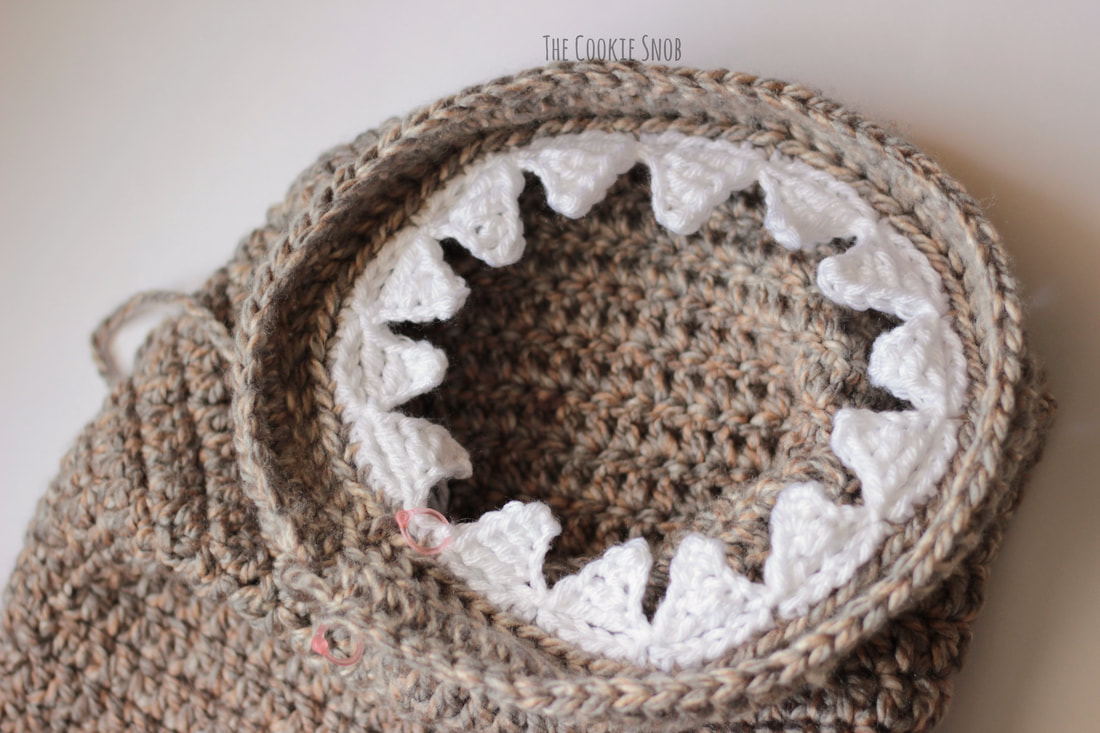
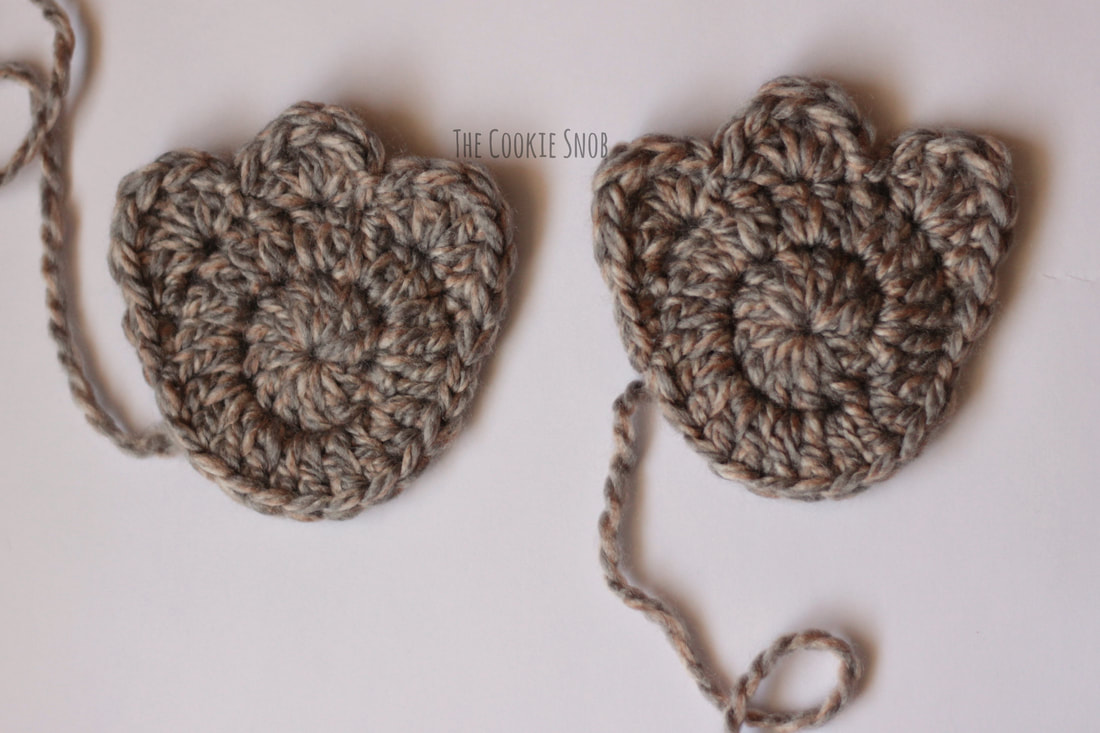
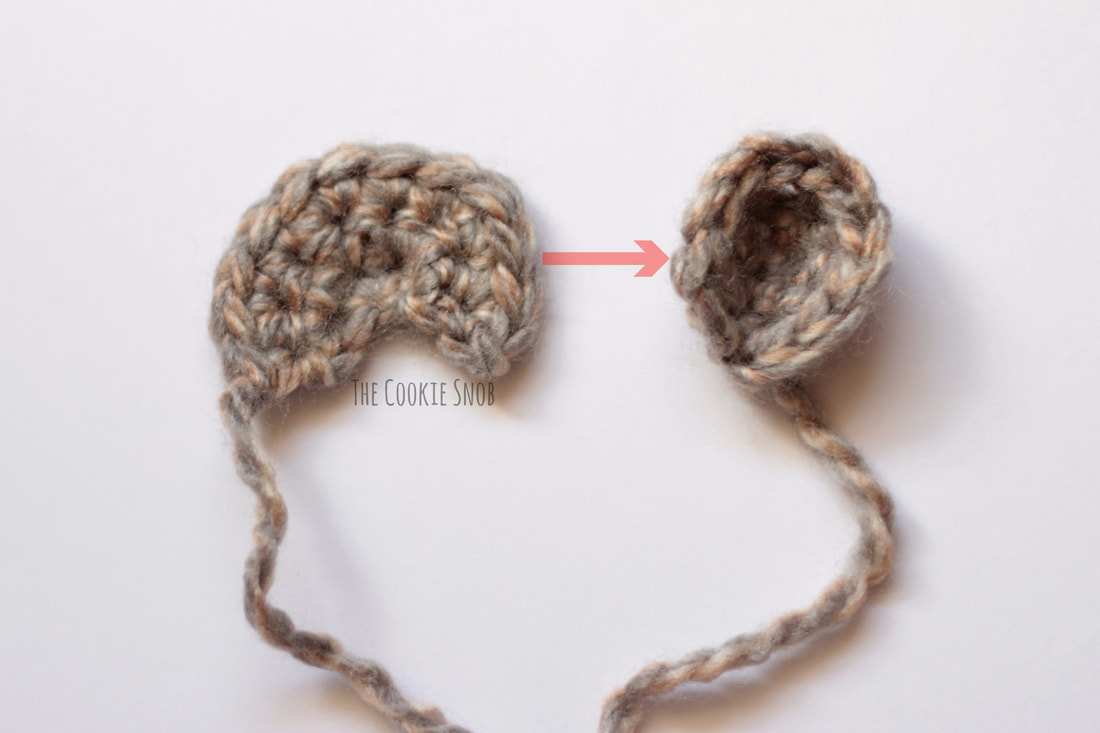
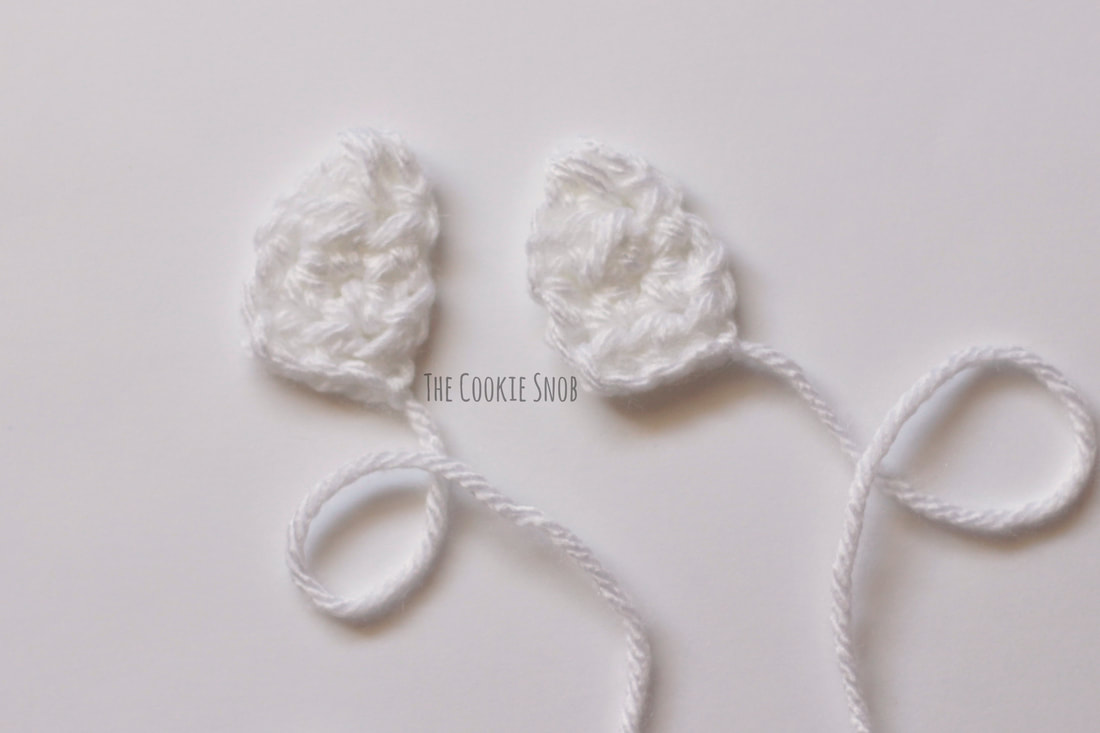
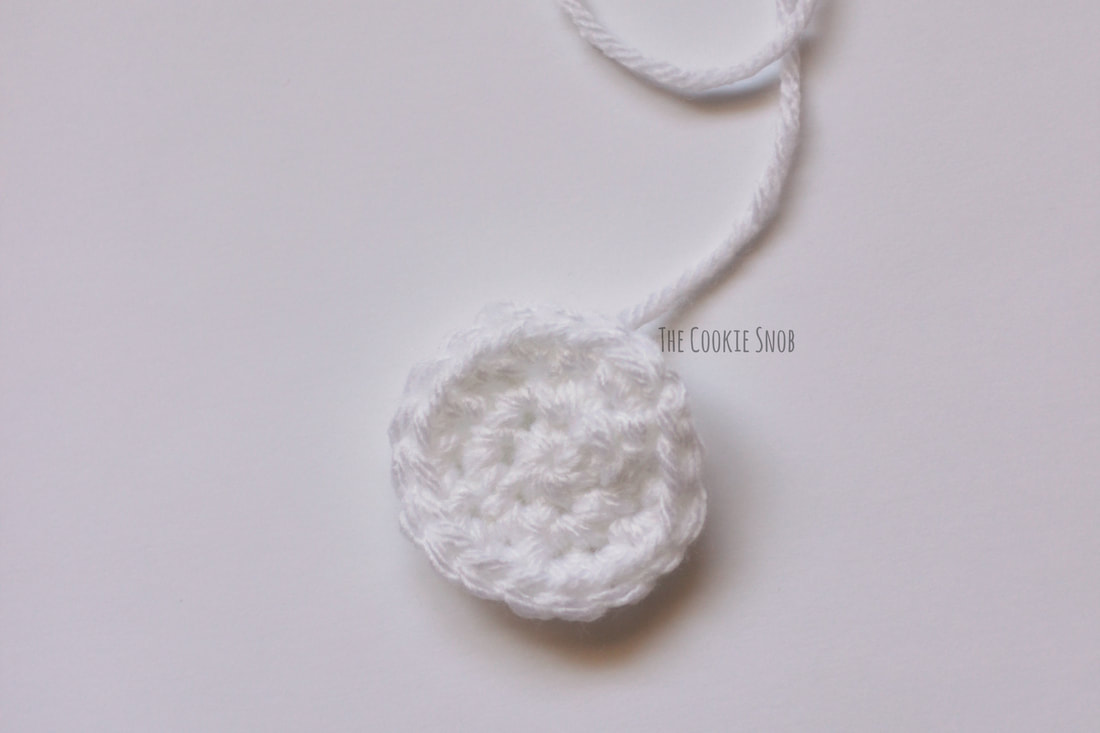
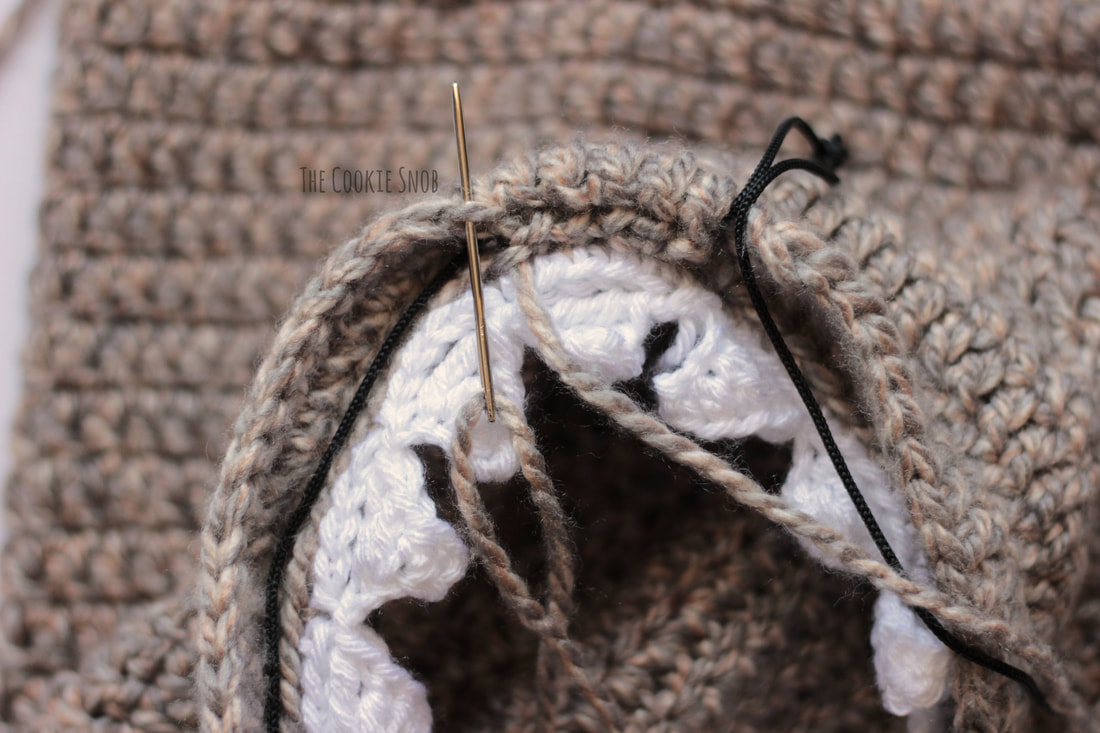
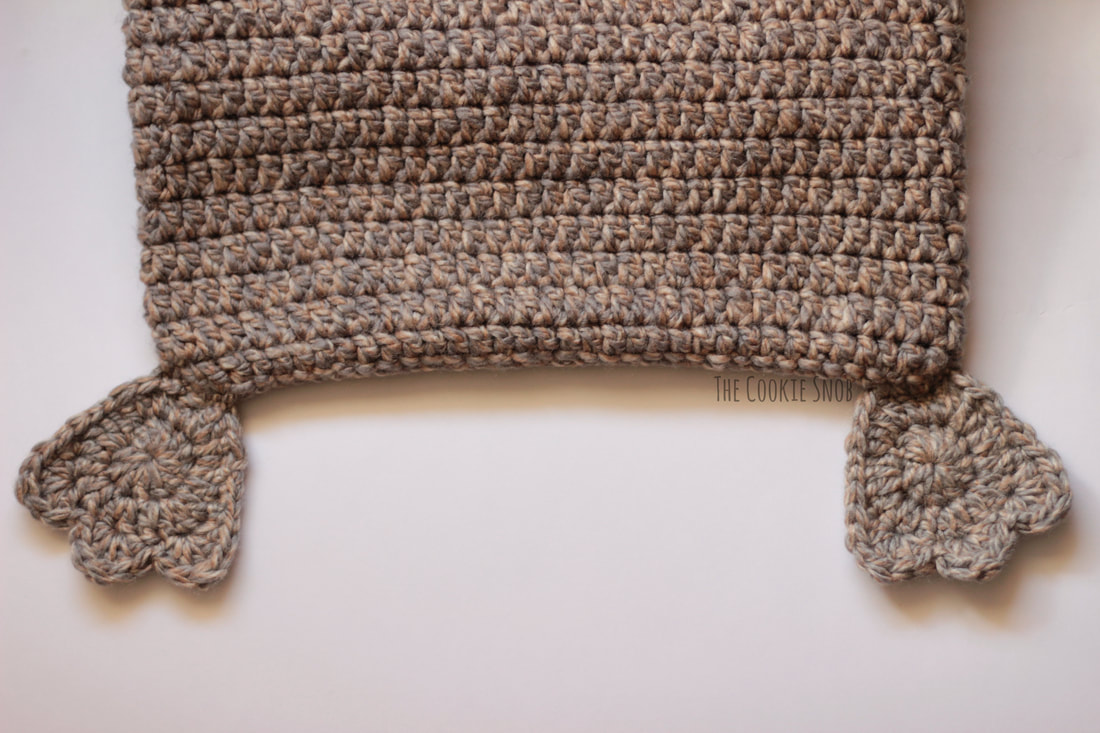
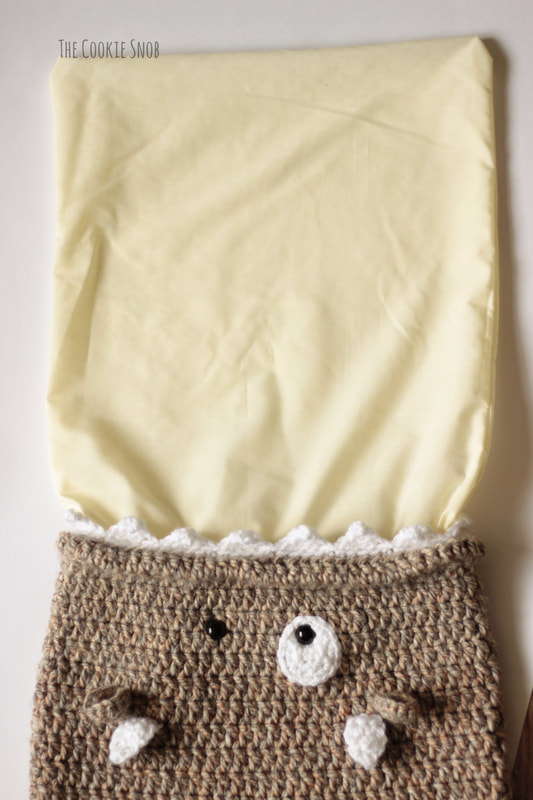
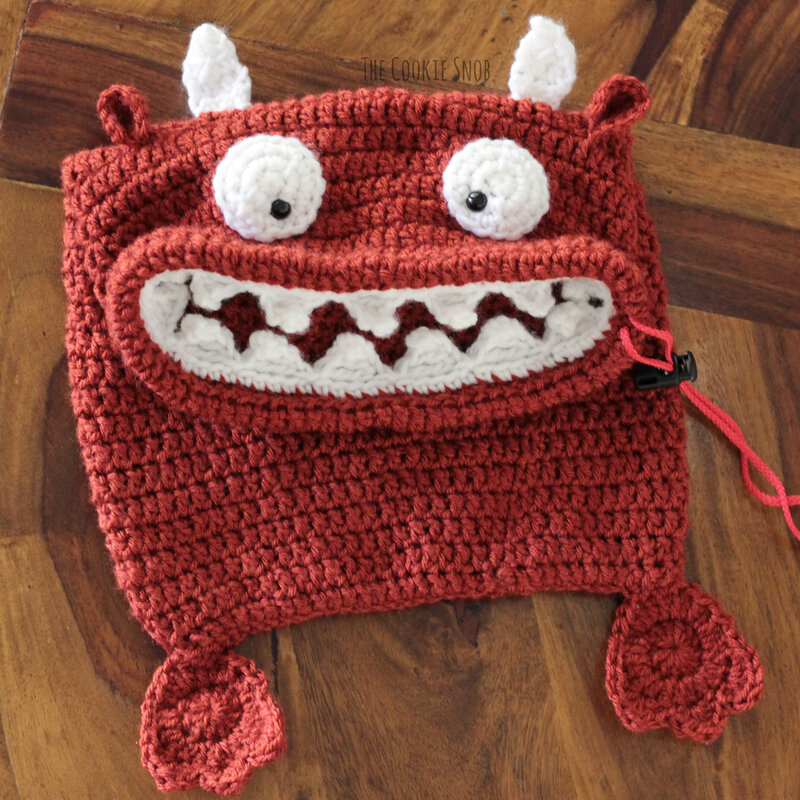
Gauge: 4" = 10 dc 4" = 6 rows of dc Bag: Using the Graystone yarn: Row 1: fdc 70 times, ss to first st to join (70) OR if you don't like foundation stitches, you can ch 72 and then dc in the 3rd ch from the hook and in each st across, then ss to the first dc to join (70) Row 2: ch 2, dc across, ss to join (70) Repeat row 2 until the bag is about 16" tall Row 3: ch 2, fpdc across, ss to join (70) Row 4: ch 2, dc across (don't ss to join) (70) Fasten off, leaving an extra long yarn tail for sewing Note: You'll notice that the row of fpdc will leave you with a nice ridge on the inside, with both the front and back loop of the previous row showing. This is perfect, because we'll be using both of these loops by the time we're done. To help avoid confusion, I'm going to break with tradition a bit and call them the inner loop (the loop closer to the inside or wrong side of the bag) and the outer loop (the loop closer to the outer edge or right side of the bag). Teeth: Using the White yarn and the inner loop I just mentioned (the one created by the fpdc): Row 1: ch 1, sc around in the inner loop only, ss to join (70) Row 2: [ch 5, sc in the 2nd ch from the hook, hdc in the 3rd ch, dc in the 4th ch, tr in the 5th ch, skip the next 4 sts from row 1, ss] 14 times Fasten off. Foot (make 2): Using the Graystone yarn: Round 1: Make a magic circle, ch 2 and work 12 dc into the circle, pull taut to close and ss to first dc to join (12) Round 2: ch 2, dc inc around, ss to join (24) Round 3: ss, sc, hdc, [dc twice, tr, dc twice] in the next st, skip the next st, ss, [dc twice, tr, dc twice] in the next st, skip the next st, ss, [dc twice, tr, dc twice] in the next st, hdc, sc, ss Fasten off, leaving a long yarn tail for sewing Ear (make 2): Using the Graystone yarn: Row 1: Make a magic circle and work 4 sc into the circle, pull taut to close, turn (4) Row 2: ch 1, inc across, turn (8) Row 3: ch 1, [inc, sc in the next st] across, turn (12) Fasten off leaving a long yarn tail for sewing. It should look like the ear on the left. To finish it off, use the tapestry needle and the yarn tail to sew the bottom edges of the ear together so that it looks like the ear on the right. Horn (make 2): Using the White yarn: Ch 4 Row 1: hdc in the 2nd ch from the hook and in remaining 2 sts across, turn (3) Row 2: ch 1, hdc across, turn (3) Row 3: ch 1, hdc2tog, hdc, turn (2) Row 4: ch 1, hdc2tog (1) Fasten off Eye (make 1 or 2 depending on preference; I made just 1 for mine): Using the White yarn: Round 1: Make a magic circle and work 6 sc into the circle, pull taut to close and ss to first sc to join (6) Round 2: ch 1, inc around, ss to join (12) Round 3: ch 1, [inc, sc in the next st] around, ss to join (18) Fasten off, leaving a long yarn tail for sewing Assembly: Place your drawstring in between the teeth and the top edge of the bag, with the extra sticking out of the space left behind by not joining the final round of the bag. Using your tapestry needle and the long yarn tail, stitch the top edge of the bag to the remaining outer loop leftover after making the teeth (see note above if you don't remember what I'm talking about). Sew the bottom of the bag shut. Stitch the feet to the bottom 2 corners of the bag. Using the yarn tails and tapestry needles, stitch on the white eyes in the center of the bag, a couple rows away from the mouth. Place the safety eyes through the white eyes or directly through the bag and fasten. My safety eyes ended up being about 7 sts apart. Stitch the bottom of the ears to the bag, about 3 rows above each safety eyes and about 6 stitches closer to the outer edge of the bag. Stitch the bottom of the horns just above the ears, a couple inches closer to the center of the bag. Weave in any remaining ends and add the plastic cord lock to the drawstring. Isn't he just adorable? Now for the optional lining step. Don't worry if you're not much of a sewer; this is just about the simplest bag lining you will ever find. If your dimensions match my bag, you'll use a fabric rectangle that's 14.5" wide and 33.5" long. If your dimensions are different, never fear. Measure the width of your bag and add 1" for the width of the fabric. Then measure the height of your bag and multiply it by 2, then add 1/2" for the length of the fabric. Fold the fabric in half (so that it measures 14.5" by 16.75") and sew the long sides together, leaving a 1/2" seam. Then stick your lining into the bag and match up the corners at the bottom. Fold the top edge of the lining down about 1/2" and then sew the bag to your crochet stitches just below the teeth (I used a basic running stitch for mine). Feel free to contact me if you have more questions about how to make this work, but I'm confident that you can do it! Edit (7/2020): I'm updating this post to add instructions for a mini-monster bag made from worsted weight yarn. This smaller bag is closer to 10.25" by 12.5." Follow the same instructions as for the larger bag, but use worsted weight yarn and an I (5.5 mm) crochet hook. The only difference in the pattern is to repeat Row 2 of the body until it measures about 12.5" inches (instead of the original longer length). I used about 220 yards of I Love This Yarn! in Terra Cotta and 20 yds of Red Heart Super Saver in White. I also used smaller 10 mm safety eyes (although I wasn't really paying attention to what I was doing and put them a bit too far apart...so he's a caffeinated monster or something haha). I opted for the 2 white eye backings, since I found that they keep the safety eyes in place better (the original monster has since lost the unbacked eye after much rough-housing...whoops). The gauge for the mini monster bag is: 4" = 14 dc, 9 rows. If you're using the same gauge, you'll need an 11.25" by 25.5" rectangle of fabric for the lining. The lining really does make the bags more durable (our original bag has gone through a ton of abuse in the lat couple of years and gets dragged around the house daily but still works beautifully), so I recommend it if you can. And there you have it! A handy toy bag that's sure to be the most exciting drawstring bag around. My kids love it, so it's definitely toddler approved. I hope you enjoy this pattern! If you like the pattern, you can find an ad-free printable PDF version on Ravelry. What would you keep in your monster bag? I'd love to hear! If you have any comments or questions about this pattern, you can reach me in the comments section below or on social media. Happy hooking! Want to make sure you don't miss out on any future blog posts? Join my mailing list! ***You're welcome to do whatever you'd like to with finished products made from this pattern but if you do sell them, I ask that you link back to my page. You may not copy this pattern, repost it anywhere (either altered or in its original form), or claim it as your own. You may not use any photos on this site for your own use. ***
3 Comments
8/23/2018 12:37:08 pm
This is so fabulous!! My kids would each want their own!
Reply
Leave a Reply. |
Welcome!Thank you for stopping by to visit my own personal corner of the web! Feel free to take a look around and check out what I've been crafting, crocheting, or baking. Hopefully you'll find something to inspire your own creativity! Archives
March 2024
|



 RSS Feed