|
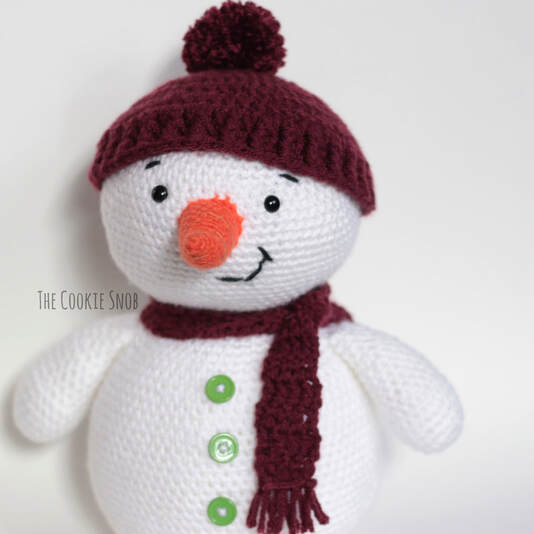
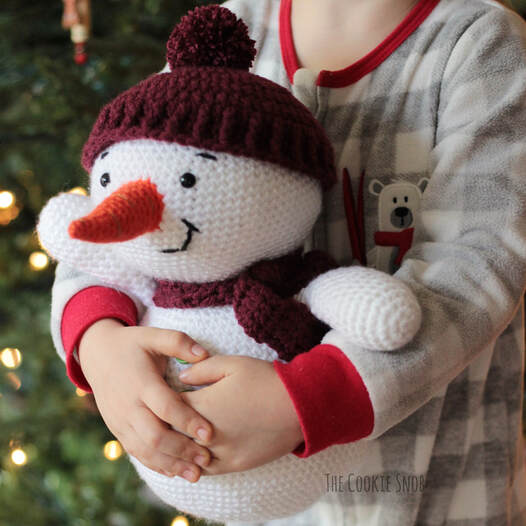
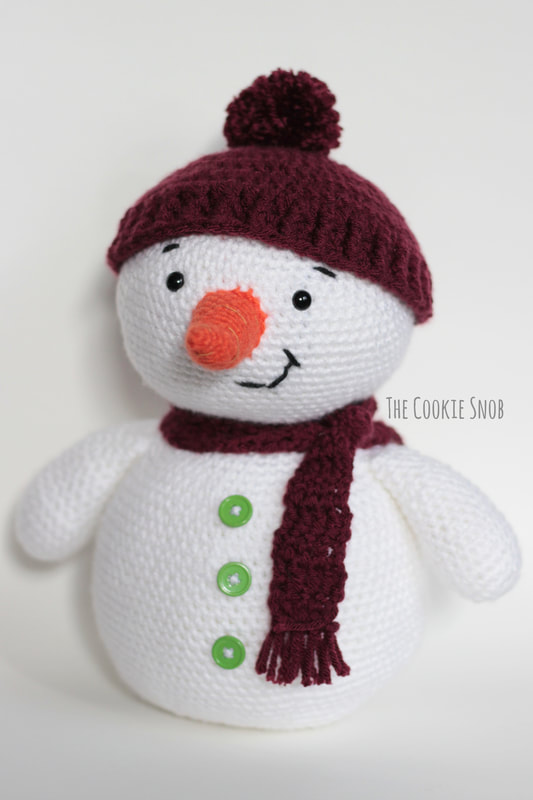
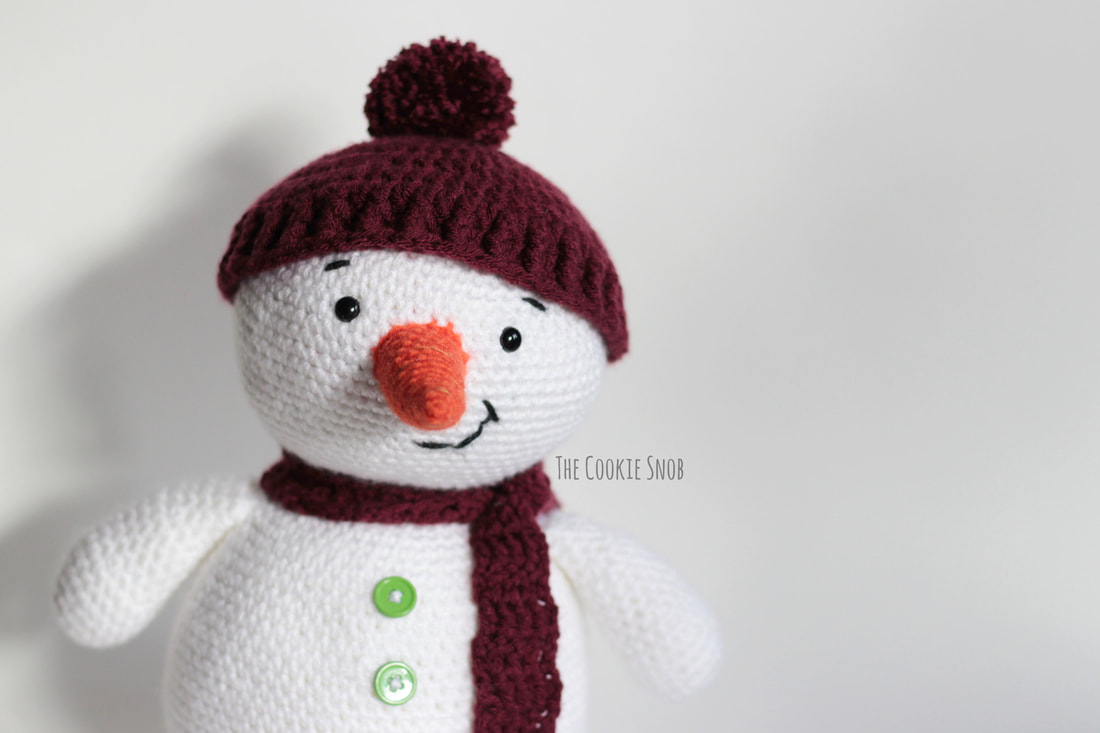
Hello, internet! It's been FAR too long since this blog was updated. A special thanks to all of you who have been patiently supporting my blog in my absence! Seeing your projects makes my day and it's always an honor to have someone choose to make one of my patterns. So thank you for keeping this creativity going while I was away. I'm super glad to be back though! To kick things off (again), I wanted to share a cute, cuddly, festive (free!) crochet pattern with you all. Meet the Snuggly Snowman! My youngest requested a soft snowman and has been extensively field testing him to make sure he's perfectly huggable. She loves this little guy and hopefully you will too! I've included instructions in the pattern for making a matching hat and scarf, but feel free to get creative and decorate your snowman with whatever accessories tickle your fancy. A top hat? A bow? It would all be adorable! If you'd like an ad-free printable PDF version, you can find one on Ravelry. Stitch Glossary: st(s) = stitch(es) ss = slip stitch ch = chain sc = single crochet inc = sc increase (work 2 sc in the same st) dec = sc decrease (work 2 sc together) dc = double crochet fpdc = front post dc Materials:
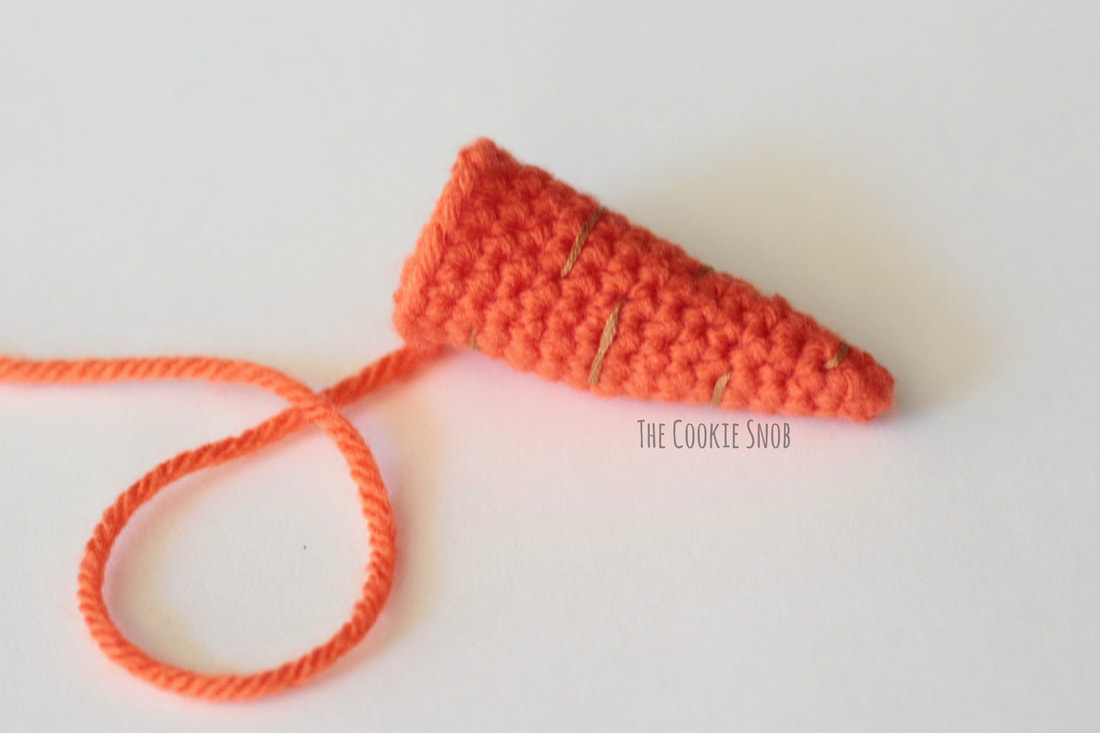
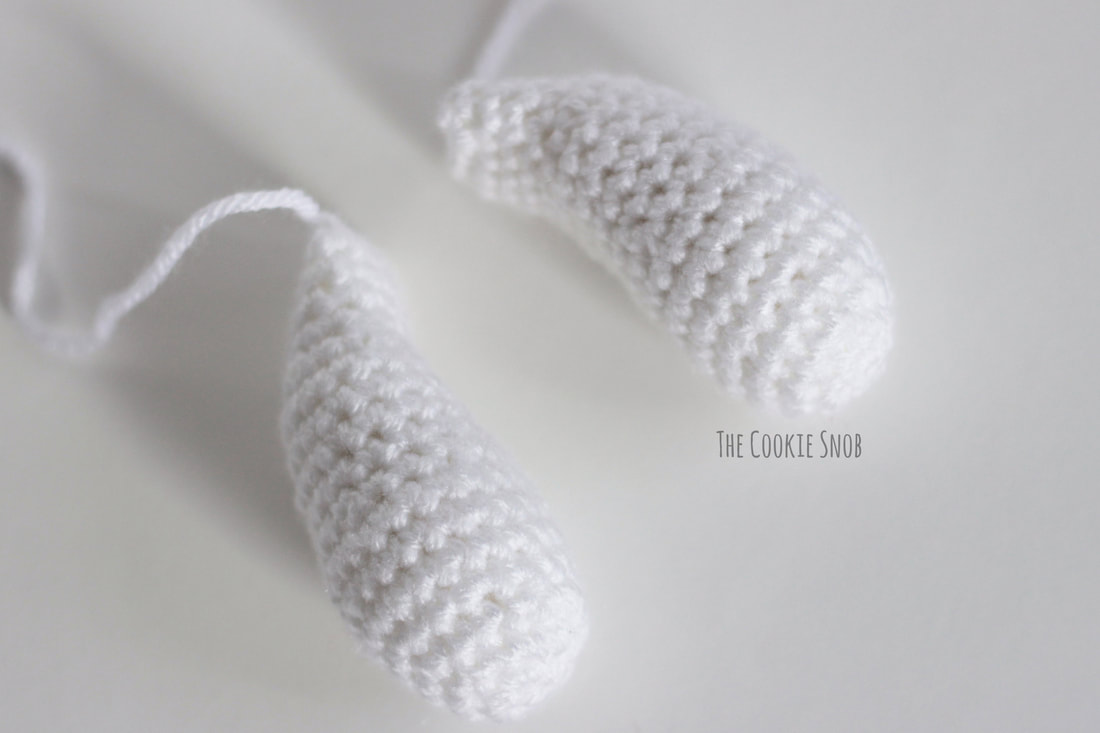
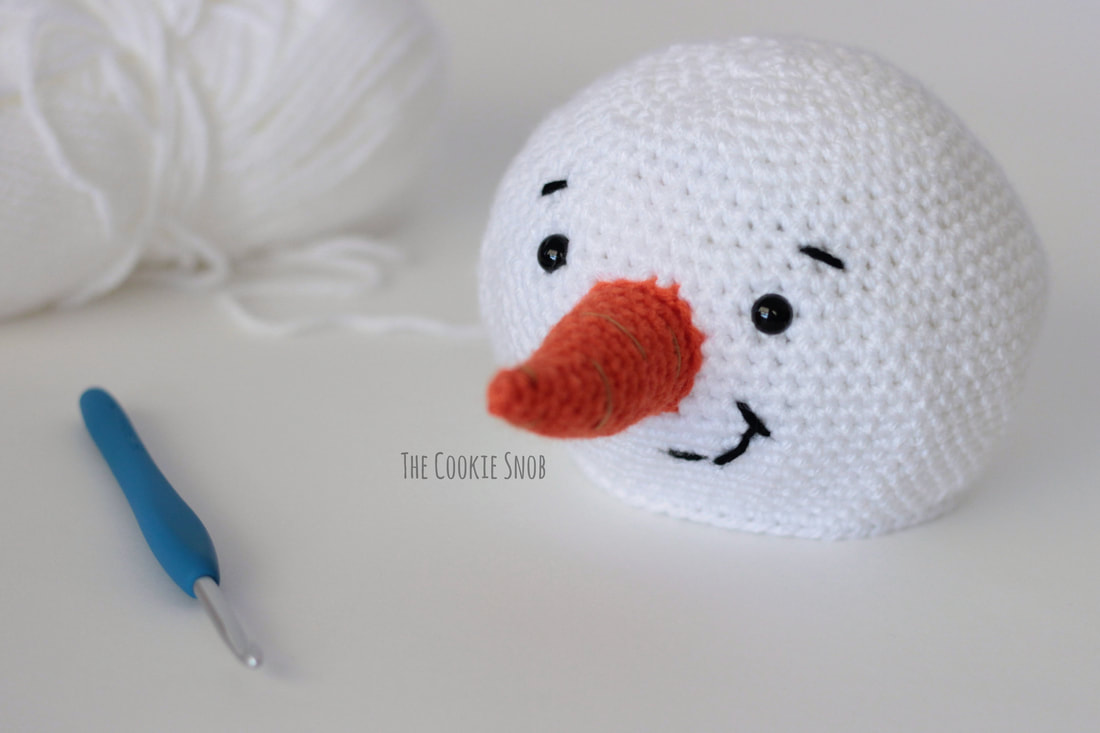
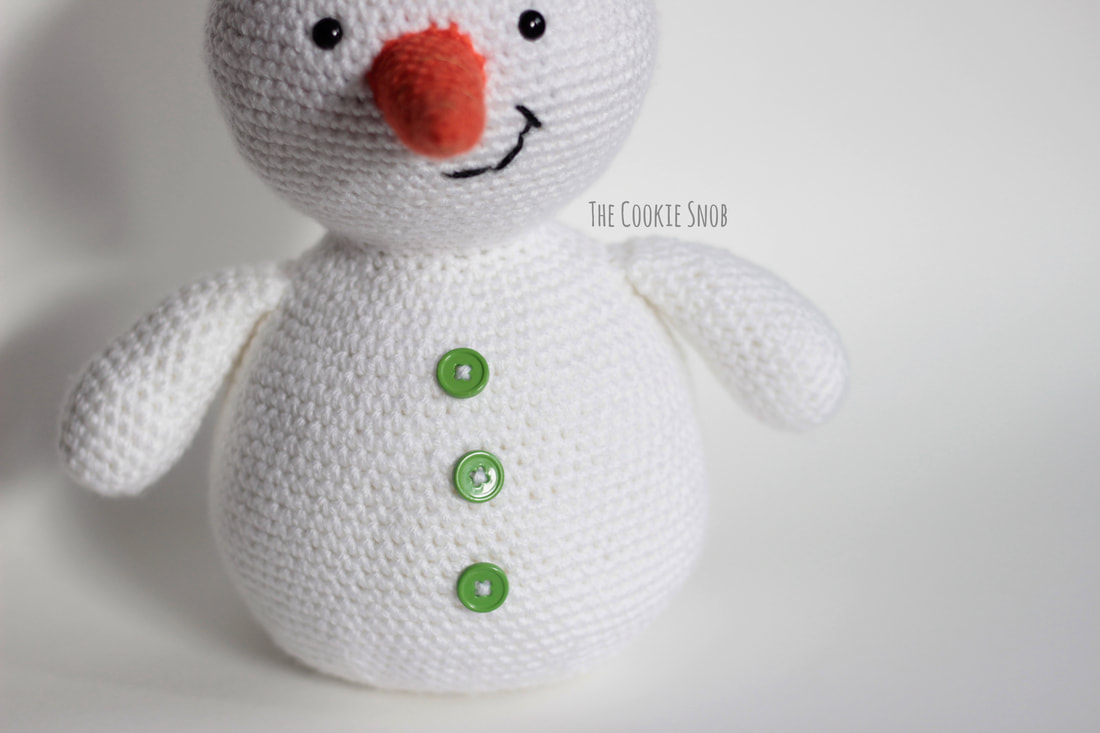
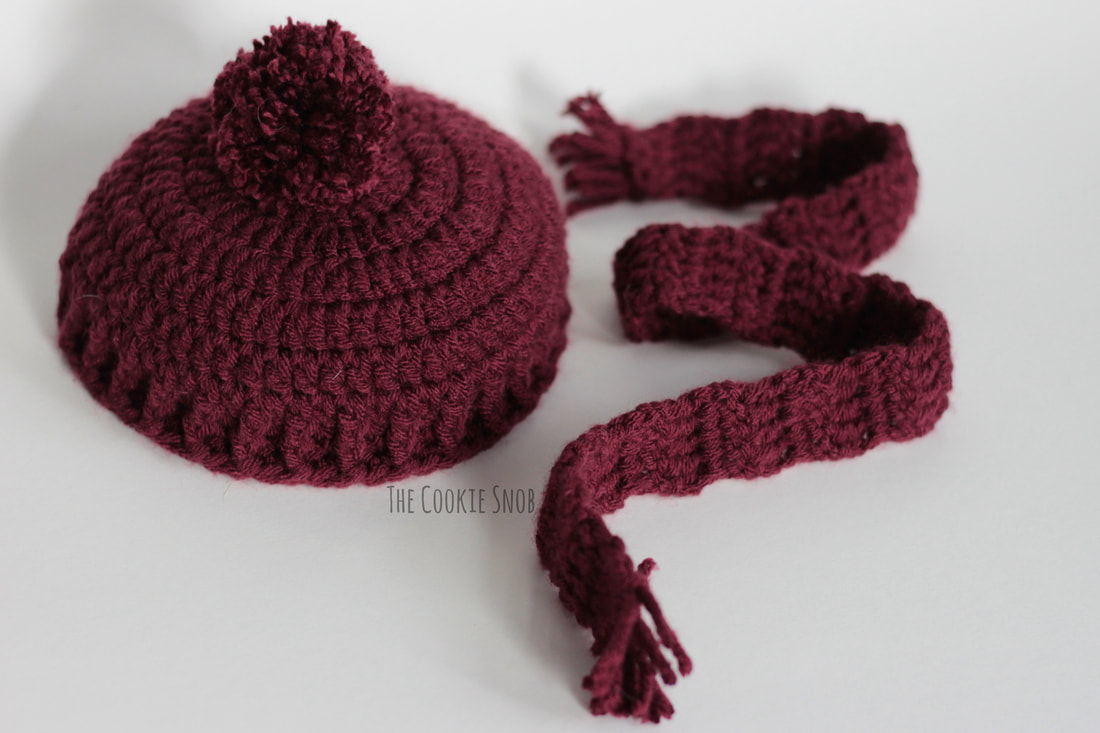
Gauge: Using the white yarn and H hook, 2" = 8 sc sts, 2"= 10 rows of sc This creates a snowman about 11" tall and 9.5" wide (including the arms) Note: Except for the hat and scarf, this pattern is worked in continuous rounds without joining or turning. I recommend using a stitch marker and moving it after each round to help you keep your place. Carrot Nose: Using the orange yarn and the F hook: Round 1: make a magic circle and work 4 sc into the circle, pull taut to close (4) Round 2: sc around (4) Round 3: [inc, sc] 2 times (6) Round 4: sc around (6) Round 5: [inc, sc in the next 2 sts] 2 times (8) Round 6: sc around (8) Round 7: [inc, sc in the next 3 sts] 2 times (10) Round 8: sc around (10) Round 9: [sc in the next 2 sts, inc, sc in the next 2 sts] 2 times (12) Round 10: sc around (12) Round 11: [inc, sc in the next 5 sts] 2 times (14) Rounds 12-14: sc around (14) Round 15: [sc in the next 3 sts, inc, sc in the next 3 sts] 2 times (16) Round 16: sc around (16) Fasten off, leaving a long yarn tail for sewing. Stuff with fiberfill. Optional: Using a bit of embroidery floss, stitch small horizontal lines randomly around the carrot to decorate it Snowman Arm (make 2): Using the white yarn and the H hook: Round 1: make a magic circle and work 6 sc into the circle, pull taut to close (6) Round 2: inc 6 times (12) Round 3: [inc, sc] 6 times (18) Round 4: sc around (18) Round 5: [sc, inc, sc] 6 times (24) Rounds 6-8: sc around (24) Round 9: [sc, dec, sc] 6 times (18) Rounds 10-13: sc around (18) Round 14: [dec, sc] 6 times (12) Rounds 15-18: sc around (12) Fasten off, leaving a long yarn tail for sewing. Stuff with fiberfill. Flatten the open end and, using the yarn tail and a tapestry needle, sew it shut. Snowman Body: Using the white yarn and the H hook: Round 1: make a magic circle and work 6 sc into the circle, pull taut to close (6) Round 2: inc 6 times (12) Round 3: [inc, sc] 6 times (18) Round 4: [sc, inc, sc] 6 times (24) Round 5: [inc, sc in the next 3 sts] 6 times (30) Round 6: [sc in the next 2 sts, inc, sc in the next 2 sts] 6 times (36) Round 7: [inc, sc in the next 5 sts] 6 times (42) Round 8: sc around (42) Round 9: [sc in the next 3 sts, inc, sc in the next 3 sts] 6 times (48) Round 10: sc around (48) Round 11: [inc, sc in the next 7 sts] 6 times (54) Round 12: sc around (54) Round 13: [sc in the next 4 sts, inc, sc in the next 4 sts] 6 times (60) Round 14: sc around (60) Round 15: [inc, sc in the next 9 sts] 6 times (66) Round 16: sc around (66) Round 17: [sc in the next 5 sts, inc, sc in the next 5 sts] 6 times (72) Rounds 18-21: sc around (72) Round 22: [sc in the next 5 sts, dec, sc in the next 5 sts] 6 times (66) Round 23: sc around (66) Round 24: [dec, sc in the next 9 sts] 6 times (60) Round 25: sc around (60) Round 26: [sc in the next 4 sts, dec, sc in the next 4 sts] 6 times (54) Round 27: sc around (54) Round 28: [dec, sc in the next 7 sts] 6 times (48) Round 29: sc around (48) Pause crocheting and add the snowman's face (I recommend using a stitch marker to hold your active stitch while you work so that it won't unravel). Place the safety eyes between rounds 15 and 16, about 8 sts apart. Sew the carrot nose centered between them. Using a bit of black scrap yarn and a tapestry needle, stitch on eyebrows across round 13 and a mouth between rounds 21-24. Or feel free to come up with your own design for the face. Begin stuffing the head with fiberfill and continue to stuff the body as you go. Round 30: [sc in the next 3 sts, dec, sc in the next 3 sts] 6 times (42) Round 31: sc around (42) Round 32: [dec, sc in the next 5 sts] 6 times (36) Round 33: [sc in the next 2 sts, dec, sc in the next 2 sts] 6 times (30) Round 34: [dec, sc in the next 3 sts] 6 times (24) Round 35: [inc, sc in the next 3 sts] 6 times (30) Round 36: [sc in the next 2 sts, inc, sc in the next 2 sts] 6 times (36) Round 37: [inc, sc in the next 5 sts] 6 times (42) Round 38: [sc in the next 3 sts, inc, sc in the next 3 sts] 6 times (48) Round 39: [inc, sc in the next 7 sts] 6 times (54) Round 40: sc around (54) Round 41: [sc in the next 4 sts, inc, sc in the next 4 sts] 6 times (60) Round 42: sc around (60) Round 43: [inc, sc in the next 9 sts] 6 times (66) Round 44: sc around (66) Round 45: [sc in the next 5 sts, inc, sc in the next 5 sts] 6 times (72) Rounds 46-49: sc around (72) Round 50: [inc, sc in the next 11 sts] 6 times (78) Rounds 51-54: sc around (78) Round 55: [sc in the next 6 sts, inc, sc in the next 6 sts] 6 times (84) Rounds 56-59: sc around (84) Pause again here and sew the arms and buttons on the snowman. Sew the arms between rounds 39 and 40 on both sides and sew the buttons centered down the front of the snowman. Round 60: [sc in the next 6 sts, dec, sc in the next 6 sts] 6 times (78) Round 61: [dec, sc in the next 11 sts] 6 times (72) Round 62: [sc in the next 5 sts, dec, sc in the next 5 sts] 6 times (66) Round 63: [dec, sc in the next 9 sts] 6 times (60) Round 64: [sc in the next 4 sts, dec, sc in the next 4 sts] 6 times (54) Round 65: [dec, sc in the next 7 sts] 6 times (48) Round 66: [sc in the next 3 sts, dec, sc in the next 3 sts] 6 times (42) Round 67: [dec, sc in the next 5 sts] 6 times (36) If you haven't already, stuff the body with fiberfill. Continue to stuff as you go. Round 68: [sc in the next 2 sts, dec, sc in the next 2 sts] 6 times (30) Round 69: [dec, sc in the next 3 sts] 6 times (24) Round 70: [sc, dec, sc] 6 times (18) Round 71: [dec, sc] 6 times (12) Round 72: dec 6 times (6) Fasten off, leaving a long yarn tail. Finish stuffing. Using the tapestry needle, weave the yarn tail through the front loops of round 72 and pull taut to close. Fasten off and weave in ends. Hat: Using the burgundy yarn and the H hook: Round 1: make a magic circle, ch 2, and work 12 dc into the circle, ss to first dc to join and pull taut to close (12) Round 2: ch 2, work 2 dc in each st around, ss to join (24) Round 3: ch 2, [work 2 dc in the next st, dc] 12 times, ss to join (36) Round 4: ch 2, [dc, work 2 dc in the next st, dc] 12 times, ss to join (48) Round 5: ch 2, [work 2 dc in the next st, dc in the next 11 sts] 4 times, ss to join (52) Round 6: ch 2, [dc in the next 6 sts, work 2 dc in the next st, dc in the next 6 sts] 4 times, ss to join (56) Round 7: ch 2, [work 2 dc in the next st, dc in the next 13 sts] 4 times, ss to join (60) Round 8: ch 1, [fpdc, sc] 30 times, ss to join (60) Round 9: ch 1, sc around, ss to join (60) Round 10: ch 1, [fpdc around fpdc from round 8, sc] 30 times, ss to join (60) Fasten off and weave in ends. Optional: Make a pompom for the hat using a 5.5 cm pompom maker (or whatever size you'd like) and sew to the top of the hat. Scarf: Using the burgundy yarn and the H hook, ch 6 Row 1: dc in the 3rd st from the hook, dc in the next 3 sts, turn (4) Rows 2-40: ch 2, dc across, turn (4) Fasten off and weave in ends. Optional: Add fringe to the ends of your scarf. I attached 2 4" pieces of yarn to each dc st (8 total pieces of yarn per side) and then trimmed them to an even length (about 1"). If you're unsure how to attach the fringe, see the photos for attaching fringe in my Mandala Wall Art pattern here. Place the hat on the snowman and tie the scarf around his neck. If you want to make sure the hat stays in place, you can use a bit of burgundy yarn to sew it in place, or you can leave it as is and it'll be removable. Either way, you're done! I hope you enjoyed making this happy little snowman! If you have any questions or comments, you can reach me in the comments section below, on social media, or by email. And, as always, if you post a picture be sure to tag me so I can admire your lovely work! I love seeing what you guys make and your creativity inspires me. Happy hooking! Want to make sure you don't miss any future blog posts? Join my mailing list! (Spam-free, I promise!) ***You're welcome to do whatever you'd like to with finished products made from this pattern but if you do sell them, I ask that you link back to my page. You may not copy this pattern, repost it anywhere (either altered or in its original form), or claim it as your own. You may not use any photos on this site for your own use. ***
0 Comments
Leave a Reply. |
Welcome!Thank you for stopping by to visit my own personal corner of the web! Feel free to take a look around and check out what I've been crafting, crocheting, or baking. Hopefully you'll find something to inspire your own creativity! Archives
March 2024
|



 RSS Feed