
|
I'm a big fan of hand-me-downs, especially for baby things. Babies grow so quickly that most of the time there's still a lot of life left in their things once they're done with them. We were blessed to be given so many great baby hand-me-downs for our firstborn and we've put them to good use. But not everything made it out alive. Among the casualties was the crib mobile. Little #2 made do without, but Little #3 needs constant attention/distraction, so a mobile jumped up a lot higher on my priority list. Luckily, crochet saves the day again! Oh, magic yarn, what can't you do? 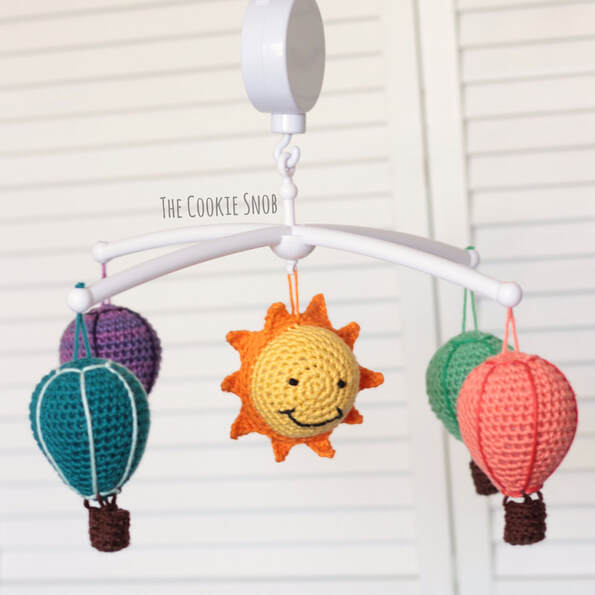 .The design for this mobile went through a few iterations. At first each piece was going to have a different design, and I kept changing my mind about which designs to use. (Related note: I now have a pattern for a mini rainbow and a cloud that I didn't use. Let me know if anyone's interested in those!) But I wasn't really feeling it, so I switched gears and made a set of matching hot air balloons instead. They were just too adorable to resist! 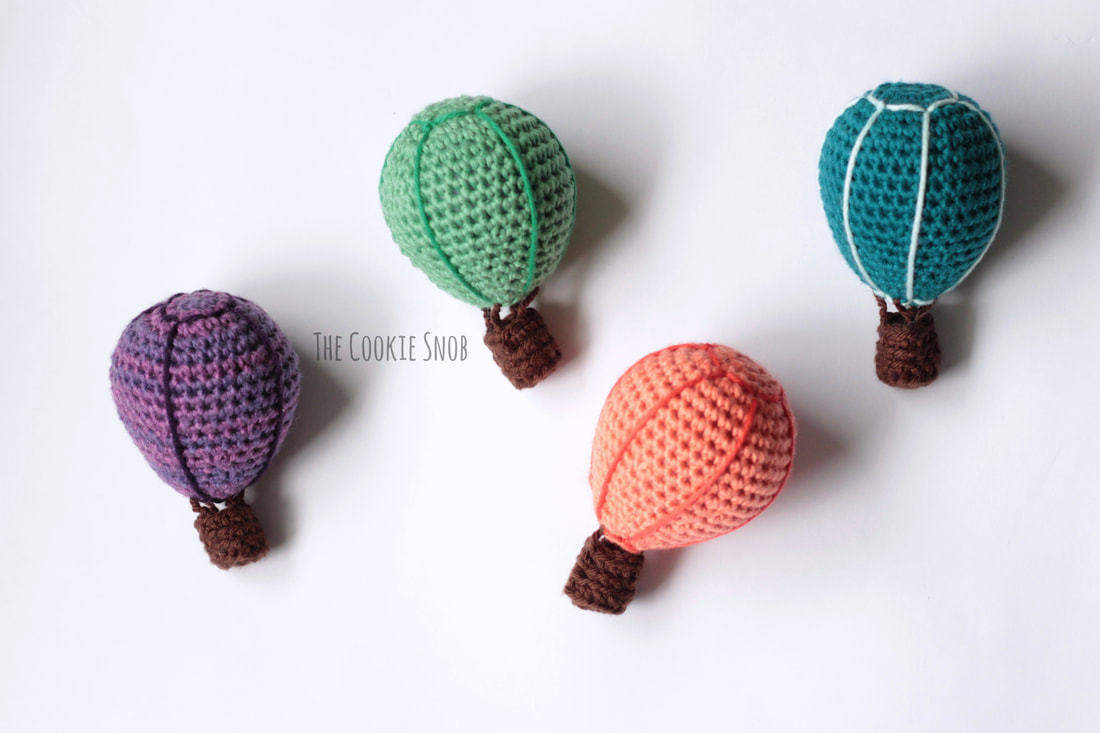 I wanted to make sure that my mobile had a motor to rotate it for maximum baby distraction, so I found a cheap frame on Amazon that spins and plays a song. But you can also use a fixed frame or get creative and make your own. I've seen some adorable homemade mobiles that hang from a wooden hoop or a stick, so it doesn't have to be anything fancy. If you come up with a creative idea for your mobile frame, please share it in the comments! 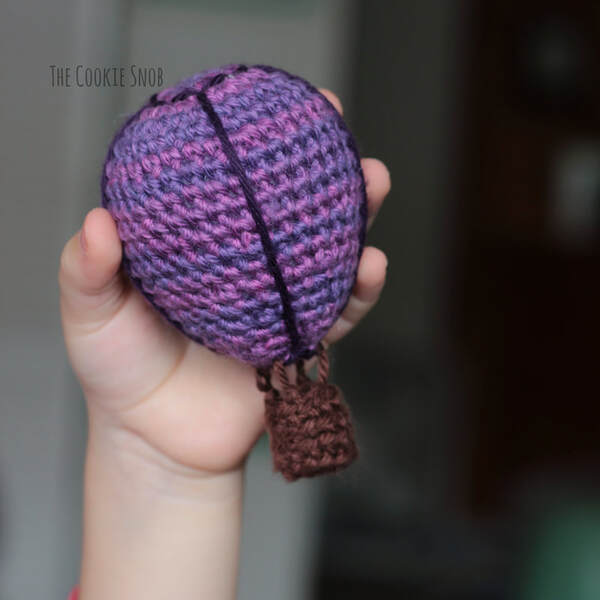 Now on to the pattern! If you'd like an ad-free printable PDF version of this pattern, you can find one on Ravelry. Your purchases keep this blog running, so thank you! Let's start with the sun in the center. If this sweet smiley looks familiar to you, then you win the Blog Fan of the Month Award, because you've remembered one of one of my more obscure patterns: the Sun Ornament. I've made a few adjustments to the pattern to create the sun for this mobile. But the suns are still extremely similar, so if you get stuck with this pattern at any point, I recommend jumping over to the original pattern, which has some detailed step-by-step photos. Stitch Glossary: st(s) = stitch(es) ch = chain ss = slip stitch sc = single crochet inc = sc increase (work 2 sc into the same st) dec = sc decrease (I prefer to use the invisible decrease st) hdc = half double crochet dc = double crochet tr = treble (triple) crochet blo = back loop only Smiley Sun Materials:
Starting with the yellow yarn: Round 1: Make a magic circle and work 6 sc into the magic circle (6) Round 2: inc around (12) Round 3: [inc, sc] 6 times (18) Round 4: [inc, sc in the next 2 sts] 6 times (24) Round 5: [inc, sc in the next 3 sts] 6 times (30) Round 6: sc around (30) Round 7: [inc, sc in the next 4 sts] 6 times (36) Rounds 8-9: sc around (36) Round 10: sc around in blo (36) Round 11: sc around (36) Round 12: [dec, sc in the next 4 sts] 6 times (30) Round 13: sc around (30) Pause crocheting and use your stitch marker to keep your place. We're going to switch gears for a minute and add the detailing and the rays of the sun. Using the orange yarn: Ray Round 1: Make a standing sc in first remaining front loop leftover from round 10, sc in each remaining front loop around 33 times, dec across the last 2 front loops, ss to the first sc to join (35) Ray Round 2: [ch 5, ss in the 2nd ch from the hook, sc in the next ch, hdc in the next ch, dc in the last ch, skip the next 2 sts of Ray Round 1 and ss to the 3rd st to join, ch 6, ss in the 2nd ch from the hook, sc in the next ch, hdc in the next ch, dc in the next ch, tr in the last ch, skip the next 3 sts of Ray Round 2 and ss to the 4th st to join] 5 times, ss to join. Fasten off orange yarn. And now it's time to stitch on the face. Using the tapestry needle and the small bit of black yarn, stitch on the eyes and mouth. I used french knots for the eyes, positioned between rounds 3 and 4. I stitched the mouth between rounds 5 and 6. Begin stuffing with the fiberfill stuffing and continue to stuff as you go. Remove your stitch marker and pick up the yellow yarn again. Round 14: [dec, sc in the next 3 sts] 6 times (24) Round 15: [dec, sc in the next 2 sts] 6 times (18) Round 16: [dec, sc] 6 times (12) Round 17: dec around (6) Finish stuffing. Fasten off, leaving a yarn tail. Using a tapestry needle, weave the yarn tail through the front loop of the remaining sts and pull taut to close. Weave in ends. 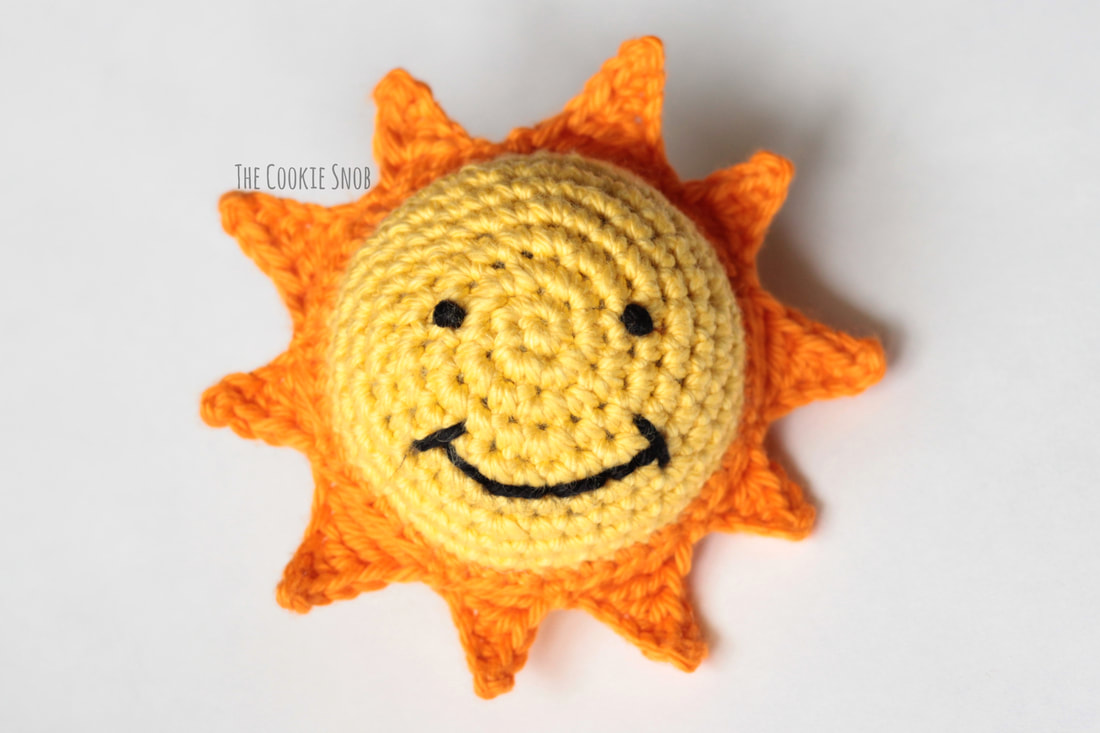 Great work! (And remember, if you got stuck at any point, be sure to check out the post for the ornament pattern and take a look at the step by step photos to help you out.) Let's start on the hot air balloon now. Hot Air Balloon (make 4) Materials:
Balloon: Using the main color yarn: Round 1: Make a magic circle and work 6 sc into the magic circle, ss to first sc to join (6) Round 2: ch 1, inc around, ss to join (12) Round 3: ch 1, [inc, sc] 6 times, ss to join (18) Round 4: ch 1, [inc, sc in the next 2 sts] 6 times, ss to join (24) Round 5: ch 1, [inc, sc in the next 3 sts] 6 times, ss to join (30) Round 6: ch 1, sc around, ss to join (30) Round 7: ch 1, [inc, sc in the next 4 sts] 6 times, ss to join (36) Rounds 8-11: ch 1, sc around, ss to join (36) Round 12: ch 1, [dec, sc in the next 4 sts] 6 times, ss to join (30) Round 13: ch 1, sc around, ss to join (30) Round 14: ch 1, [dec, sc in the next 3 sts] 6 times, ss to join (24) Round 15: ch 1, sc around, ss to join (24) Round 16: ch 1, [dec, sc in the next 2 sts] 6 times, ss to join (18) Round 17: ch 1, sc around, ss to join (18) Begin stuffing with the fiberfill stuffing. Continue to stuff as you go. Round 18: ch 1, [dec, sc] 6 times, ss to join (12) Round 19: ch 1, sc around, ss to join (12) Round 20: ch 1, dec around in blo, ss to join (6) Finish stuffing. Fasten off, leaving a yarn tail. Using a tapestry needle, weave the yarn tail through the front loop of the remaining sts and pull taut to close. Weave in ends. 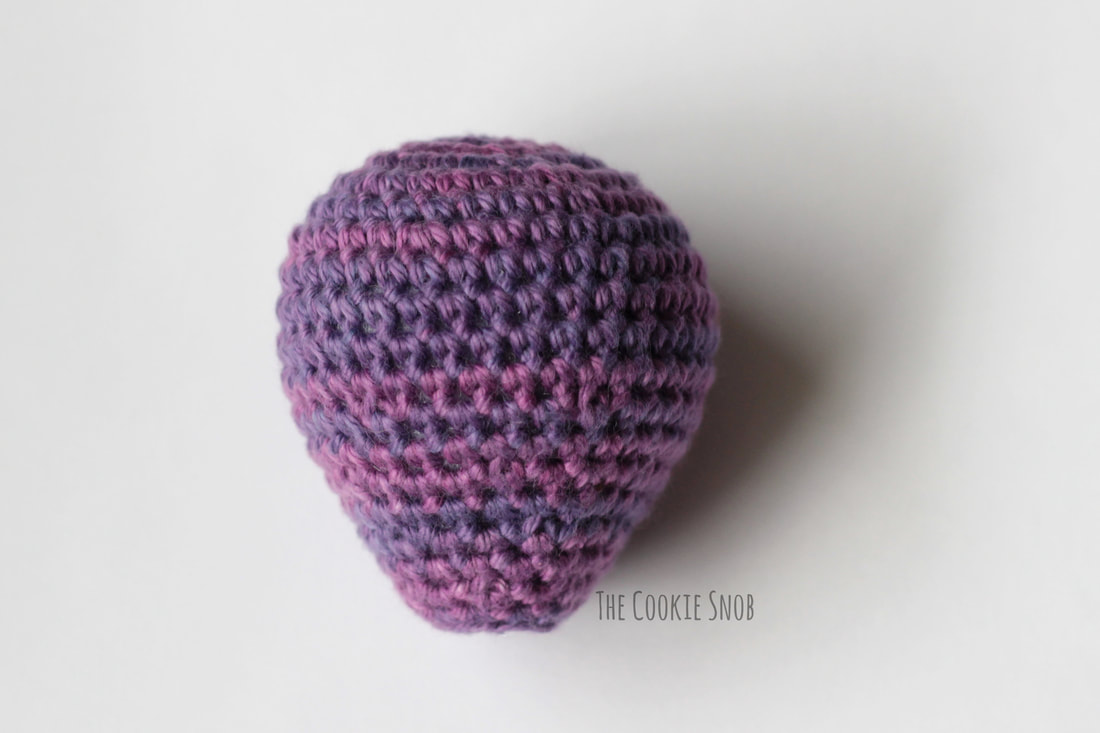 Basket: Using the brown yarn: Round 1: Make a magic circle and work 6 sc into the magic circle, ss to first sc to join (6) Round 2: ch 1, inc around, ss to join (12) Rounds 3-5: ch 1, sc around in blo, ss to join (12) Fasten off, leaving an extra long yarn tail. We'll use it to assemble the balloon. 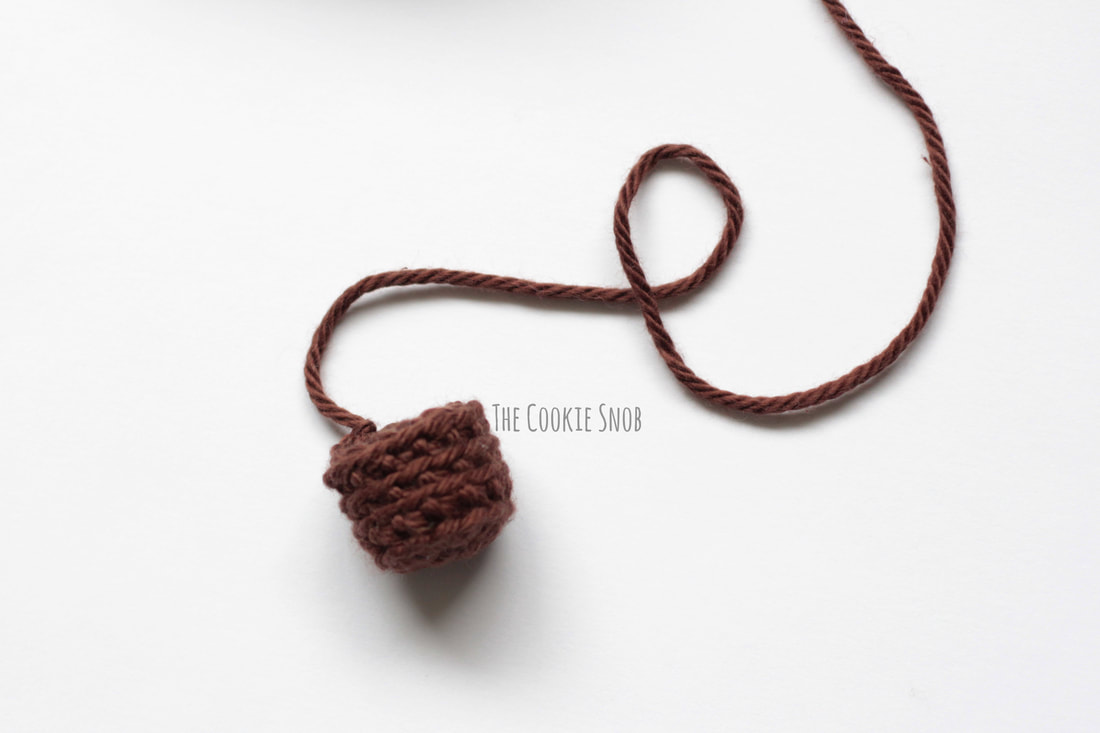 Decoration and Assembly: Using the tapestry needle and contrasting color yarn, stitch the balloon panel design. Stitch a circle between rounds 3 and 4; I made my circle from 6 small sections that are 3 sts long each. Then stitch the long vertical lines from the circle you just made all the way down to the bottom of the balloon. I made 6 vertical lines, spaced evenly (about 3 sts apart from each other at the top and about 2 sts apart from each other at the bottom). 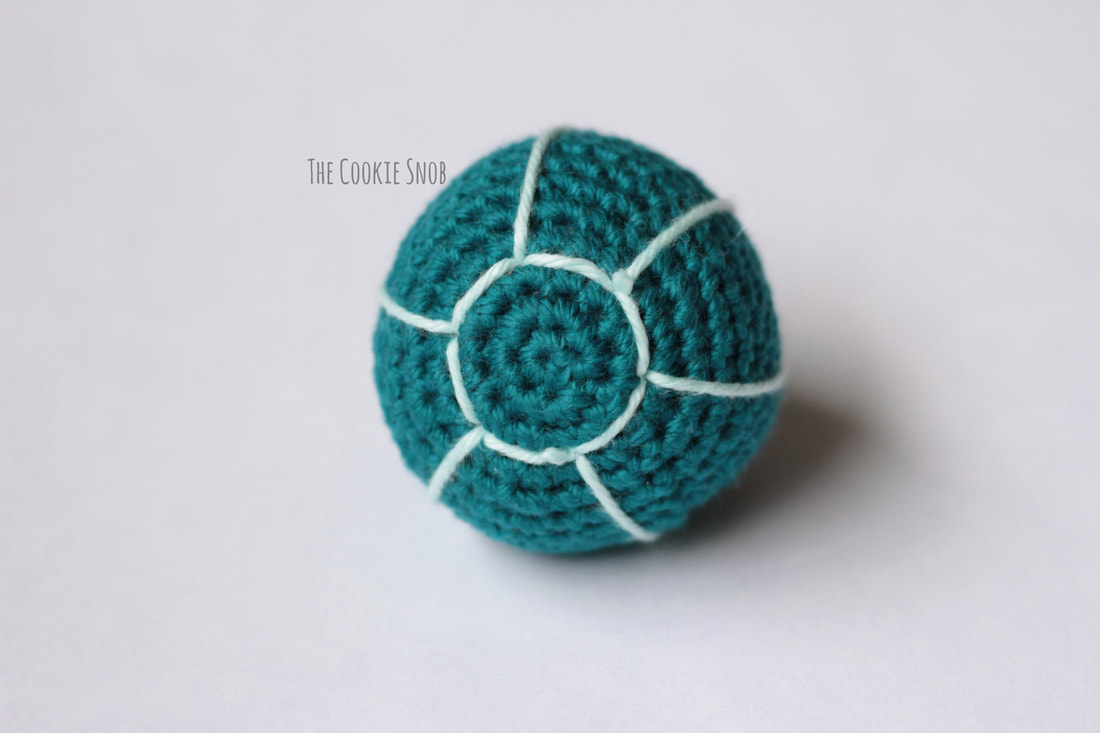 For extra definition, stitch another circle at the very bottom of the balloon between rounds 19 and 20. Weave in ends. 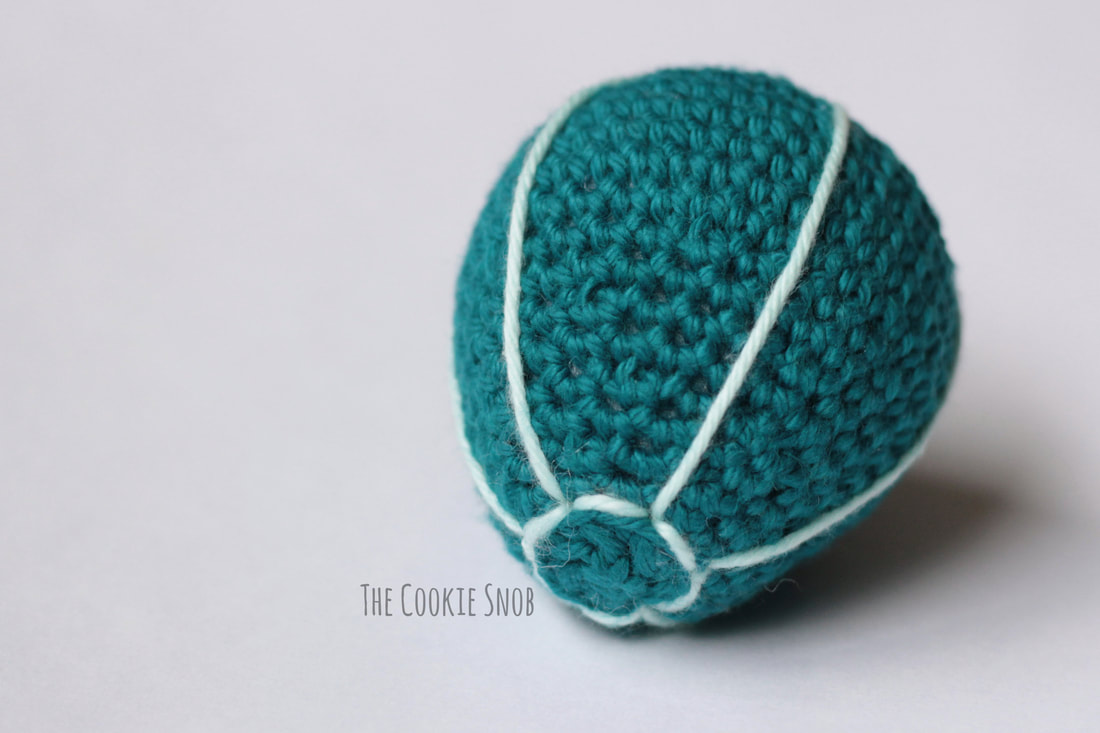 To attach the basket, we're going to use the tapestry needle and the long yarn tail leftover from making the basket. Thread the tail through the base of the balloon, leaving about a 1" gap between the basket and the balloon. Make a small knot to keep everything in place. 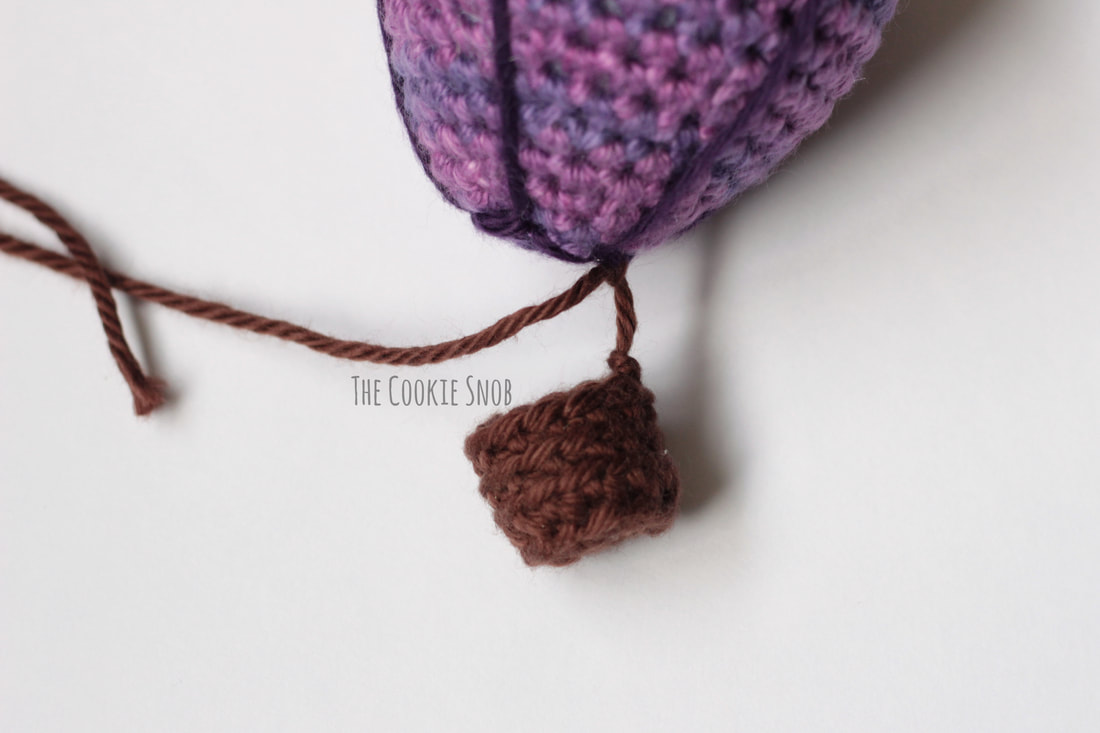 Then weave the yarn tail through the balloon base for a few stitches and then thread the tail back into the basket, a few stitches apart from where you started, leaving another 1" gap. Knot to secure and weave the yarn tail through the top of the basket for a few stitches. 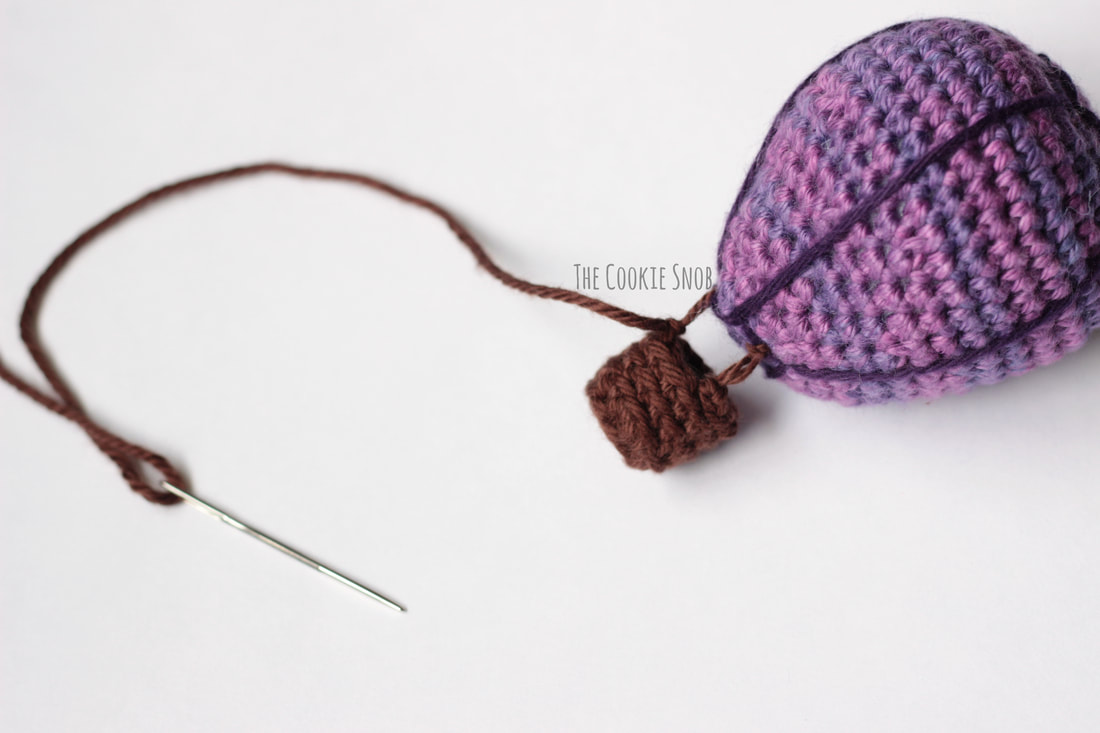 Repeat this process until you have 4 "ropes" tethering your balloon to your basket. Fasten off and weave in any remaining ends. 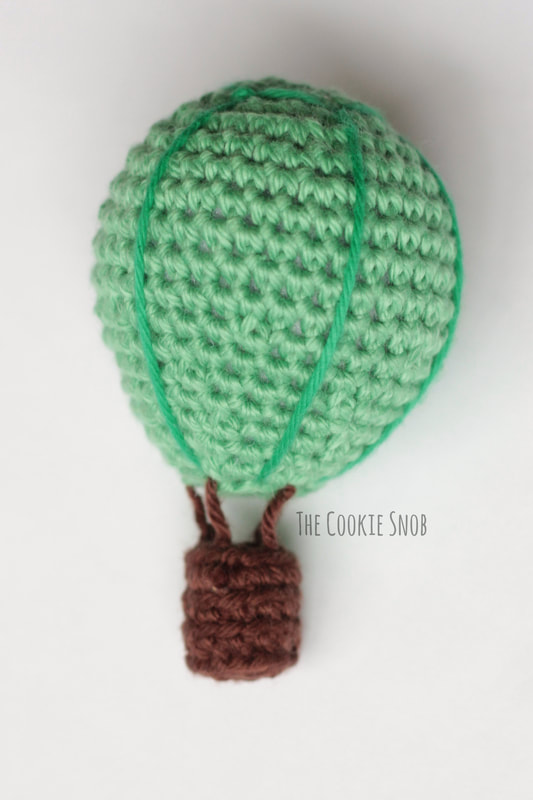 Ta-dah! You now have the sweetest little hot air balloon, ready to sail through the sunny skies of your nursery. 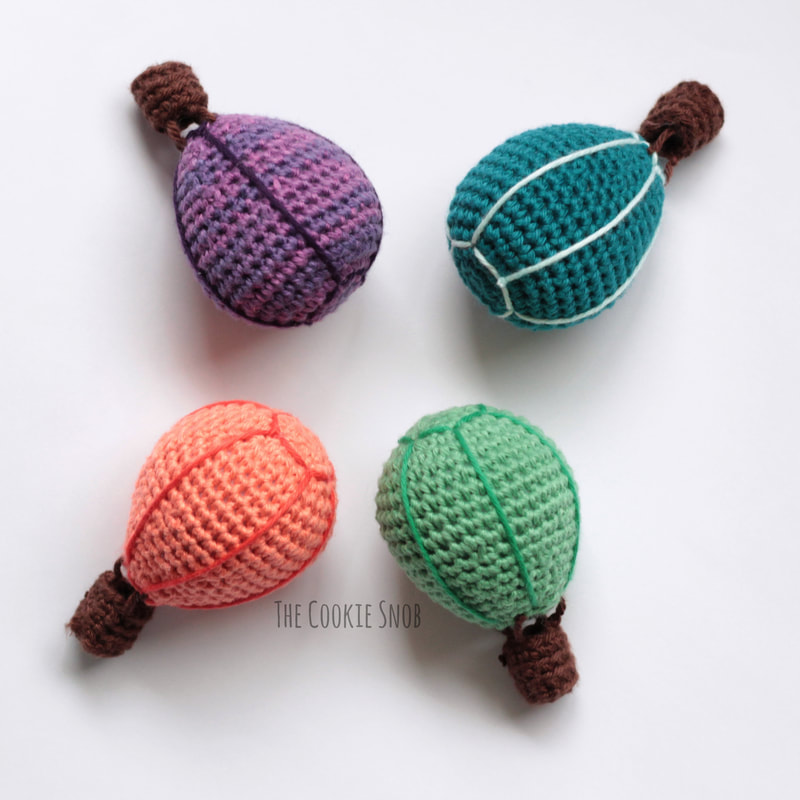 Once all your mobile pieces are ready, simply attach them to your frame. Depending on which style frame you're using, the attachment method will vary. For this frame, I just threaded a piece of matching yarn through the tops of the balloons and sun, threaded it through the appropriate hole, and then tied a large knot to keep it all in place. Feel free to contact me if you need more details about how to attach your pieces. 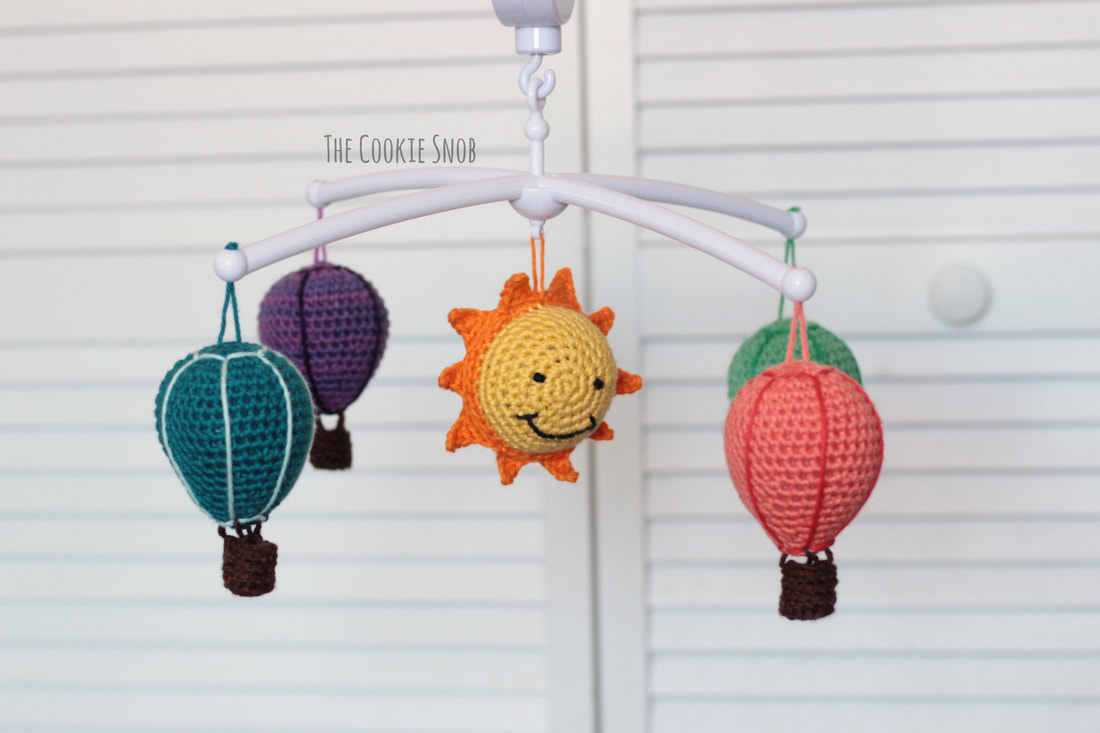 I hope that you like this happy little mobile pattern. If you have any comments or questions about it, you can reach me in the comments section below or on social media. If you make a mobile or if you use the pattern pieces for something else, be sure to tag me or share a picture so I can admire your gorgeous makes! Happy hooking! Want to make sure you don't miss any future blog posts? Join my mailing list (spam free, I promise!): ***You're welcome to do whatever you'd like to with finished products made from these patterns but if you do sell them, I ask that you link back to my page. You may not copy these patterns, repost them anywhere (either altered or in their original form), or claim them as your own. You may not use any photos on this site for your own use. ***
1 Comment
Anne
9/19/2019 10:32:00 pm
Yes I would be interested in the pattern for the rainbow and clouds. Thank you for the pattern. Leave a Reply. |
Welcome!Thank you for stopping by to visit my own personal corner of the web! Feel free to take a look around and check out what I've been crafting, crocheting, or baking. Hopefully you'll find something to inspire your own creativity!   
Archives
March 2024
|
 RSS Feed