|
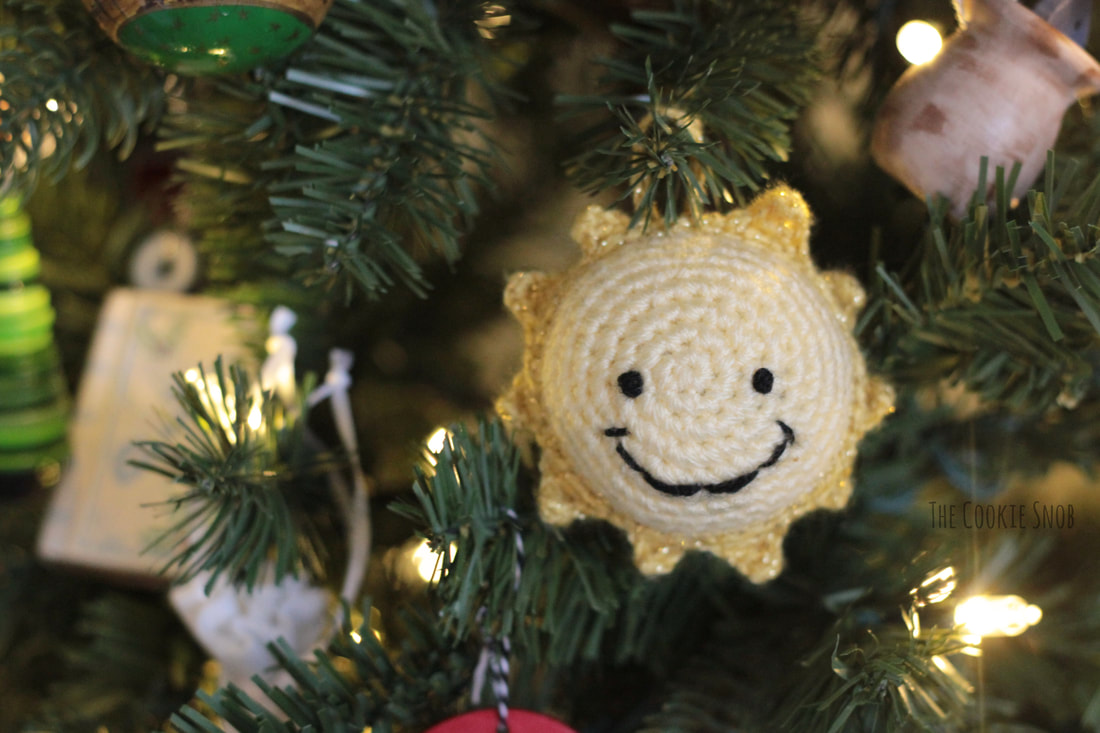
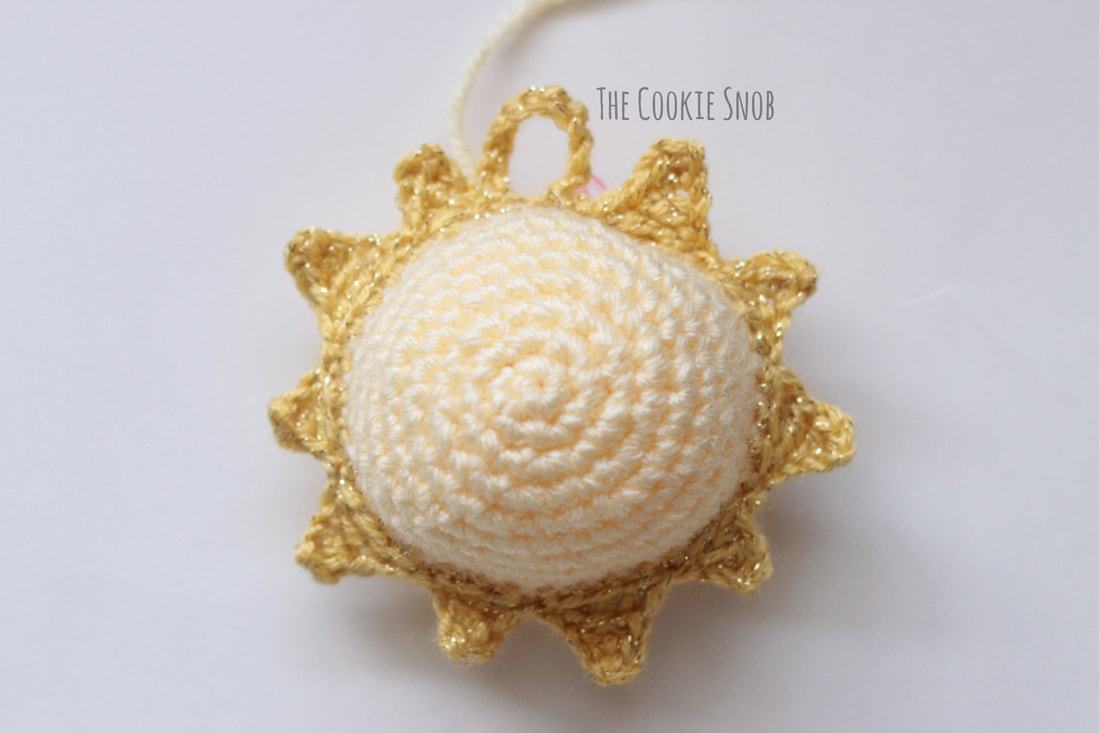
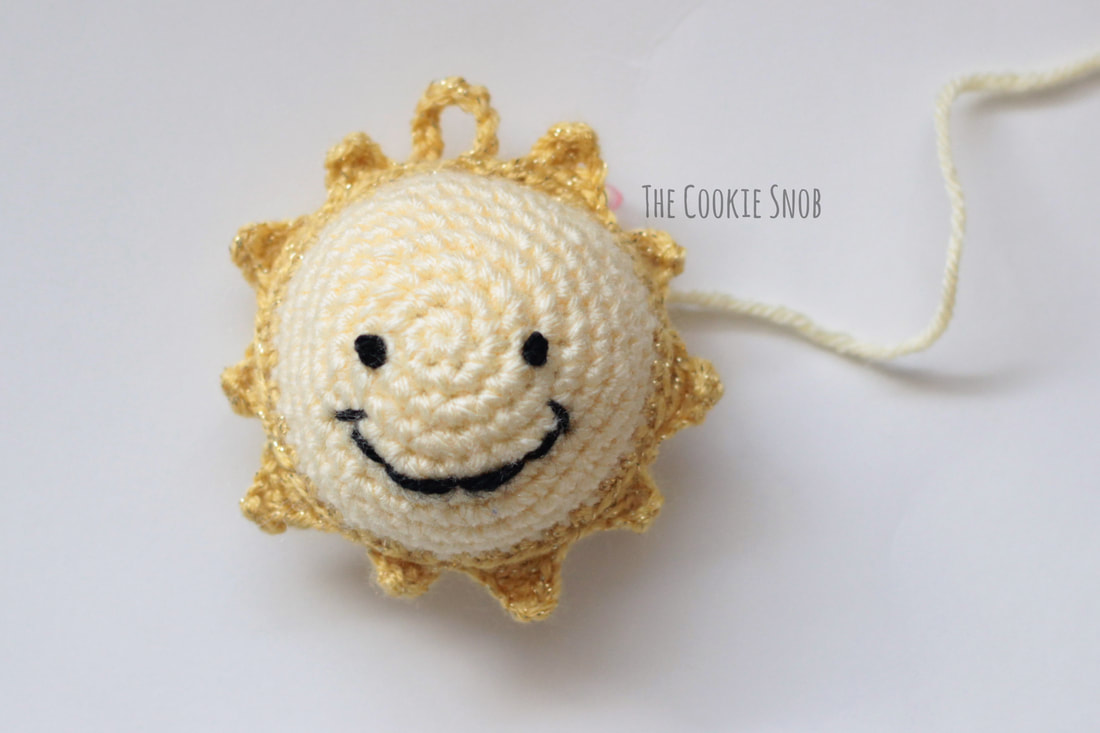
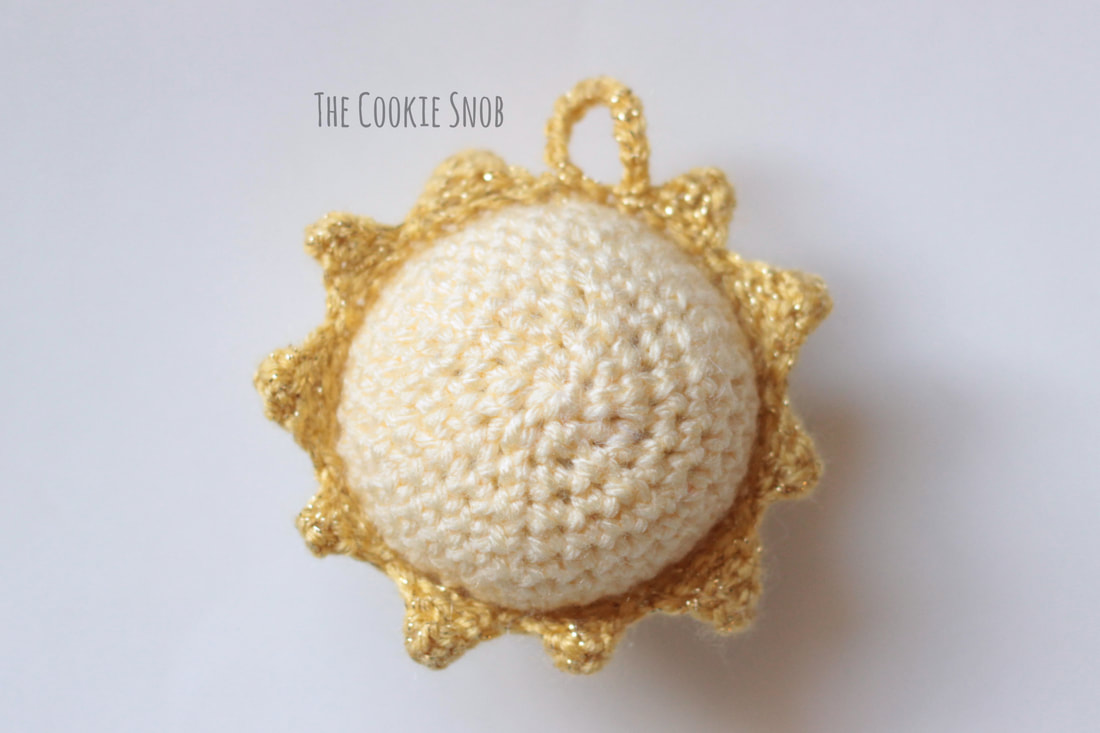
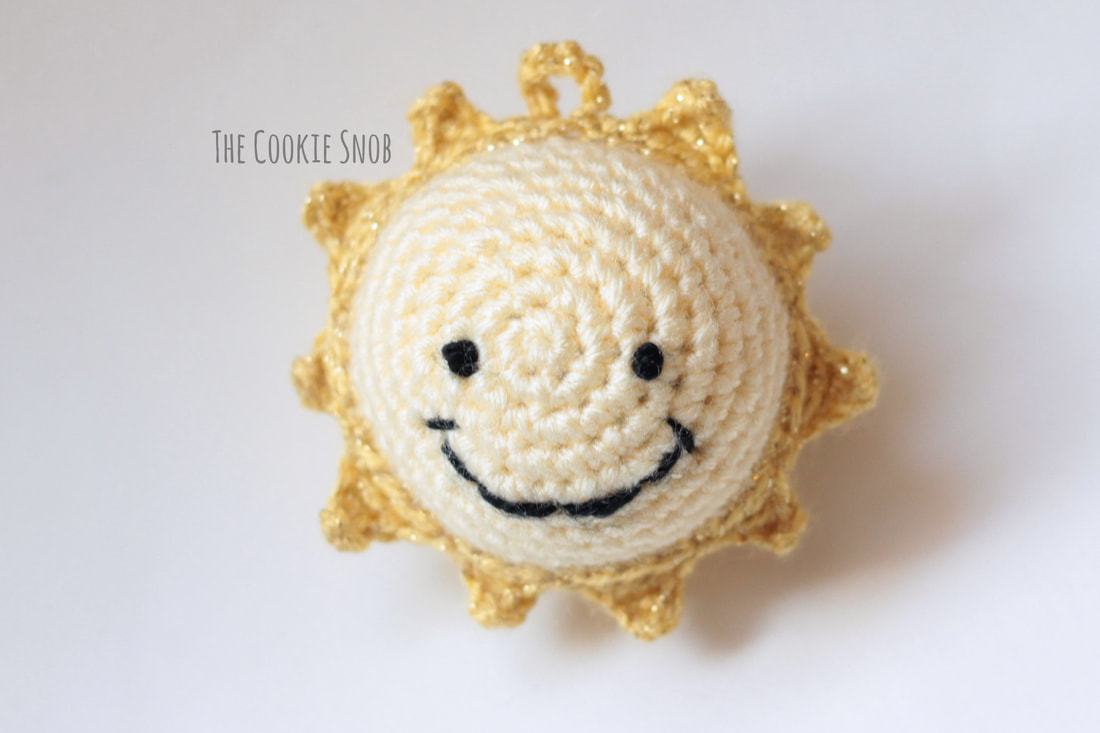
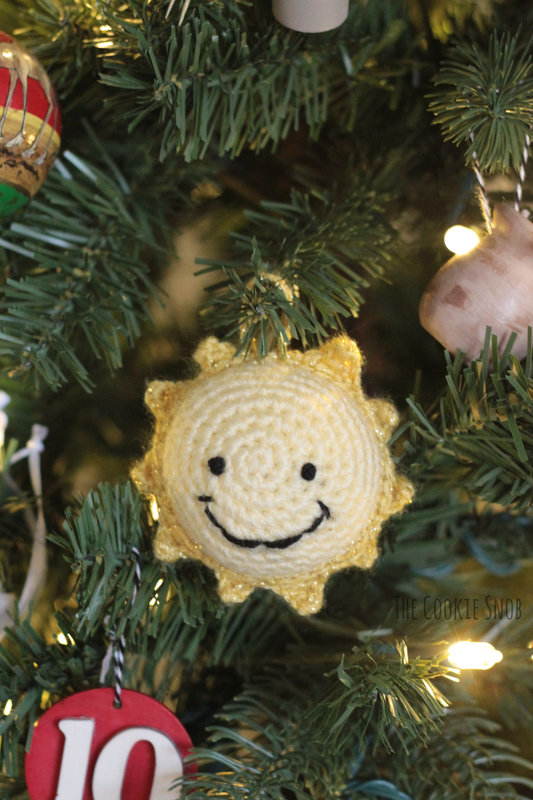
Decorating the Christmas tree has always been one of my favorite childhood memories. Some people have fancy trees, but ours tended more towards the eclectic; we always just stuck up all our favorite random ornaments. You wouldn't see our tree on any magazine cover, but I wouldn't have had it any other way. As such, I've always had a fondness for unique homemade ornaments. They're like little bits of love, wrapping the tree in memories (how's that for cheesy?). I designed this little sun ornament as a gift for a friend who radiates goodness and sunshine. I hope that it brings a little bit of extra joy to her home, and maybe it can bring some to yours as well. I had to redesign this ornament several times to avoid it looking too much like a flower, and then to simplify the design. But I think I've finally got it just right. Since it's small, this pattern works up quickly and doesn't require much yarn, so it's a great stash buster. Gauge isn't crucial for this pattern, but if you're a looser crocheter, I would recommend going down a hook size to prevent the ornament from getting too large. Materials:
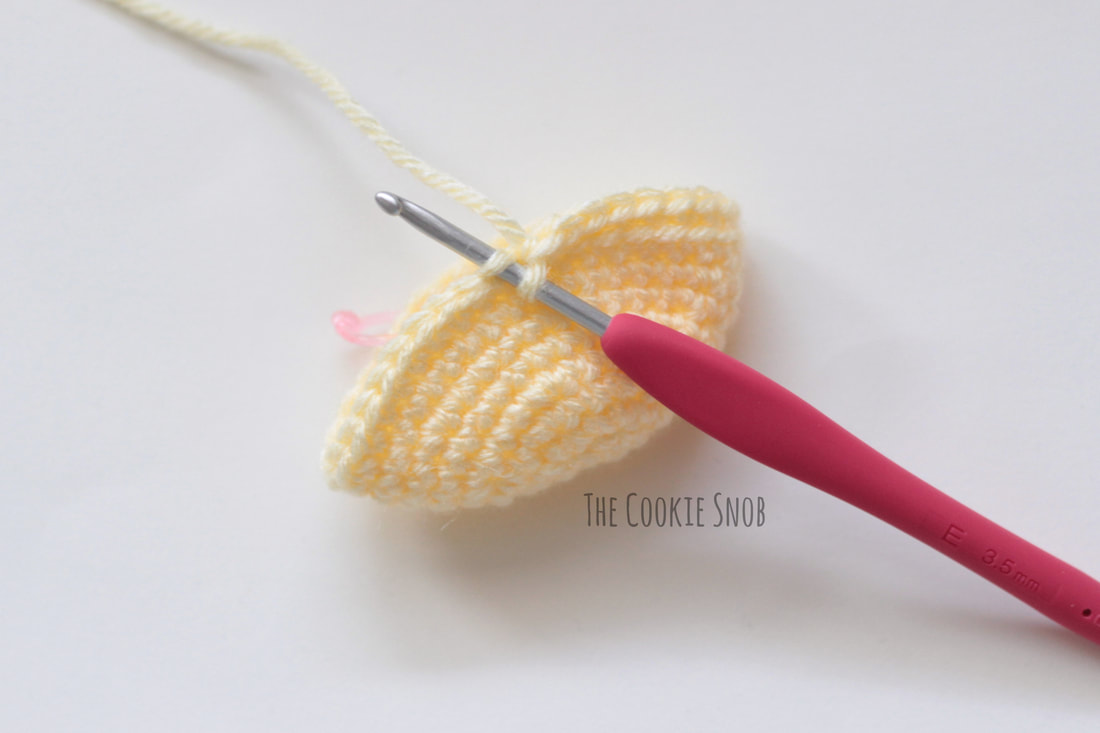
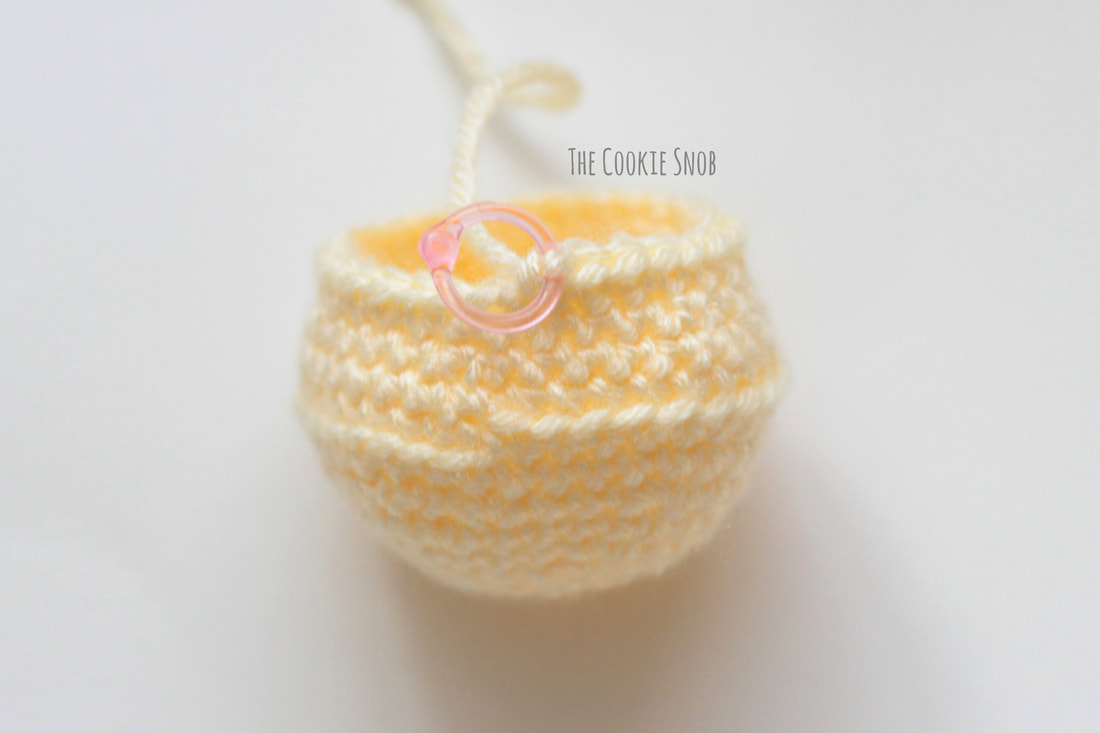
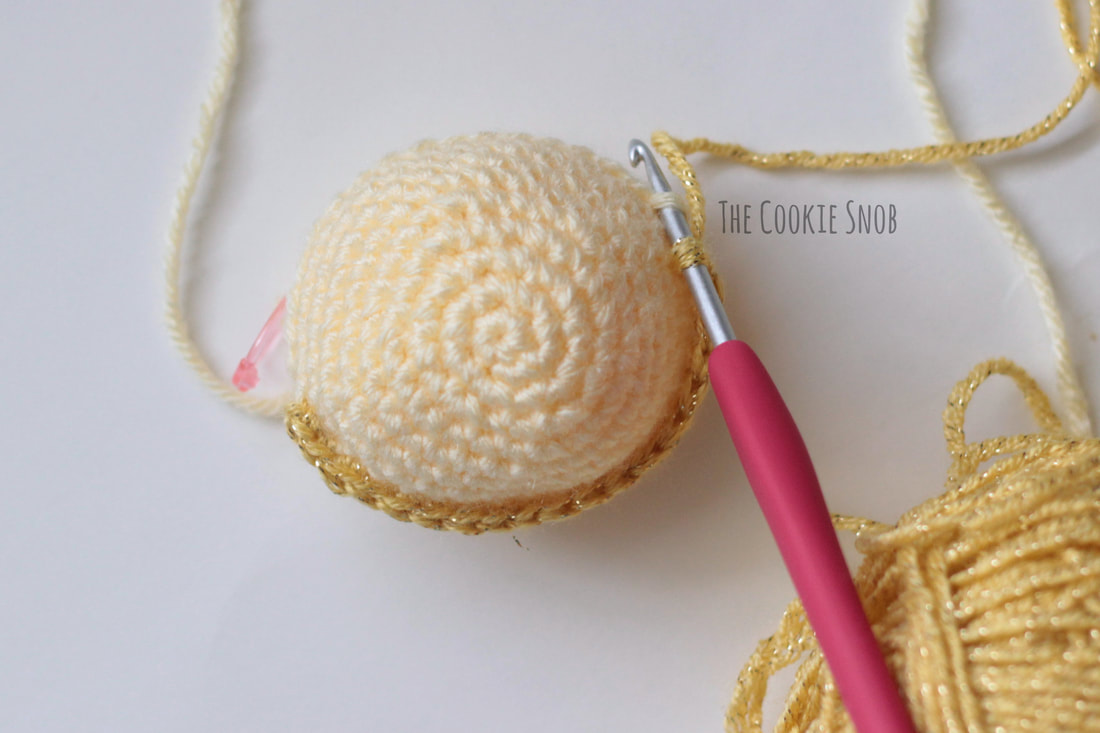
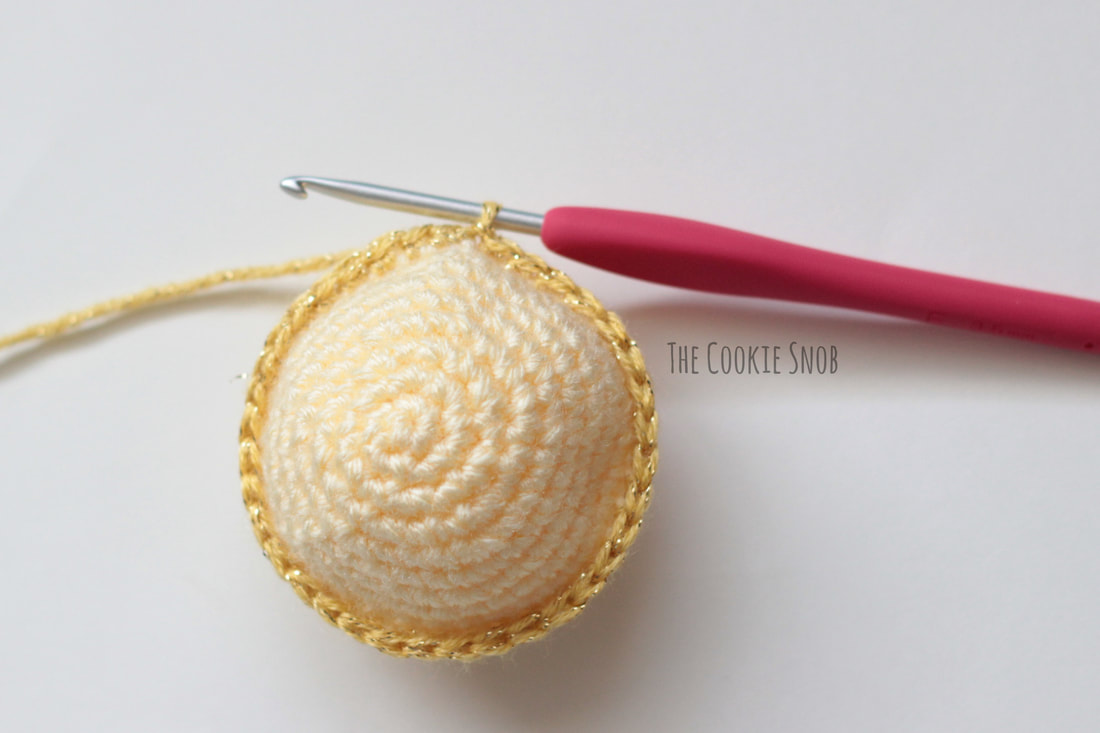
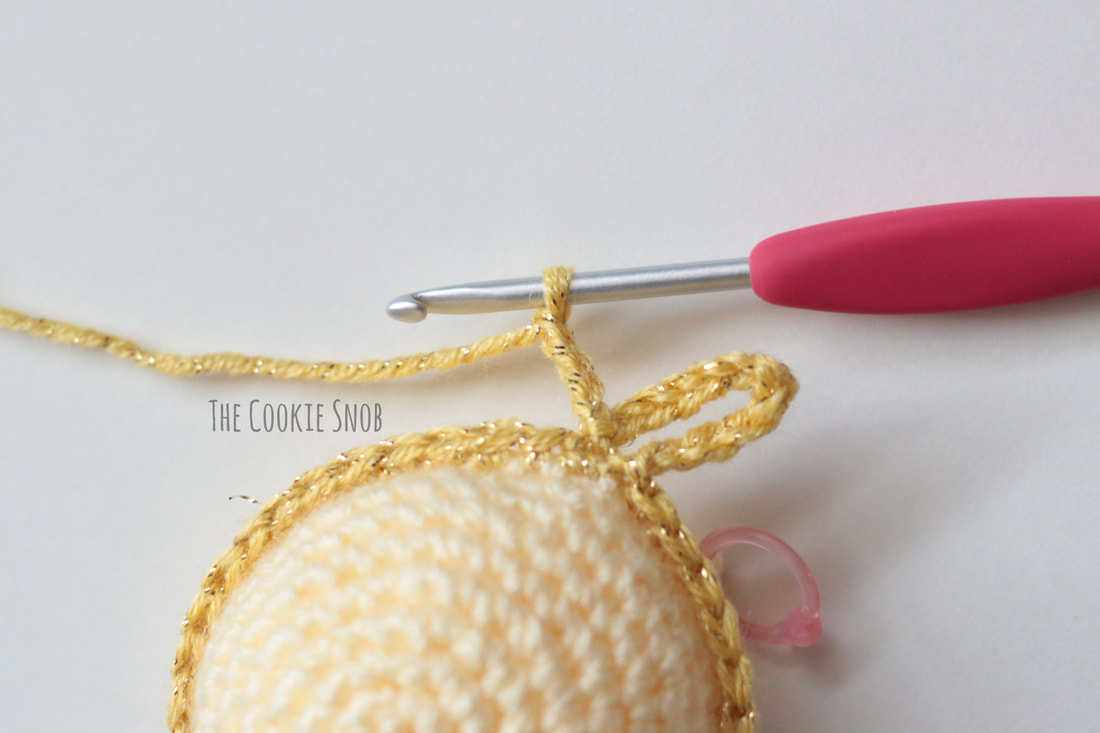
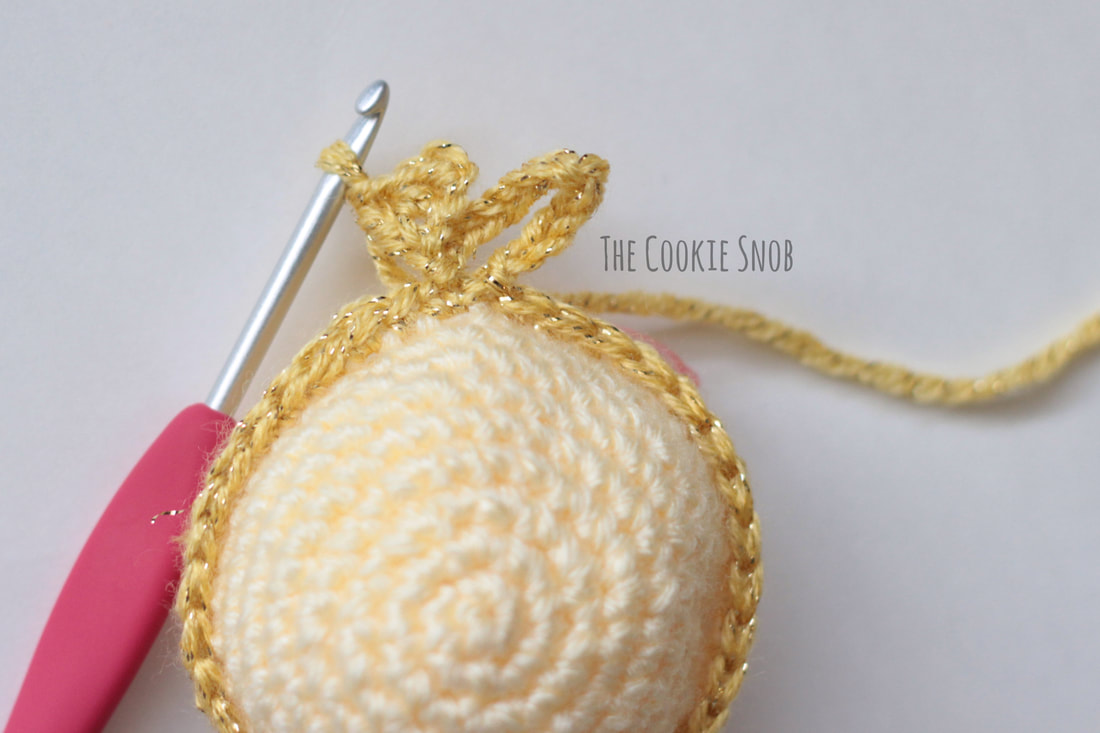
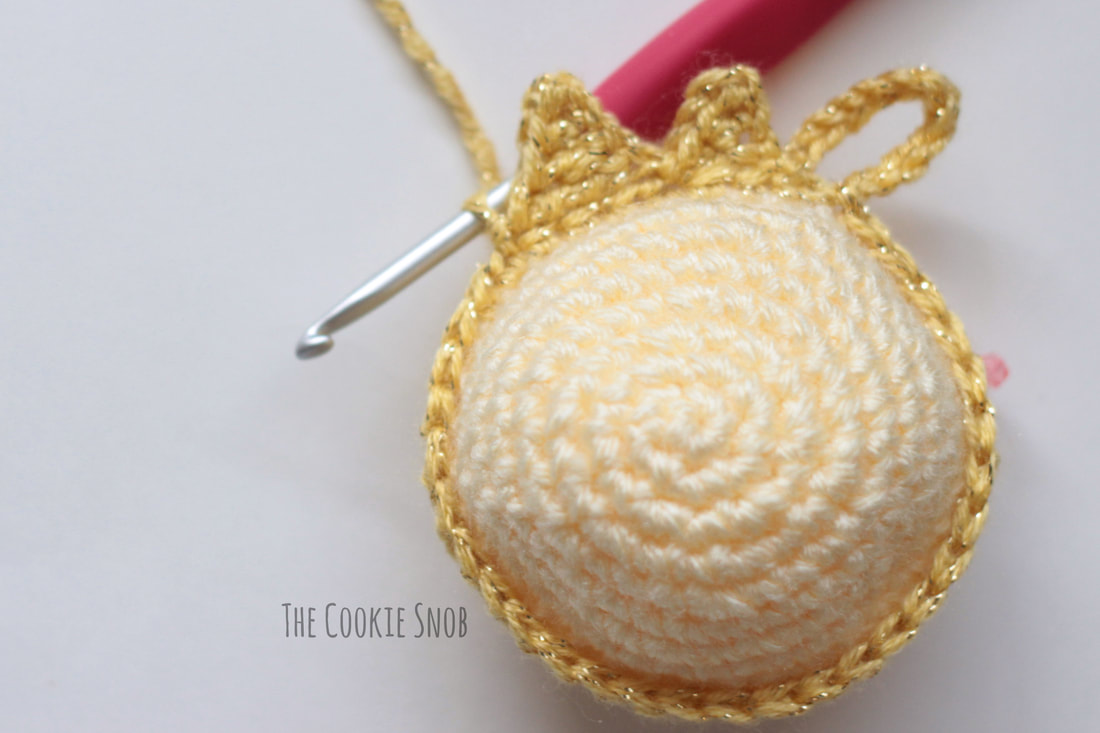
Stitch Glossary: st(s) = stitch(es) ch = chain ss = slip stitch sc = single crochet inc = sc increase (work 2 sc into the same st) dec = sc decrease (I prefer to use the invisible decrease stitch) hdc = half double crochet dc = double crochet tr = treble (triple) crochet Note: This pattern is worked in the round (meaning the stitches are worked in a continuous spiral). I recommend using a stitch marker and moving it after every round to help you keep track of which round you're working on. Round 1: Make a magic circle and work 6 sc into the magic circle (6) Round 2: inc around (12) Round 3: [inc, sc] around (18) Round 4: [inc, sc in the next 2 sts] around (24) Round 5: [inc, sc in the next 3 sts] around (30) Round 6: sc around (30) Round 7: [inc, sc in the next 4 sts] around (36) Rounds 8-9: sc around (36) Round 10: sc around in back loop only (36) Round 11: sc around (36) Round 12: [dec, sc in the next 4 sts] around (30) Round 13: sc around (30) Pause crocheting and use your stitch marker to keep your place. We're going to switch gears for a minute and add the detailing. Join the darker yellow yarn to the first remaining front loop leftover from round 10. Ch 1 and work a sc into the same st. Sc in each remaining front loop around. Ss to the first sc to join. To make the loop for hanging the ornament, ch 12 and then ss to the same st. If you want a larger loop, you can increase the number of stitches in the chain. Now to make the rays of the sun. Ch 4. Sc in the 2nd ch from the hook. Hdc in the next st. Dc in the last st. This forms the triangle shape of the ray. To attach it, skip the next 2 sts (the front loop stitches you just worked around the circumference) and ss to the 3rd st to join. Now to make a larger ray. Ch 5. Sc in the 2nd ch from the hook. Then hdc in the 3rd ch from the hook, dc in the 4th ch from the hook, and tr in the 5th ch from the hook. Skip the next 3 sts and ss to the 4th st to join. Continue to work rays around the sun, alternating between the smaller ray and the larger ray. When you get to the loop, ss to the first ch. Then fasten off and weave in the ends of the dark yellow yarn. And now it's time to stitch on the face. Using the tapestry needle and the small bit of black yarn, stitch on the eyes and mouth. I used french knots for the eyes, positioned between rounds 3 and 4. I stitched the mouth between rounds 5 and 6. Begin stuffing with the fiberfill stuffing and continue to stuff as you go. Remove your stitch marker and pick up the light yellow yarn again. Round 14: [dec, sc in the next 3 sts] around (24) Round 15: [dec, sc in the next 2 sts] around (18) Round 16: [dec, sc] around (12) Round 17: dec around (6) Finish stuffing. Fasten off, leaving a yarn tail. Using a tapestry needle, weave the yarn tail through the front loop of the remaining sts and pull taut to close. Weave in ends. And there you have your own happy little sun ornament! I hope that you enjoy this pattern! And if you make one, I'd love to see a picture and hear about how it goes. If you come across any questions, feel free to contact me in the comments section below or on social media. Happy hooking! ***You're welcome to do whatever you'd like to with finished products made from this pattern but if you do sell them, I ask that you link back to my page. You may not copy this pattern, repost it anywhere (either altered or in its original form), or claim it as your own. You may not use any photos on this site for your own use. ***
1 Comment
|
Welcome!Thank you for stopping by to visit my own personal corner of the web! Feel free to take a look around and check out what I've been crafting, crocheting, or baking. Hopefully you'll find something to inspire your own creativity! Archives
March 2024
|



 RSS Feed