|
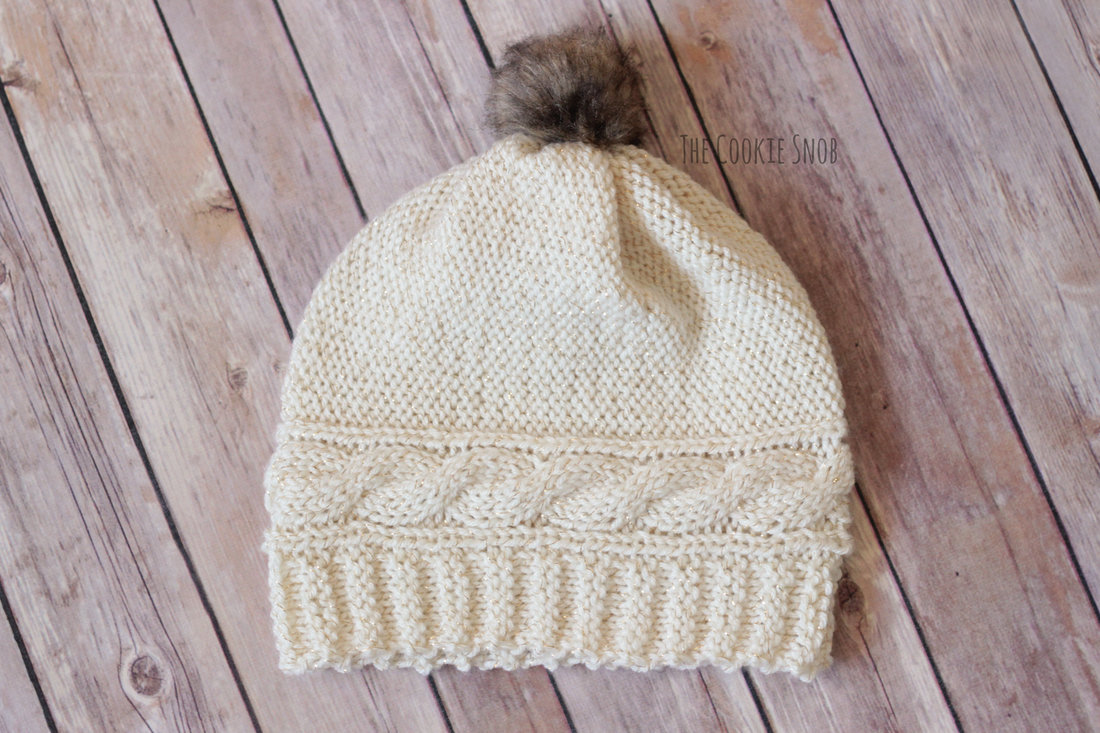
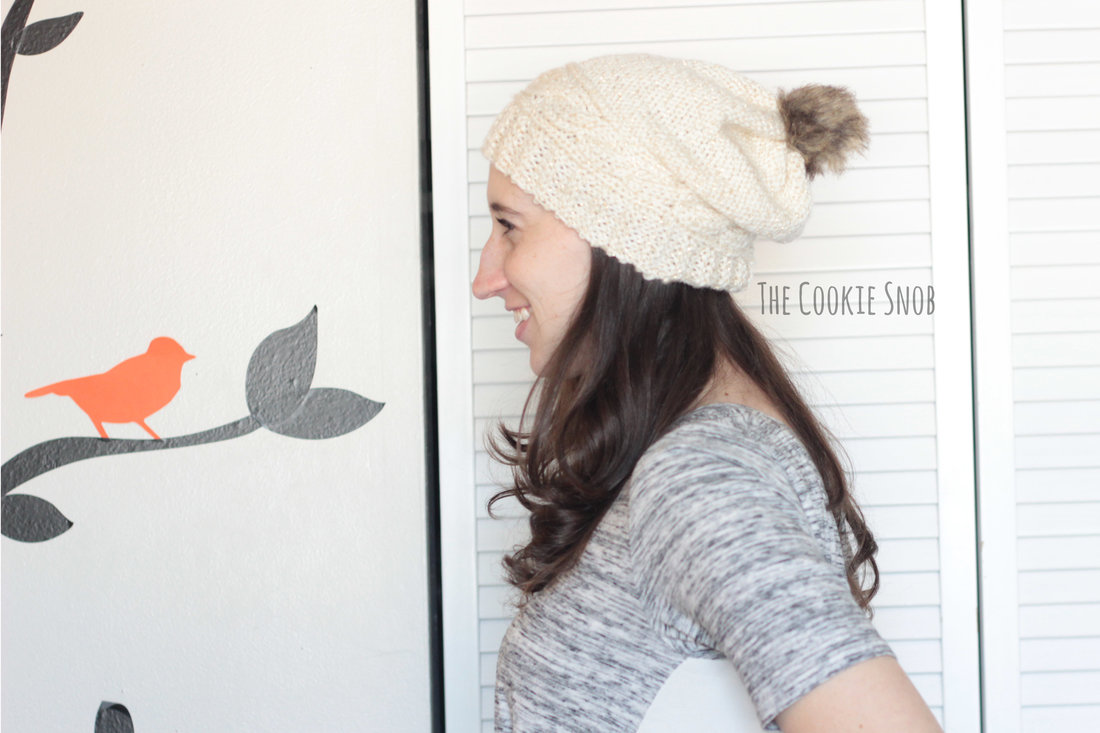
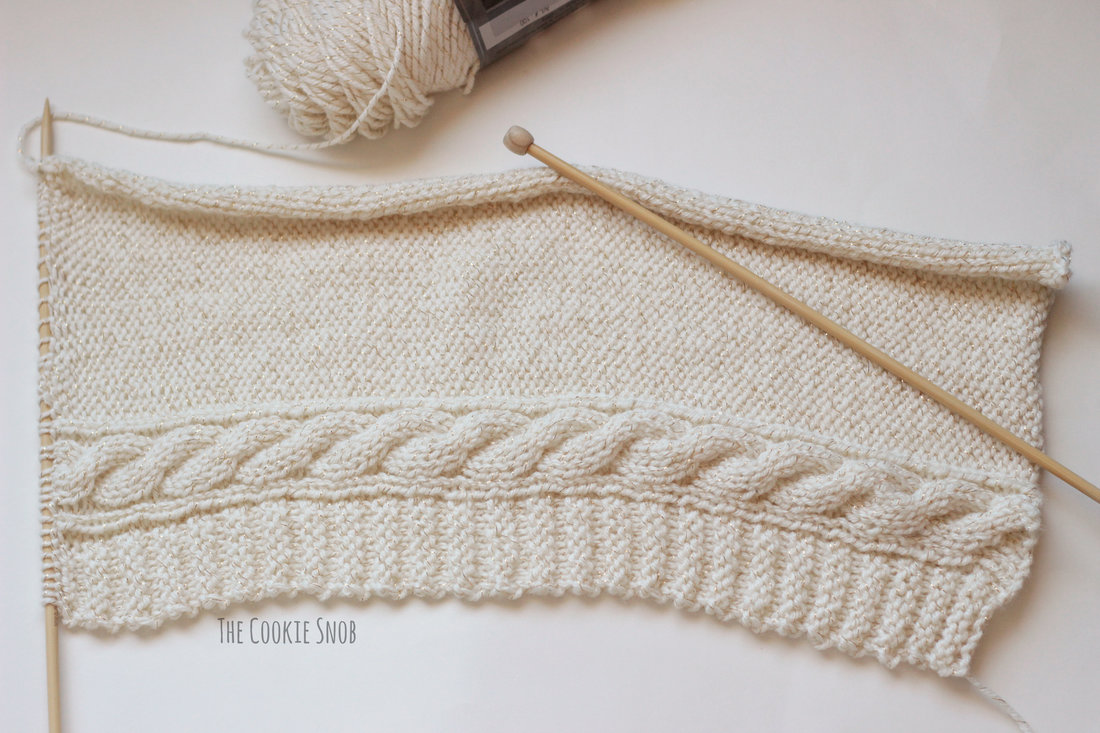
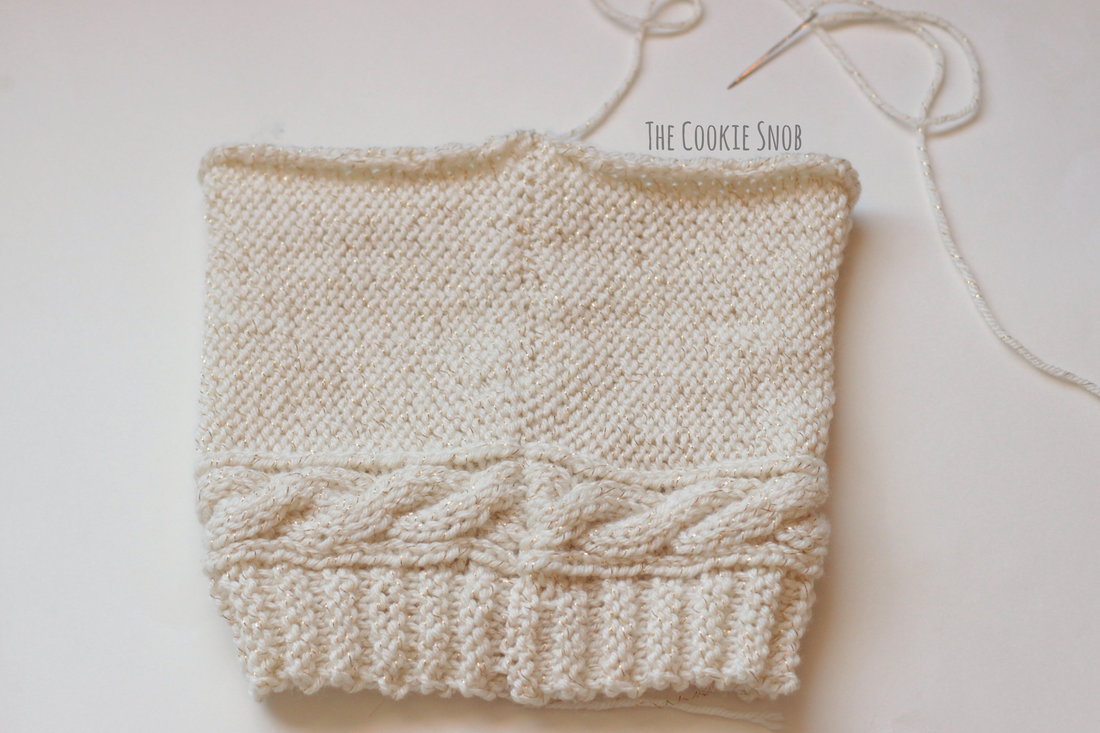
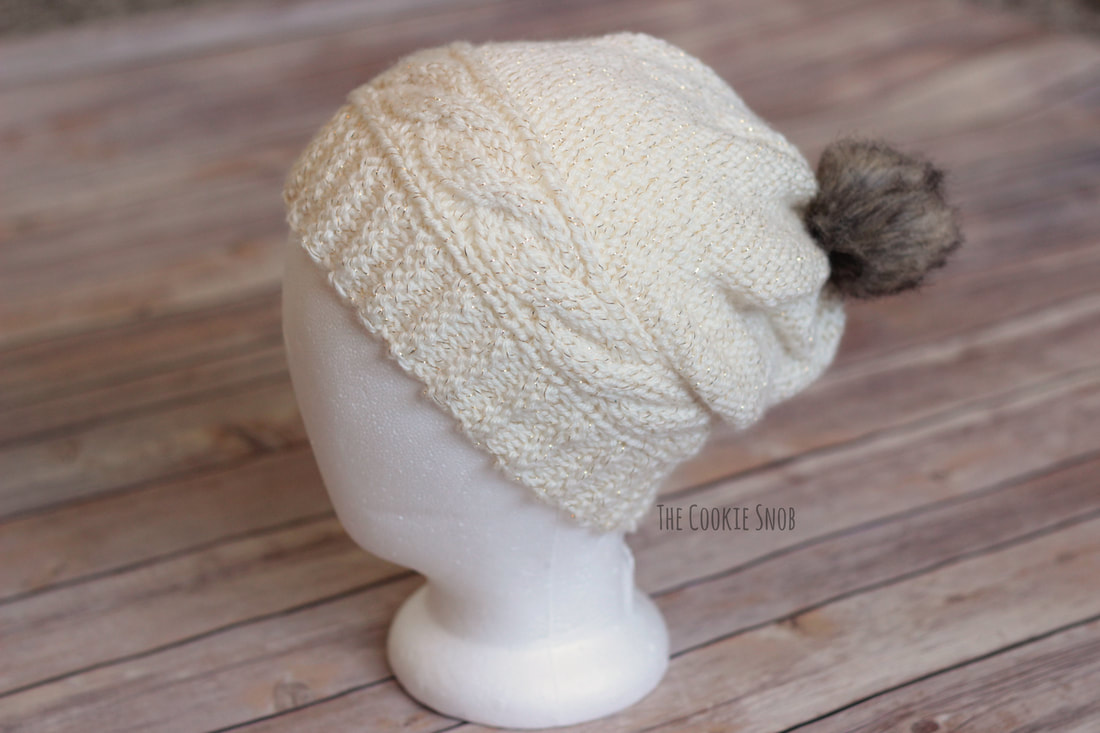
Last week I shared the pattern for my crocheted Cabled Crown Beanie. You may remember that I mentioned that a knit version was in the works. Despite my sloth-like knitting speed, I've finished the hat! And now I'm ready to share the pattern for my new knitted Cabled Crown Beanie, for any knitters out there. Edit: You can now find an updated version of the pattern here, if you'd like a slightly different look. Like the crocheted version, this hat features a horizontal cable above the brim. The hat is slightly slouchy, but can easily be modified to make it slouchier or tighter fitting. As written, the hat is about 10" tall and 19" in circumference. This beanie uses a horizontal construction, so you'll have to seam it up at the end. But, on the plus side, this makes it an even easier knit pattern since you can work it all on straight needles and you don't need to worry about increases or decreases. So if you're a beginning knitter like me, then this pattern is definitely doable. If you can knit a basic cable, then you can knit this hat. The body of the hat is reverse stockinette stitch and cabling and the brim is cartridge stitch. If that doesn't mean anything to you, then don't sweat it. I've written out every row in the pattern below, so it should be simple to follow. But feel free to get in touch with me if you come across any questions. If you'd like a printable, PDF version of this pattern, you can find one on Ravelry. Materials:
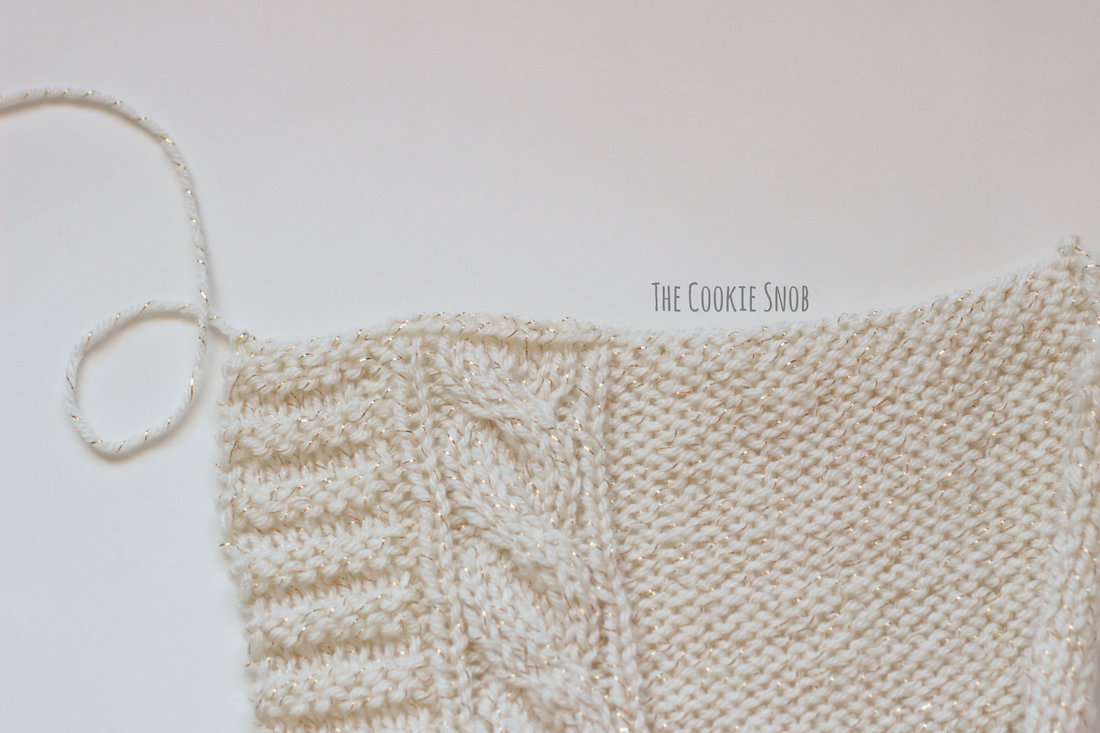
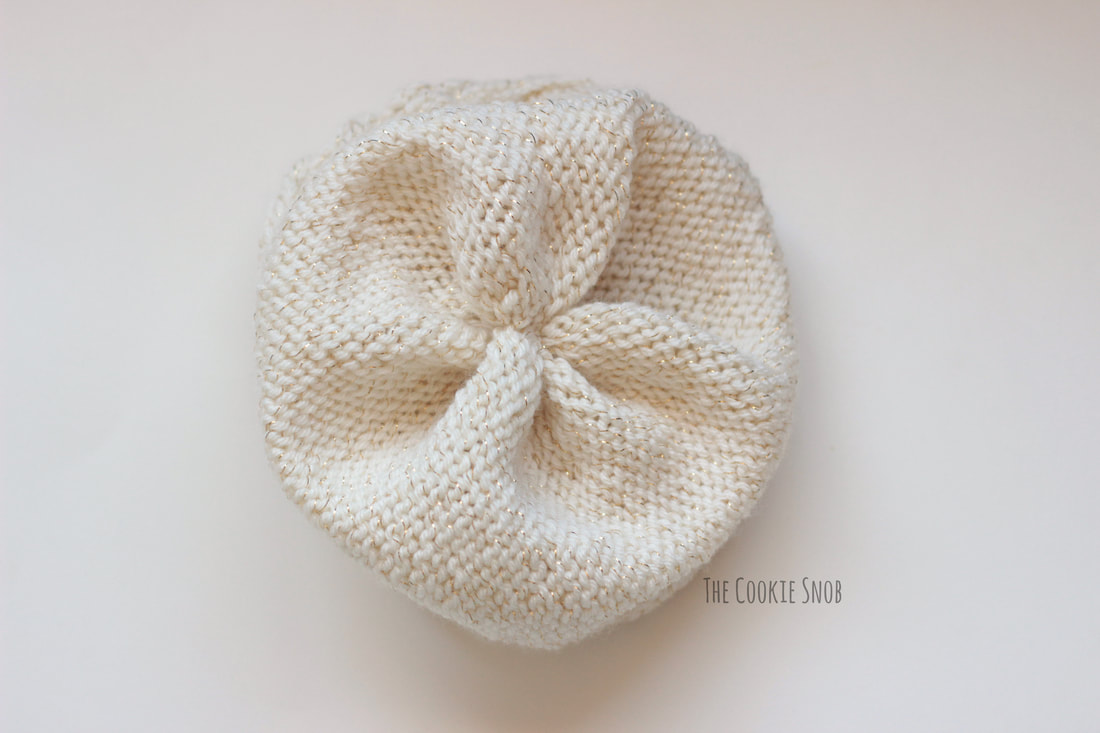
Stitch Glossary: k = knit stitch p = purl stitch c3f = cable 3 forward RS = right side WS = wrong side Gauge: 2" = 8 sts, 2" = 10 rows Cast on 40 stitches Row 1: (RS) p22, k1, p1, k6, p1, k1, p1, k7 (40) Row 2: (WS) p7, k1, p1, k1, p6, k1, p1, k22 (40) Row 3: (RS) p22, k1, p1, k6, p1, k1, p8 (40) Row 4: (WS) k8, p1, k1, p6, k1, p1, k22 (40) Row 5: (RS) p22, k1, p1, c3f, p1, k1, p1, k7 (40) Row 6: Repeat row 2 Row 7: Repeat row 3 Row 8: Repeat row 4 Row 9: Repeat row 1 Row 10: Repeat row 2 Row 11: Repeat row 3 Row 12: Repeat row 4 Row 13: Repeat row 5 Rows 14-91: Repeat rows 6-13 eleven times Rows 92-94: Repeat rows 6-8 Cast off, leaving an extra long yarn tail. Using a tapestry needle and the yarn tail, seam up the side of the hat to form a tube. Then weave the remaining yarn tail through every other stitch along the top and pull taut to close the top of the hat (similar to closing a drawstring bag). There will still be a small hole remaining at the top, which you can then sew shut using the rest of the yarn tail. I recommend the flipping the hat inside out and sewing it from the inside to help keep it neat. Optional: Stitch on faux fur pompom (I recommend using the remaining yarn tail to do this, since thread can have a tendency to tear when used with yarn). Weave in ends. And now you have your very own knitted Cabled Crown Beanie! I'm pretty proud of how this hat turned out, but also slightly nervous about it, because this is my first knitted hat design. Hopefully you all like it! If you'd like a printable, PDF version of the pattern, you can find one on Craftsy. And if you have any questions or comments about it, you can reach me in the comments section below or on social media.
***You're welcome to do whatever you'd like to with finished products made from this pattern but if you do sell them, I ask that you link back to my page. You may not copy this pattern, repost it anywhere (either altered or in its original form), or claim it as your own. You may not use any photos on this site for your own use. ***
11 Comments
Dottie Lynch
12/11/2017 08:27:55 am
How do I do the c3f?
Reply
Erin
12/11/2017 12:28:12 pm
Hi Dottie!
Reply
Marny
1/3/2019 12:23:39 am
Thank you for sharing your creativity. I am hoping to knit this beanie for a friend who is now on radiation.
Reply
Jane Mackey
8/15/2020 03:09:01 am
Hello, thank you for your cable knit beanie. I have just started to learn to knit. You say c3f and just knit after three stitches but what about the last k7 stitches. Is it c3f, p1, k1, p1 knit the cable stitches and then the k7. Thank you in advance for your help.
Reply
Marny
8/16/2020 05:51:35 am
https://www.youtube.com/watch?v=tIGQdXCWifs
Reply
Arlene Strohl
12/4/2020 11:36:49 am
Hi there, I just saw this hat on Ravelry and wondered if I can do this on circular needles instead of straight needles?
Reply
vivian walmsley
1/19/2022 01:19:31 pm
As my seaming is not the most attractive , would you happen to be able to have the pattern using circular needles? Thanks
Reply
Erin
1/20/2022 10:50:59 am
Hi Vivian! Great question. Unfortunately, I haven't come up with a way to make this using circular needles yet. Because of the orientation of that hat, I can't figure out another way to make the cables horizontal while working it in the round. You could adapt it to a more typical hat construction and make it in the round, but you would have to use a vertical cable instead, which will give a totally different look.
Reply
5/26/2024 03:13:57 pm
Hi. Love the pattern and would like to make it using a number 5 bulky weight yarn. If I do a stitch conversion it calls for 32 stitches cast on but I don't know how to adjust the rest of the pattern that way so wondering what you would recommend?
Reply
Rory Siegel
5/26/2024 03:16:47 pm
PS The notify me of new comments box is not functioning so would appreciate an email response as well if possible! Thank you
Reply
5/29/2024 07:40:56 pm
Sure would love a response to my questions above. Also wondering what stitch you recommend to sew the two ends together? Using a mattress stitch leaves a rather pronounced ridge so would really appreciate your input as to how you sew the ends together before closing the top of the hat?
Reply
Leave a Reply. |
Welcome!Thank you for stopping by to visit my own personal corner of the web! Feel free to take a look around and check out what I've been crafting, crocheting, or baking. Hopefully you'll find something to inspire your own creativity! Archives
March 2024
|




 RSS Feed