|
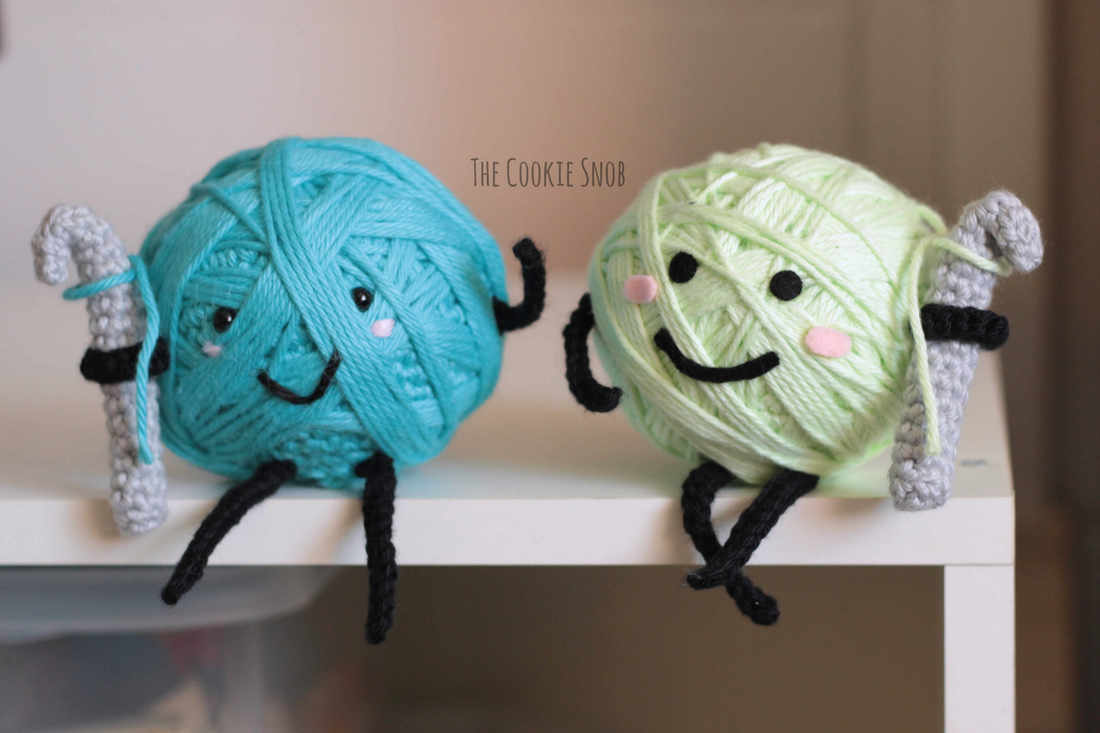
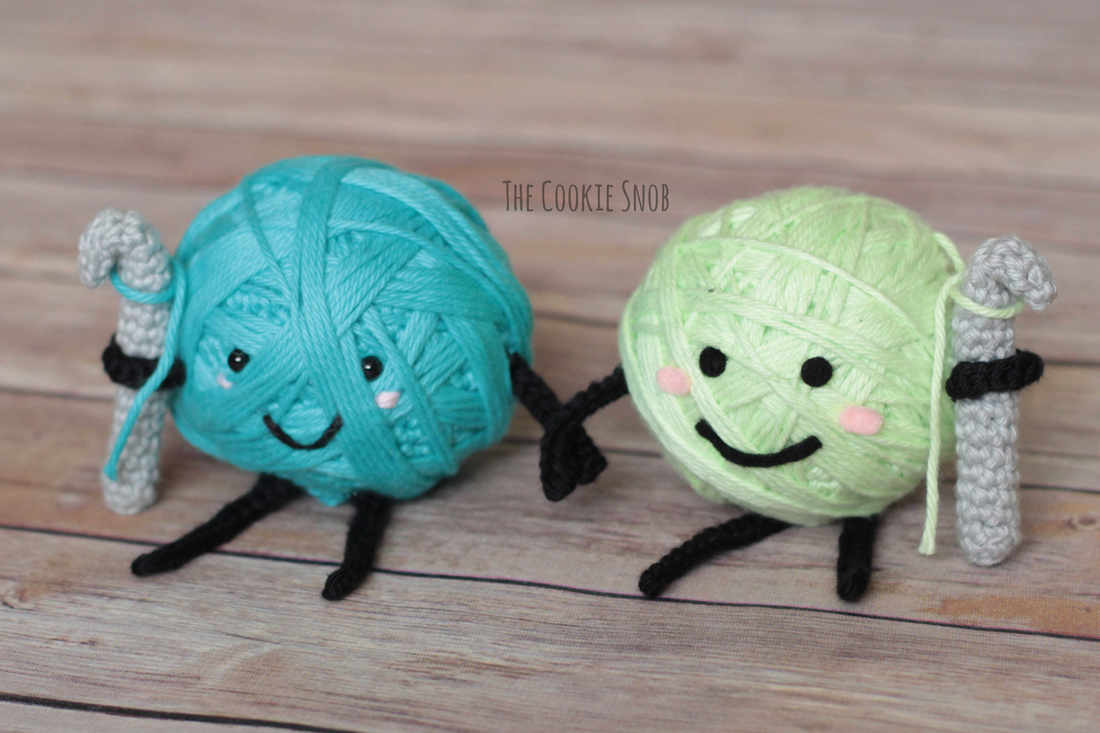
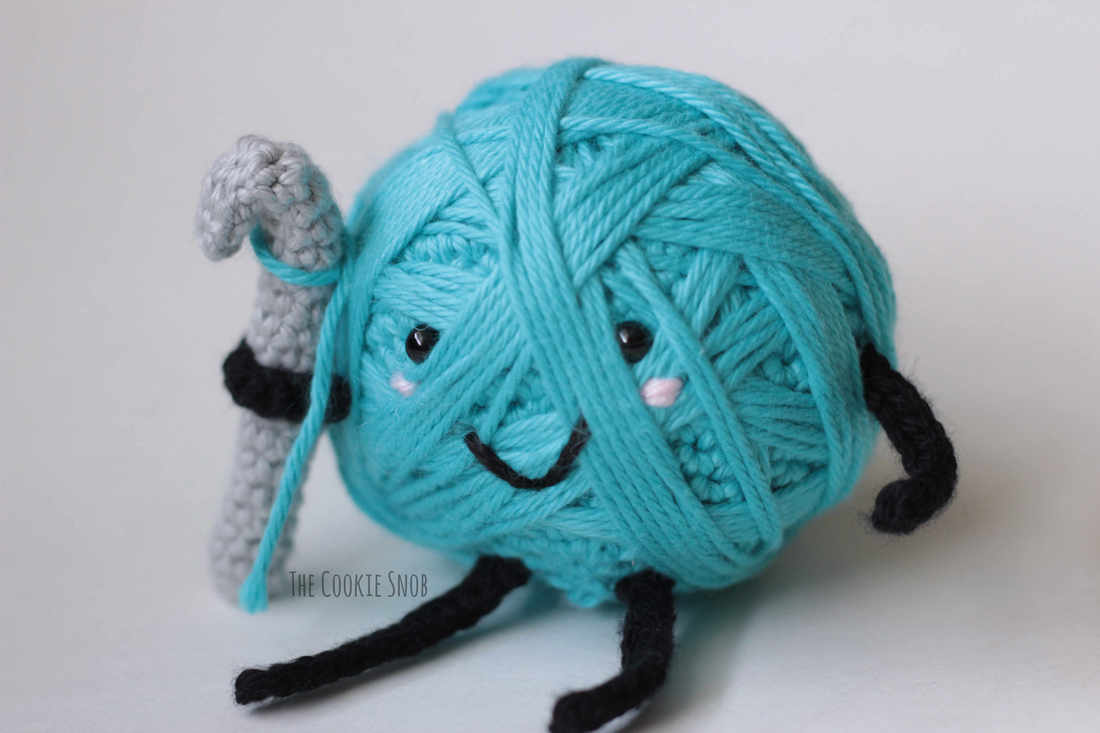
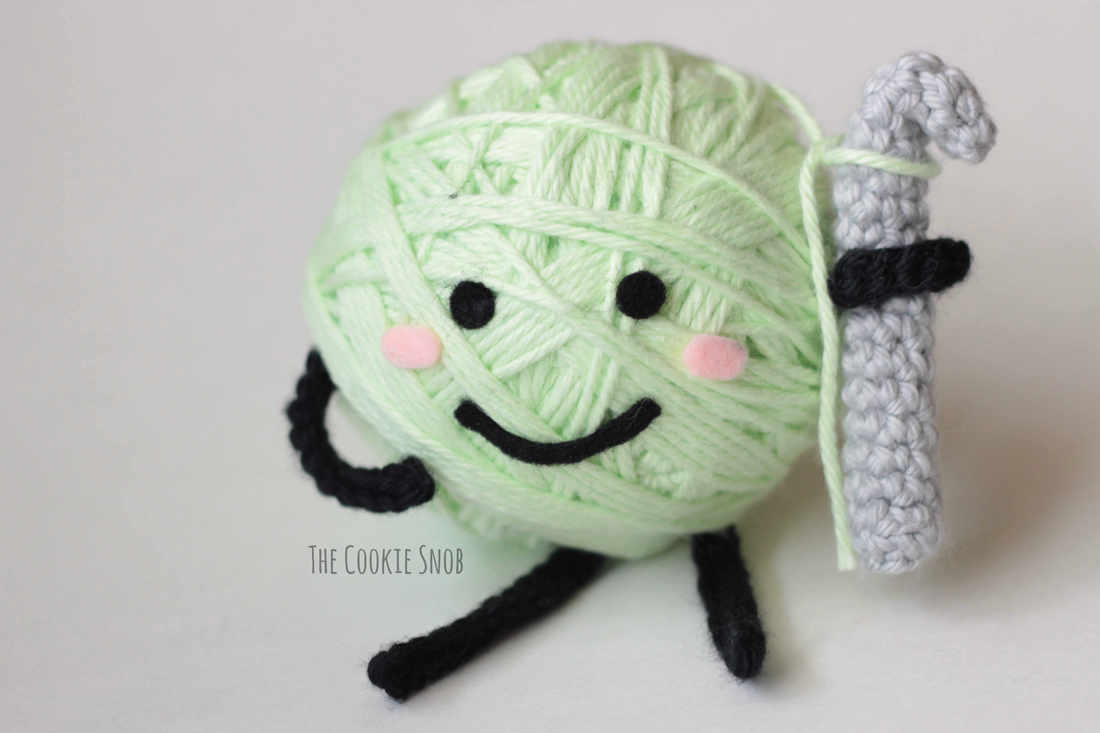
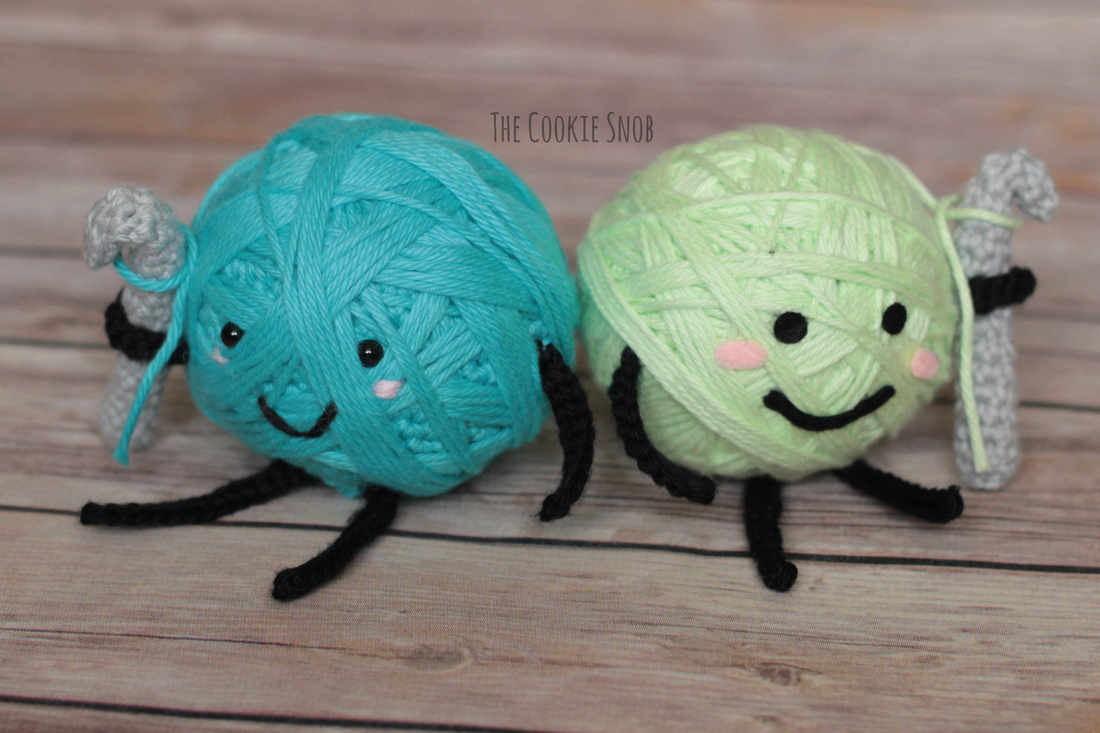
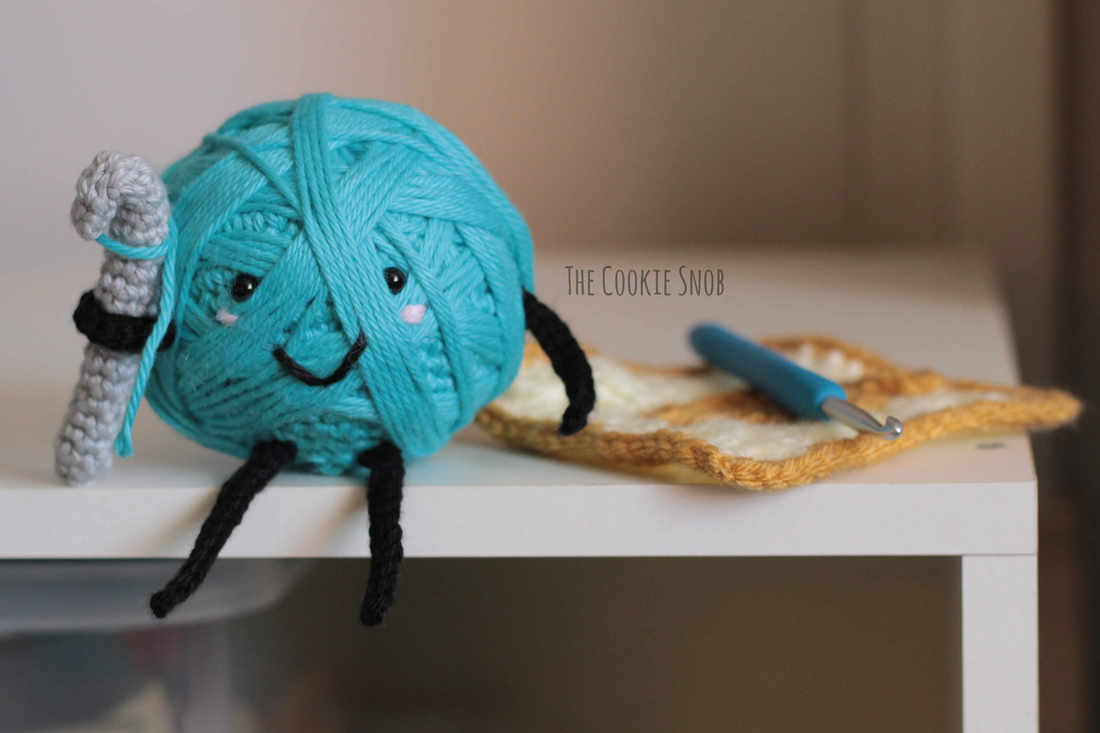
The other day I was crocheting (shocking, I know), and a thought occurred to me: I should crochet...yarn! Which might be crazy. But I think it's just crazy enough to work. So I designed myself a little yarn buddy! The construction was a bit tricky, so I designed a simpler version as well, and now I have two little yarn assistants. Their current job? Supervising my growing pile of unfinished crochet projects. I should probably finish some of those before I do anything else...but at least for now, I've finished up the pattern for this cute little yarn buddy so you can make an assistant of your own! Like I said, the construction of the original version (the blue one), is a bit tricky. You have to essentially wrap yarn around the body and then add the face before it's actually done being crocheted. So, to keep it simpler, I designed an alternate version (the green one) where you can finish the entire body piece before you have to wrap it. But, as a trade off, you can't use safety eyes. If you're really handy with a needle, you could stitch on the face at the very end (so I guess that's technically a third option), but to keep it as foolproof as possible, I wrote out the instructions for simply gluing on a felt face instead. Instructions for both approaches I used to make my two yarn buddies are written out here, so you can pick whichever appeals to you. If you'd like a printable, PDF version of this pattern (or if you want to help support my blog), you can find one on Ravelry. Materials:
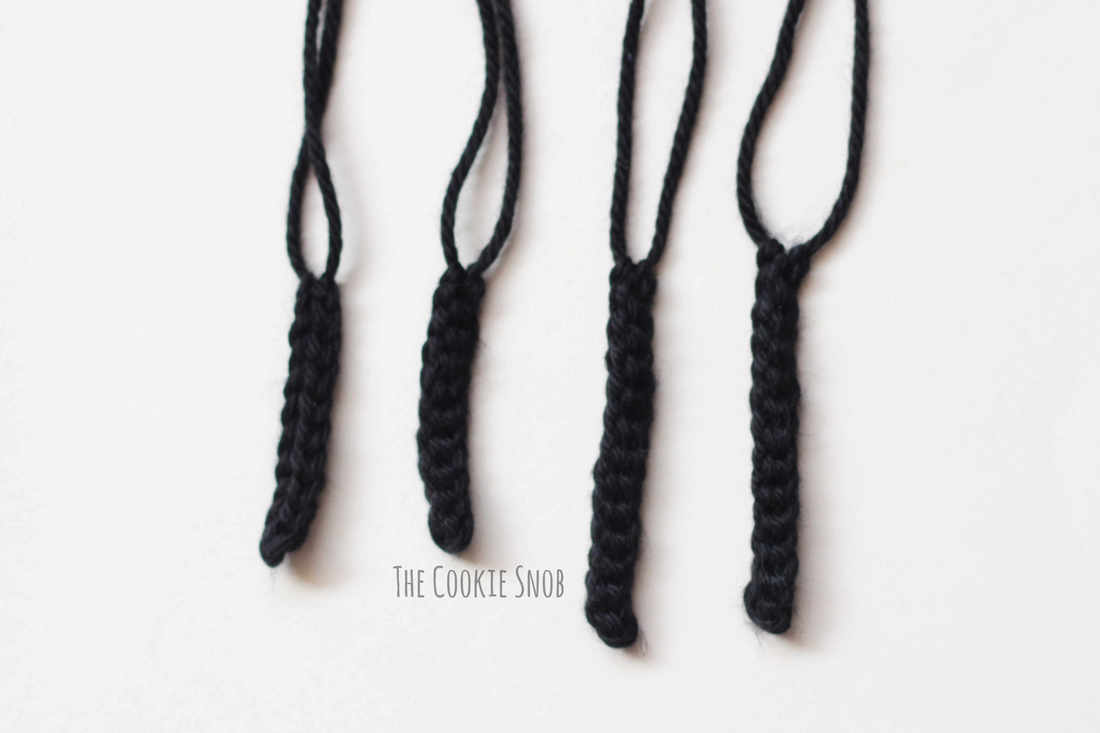
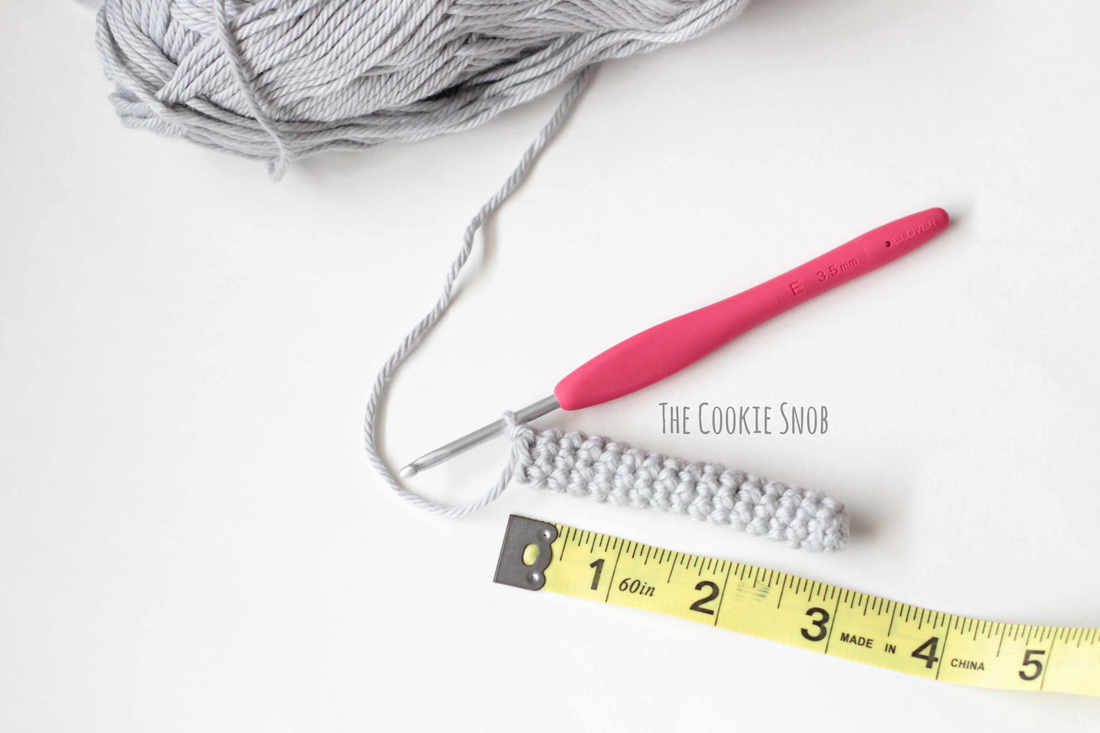
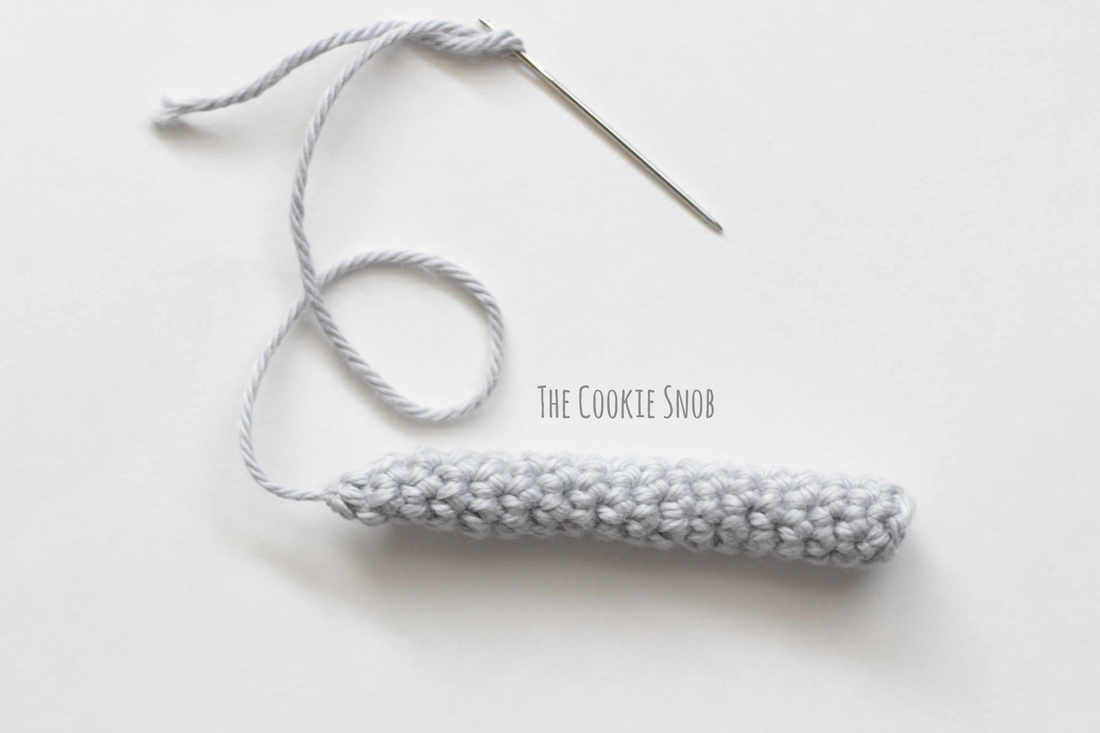
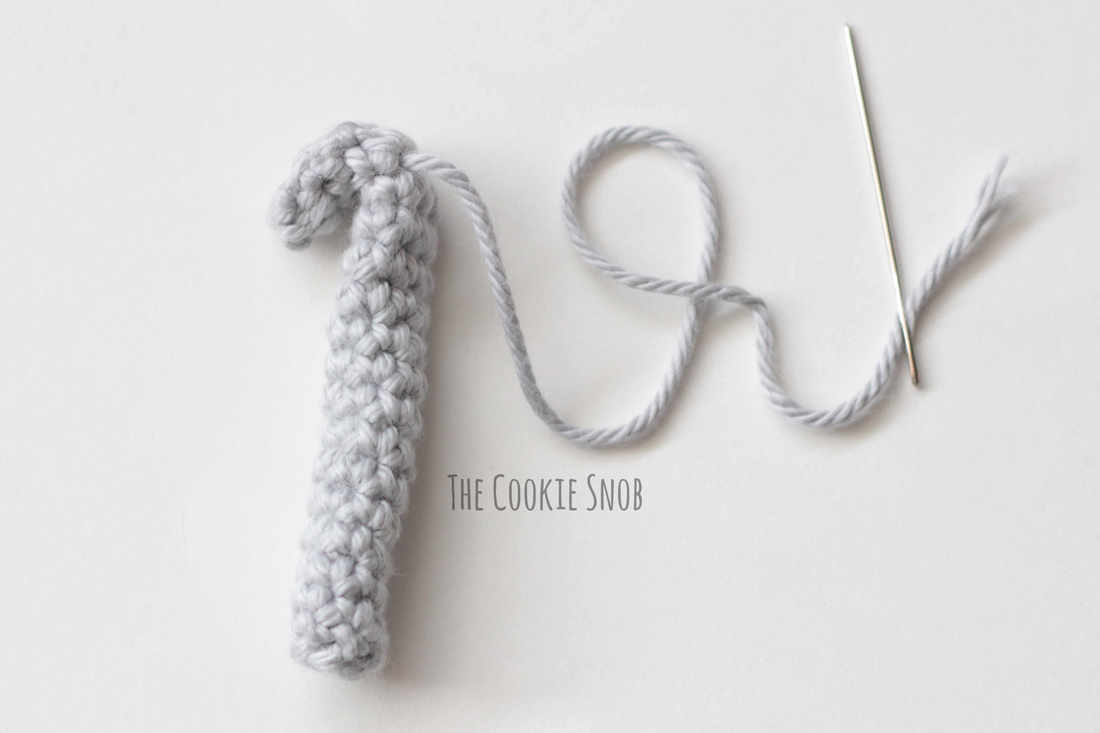
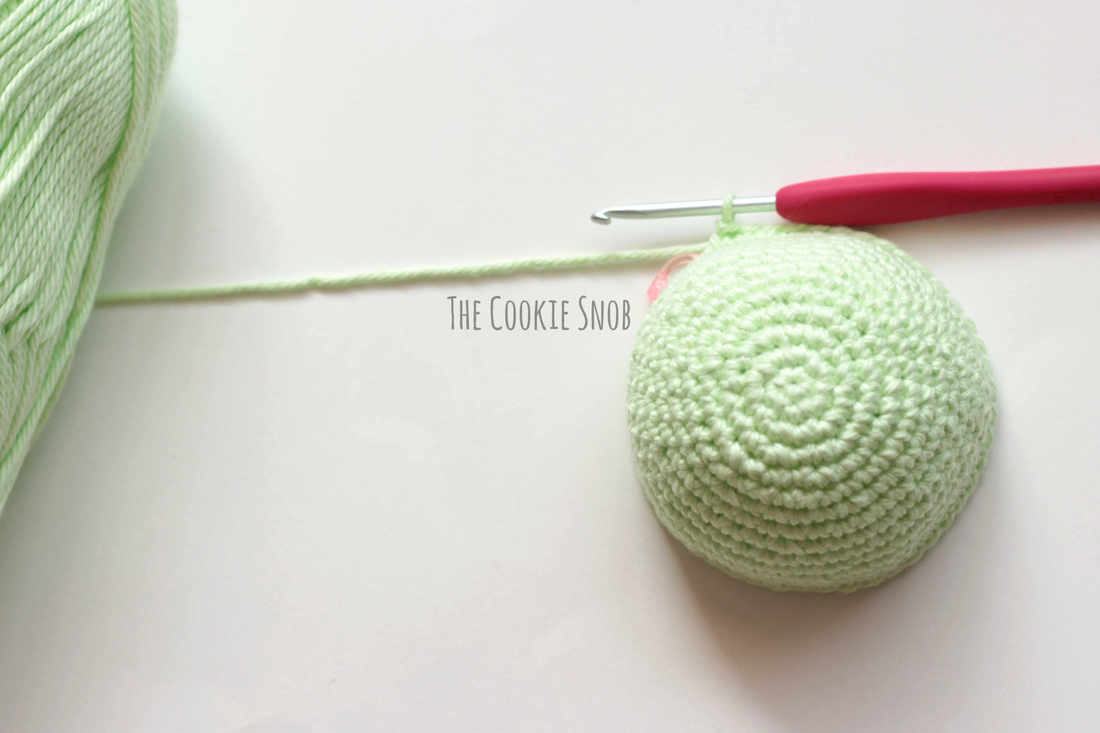
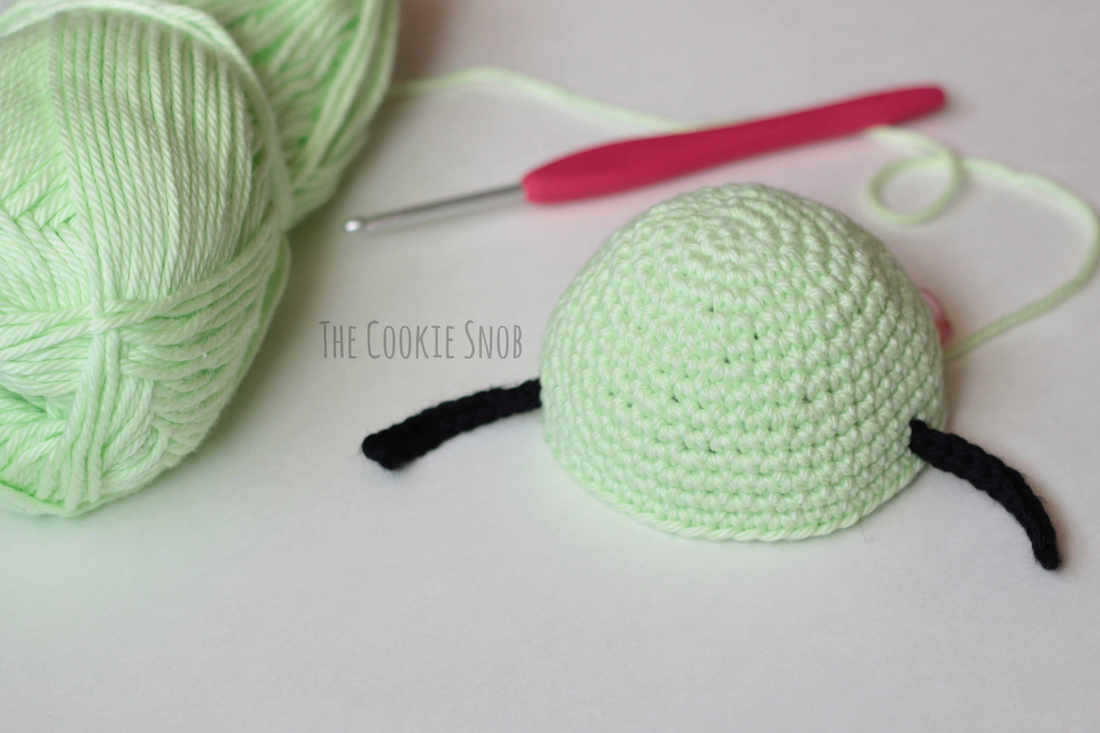
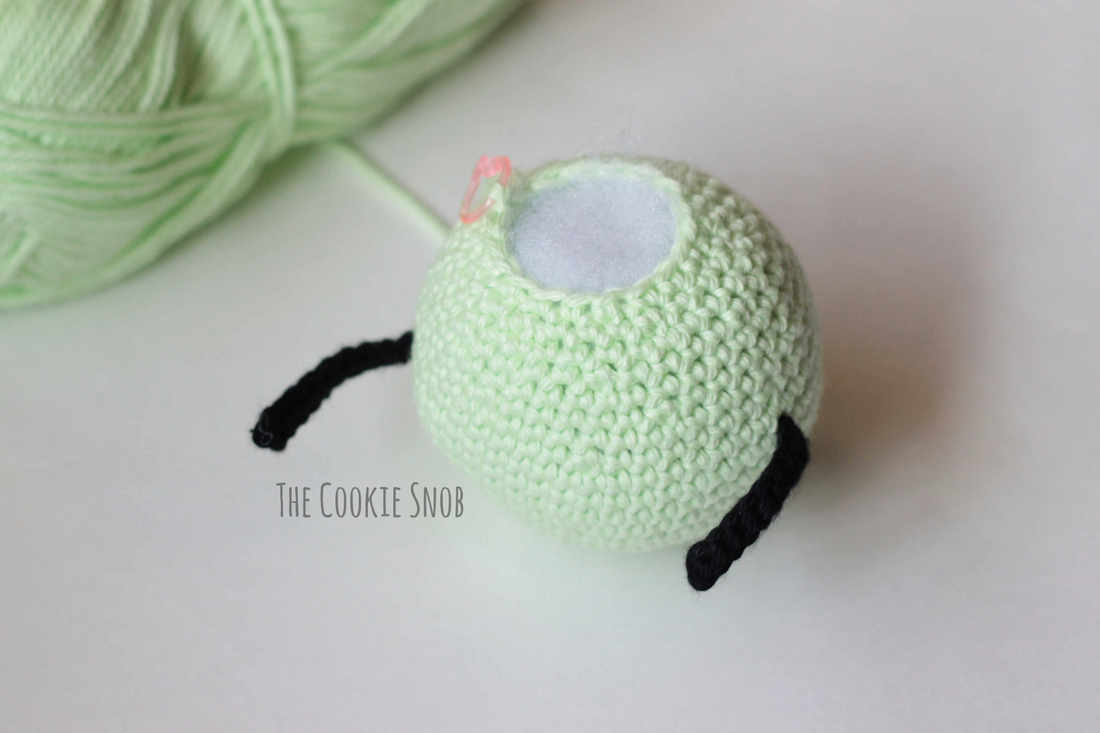
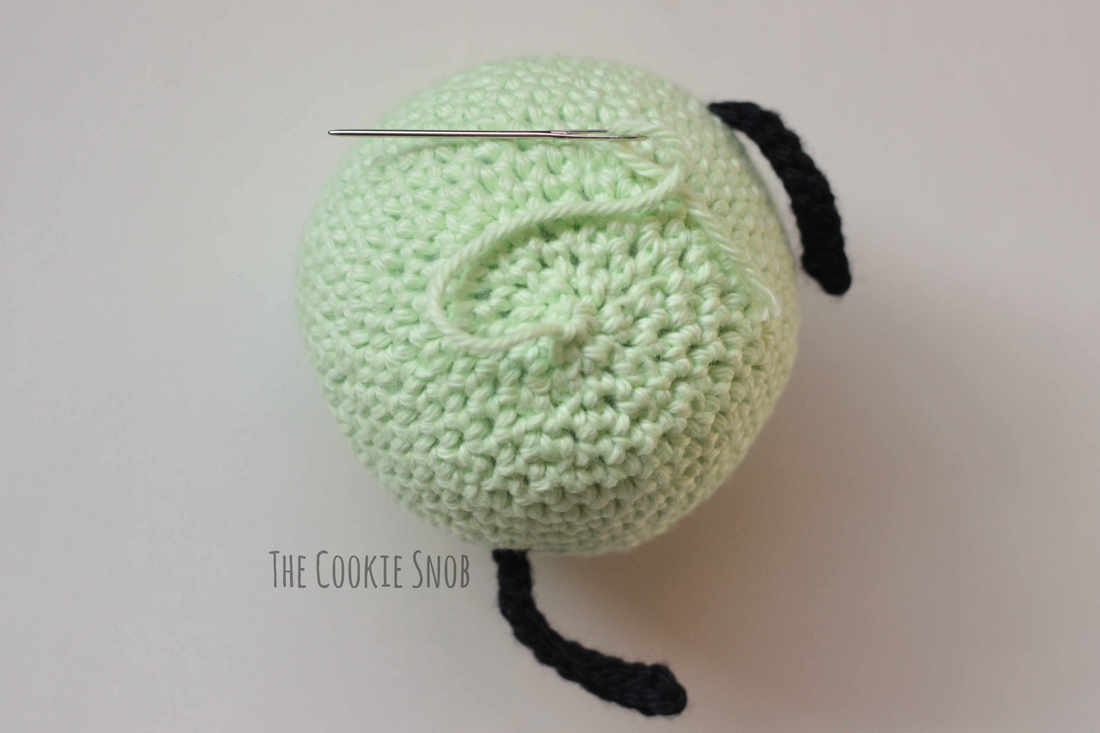
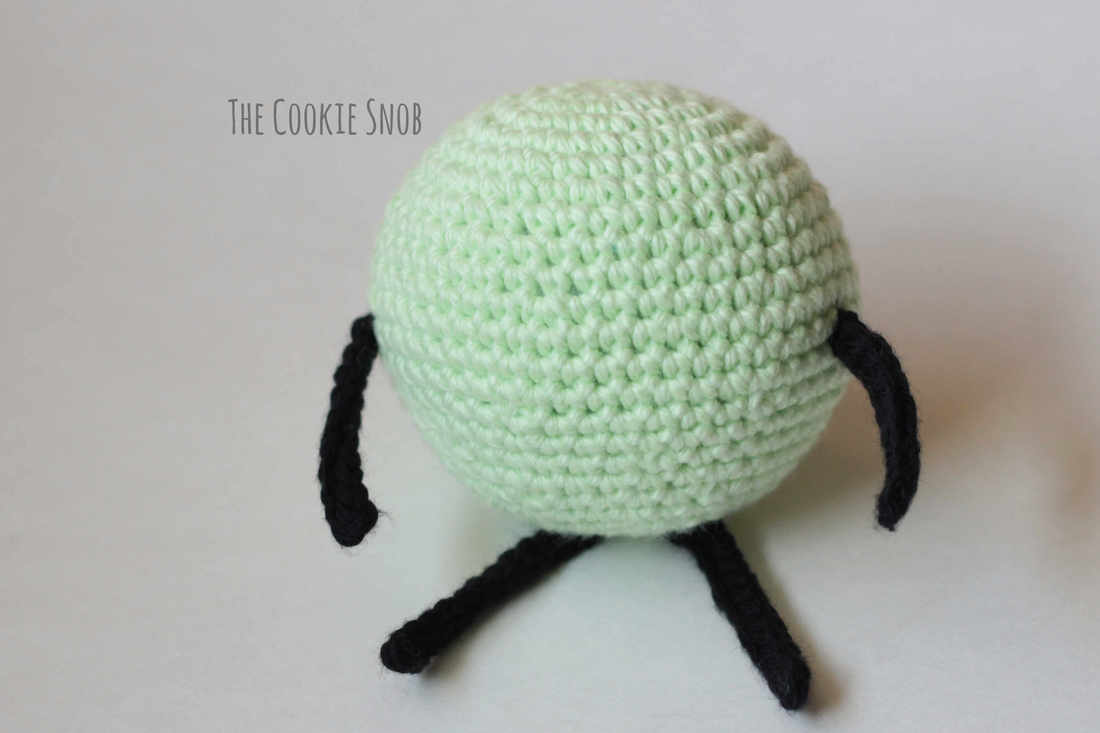
Stitch Glossary: st(s) = stitch(es) ch = chain ss = slip stitch sc = single crochet inc = sc increase (work 2 sc in the same st) dec = sc decrease (I prefer to use the invisible decrease stitch) Arm (Make 2): ch 10 Row 1: ss in the 2nd ch from the hook and in each st across (9) Fasten off, leaving a long yarn tail for sewing Leg (Make 2): ch 13 Row 1: ss in the 2nd ch from the hook and in each st across (12) Fasten off, leaving a long yarn tail for sewing Crochet Hook: Round 1: Make a magic circle and work 6 sc into the circle (6) Round 2: sc around in the back loop only (6) Round 3: sc around (6) Repeat round 3 until the piece is about 3 inches long Insert the pipe cleaner. Dec, sc in the next 4 sts, dec, then fasten off, leaving a yarn tail Trim the pipe cleaner to fit inside the hook. Using the tapestry needle, thread the yarn through the front loop only of each st and pull taut to close. Fold down the tip of the tube to create the hook shape. Thread the yarn tail through to the back side of the hook and leave it for attaching to the body later. (You may want to move it down a bit lower than shown in the picture; I attached mine to the body at about the center of the hook after taking this picture). Body: Note: This pattern is worked in the round (meaning the stitches are worked in a continuous spiral). I recommend using a stitch marker and moving it after every round to help you keep track of which round you're working on. Round 1: Make a magic circle and work 6 sc into the magic circle (6) Round 2: inc around (12) Round 3: [inc, sc] around (18) Round 4: [sc, inc, sc] around (24) Round 5: [inc, sc in the next 3 sts] around (30) Round 6: sc around (30) Round 7: [sc in the next 2 sts, inc, sc in the next 2 sts] around (36) Round 8: sc around (36) Round 9: [inc, sc in the next 5 sts] around (42) Round 10: sc around (42) Round 11: [sc in the next 3 sts, inc, sc in the next 3 sts] around (48) Rounds 12-14: sc around (48) Pause crocheting for a moment to attach the arms using the tapestry needle and the yarn tails. I placed mine across round 13, with 20 sts between them. Now resume crocheting. Round 15: [sc in the next 3 sts, dec, sc in the next 3 sts] around (42) Round 16: sc around (42) Round 17: [dec, sc in the next 5 sts] around (36) Round 18: sc around (36) Round 19: [sc in the next 2 sts, dec, sc in the next 2 sts] around (30) Round 20: sc around (30) Round 21: [dec, sc in the next 3 sts] around (24) Round 22: [sc, dec, sc] around (18) Begin stuffing If you're going to make the face out of felt, you can skip this step and keep going on to round 23. But if you want to use the safety eyes, pause crocheting and place a stitch marker in the loop on your hook to hold your spot. If you want to use fabric glue to keep everything in place, you can cut off the yarn and reattach it later, but I opted to just hold it in place with the crochet stitches and just started wrapping tightly around the ball. Once you've wrapped the body as much as you'd like to, attach the safety eyes and stitch on the mouth and cheeks as shown. Or feel free to personalize it with your own facial expression. Then move the yarn from the stitch marker back to the hook and pick up the loose yarn end so you can resume crocheting. Making the next st in the pattern will help secure the yarn in place, but you can use a bit of glue if you want it to be extra secure. (I didn't use any glue on mine.) Round 23: [dec, sc] around (12) Round 24: dec around (6) Finish stuffing. Fasten off, leaving a long yarn tail. Using the tapestry needle, weave the yarn tail through the front loop of each st and pull taut to close. Weave in end and then leave the extra tail for decoration. If you want, you can move the extra tail to a different spot on the body by inserting the needle into the body and pulling it out where you want the tail to come out. Using the tapestry needle and the long yarn tails, stitch the legs onto the bottom of the body, a few stitches apart. If you're using the felt option, you can now wrap yarn around the finished body, using a bit of fabric glue to help keep everything in place. Cut the facial features out of felt and then glue on to the body, as shown below. Or feel free to personalize it with your own facial expression. Tip: I like to use a hole punch to cut out the felt eyes, since it's a quick way to make a small, neat circle. For both versions, you should now attach the crochet hook for the final touch. Using the remaining yarn tail and the tapestry needle, stitch the hook to the body and to the inside of one of the arms, if you want it to look like the yarn buddy is holding the hook. And now you have your very own yarn buddy! No matter which style you choose, you have an adorable new assistant for all of your crafting. I hope that you enjoy this pattern! If you want a printable, PDF version of this pattern, or you just want to help support my blog, you can find one on Ravelry. If you come across any questions about this pattern as you're working through it, feel free to contact me and I'll be happy to help. You can reach me in the comments section below or on social media. Happy hooking! ***You're welcome to do whatever you'd like to with finished products made from this pattern but if you do sell them, I ask that you link back to my page. You may not copy this pattern, repost it anywhere (either altered or in its original form), or claim it as your own. You may not use any photos on this site for your own use. ***
1 Comment
|
Welcome!Thank you for stopping by to visit my own personal corner of the web! Feel free to take a look around and check out what I've been crafting, crocheting, or baking. Hopefully you'll find something to inspire your own creativity! Archives
March 2024
|



 RSS Feed