|
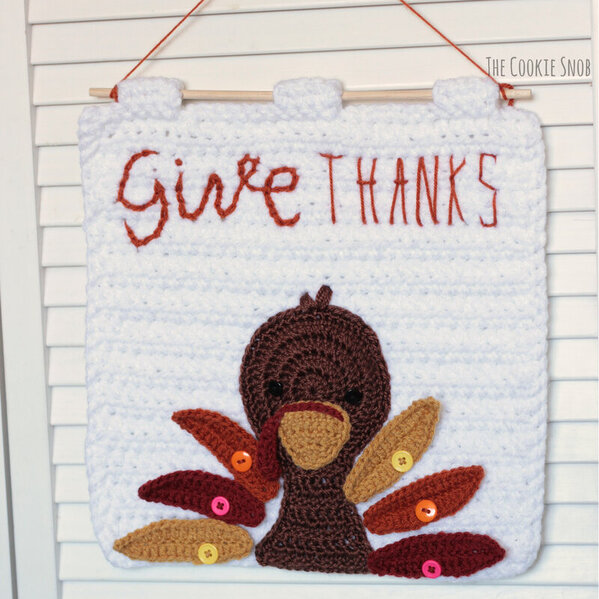
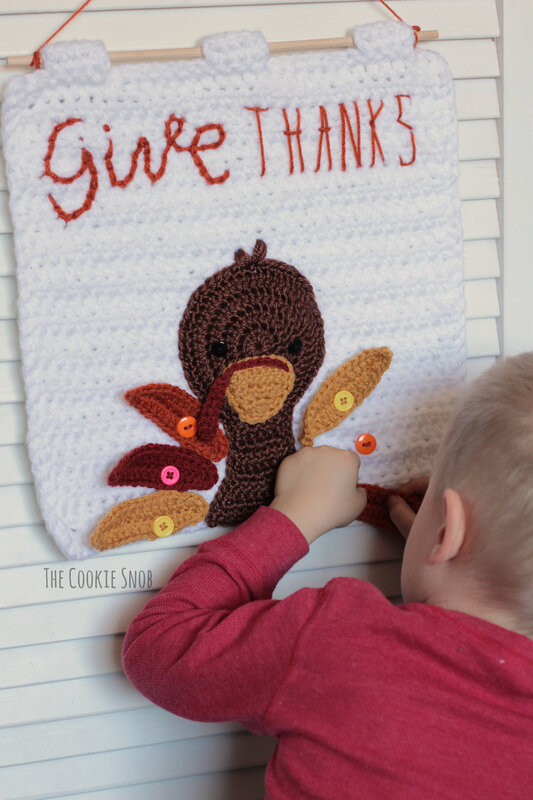
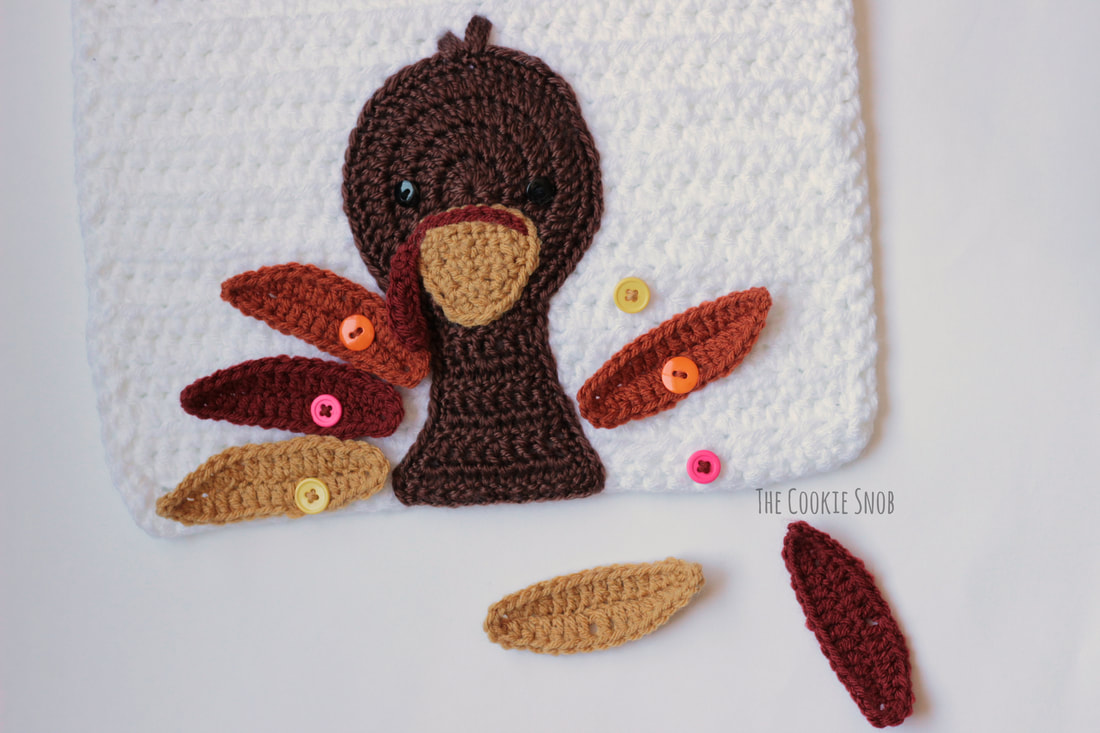
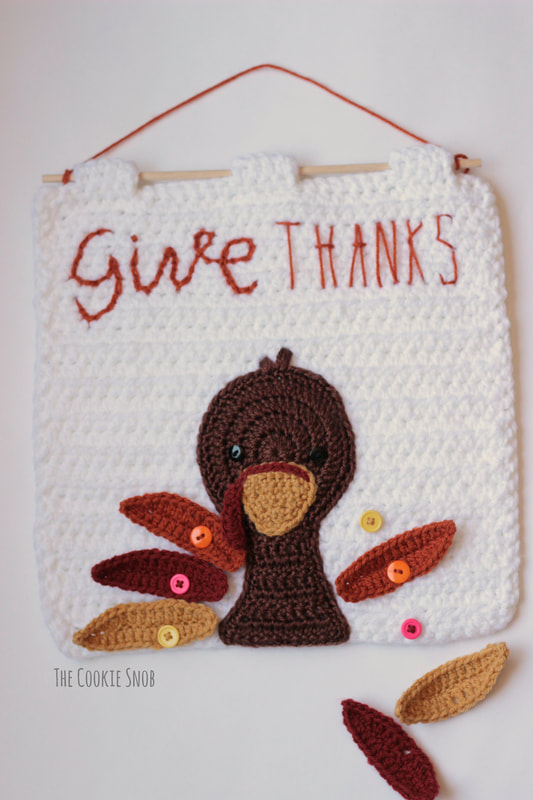
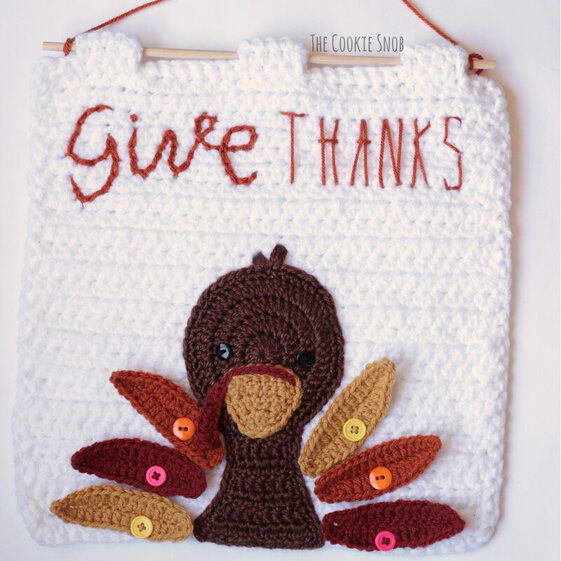
I know many of you have moved on to Christmas already. BUT if you're a staunch holiday separatist like me and refuse to let Christmas creep up earlier and earlier into the year (I'm looking at you, Hobby Lobby), I have a fun Thanksgiving pattern for you! It's somewhat last minute, since everything was chaos and I didn't have any time to work on it until this week, but I figured that I would post it anyway since I was making it for my family regardless of the rules of holiday blogging. I'm extra excited about this one because it's not only a decoration but a simple tradition that I'm hoping will help my kids grow their gratitude before Thanksgiving. I designed this cute little turkey banner so that the feathers can button on and off. You can use this pattern any way you'd like (you can even just stitch the feathers in place for a regular wall hanging), but my plan is to let my kids add a feather to the turkey as they name something that they're grateful for in the days leading up to Thanksgiving. Spending an extra moment to be reflect in gratitude is always a good plan in my book. I made mine by mixing and matching yarn I already had around, so odds are good that you can pull this off with whatever miscellaneous skeins are calling to you from your stash. I've given you a gauge you can follow if you want yours to end up the same size (mine is 13" x 13"). But whatever gauge you use, you want to make sure that your background stitches are extra stiff so that the banner won't curl up at all when you hang it. Now let's take a look at the pattern. If you'd like an ad-free printable PDF version of this pattern, you can find one on Ravelry. Stitch Glossary: st(s) = stitch(es) ch = chain ss = slip stitch sc = single crochet dec = single crochet decrease (decrease over 2 sc sts) sc3tog = single crochet 3 together (decrease over 3 sc sts) hdc = half double crochet fhdc = foundationless half double crochet dc = double crochet dc inc = double crochet increase (work 2 dc into the same st) Materials:
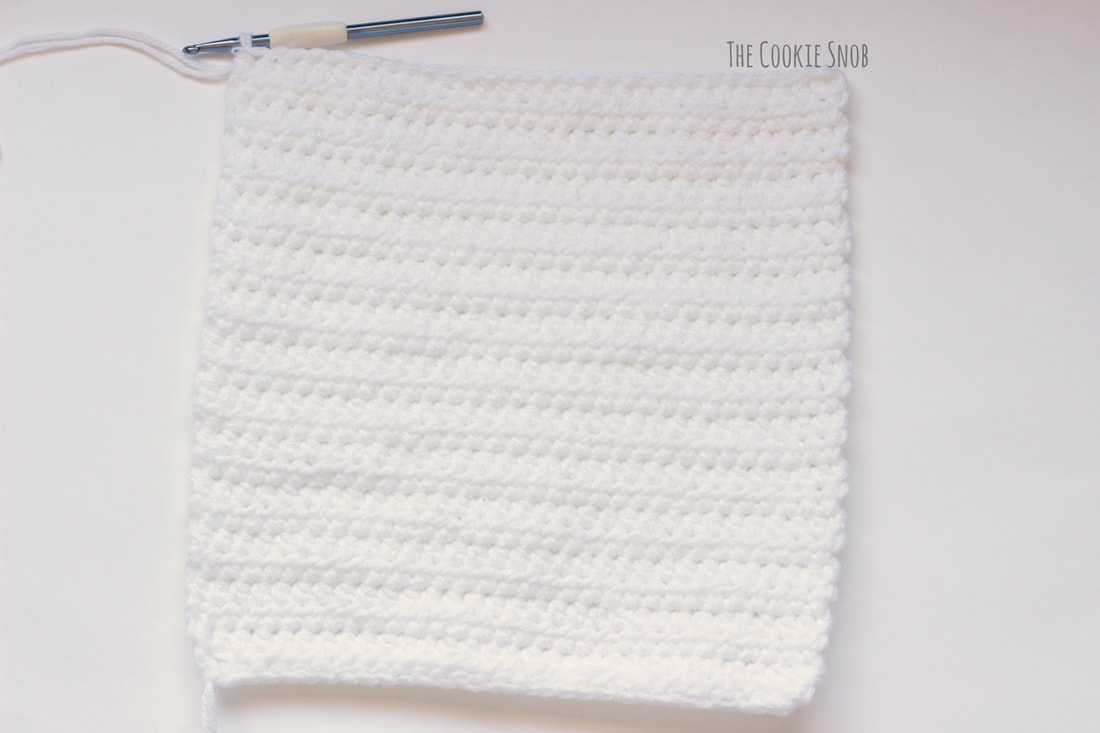
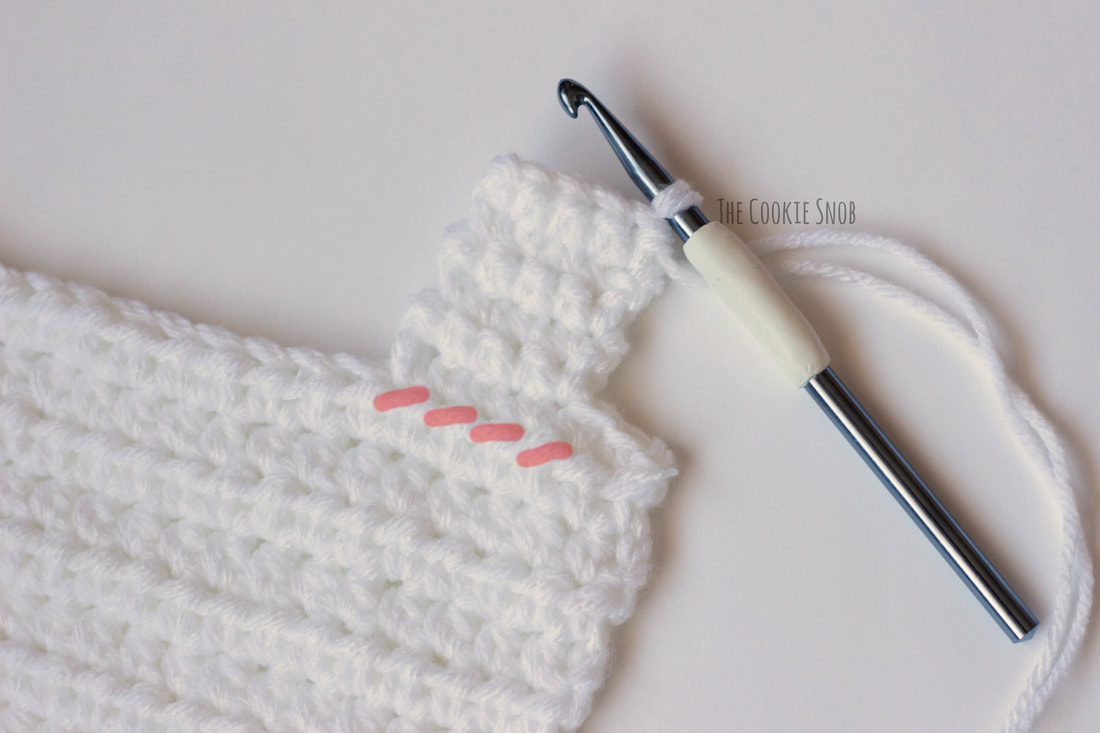
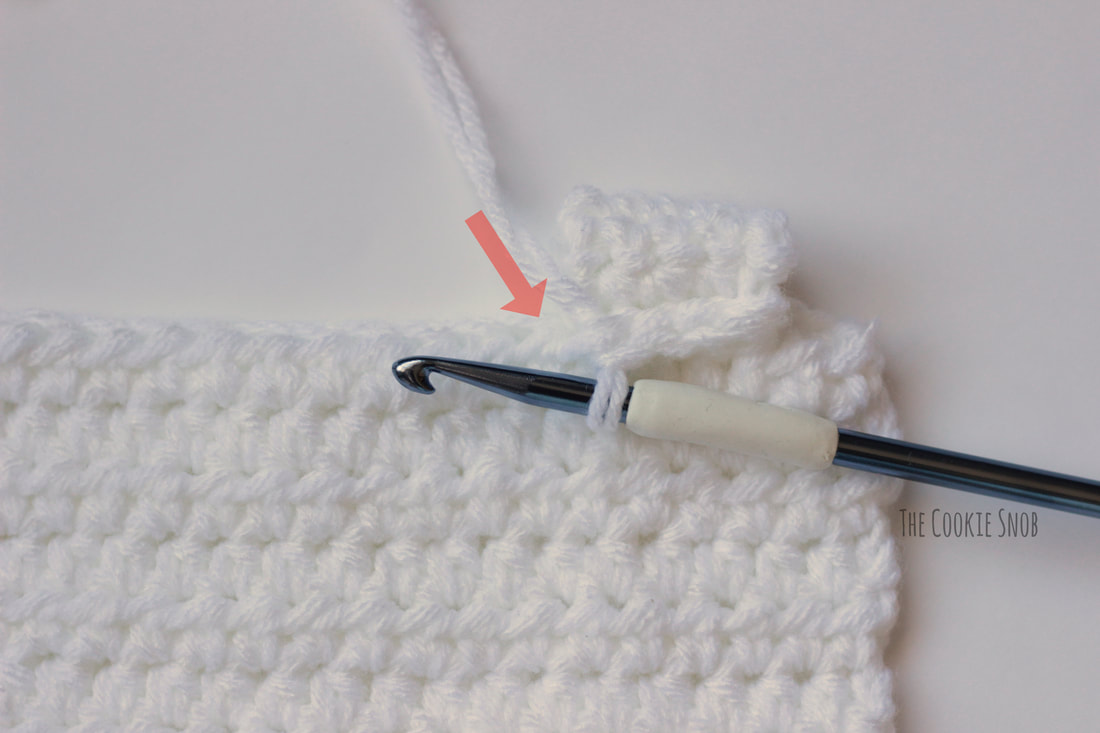
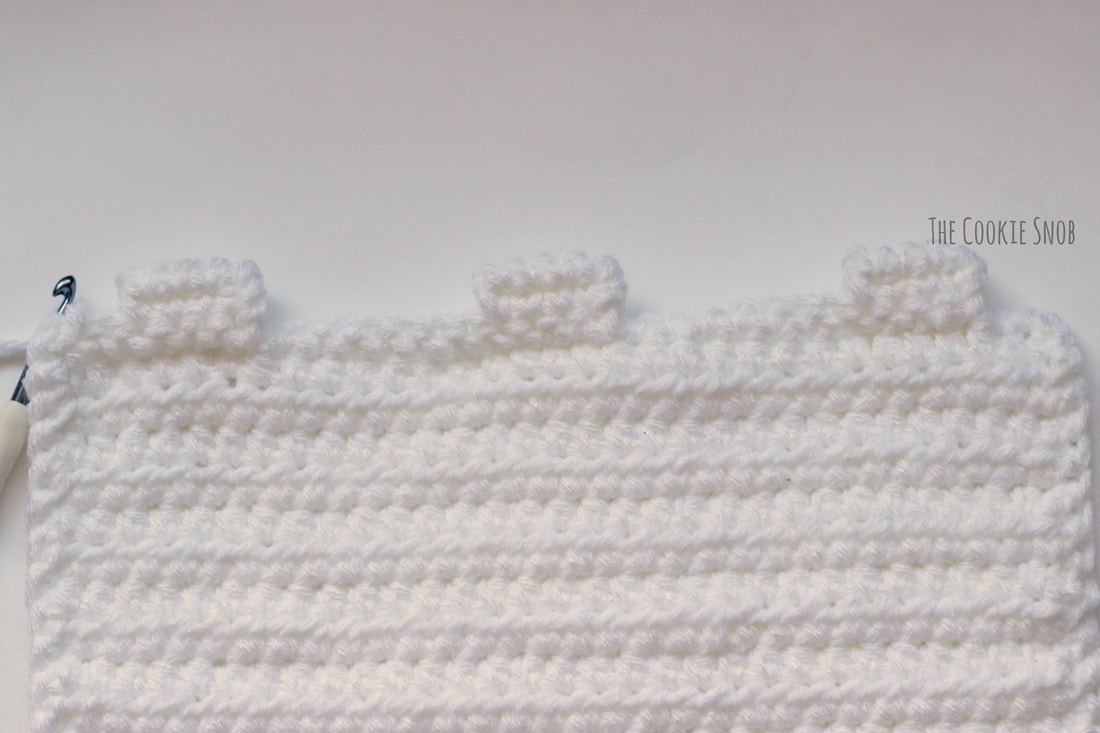
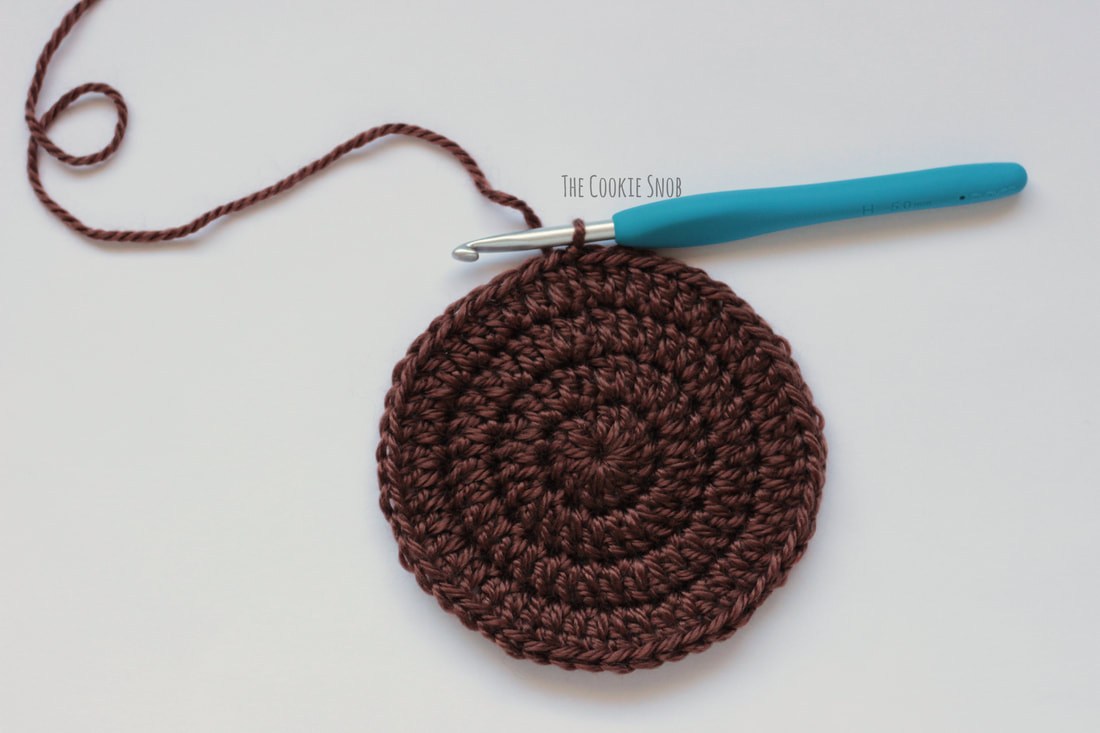
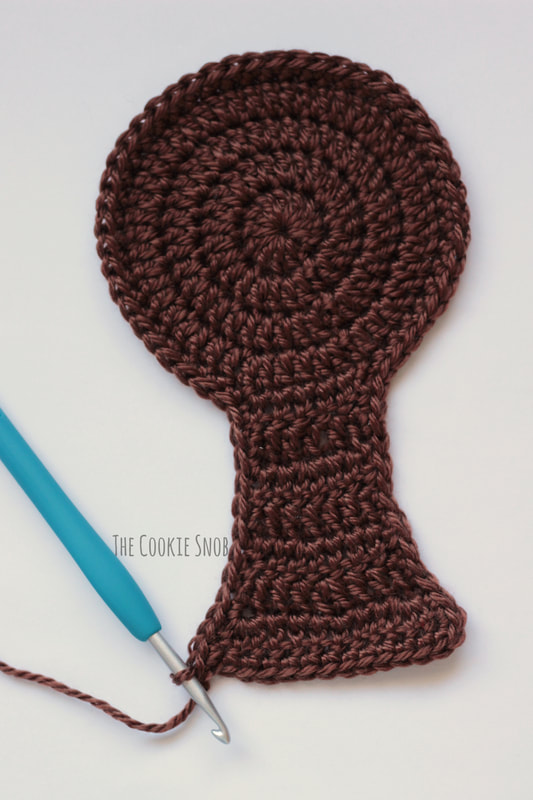
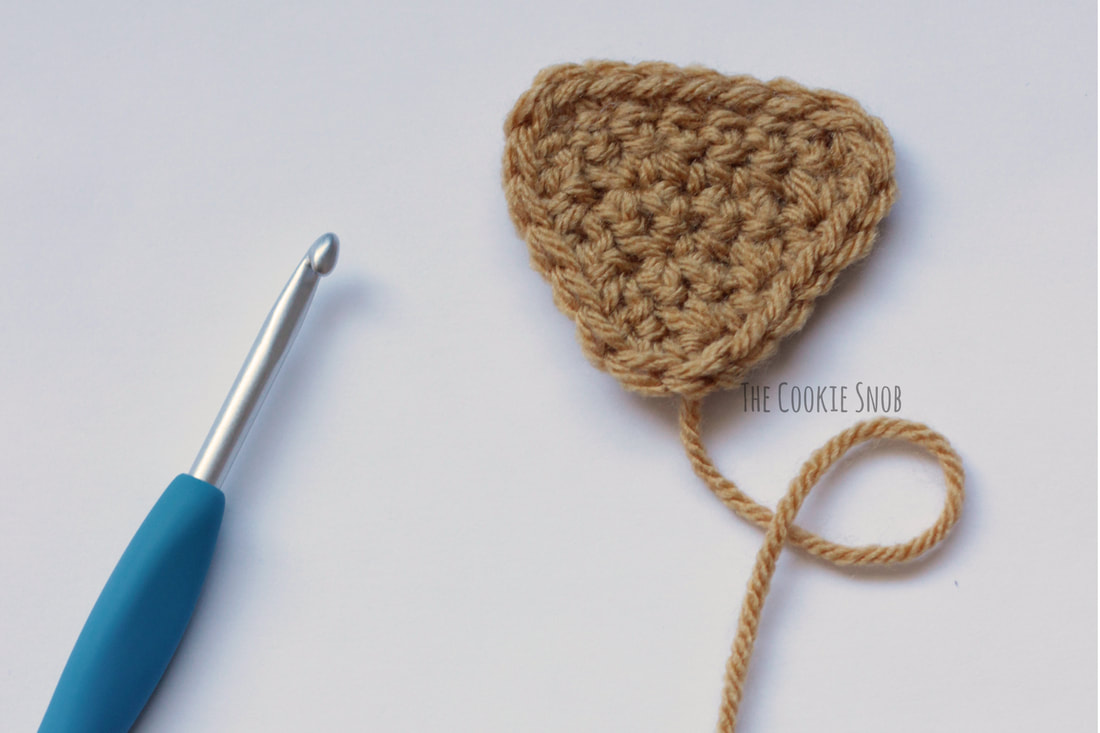
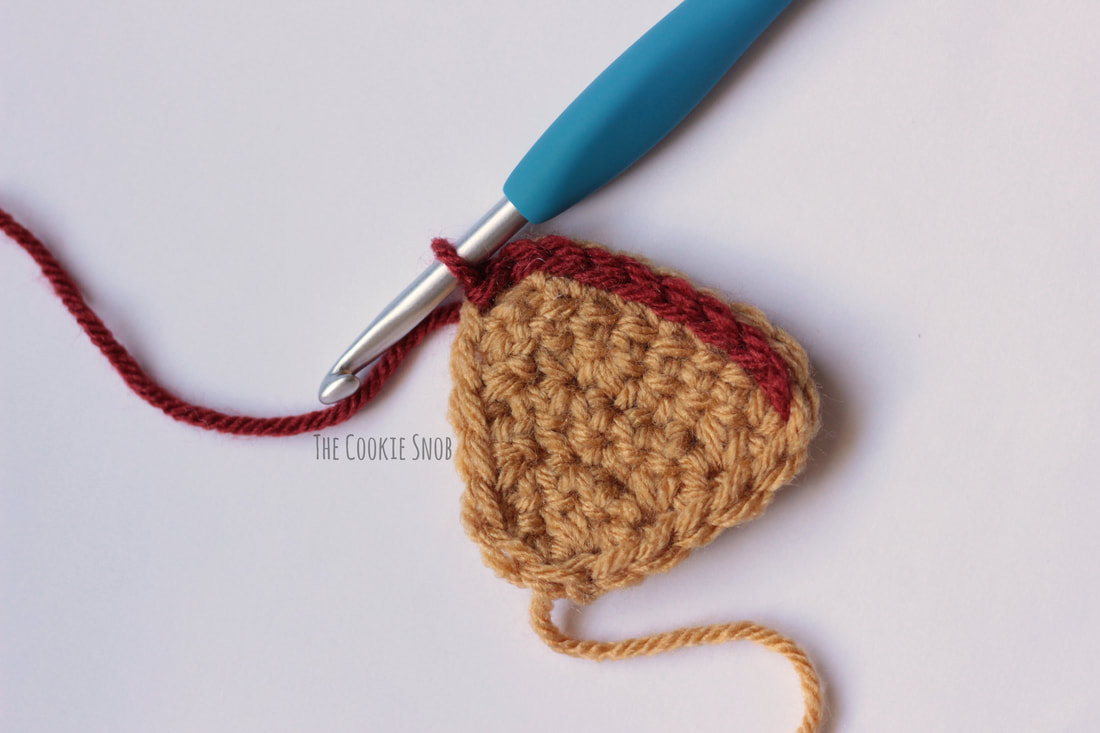
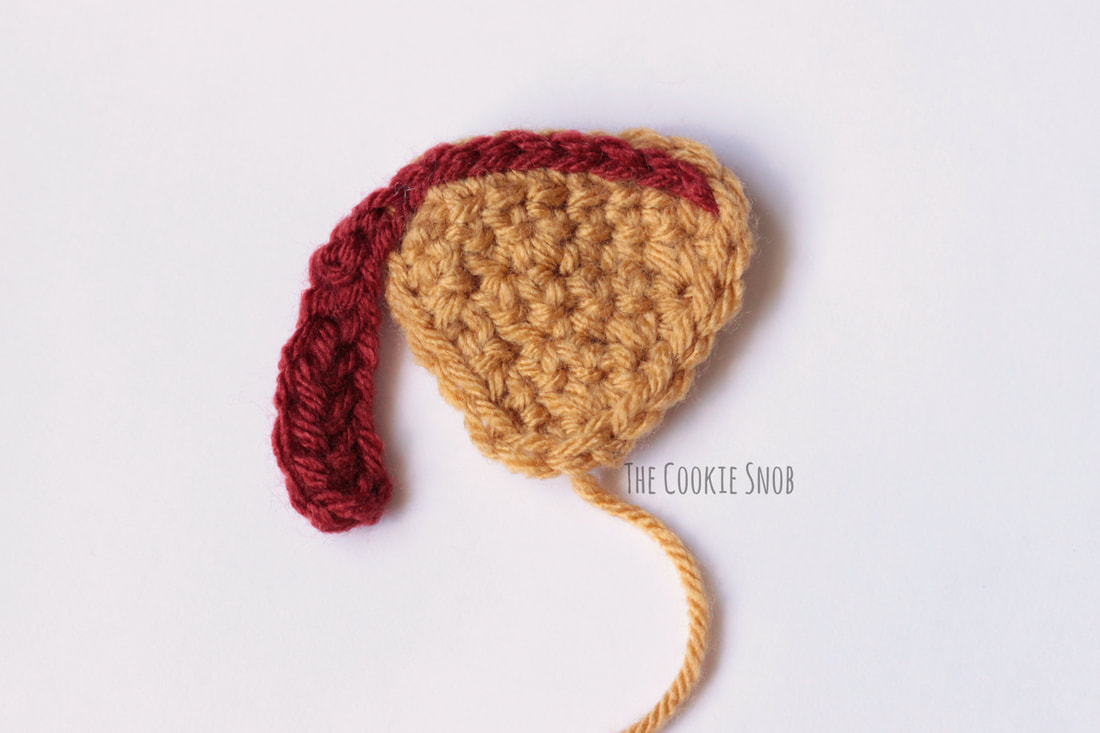
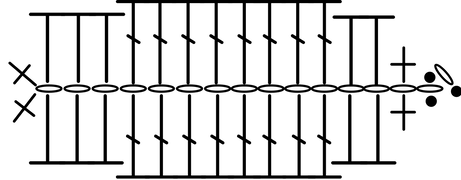
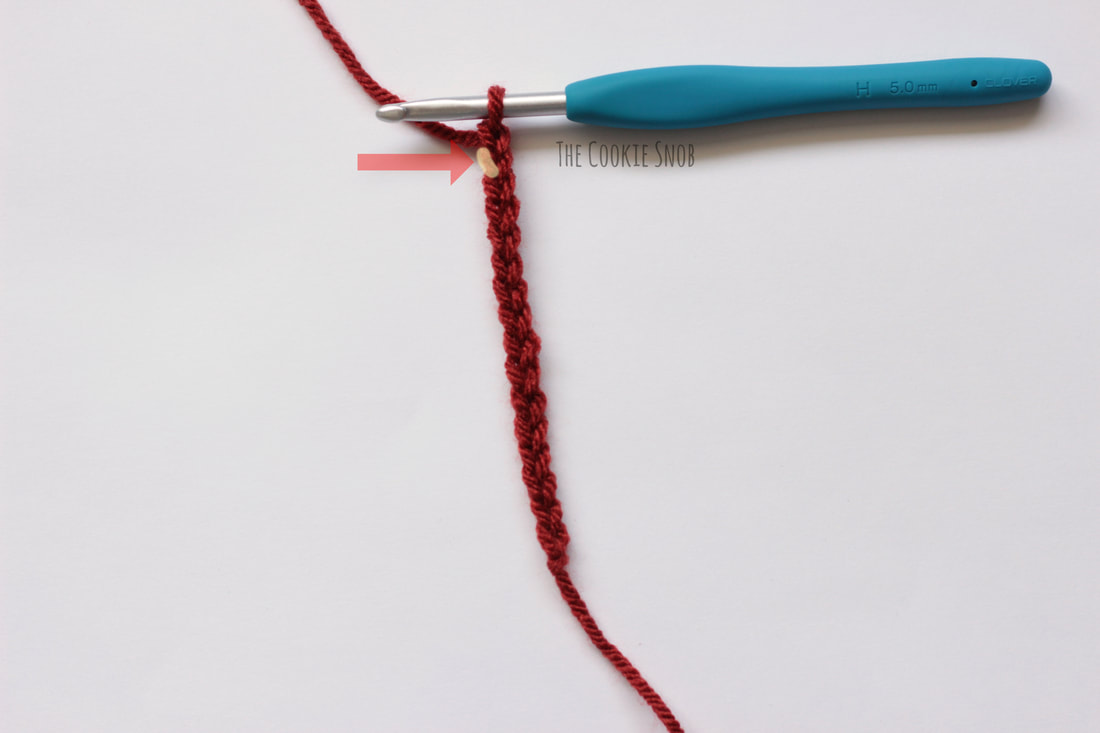
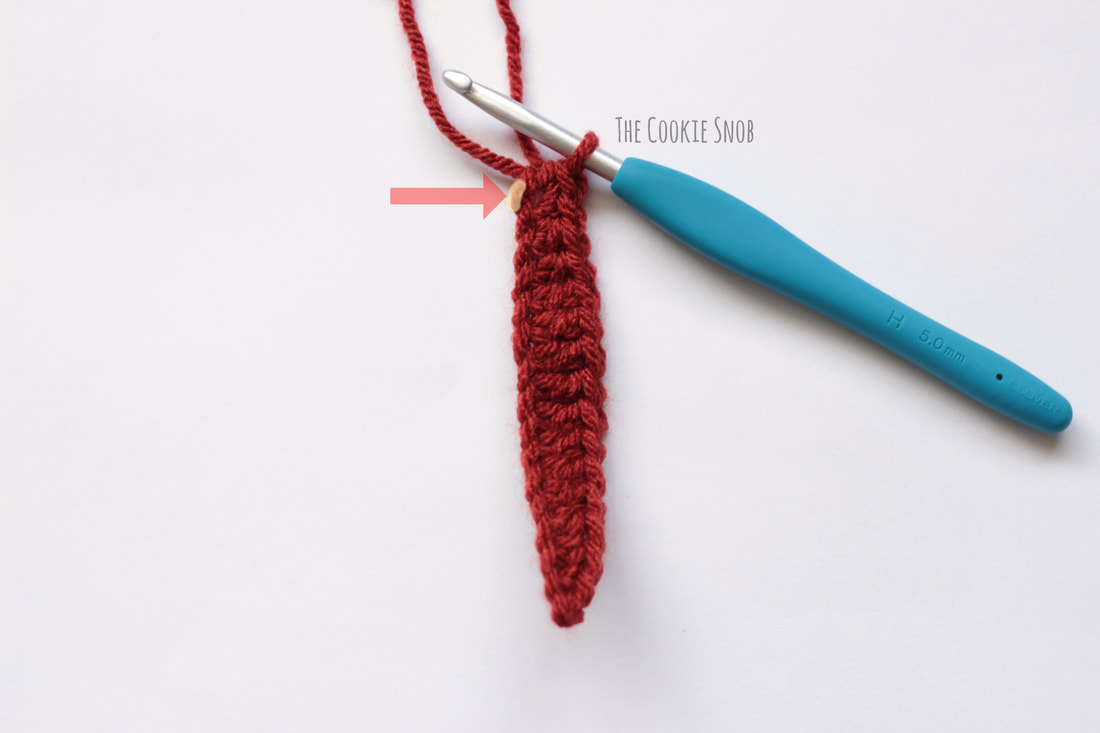
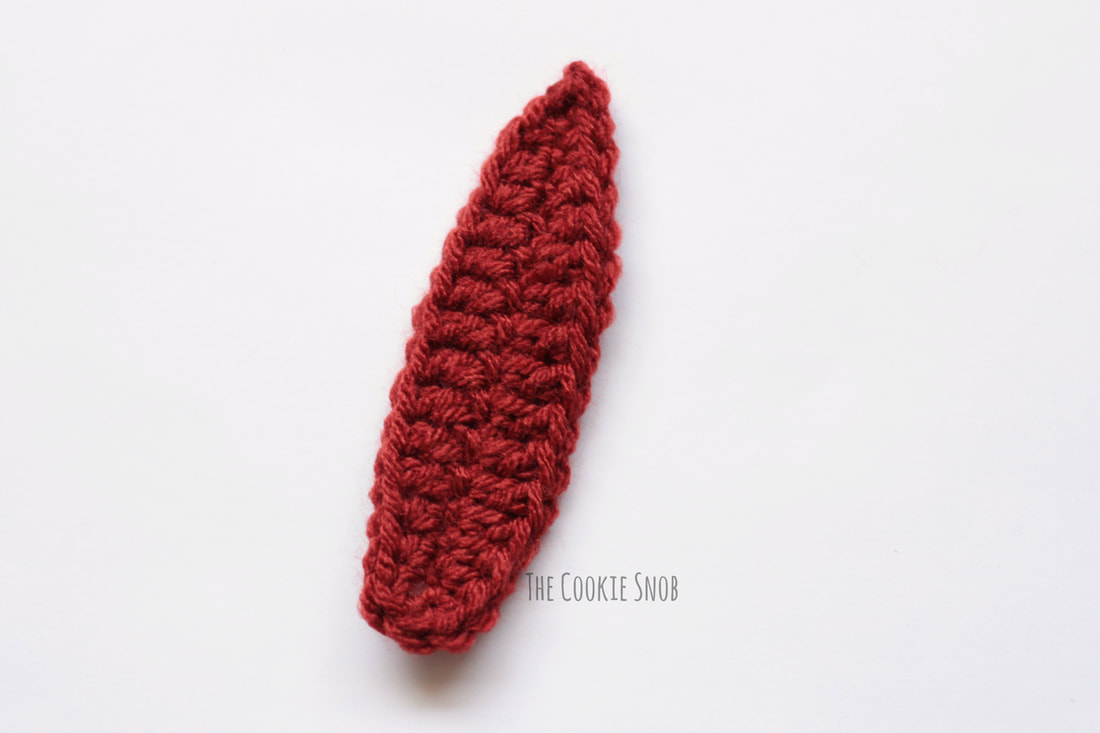
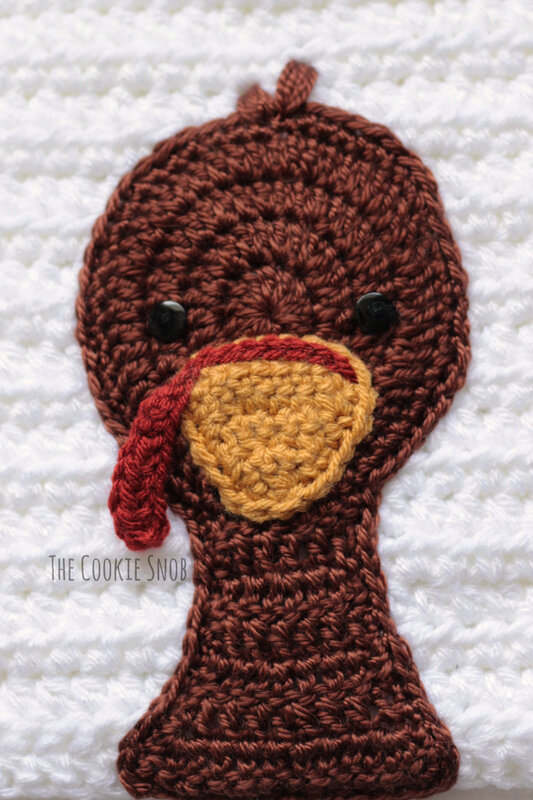
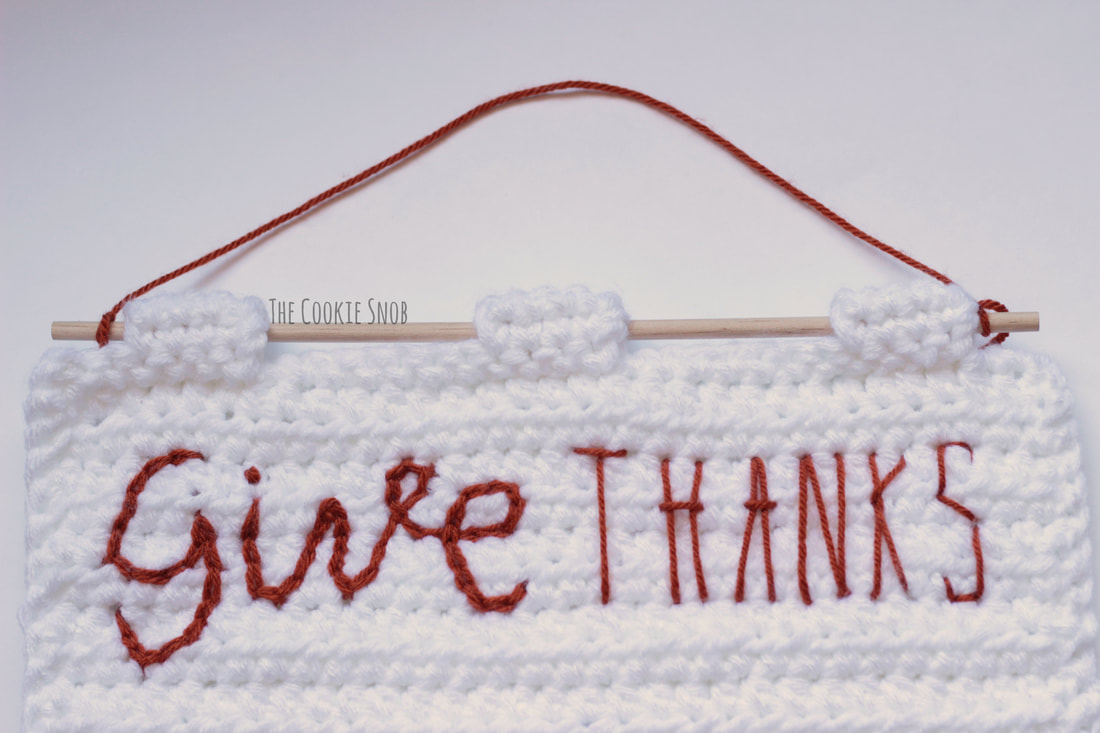
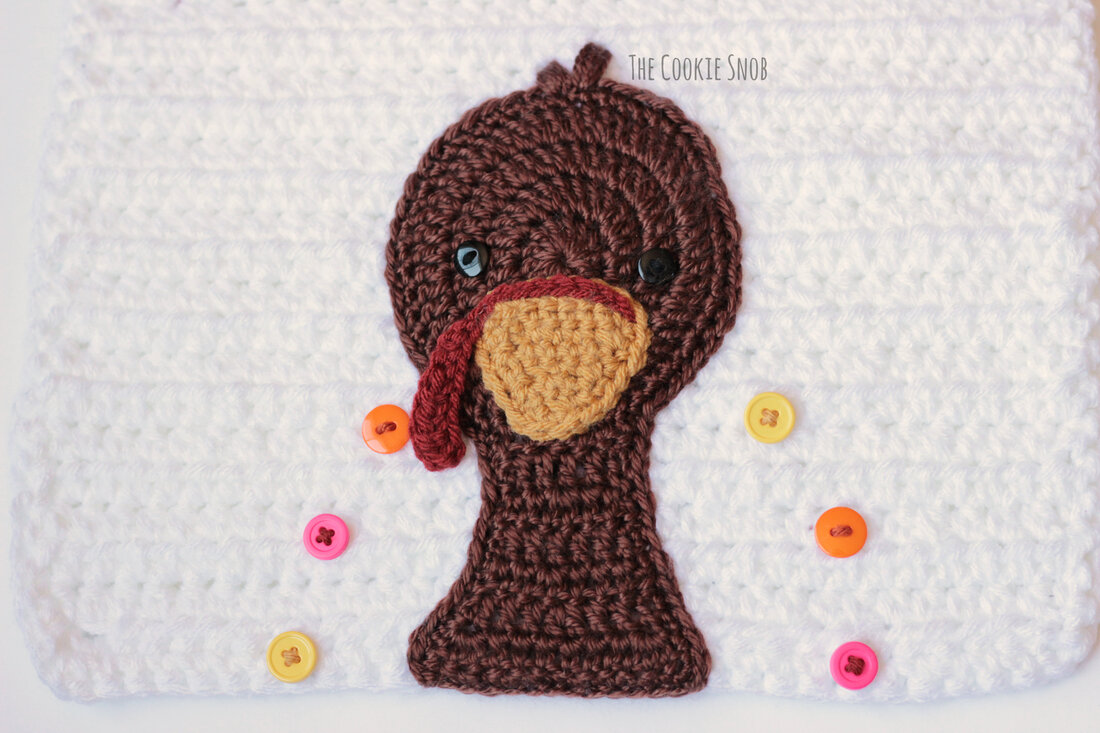
Gauge: For a 13" x 13" background: Using the K hook and the white yarns held together, 4" = 10 hdc sts 4" = 8.5 rows of hdc Background: Using the K hook and the two white yarns held together: Row 1: fhdc 30 times, turn (30) Rows 2-26: ch 2, hdc across, turn (30) Row 27: ch 1, sc in the next 6 sts, *[turn, ch 1, sc in the next 4 sts] 5 times, insert your hook into the third loop from row 26 (all four are marked in red below) and into the sc you just made and ss together 4 times. . . . . . ch 1, sc into the next stitch of row 26 (indicated by an arrow below)*. . . . . . sc in the next 10 sts, repeat from * to *, sc in the next 10 sts, repeat from * to *, sc in the last st Sc around the remaining 3 sides to create a neat border, ss to first st of row 27 to join. Fasten off. Turkey: Using the brown yarn and the H hook: Round 1: Make a magic circle, ch 2, work 12 dc into the circle, pull taut to close, ss to first dc to join (12) Round 2: ch 2, dc inc 12 times, ss to join (24) Round 3: ch 2, [dc inc, dc] 12 times, ss to join (36) Round 4: ch 2, [dc inc, dc in the next 2 sts] 12 times, ss to join (48) Rows 5-6: ch 2, dc in the next 5 sts, turn (5) Row 7: ch 2, dc in the next 2 sts, dc inc, dc in the next 2 sts, turn (6) Row 8: ch 2, dc in the next 6 sts, turn (6) Row 9: ch 2, dc in the next 3 sts, dc inc, dc in the next 2 sts, turn (7) Row 10: ch 2, dc in the next 3 sts, dc inc, dc in the next 3 sts, turn (8) Row 11: ch 2, dc 3 times in the first st, dc in the next 6 sts, dc 3 times in the last st (12) Sc around the entire piece to create a neat edge. Fasten off, leaving a long yarn tail for sewing. Beak: Using the gold yarn and the H hook: Ch. 8 Row 1: sc in the 2nd ch from the hook and in the next 6 sts, turn (7) Row 2: ch 1, dec, sc in the next 3 sts, dec, turn (5) Row 3: ch 1, sc across, turn (5) Row 4: ch 1, dec, sc, dec, turn (3) Row 5: ch 1, sc across, turn (3) Row 6: ch 1, sc3tog (1) Sc around the entire piece to create an neat edge. Fasten off, leaving a long yarn tail for sewing. Using the red yarn and the H hook, surface crochet along the top of the beak. Be sure to surface crochet a stitch or two down one side as well Then ch 8, hdc twice in the 2nd ch from the hook, hdc in the next 3 sts, sc in the next 2 sts, ss in the last st, ss to the surface crochet to join. Fasten off. Feather (make 6): Using the red, orange, or yellow yarn and the H hook: Follow the stitch chart as shown, or follow the written instructions for the base. Ch 16 We're going to work stitches down one side of the chain and then back up the other side, so I recommend working into just one loop of the chain as you go to make it easier to keep track of all your stitches; I've marked the first one you'll be using with an arrow in the picture below. Ss in the 2nd ch from the hook, sc in the next st, hdc in the next 2 sts, dc in the next 8 sts, hdc in the next 2 sts, [hdc, sc] in the last ch. Now we're going to work back up the chain using the remaining loops. I've marked the first one on this side with an arrow. Working on the other side of the ch: [sc, hdc] in the first st, hdc in the next 2 sts, dc in the next 8 sts, hdc in the next 2 sts, sc in the next st, ss in the last st, ss to the first ss to join. Fasten off. Assembly: Using a tapestry needle and the long yarn tail, sew the beak onto the turkey head, centered just below Round 1. Using a tapestry needle and a bit of black yarn, sew on the button eyes; I placed mine over Round 3, just above the beak. Using the long yarn tail and the tapestry needle, sew the turkey's head and neck onto the background. It should be centered, with the bottom of the turkey's neck lined up with the bottom edge of the background piece. Optional: using a bit of brown yarn and a tapestry needle, stitch a couple of turkey head feathers at the top of the turkey's head. I stitched mine back and forth 8 times until they were the width I wanted. Using one or more of your accent color yarns, add the lettering with your preferred message/stitch style. I chose to surface crochet "Give" and to stitch on the letters for "Thanks" onto mine. Feel free to personalize it with whatever message you'd like; there should be space for a couple rows of letters if needed. Using coordinating yarn and a tapestry needle, stitch buttons onto the side of the turkey. I recommend placing the feathers on top first to give you a better idea of placement. You should be able to insert the buttons in between any of the dc sts along the feather, so it doesn't have to be super precise. Weave in any remaining ends. Insert the wooden dowel through the loops on the top of the background piece. Then tie a piece of yarn on both ends of the dowel for hanging. Ta-dah! I hope you enjoy this pattern! If you have any questions or comments, you can reach me in the comments section below, by email, or on social media. And, as always, if you end up making something using this pattern, I'd love to see it! Happy hooking! Want to make sure you don't miss out on any future blog posts? Join my mailing list! (Spam free, I promise!) ***You're welcome to do whatever you'd like to with finished products made from this pattern but if you do sell them, I ask that you link back to my page. You may not copy this pattern, repost it anywhere (either altered or in its original form), or claim it as your own. You may not use any photos on this site for your own use. ***
0 Comments
Leave a Reply. |
Welcome!Thank you for stopping by to visit my own personal corner of the web! Feel free to take a look around and check out what I've been crafting, crocheting, or baking. Hopefully you'll find something to inspire your own creativity! Archives
March 2024
|



 RSS Feed