|
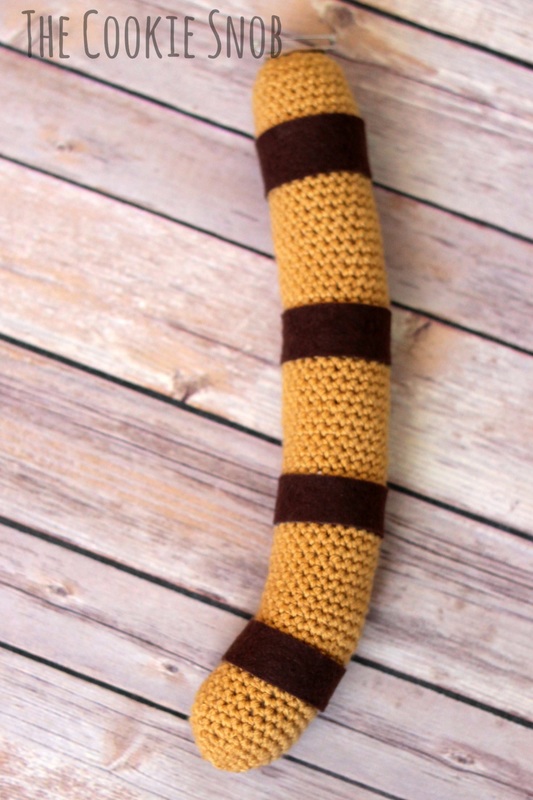
Looking for a tail for a Halloween costume or dress up? This crochet pattern can be easily customized to be just about any size you need. I wanted mine to be a tiger tail, but you could also easily turn it into a cat, monkey, dog, or lion tail. Feel free to get creative and personalize it however you want to! Materials:
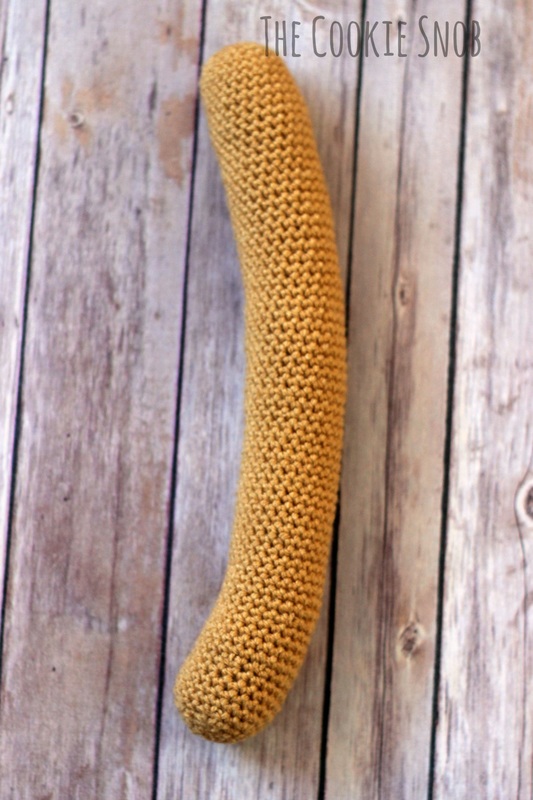
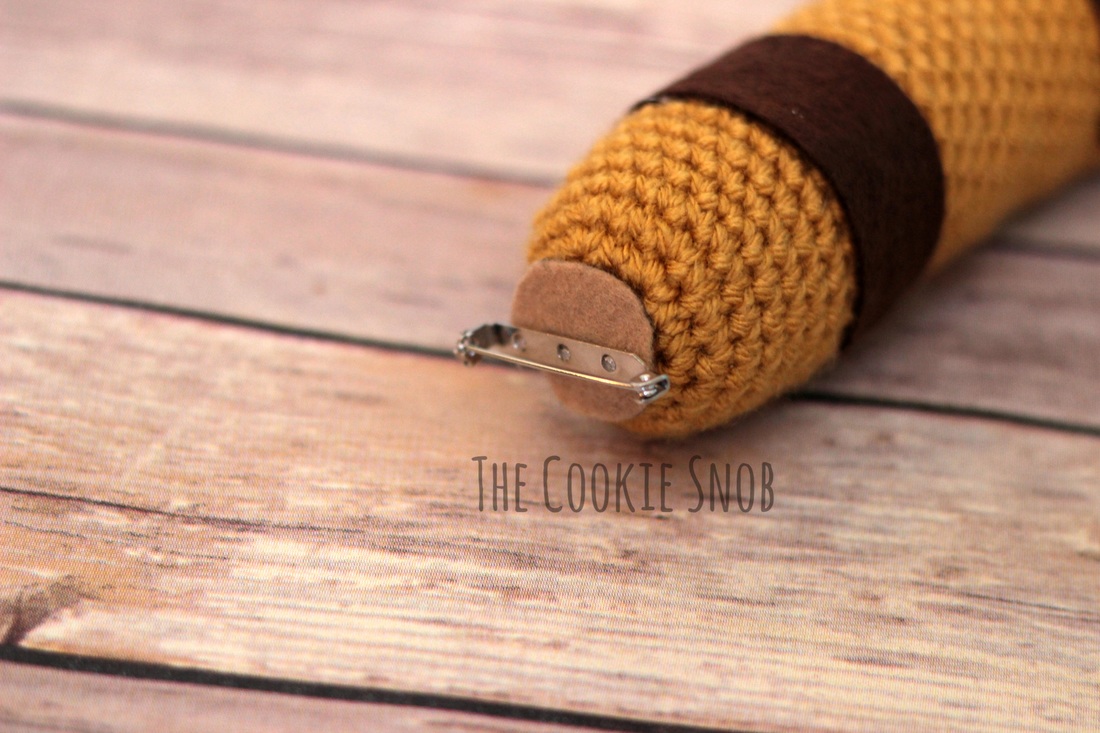
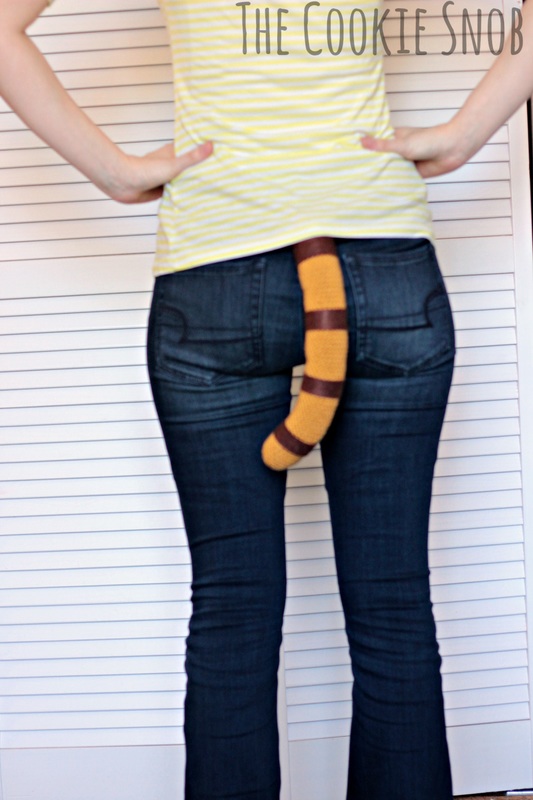
st(s) = stitch(es) sc = single crochet inc = 2 sc in the same st dec = decrease Note: This piece is worked in the round (in a continuous spiral without turning) in order to avoid a visible seam. I recommend using a stitch marker to help keep your place. Round 1: Make a magic circle and work 6 sc into the circle (6) Round 2: inc around (12) Round 3: [sc, inc] around (18) Round 4: [sc in the next 2 sts, inc] around (24) Rounds 5-55 (or until desired length): sc around (24) Stuff with fiberfill as you go. If you want your tail perfectly straight, just continue to sc until it's about the finished length and then skip to Round 66 in the pattern. Or, if you want a curve at the end of the tail, do the following: Round 56: [inc, sc in the next 2 sts] three times, sc in the next 3 sts, [dec, sc] three times, sc in the next 3 sts (24) Rounds 57-60: sc around (24) Round 61: [inc, sc in the next 2 sts] three times, sc in the next 3 sts, [dec, sc] three times, sc in the next 3 sts (24) Rounds 62-65: sc around (24) If you haven't already, stuff tail with fiberfill before beginning decreases Round 66: [dec, sc in the next 2 sts] around (18) Round 67: [dec, sc] around (12) Round 68: sc around (12) Round 69: dec around (6) Fasten, leaving a long tail of yarn. Finish stuffing. Using a tapestry needle, thread the yarn tail through remaining sts and pull taut to close. Weave in ends. Now you can decorate and wear the tail however you'd like. I opted for using a pin back to secure mine. That way I can either put it around a belt loop or pin it on directly if I don't have one. I used hot glue to attach the pin back to a small circle of felt and then glued the felt onto the top of the tail. If you're worried about the pin or want it to be more of a belt-style, you can crochet "strings" on either end of the top and sew a button on or tie it instead. Let me know if you'd like more tips on how to do this; I used the "belt" method for my son's Halloween costume last year so I can help you out if needed. And there you have it, a tail for whatever costume you might need! Please excuse the awkward shot of my rear end...it was the only way I could figure out how to show you what it looks like on (and it also doubled as a superb exercise in feeling self conscious). Le anywho, I hope you all enjoy this pattern and that you can put it to some good use! If you end up using it for your costume or for anything else I'd love to see how it turns out! And feel free to reach out to me in the comments below or on social media if you have any questions. Happy hooking! ***You're welcome to do whatever you'd like to with finished products made from this pattern but if you do sell them, I ask that you link back to my page. You may not copy this pattern, repost it anywhere (either altered or in its original form), or claim it as your own. You may not use any photos on this site for your own use. ***
0 Comments
Leave a Reply. |
Welcome!Thank you for stopping by to visit my own personal corner of the web! Feel free to take a look around and check out what I've been crafting, crocheting, or baking. Hopefully you'll find something to inspire your own creativity! Archives
March 2024
|


 RSS Feed