
|
Oh, hey there, blog! Long time, no see! Between a colicky baby during waking hours and the computer being trapped in the room with the sleeping baby, it's been pretty quiet over here the past few months. I've got some fun projects in the works, but things have been going at a snail's pace. Today, though, I feel accomplished because I have a fun new crochet pattern for you all! And it's by far the quickest make ever. I was able to design, create, and photograph all three of these cute teether toys during one 45 minute nap (which is a pretty terrible nap, but that's just how we roll, apparently). So if you want a cute and easy pattern, look no further! These bad boys have even passed the slobber test, so you know they're a winner. 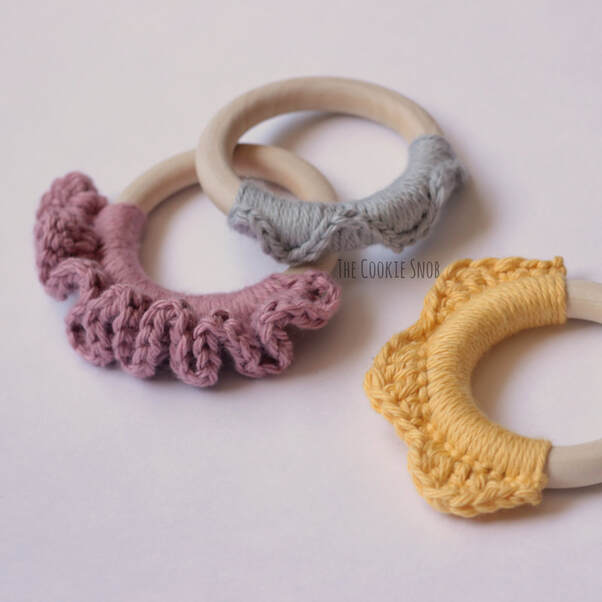 These teether toys are super simple to make. I've got three different quick and easy teether styles to choose from; I'm calling them "The Ruffle," "The Ridge," and "The Wave," for fairly obvious reasons. And, of course, you can personalize them with any color that tickles your fancy. I think these would make really cute baby shower gifts, in case you're looking for something unique and handmade (or if you just need something last minute...not that I would know anything about that...) 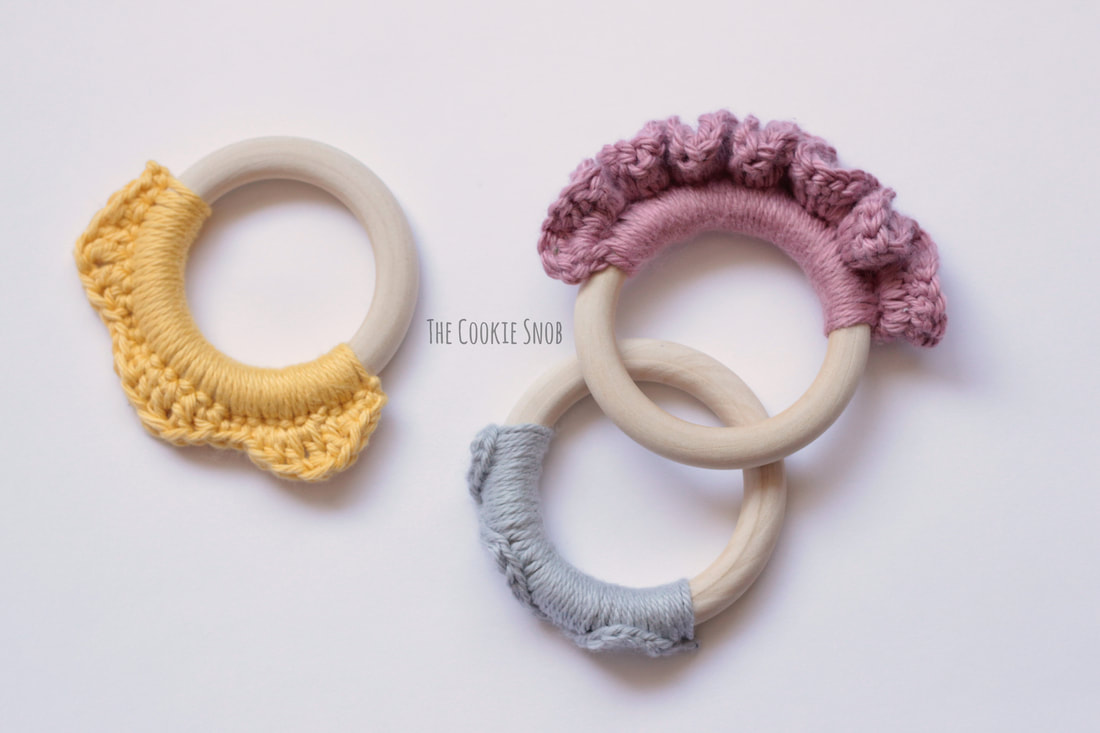 The baby's favorite option is the ruffled version (it's just so chomp-able!), so we'll start there. All you need is a wooden ring (I used 70mm unfinished wooden rings), a little bit of cotton yarn, and your handy dandy crochet hook. Before we get started, you should know that I seem to crochet a bit tighter than average, so if your stitches are looking a bit looser/larger than you'd like, feel free to size down a hook or two. But gauge isn't crucial for this one. Now let's get to it! 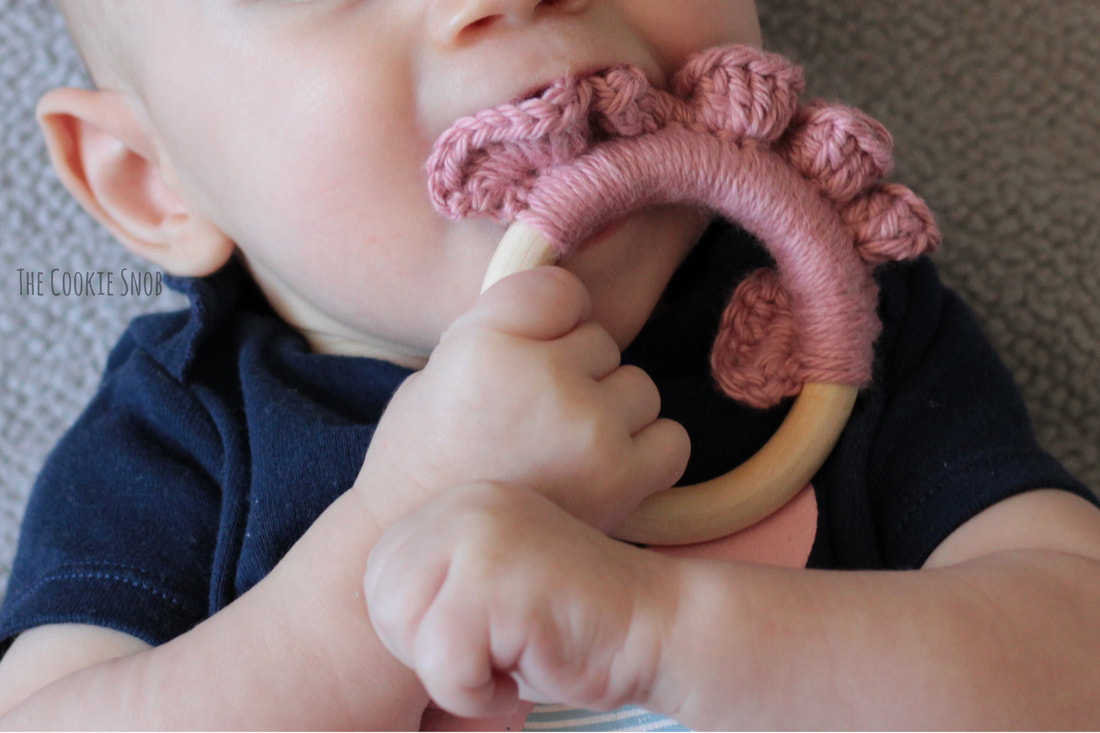 If you'd like an ad-free printable PDF version of all 3 designs, you can find one on Ravelry. Stitch Glossary: (US Terminology) st(s) = stitch(es) ss = slip stitch ch = chain sc = single crochet hdc = half double crochet dc = double crochet tr = treble (triple) crochet Materials:
Note: This pattern requires you to work a single crochet stitch around a ring. If you're not familiar with this technique, you can follow these step-by-step photo instructions to give you an idea of how it works. Begin with a slip knot on your hook. Insert your hook underneath the ring as shown (make sure that the working end of your yarn is going over the top of the ring). 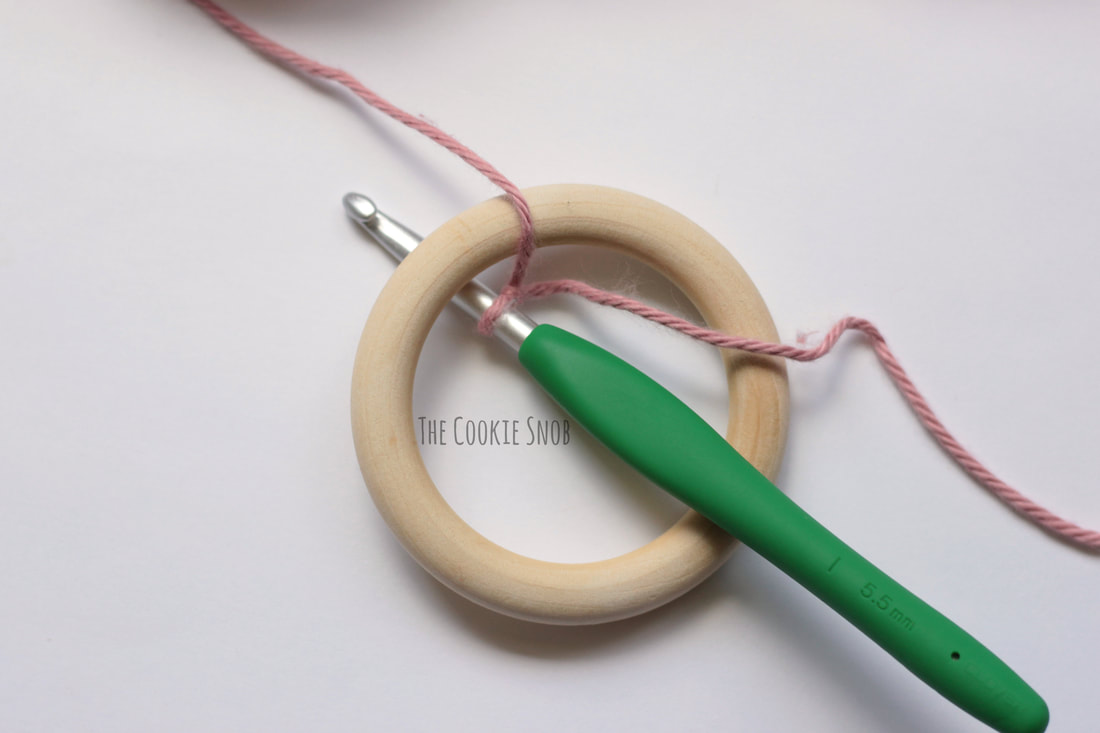 Grab the working end of the yarn with your hook (again, coming from underneath the ring) and pull up a loop. You should now have two loops on your hook: the original slip knot and the loop you just pulled up. 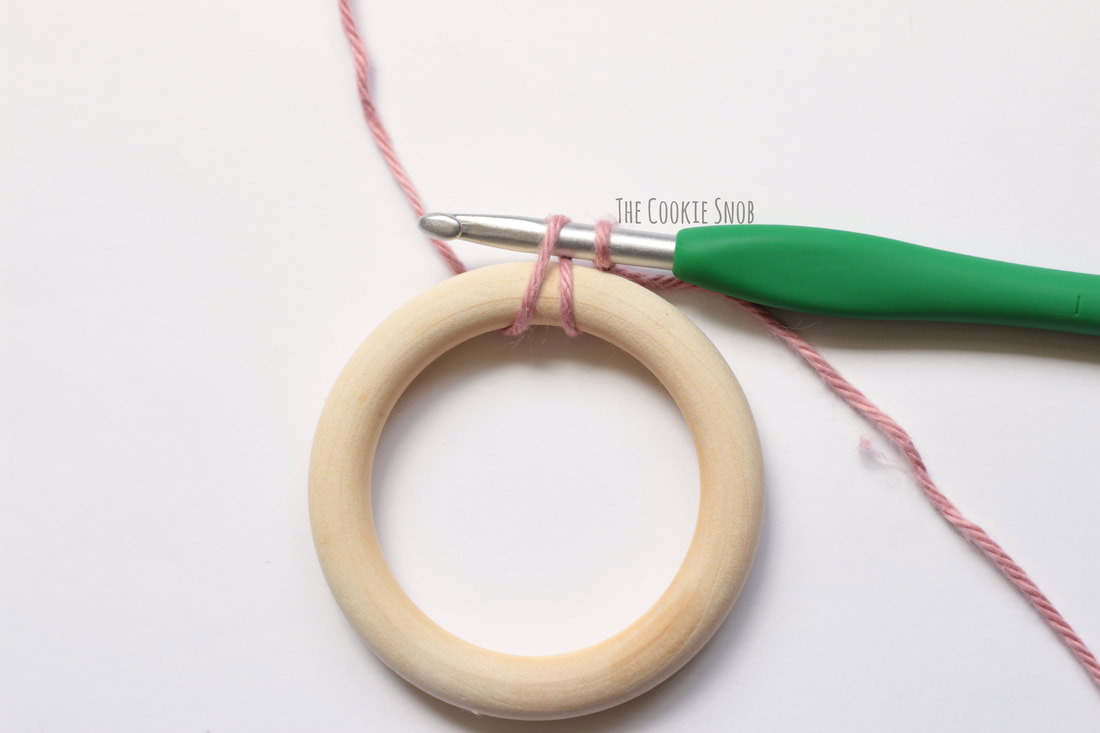 Yarn over and pull through both loops (just like you would for a regular sc stitch). Ta-dah! You've made a single crochet around a ring! Easy peasy, right? 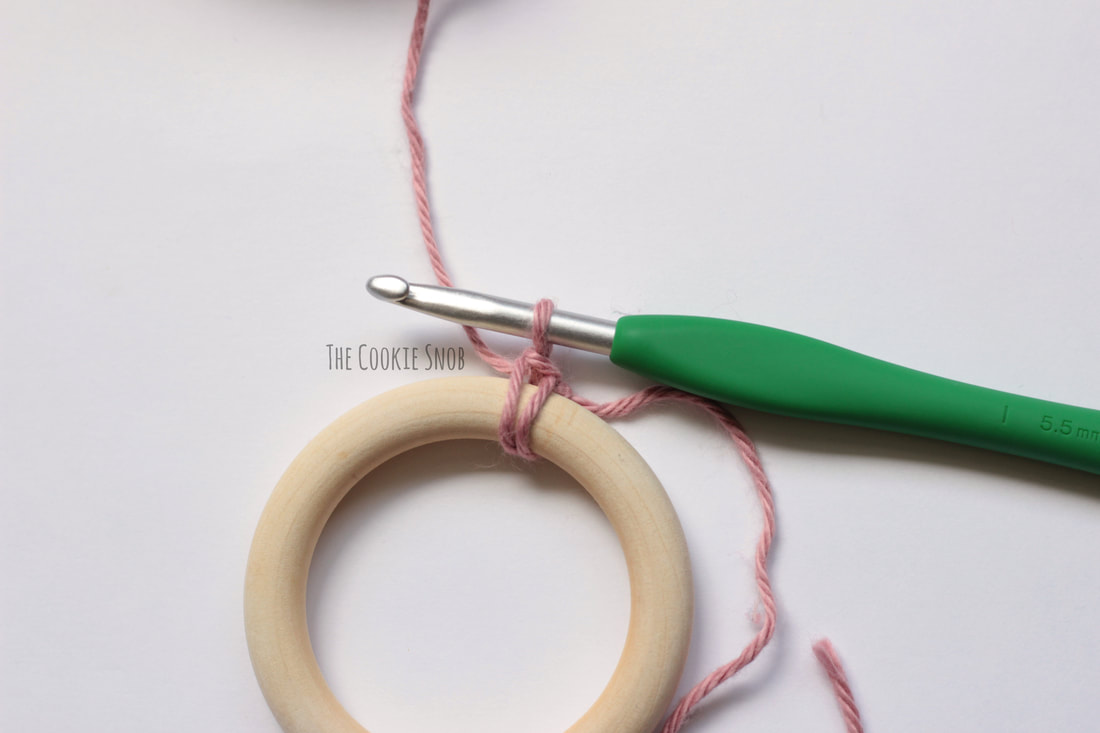 The Ruffle Row 1: work 25 sc sts around the ring, turn (25) 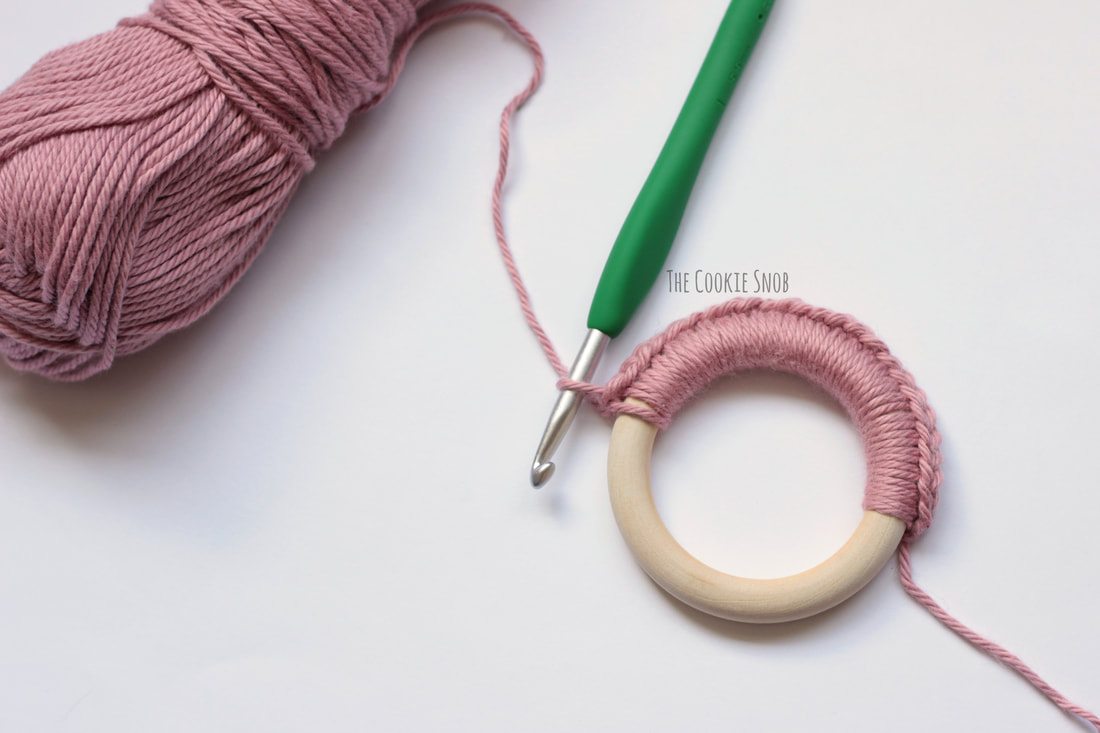 Row 2: ch 1, [work 3 dc into the next st] 25 times (75)  Fasten off and weave in ends. If the ruffles are positioned exactly how you like them you can reposition them gently with your fingers to get the look you want. 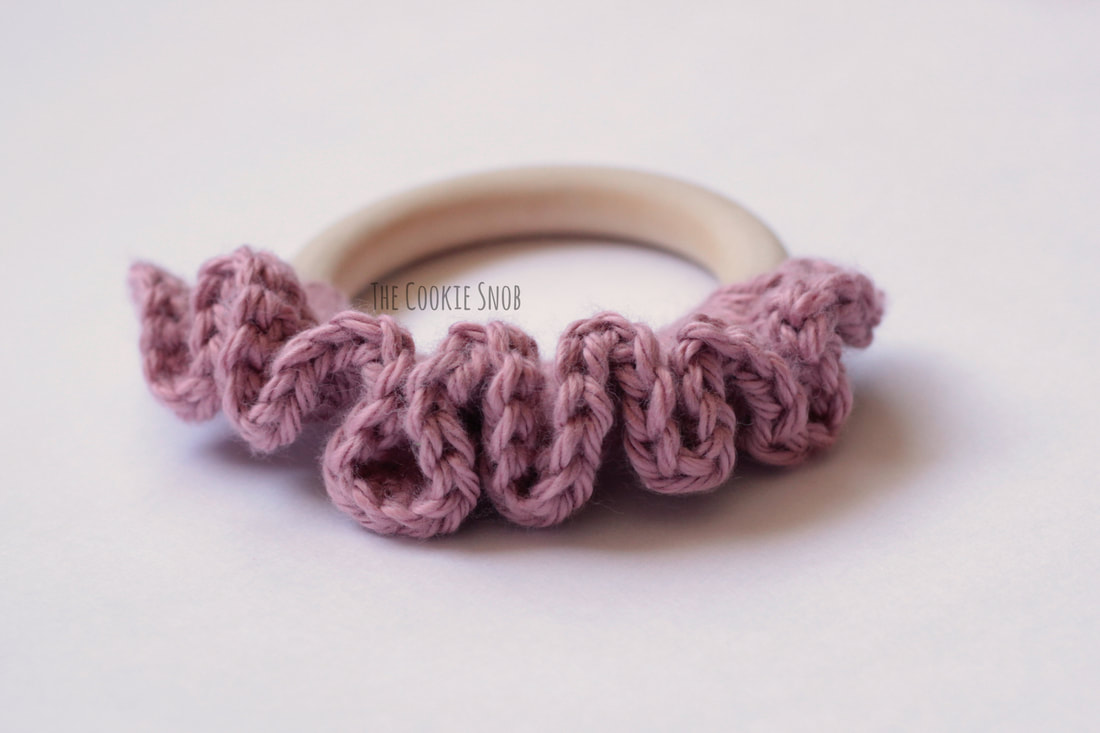 On to the next version! The Ridge Row 1: work 25 sc sts around the ring, turn (25) Row 2: ch 1, ss in the first st, [sc, hdc, dc, tr, dc, hdc, sc, ss] 3 times (25) Fasten off and weave in ends 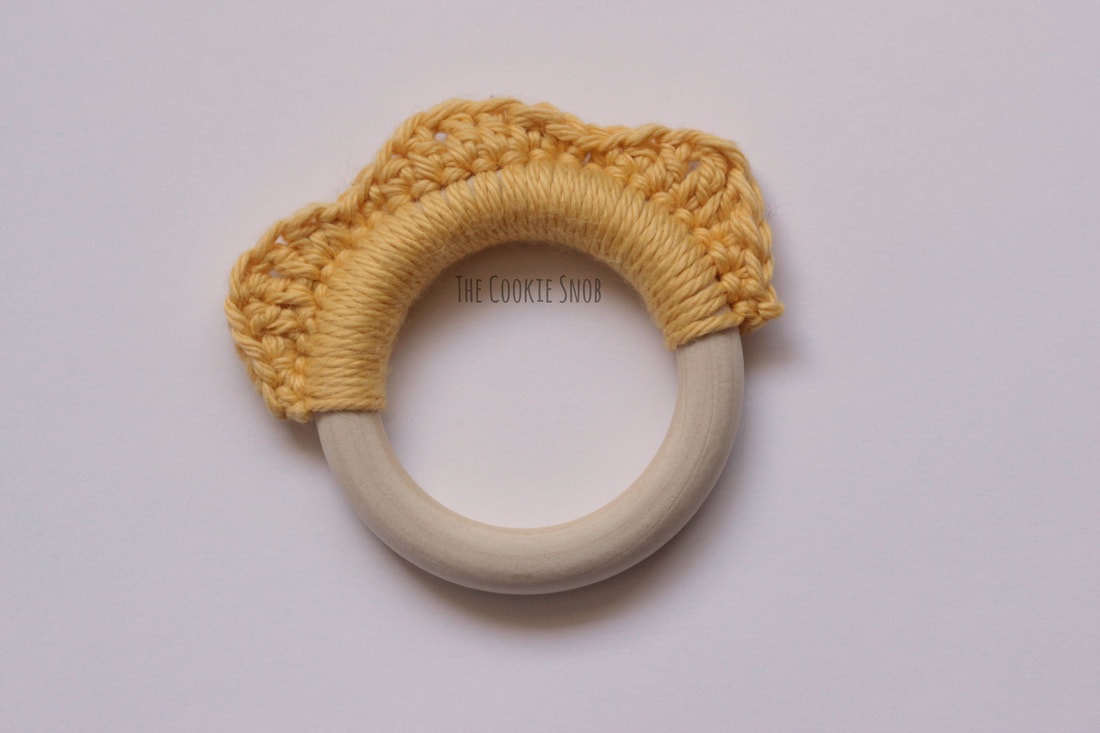 And now for the last (and easiest) option. The Wave Row 1: work 25 sc stitches around the ring (25) Fasten off and weave in ends. Rotate the stitches up and down around the ring to create a wave effect.  And there you have it! 3 adorable teether toys that couldn't be easier to make. I hope you enjoy this quick set of patterns! If you have any questions or comments about these, you can reach me in the comments section below, or on social media. And, as always, if you make one, I'd love to see it, so feel free to message me or tag me so I can admire your lovely work! Happy hooking! 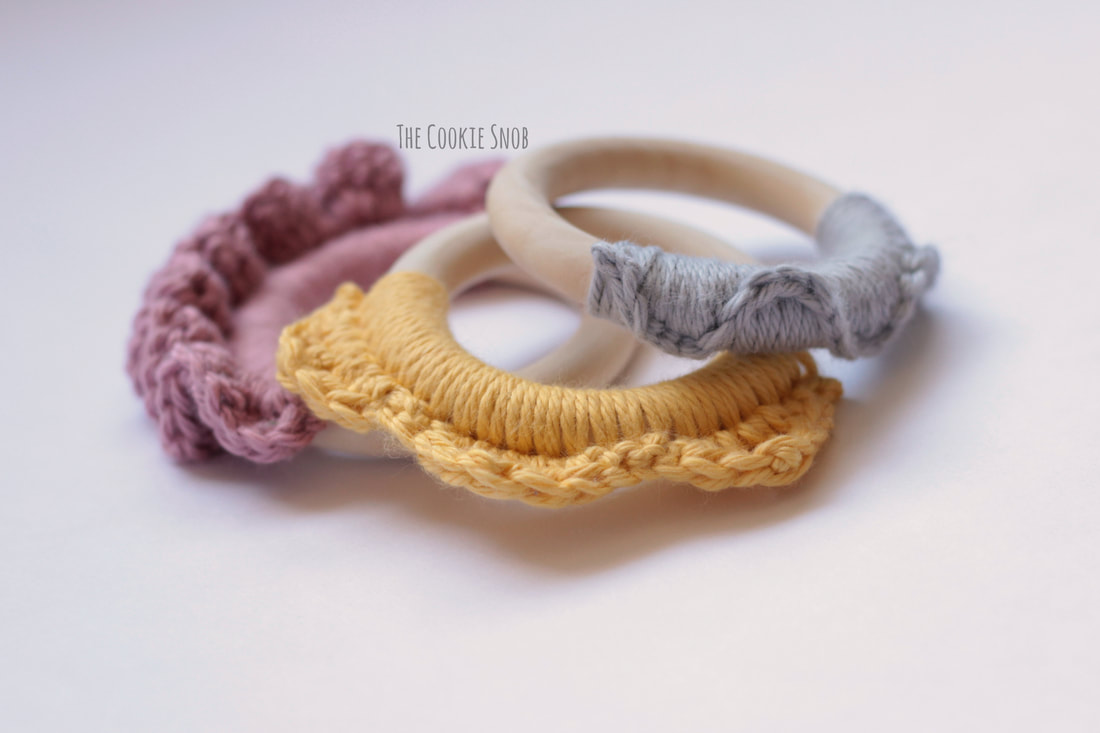 Want to make sure you don't miss any future blog posts? Join my mailing list (spam free, I promise!): 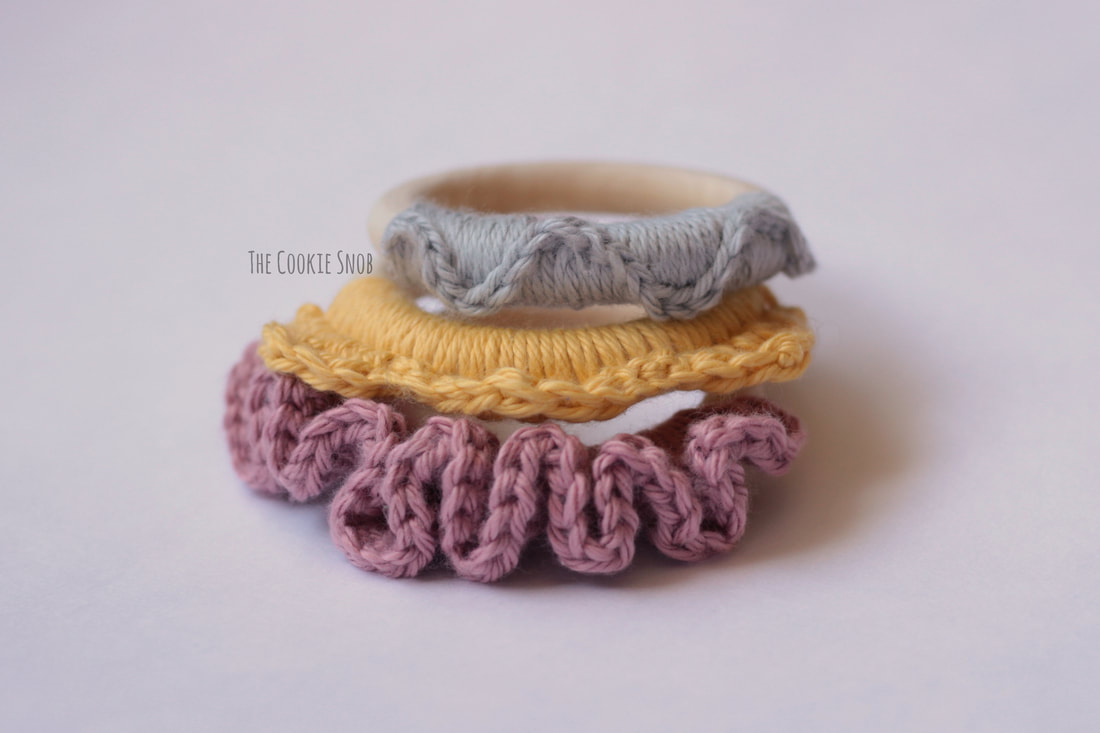 ***You're welcome to do whatever you'd like to with finished products made from these patterns but if you do sell them, I ask that you link back to my page. You may not copy these patterns, repost them anywhere (either altered or in their original form), or claim them as your own. You may not use any photos on this site for your own use. ***
5 Comments
Felina
9/12/2019 12:49:00 am
I love this! What a great idea! Where can I get the wooden rings to make these?
Erin
9/12/2019 07:39:29 pm
Thank you! I ordered the wooden rings I used off of Amazon, but you should be able to find them at your local craft store as well. If it helps, the 70mm rings I used are the same thing as 2-3/4" rings (since they're more likely to be labeled in inches at the store). But you can easily substitute a different sized ring without any major issues if you can't find that exact size. This pattern is more of a concept that anything super rigid.
Sasha
3/4/2020 04:35:05 pm
Hello I am loving these. Thank you for the pattern. My question is what is the best way to wash and dry these.
Erin
3/9/2020 01:19:39 pm
Great question! I would recommend hand washing with a damp cloth. If the yarn gets really gross for some reason, you can always cut it off and replace it with some new stitches (it comes together so quickly that it's not a big deal to replace it if it's dire). Hopefully that helps! :)
Tara Dwyer
6/27/2021 10:56:27 pm
Everything past Row 1 to the end of The Ruffle is missing. Can you plz comment with the rest of the pattern? Leave a Reply. |
Welcome!Thank you for stopping by to visit my own personal corner of the web! Feel free to take a look around and check out what I've been crafting, crocheting, or baking. Hopefully you'll find something to inspire your own creativity!   
Archives
March 2024
|
 RSS Feed