|
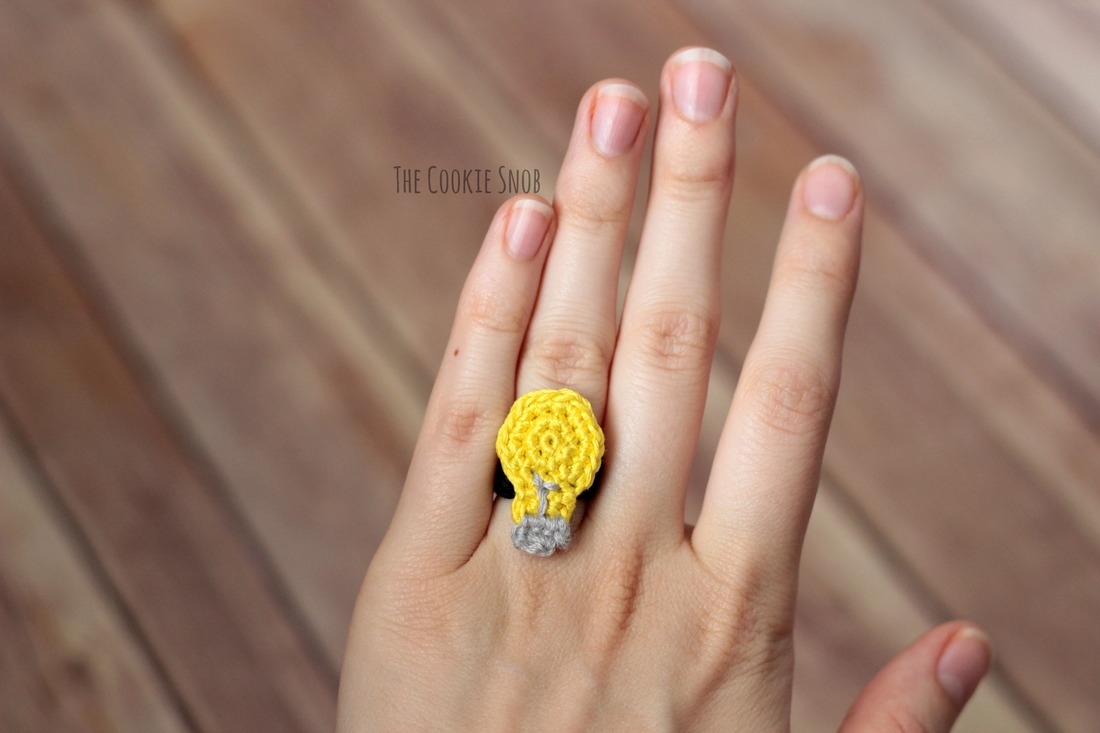
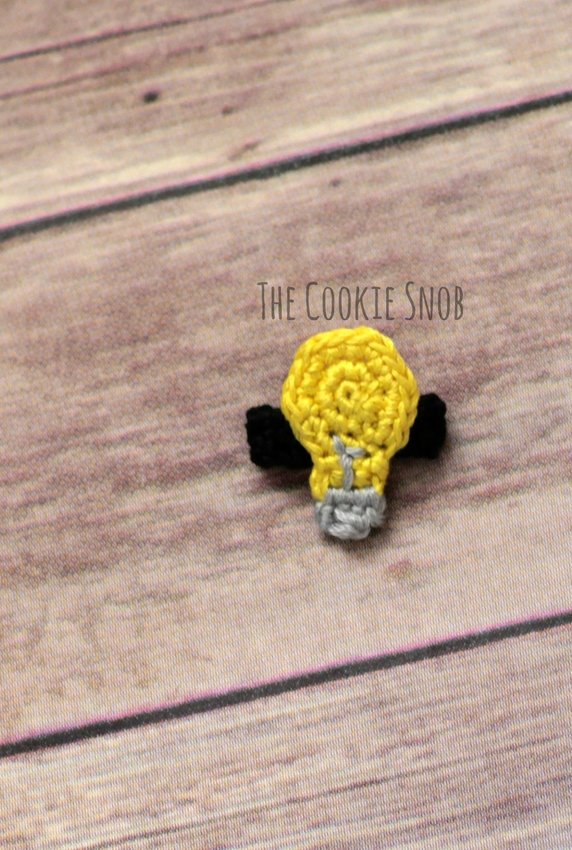
I don't know about you all, but the mom brain has been in full force over here lately. Maybe it's because I keep trying to remember lots of small things rather than one or two big ones, but it seems like I could use a little extra assistance in the memory department. So I whipped up a "remember-ring" to help me out. This ring is a handy visual reminder for something on your to-do list, or it can also just be a cute accessory! And, since it's pretty small, this light bulb ring works up really quickly, making it a perfect last-minute project. If you'd like a printable, PDF version of this pattern, you can find one on Craftsy. Materials:
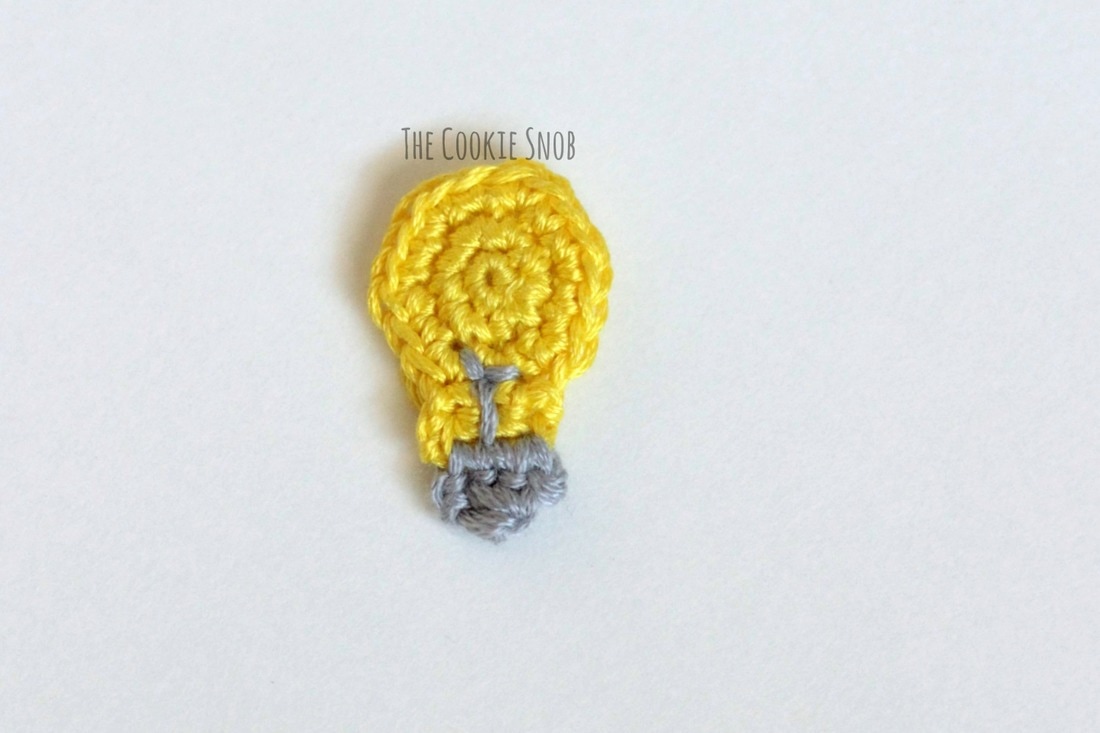
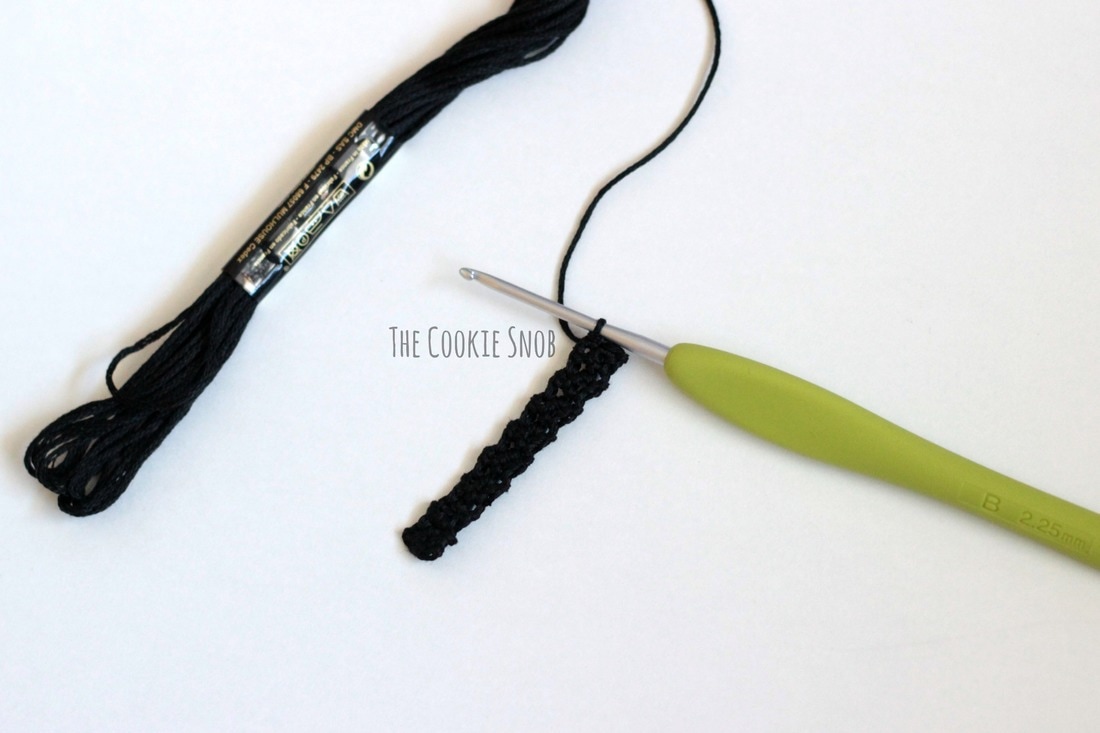
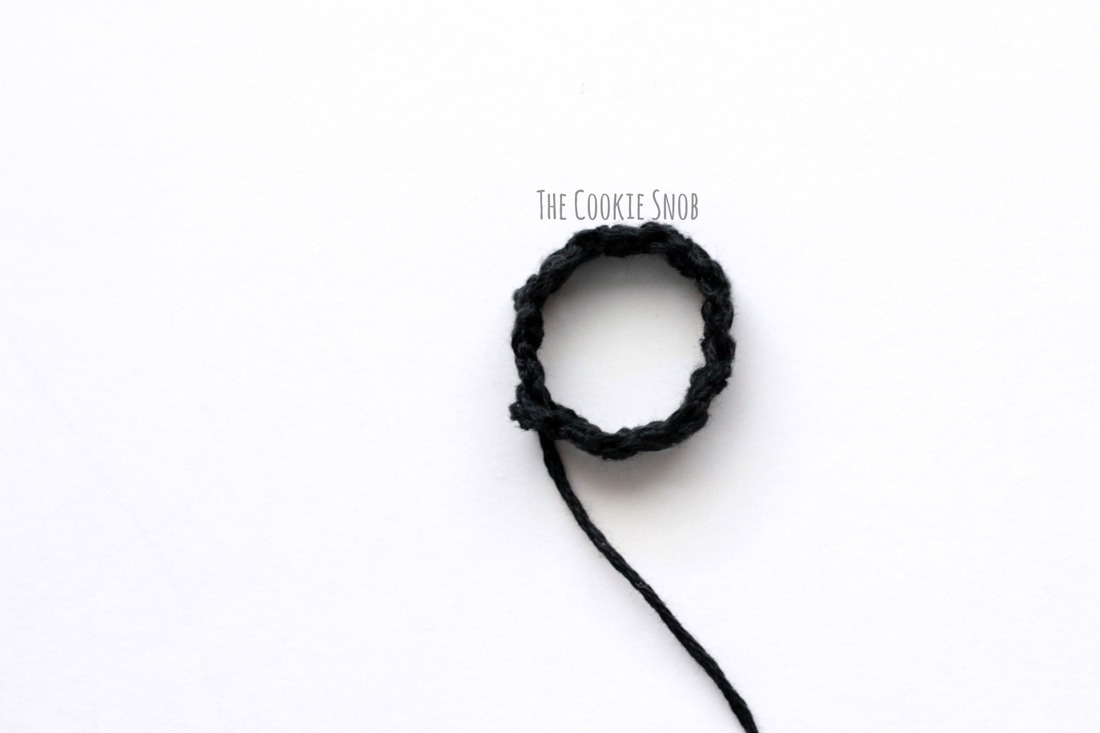
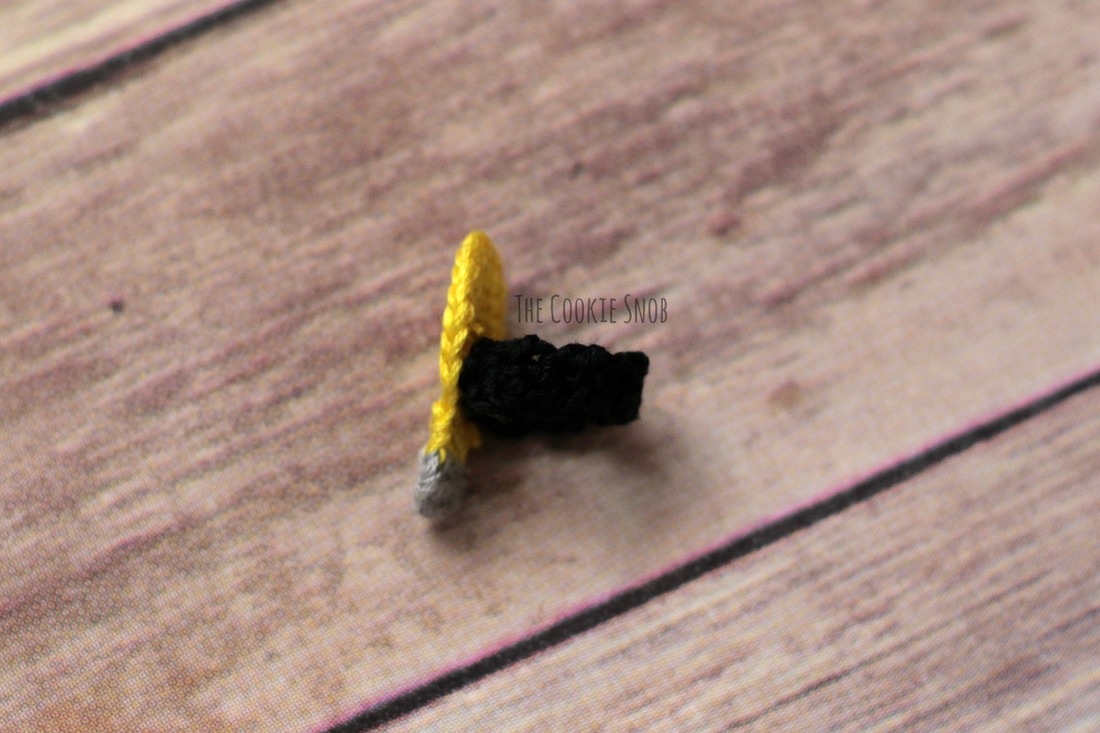
Stitch Glossary: st(s) = stitch(es) ch = chain ss = slip stitch sc = single crochet inc = work 2 sc in the same st sc3tog = decrease across 3 sc Light Bulb: Starting with the yellow embroidery floss: Round 1: Make a magic circle and work 6 sc into the circle, ss to first sc to join (6) Round 2: ch 1, inc around, ss to join (12) Round 3: ch 1, [inc, sc in the next st] around, ss to join, turn (18) Rounds 4-5: ch 1, sc in the next 3 sts, turn (3) Switch to the gray embroidery floss: Round 5: ch 1, sc in the next 3 sts, turn (3) Round 6: ch 1, sc3tog (1) Fasten off. If you'd like to add a filament to your bulb, you can stitch one on using a needle and a bit of gray embroidery floss. Ring Band: Using the black embroidery floss: ch 3 Row 1: sc in the 2nd ch from the hook and in the next st, turn (2) Row 2: ch 1, sc across, turn (2) Repeat row 2 until the band is the size you need. It should be able to fit snugly around your finger (crochet has a tendency to stretch), but make sure it's not so tight as to be uncomfortable. I made mine about 2.5" long, but different sized fingers will need different lengths. Once the band is your desired length, join the ends together into a ring (either with a row of ss or fasten off the yarn and use the yarn tails to sew the ends together). Assembly: Using the long tails leftover from the light bulb (or another piece of yellow embroidery floss), stitch the light bulb tightly to the ring band. I recommend placing the light bulb directly over the ring band seam in order to hide it. As long as you use yellow floss, you don't need to worry too much about hiding your stitches, since they should just blend in. Weave in any remaining ends. And there you have your very own remember-ring! I hope that you enjoy this fun little pattern! If you make one I'd love to hear about it. And if you have questions you can always reach me in the comment section below or on social media. Happy hooking!
***You're welcome to do whatever you'd like to with finished products made from this pattern but if you do sell them, I ask that you link back to my page. You may not copy this pattern, repost it anywhere (either altered or in its original form), or claim it as your own. You may not use any photos on this site for your own use. ***
0 Comments
Leave a Reply. |
Welcome!Thank you for stopping by to visit my own personal corner of the web! Feel free to take a look around and check out what I've been crafting, crocheting, or baking. Hopefully you'll find something to inspire your own creativity! Archives
March 2024
|



 RSS Feed