|
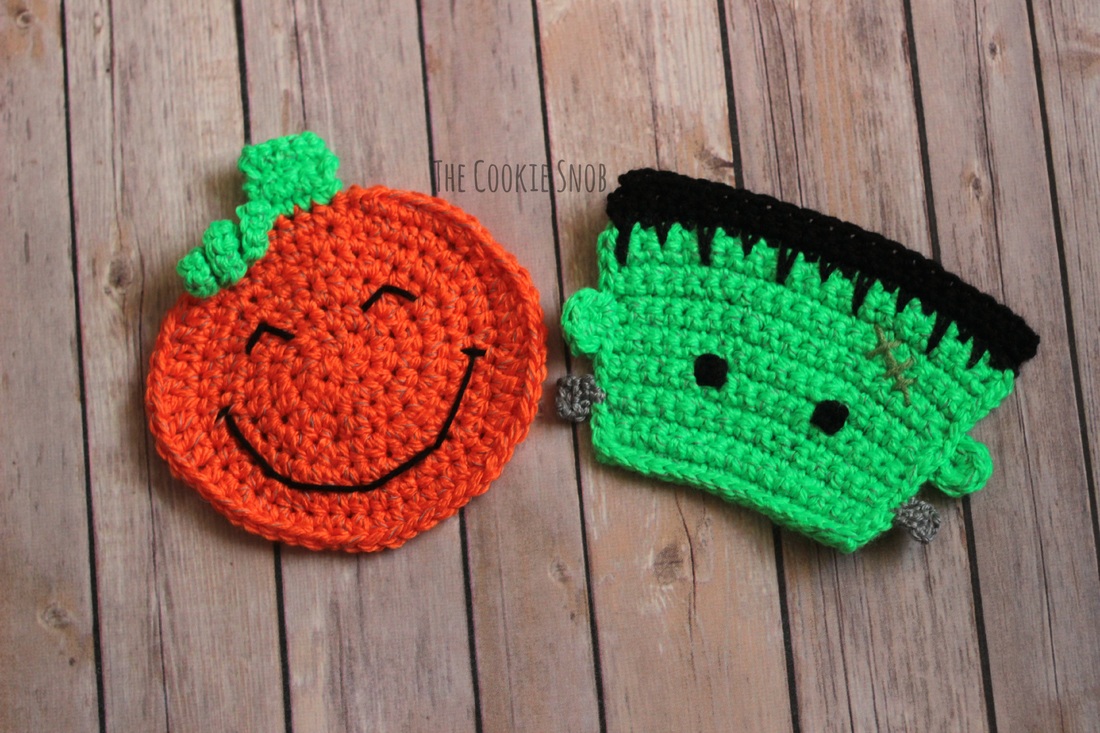
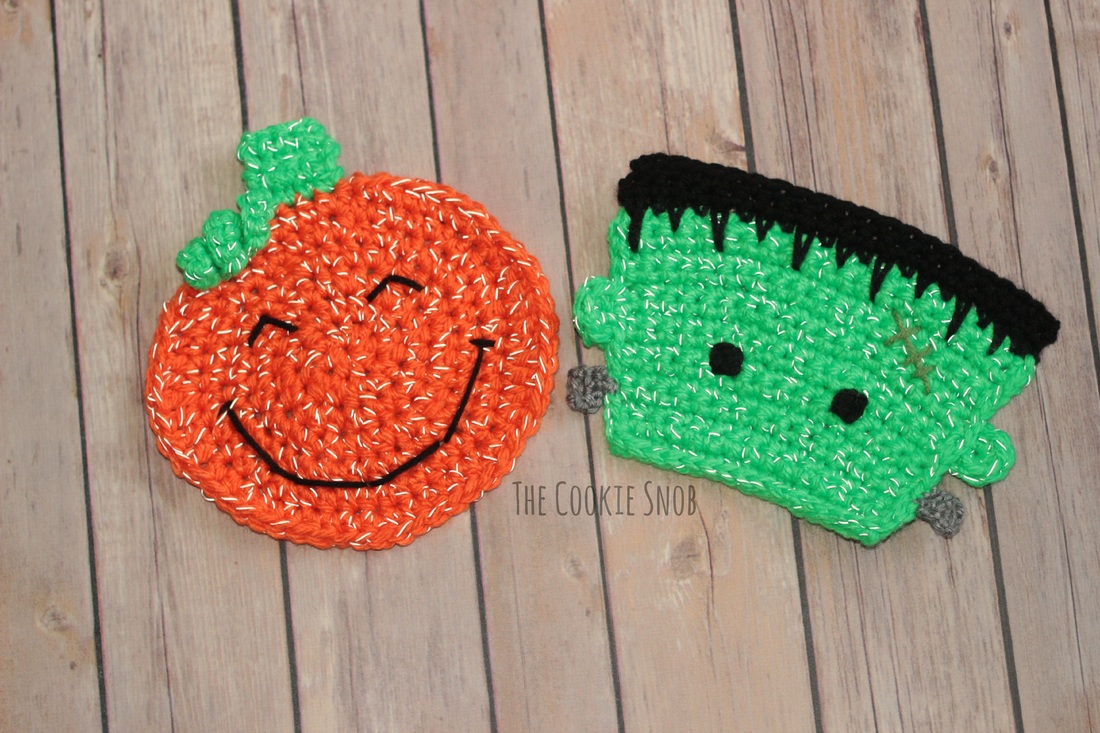
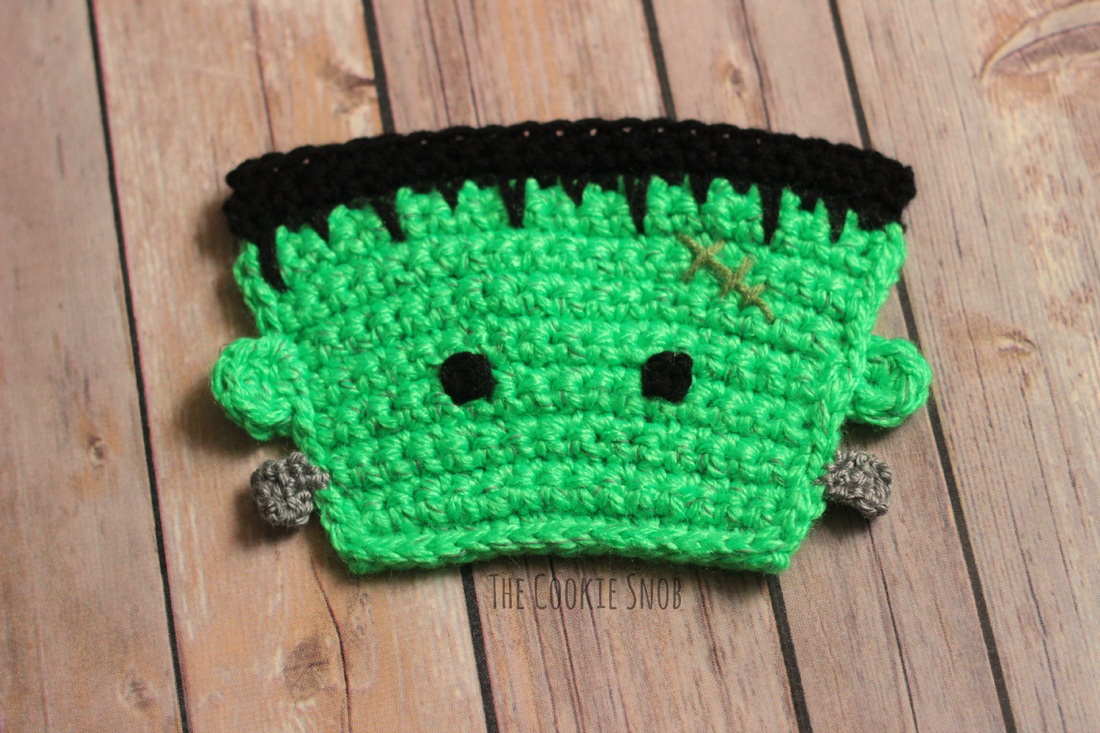
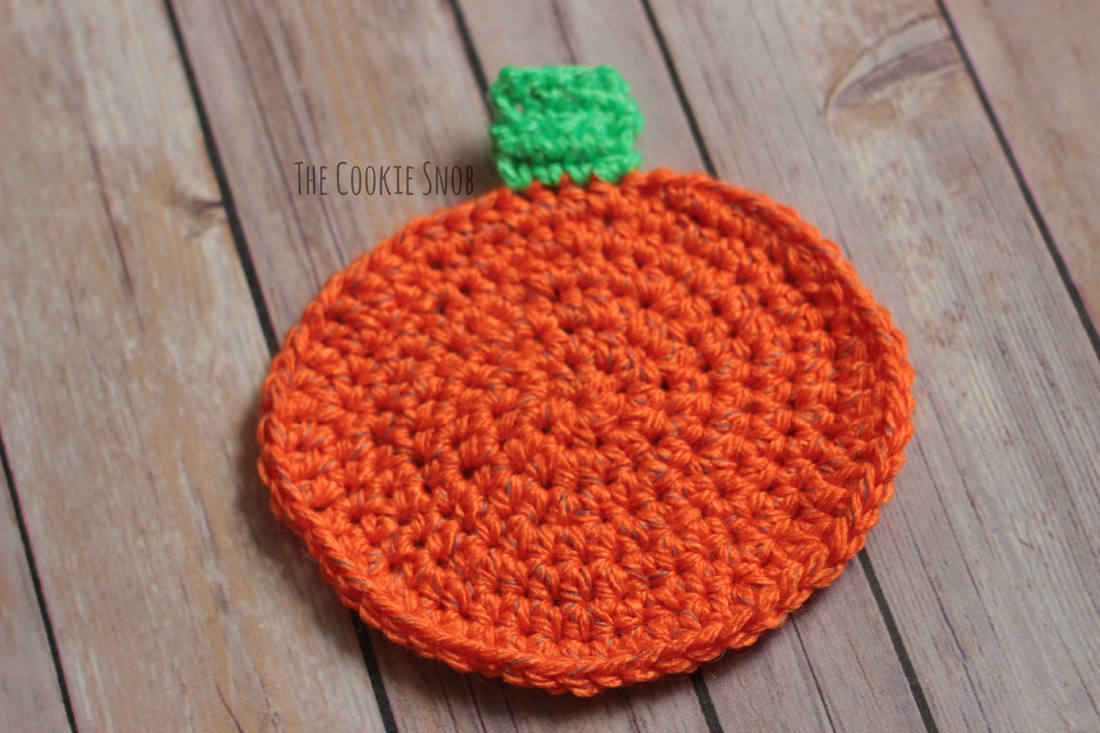
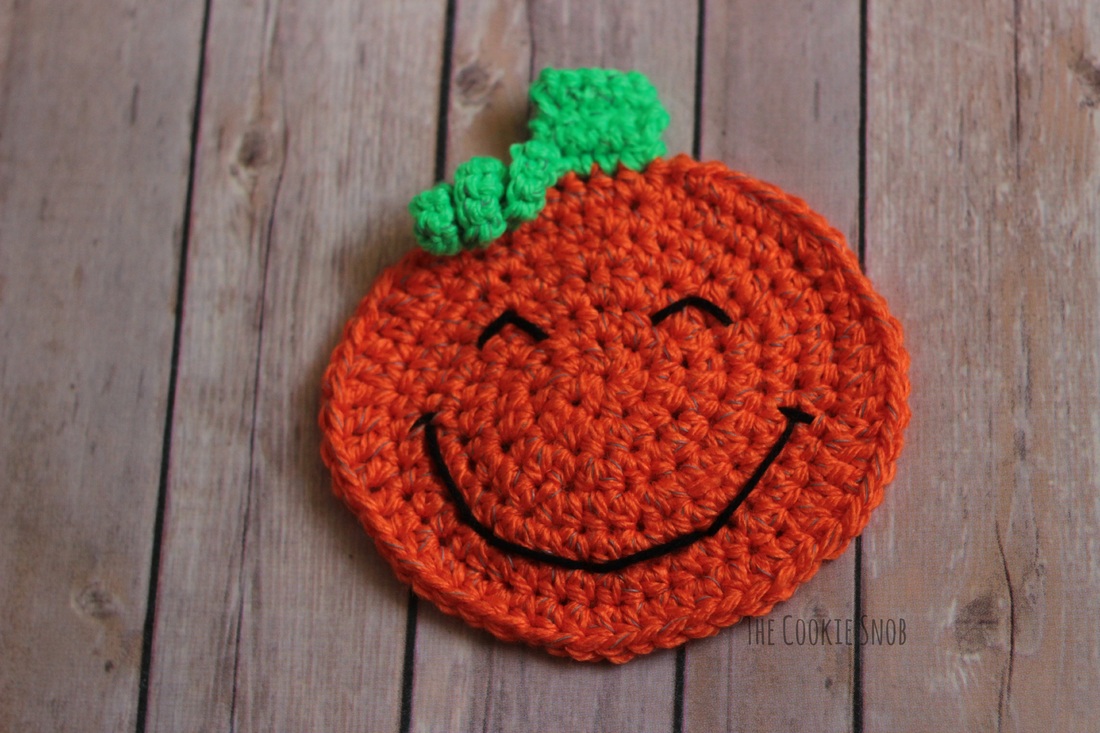
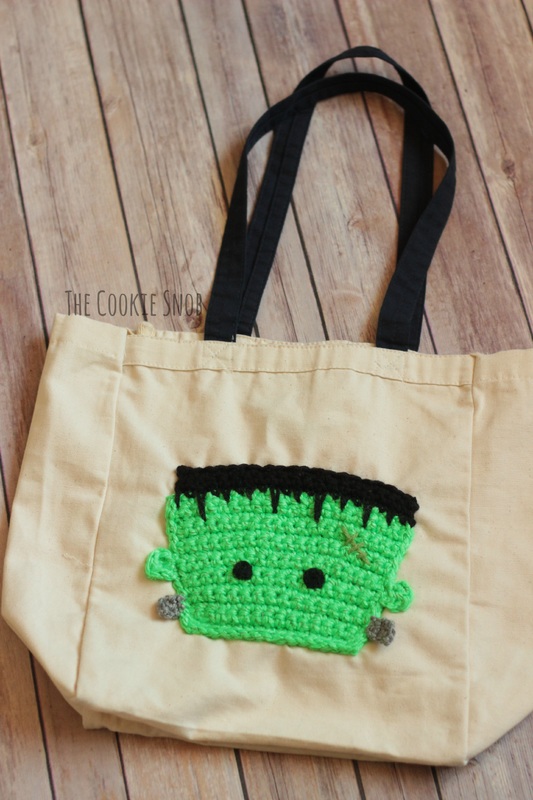
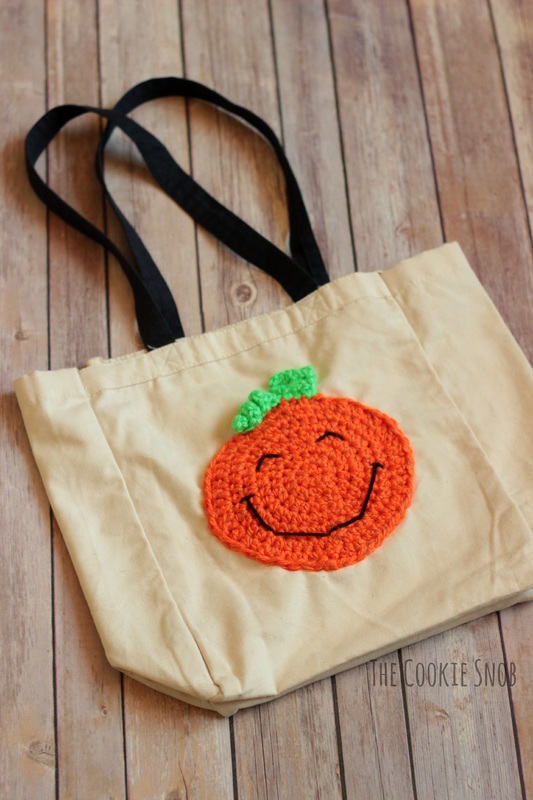
As often happens around here, this project was inspired by some fun yarn that I found on sale. This time I came across a couple lovely skeins of Red Heart Reflective. As soon as I saw them, I instantly thought "Halloween!" Reflective yarn seems like a perfect match for trick-or-treating. Parents want to help keep their kids safe as it starts getting dark and adding a bit of reflective decoration can increase visibility. These Halloween appliqués would make a fun addition to any trick-or-treat bag. This yarn may not look very reflective without light shining on it, but take a look at what it does with a flash on it: Neat, right? If you'd like to make a cute pumpkin and Frankenstein appliqué of your own, try out these free patterns and let me know what you think. Materials:
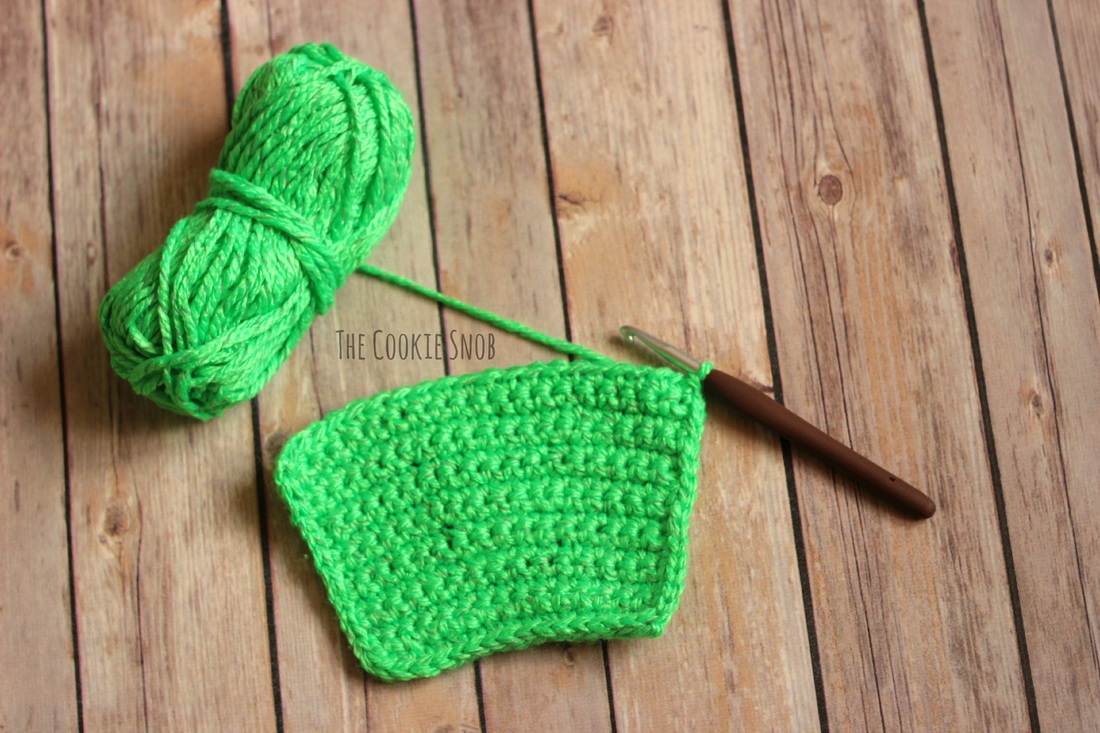
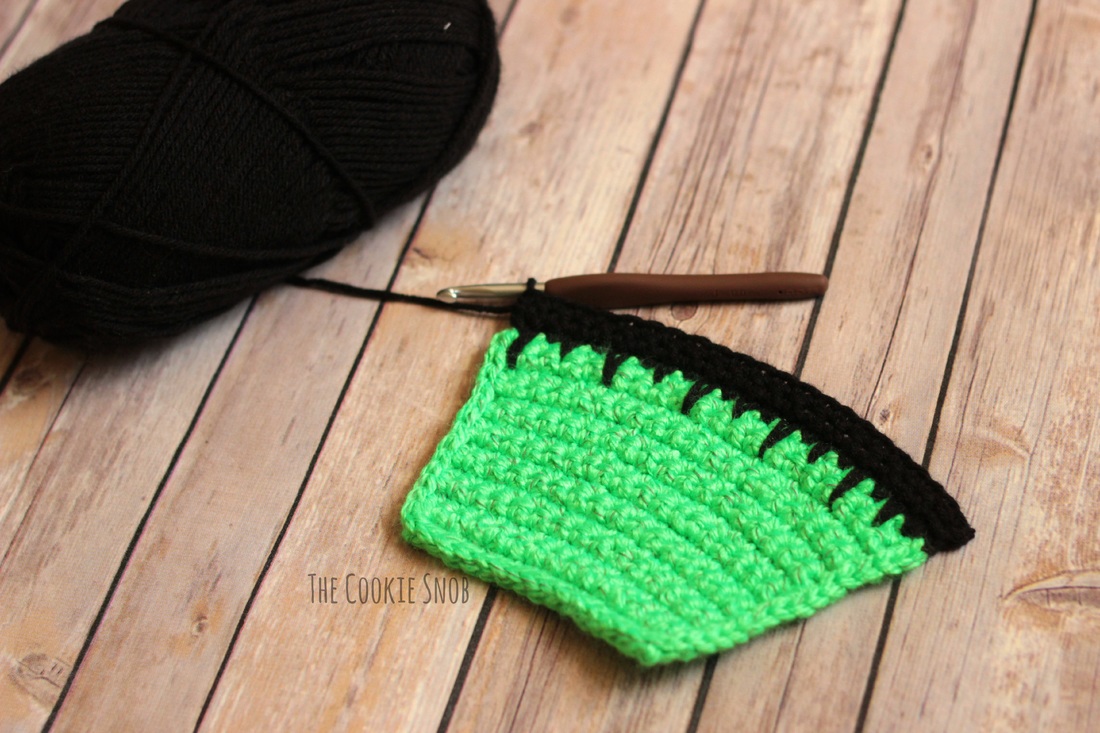
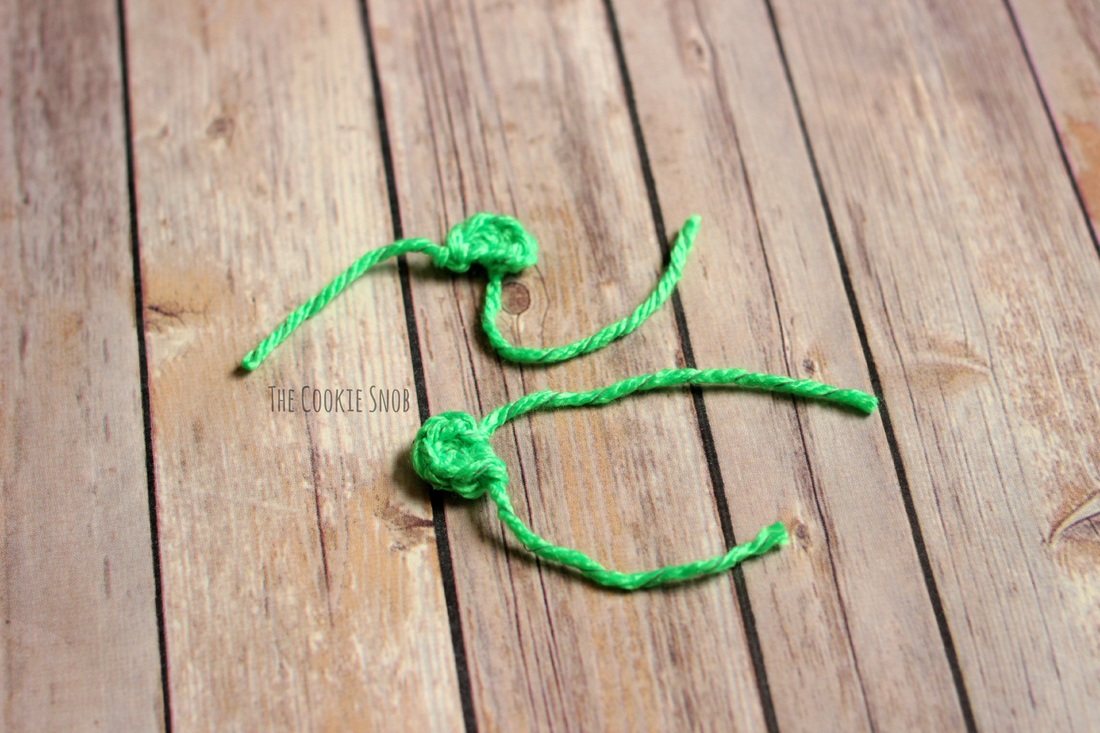
Stitch Glossary: st(s) = stitches ch = chain ss = slip stitch sc = single crochet inc = 2 sc in the same st hdc = half double crochet hdc inc = 2 hdc in the same st dc = double crochet dc inc = 2 dc in the same st Frankenstein Base: With Neon Green yarn and size J crochet hook, ch 16. Row 1: sc in the 2nd hook from the chain and in every sc across, turn (15) Rows 2-4: ch 1, sc across, turn (15) Row 5: ch 1, sc in the next 7 sts, inc, sc in the next 7 sts, turn (16) Rows 6-7: ch 1, sc across, turn (16) Row 8: ch 1, sc in the next 5 sts, inc, sc in the next 4 sts, inc, sc in the next 5 sts, turn (18) Rows 9-11: ch 1, sc across, turn (18) Row 12: ch 1, sc in the next 5 sts, inc, sc in the next 6 sts, inc, sc in the next 5 sts, turn (20) Rows 13-15: ch 1, sc across, turn (20) Optional: If you want a cleaner edge to the piece, you can now ss down the side, across the bottom, and back up the other side until you get back to row 15. Hair: Switch to black yarn. Row 16: ch 1, sc inc, [spike stitch to a random length, sc] across to last st, work spike stitch and sc in last st, turn (22) Rows 17-18: ch 1, sc across, turn (22) Fasten off, leaving long tails for weaving Ears: Use Neon Green yarn and size J crochet hook. Row 1: Make a magic circle and work 5 hdc in the magic circle (5) Pull the circle closed; do NOT join the hdcs together. This should form a semi-circle shape. Fasten off, leaving long tails for sewing. Eyes (make 2): Use black yarn and a size D crochet hook. Row 1: Make a magic circle and work 4 sc into the magic circle. Join with a ss to the first sc (4) Fasten off, leaving long tails for sewing. Bolts (make 2): Use gray yarn and a size H crochet hook Ch 3. Row 1: sc in the second chain from the hook and in the next st, turn (2) Rows 2-3: ch 1, sc across (2) Fasten off. Assembly: Using long tails, sew ears to either side of the head. Sew the eyes where desired (I placed mine in the center). Sew bolts below the ears on both sides of the head. Add additional embellishments (like a mouth or scars) if desired. Have fun personalizing it and make it your own! Pumpkin Base: Use Neon Orange yarn and size J crochet hook. Note: This piece is worked in the round, in a continuous spiral without turning in order to avoid a visible seam. I recommend using a stitch marker to help keep your place. Round 1: Make a magic circle and work 8 hdc in the magic circle (8) Round 2: hdc inc around (16) Round 3: [hdc inc, hdc] around (24) Round 4: [hdc inc, hdc in the next 2 sts] around (32) Round 5: [hdc inc, hdc in the next 3 sts] around (40) Round 6: [hdc inc, hdc in the next 4 sts] around (48) Round 7: [hdc inc, hdc in the next 5 sts, hdc inc, hdc, dc in the next 4 sts, dc inc, dc in the next 3 sts, hdc in the next 2 sts, hdc inc, hdc in the next 5 sts] twice (56) Sc in the next st, join with ss and fasten off. Stem: Use Neon Green yarn and size J crochet hook. Join with ss to top of pumpkin Row 1: ch 1, sc in the same st and in the next 3 sts, turn (4) Rows 2-4: ch 1, sc across, turn (4) Fasten off. Vine: Use Neon Green yarn and size J crochet hook Ch 11 Row 1: starting in the second chain from the hook, inc across, working in back loops only (20) Fasten off, leaving long tails for sewing. Assembly: Using the long tails, sew the vine to the base of the stem. Stitch on any desired embellishments, such as a face. And there you have it! I sewed my appliqués to a canvas tote bag that I found at the dollar store in order to make a reflective trick-or-treat bag. It would also be cute to personalize the bag with crocheted letters or puffy pant. What else could you do with these appliqués? I'd love to hear your ideas. I'd also love to see your finished projects if you make one. Find me in the comment section below or on social media. Happy hooking and stay safe this Halloween!
***You're welcome to do whatever you'd like to with finished products made from this pattern but if you do sell them, I ask that you link back to my page. You may not copy this pattern, repost it anywhere (either altered or in its original form), or claim it as your own. You may not use any photos on this site for your own use. ***
0 Comments
Leave a Reply. |
Welcome!Thank you for stopping by to visit my own personal corner of the web! Feel free to take a look around and check out what I've been crafting, crocheting, or baking. Hopefully you'll find something to inspire your own creativity! Archives
March 2024
|



 RSS Feed