|
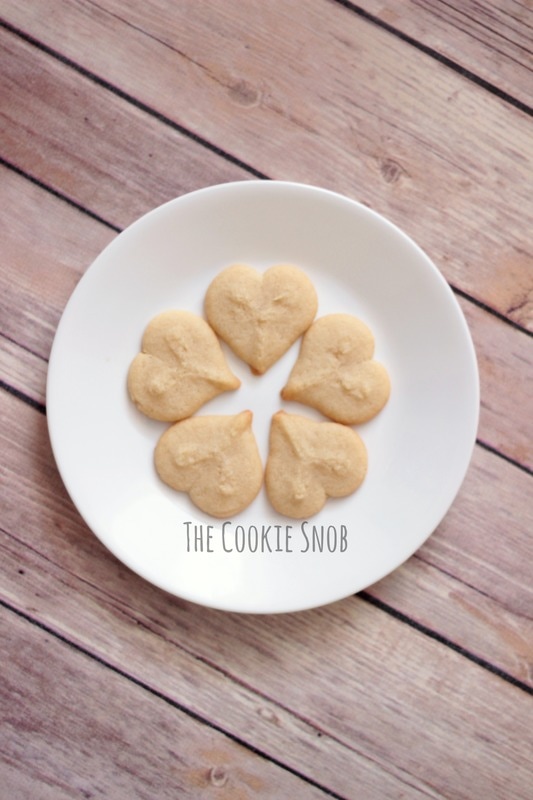
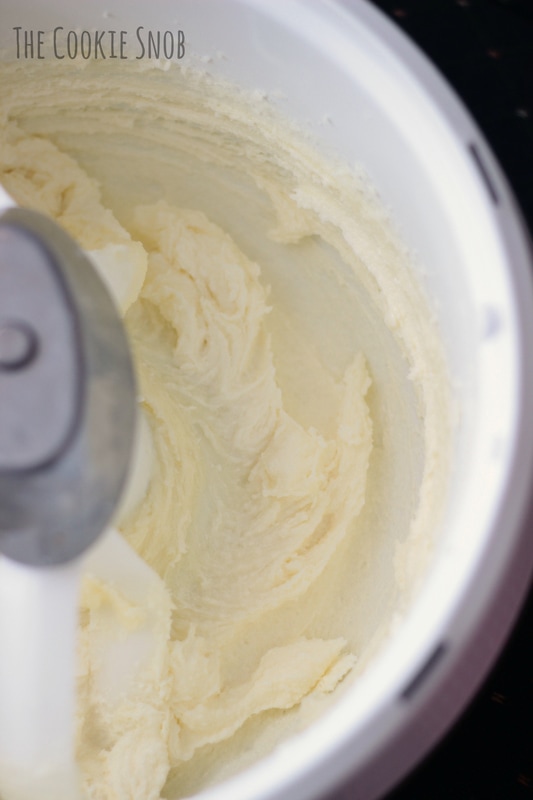
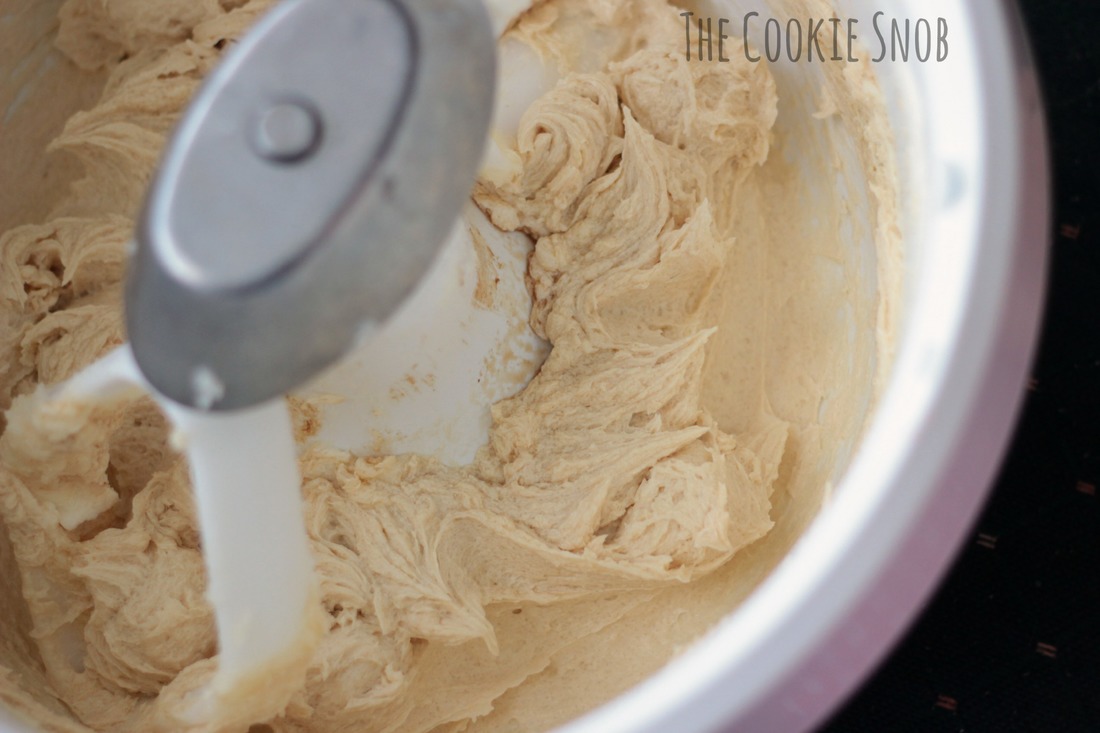
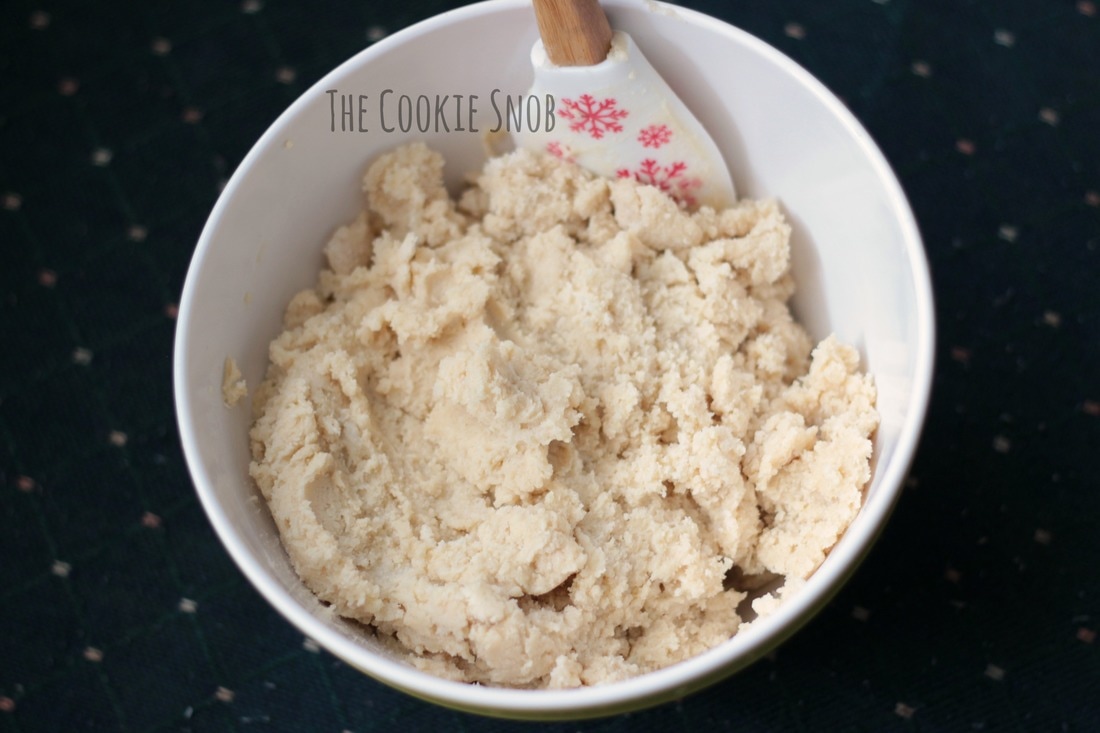
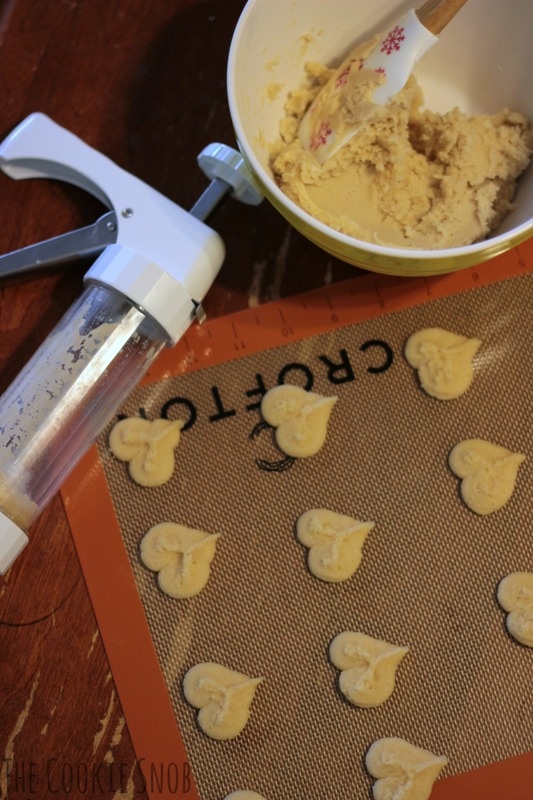
My sweet little guy decided that he wanted to make heart cookies for his friends at church, in honor of Valentine's day. Maybe I was just feeling lazy, but the prospect of rolling out a bunch of sugar cookies just seemed like too much hassle. Then I remembered a nifty, underused gadget sitting in my pantry: the cookie press! A cookie press is the perfect tool for making a ton of tiny, effortlessly-shaped cookies. So If you've got one gathering dust, pull it off the shelf and put it to good use! They make look a bit intimidating sometimes, but with just a little bit of practice you'll be pro. And, really, who could resist such adorable little cookies? In typical cookie fashion, we're going to start by creaming the butter and sugar together. Make sure you're starting with room temperature butter. If it's too cold, you'll have a hard time creaming it properly. And if it's too warm, your dough won't work quite as nicely in the cookie press. We're aiming for the "Goldilocks zone." When you're done (it usually takes about 3 minutes in my Bosch mixer), you should be left with a fluffy, light looking dough. Now we're gonna get everything else except for the flour involved. Mix in the egg, vanilla, and salt until the dough is creamy and all of the ingredients are well-incorporated. Then it's time for our final ingredient: flour! You can slowly stir it into your dough using your electric mixer, but for this dough it's usually easier to just stir it in by hand with a spoon (maybe it's just my mixer, but it broke into clumpy pieces instead of sticking into one cohesive dough, meaning I had to mix it all back together by hand anyway). You'll want to use a bigger bowl than the one shown here unless you're amazingly good at not making a mess (note: I am not). This does give you an idea of the amount of dough you're working with though. It's not a ton, but it will make a surprising number of cookies. And, on a related note, I would gladly trade ALL of the cookies this dough made for any sort of natural light in my sad little kitchen (please excuse our hand-me-down couch in the background...) Anyway, back to the cookies! Once your dough is ready, load up your cookie press and go to town! Every cookie press should come with its own instructions, but the general idea is to draw the plunger all the way up, open the bottom, fill up the barrel with dough and then screw the shape on the bottom. I used the standard "Y" shaped one to make my hearts. Then place the press on your pan or silpat and press the handle. Lift up the press and voila: cute little cookie! I find that this works best when you're using the press on a cool surface, so I rotated my 3 baking mats across 2 cookie pans so that I could always load up the cool one with dough. Don't sweat it if they aren't completely perfect (they will spread a tiny bit in the oven), but if they keep coming out lopsided you may want to check the dough in the barrel to make sure it isn't loaded unevenly with more dough on one side. The exact number of cookies you'll make depends on what shape you're using (the original recipe says 40-60), but the little heart shape made about 100 cookies for me, so you'll have lots of chances to practice. Bake at 375 for 7-10 minutes, depending on the size of your cookie, the pan you're using, and how crispy you like 'em. I like mine just barely turning golden brown around the edges so that they aren't completely hard but are still crisp. Remove from oven and cool on a rack. These cookies are perfect for decorating. I brushed a light layer of glaze on mine and then my toddler went to town with the sprinkles. He may not have mastered the art of sprinkle distribution yet, but they're adorable little cookies either way. Or you can frost them or even pipe on icing if you're extra fancy. Have fun with it! Store leftovers in an airtight container. Pressed Sugar Cookies Source: Williams Sonoma Yield: ~5 dozen or more (depending on shape) Ingredients: 1 cup of unsalted butter (room temperature) 1 cup of white sugar 1 egg 2-1/2 tsp of vanilla extract 1/2 tsp of salt (I used kosher salt) 2-1/2 cups of all purpose flour Instructions: Cream together butter and sugar until smooth and creamy looking (about 3 minutes). Add in the egg, vanilla, and salt and mix until well-incorporated. Stir in the flour until just combined. Load your cookie press and use according to manufacturer instructions. Place the cookies about 1" apart on a cookie sheet lined with a baking mat or parchment paper. Bake at 375 ℉ for 7-10 minutes until golden around the edges. Cool completely on a cooling rack. Decorate if desired. Store leftovers in an airtight container. I hope that you enjoy these sweet little cookies. Let me know what you think of them in the comments section below or find me on social media. And if you have any tips for using a cookie press that you'd like to add, please share! Happy baking!
0 Comments
Leave a Reply. |
Welcome!Thank you for stopping by to visit my own personal corner of the web! Feel free to take a look around and check out what I've been crafting, crocheting, or baking. Hopefully you'll find something to inspire your own creativity! Archives
March 2024
|





 RSS Feed