|
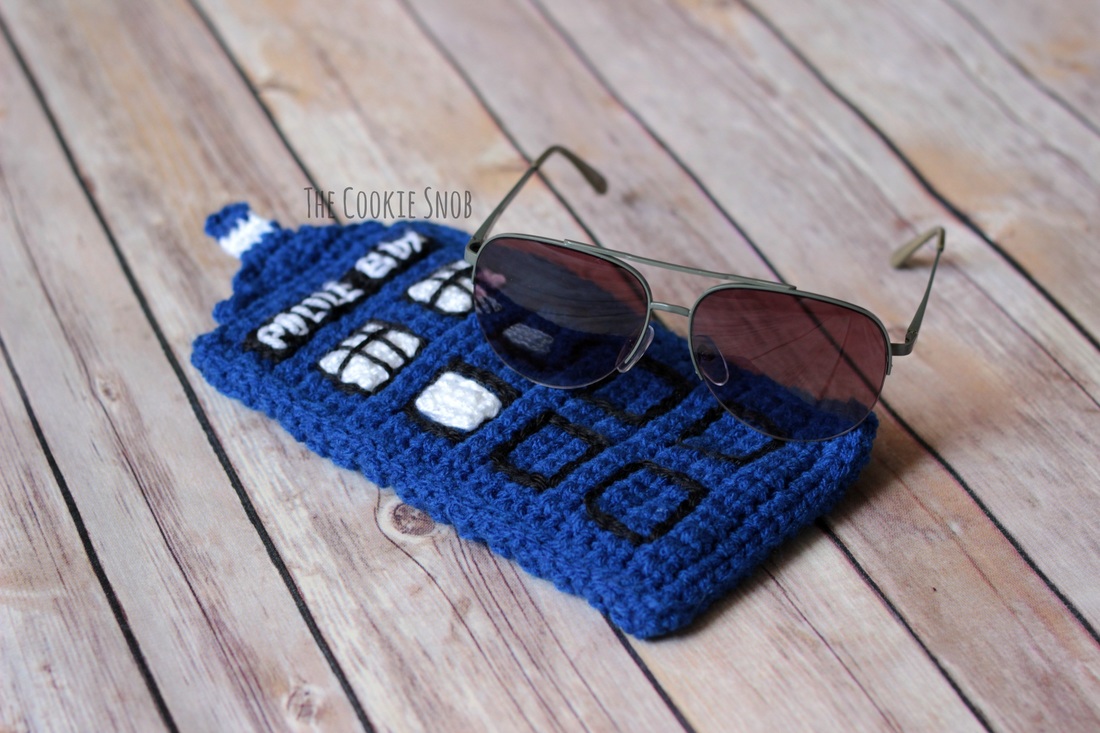
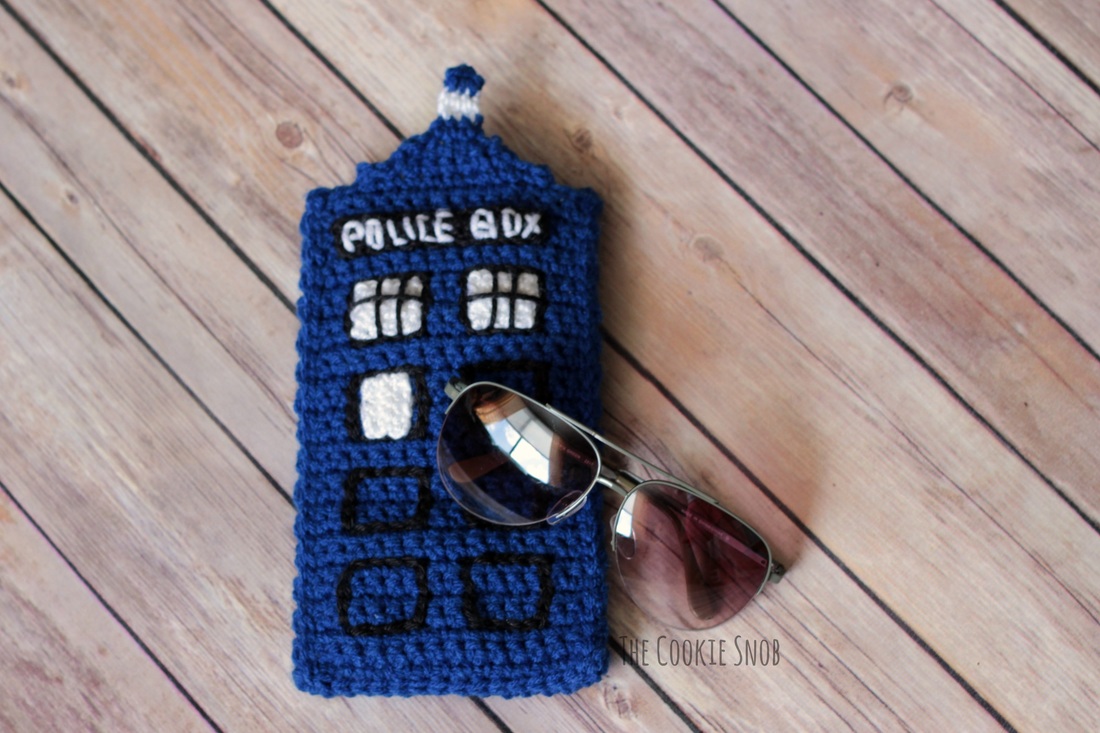
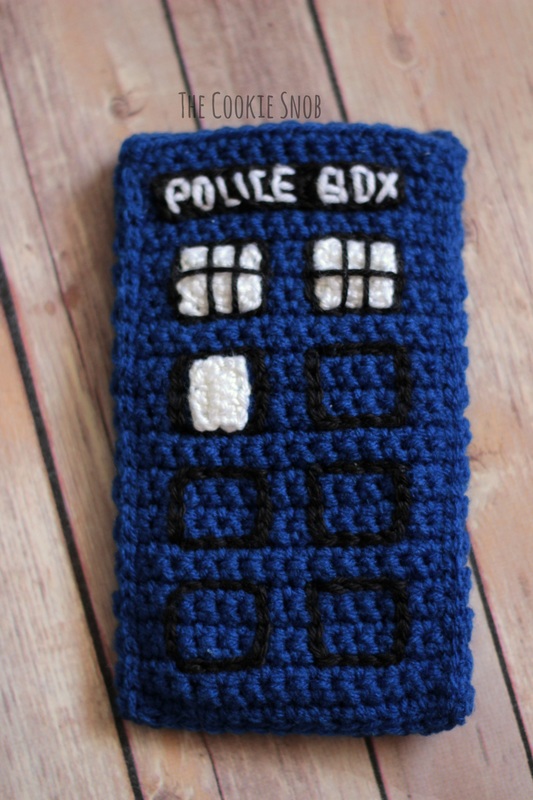
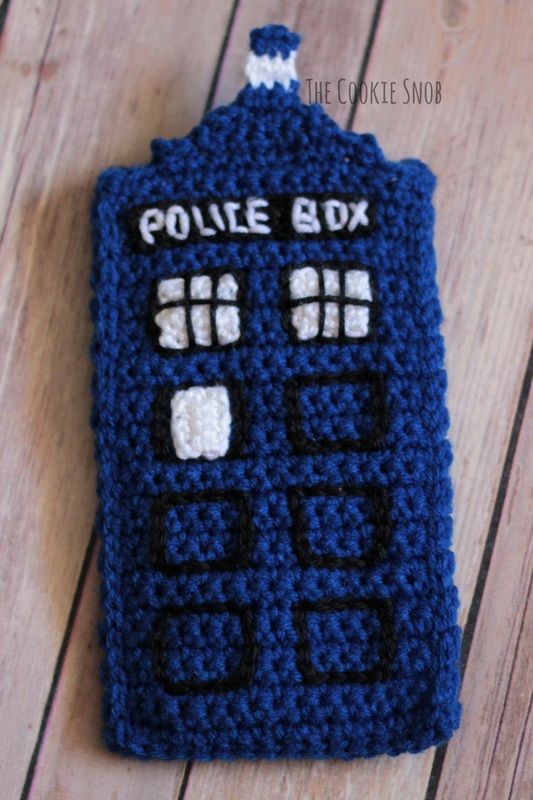
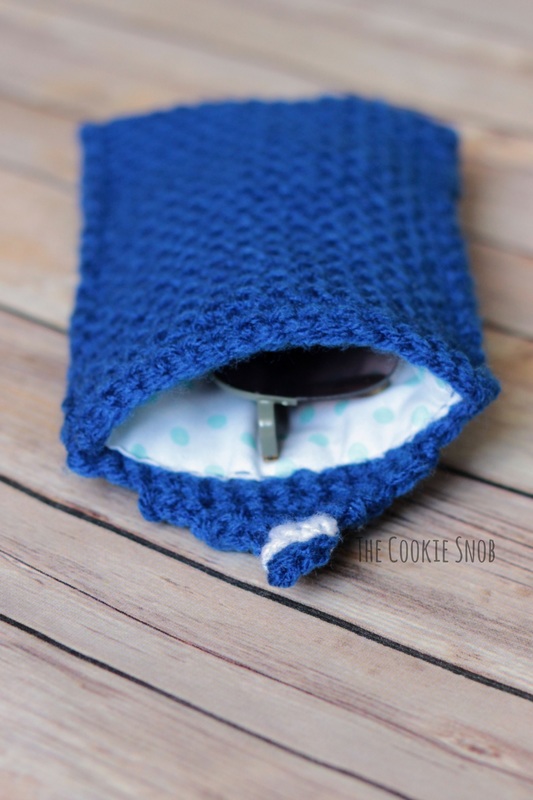
Once upon a time, I was digging through my yarn stash and I happened upon a skein of yarn in a very particular shade of blue. The bluest blue. TARDIS blue. Okay, so maybe it wasn't a 100% match, but the resemblance was still uncanny. (Or maybe I had just been binge watching way too much Doctor Who. Potato, po-tah-to.) Either way, this yarn was destined to become a police box. And with this free pattern, now you can make your very own! Whether you're a Whovian or just know someone who loves the series, this pattern makes a perfect summer accessory. It may not be bigger on the inside, but the case is large enough to protect even the biggest pair of sunglasses or other small accessories (mine is approximately 4-1/2" wide and 7-1/2" tall, excluding the roof). If you're looking for something a bit smaller, you can also decrease the length by dropping a few rows or decrease the overall size by sizing down your hook. Either way, this unique design is guaranteed to make you the envy of every Time Lord on the block. Materials:
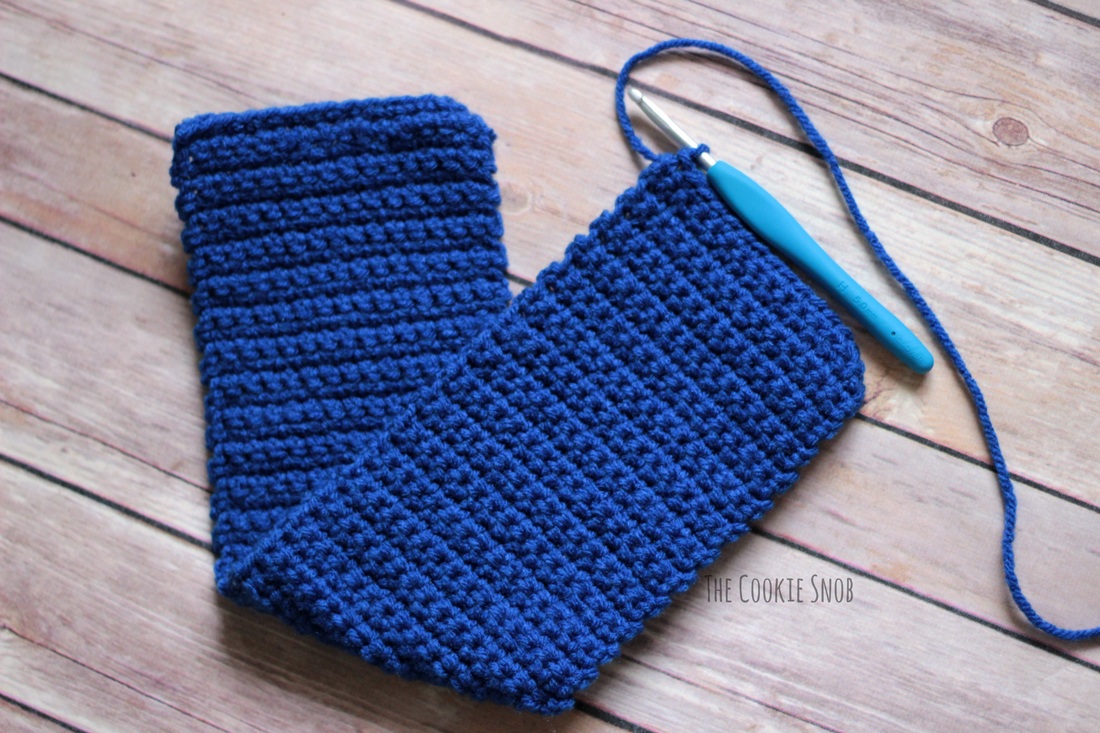
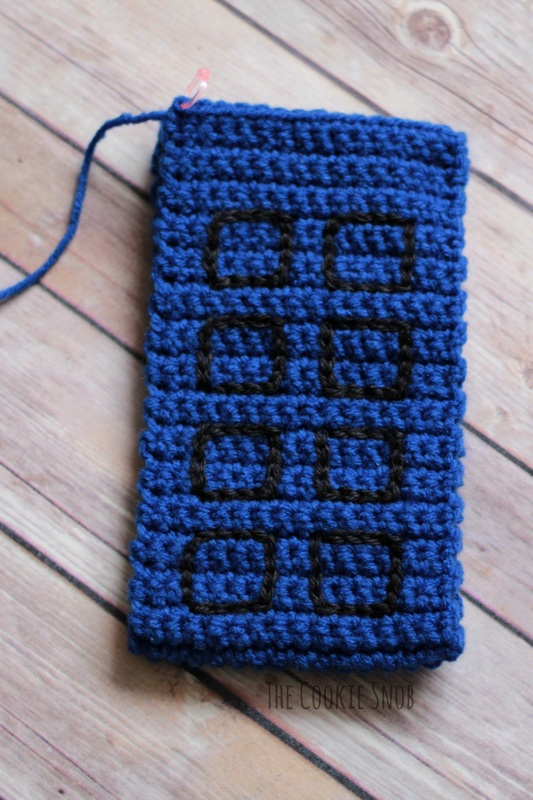
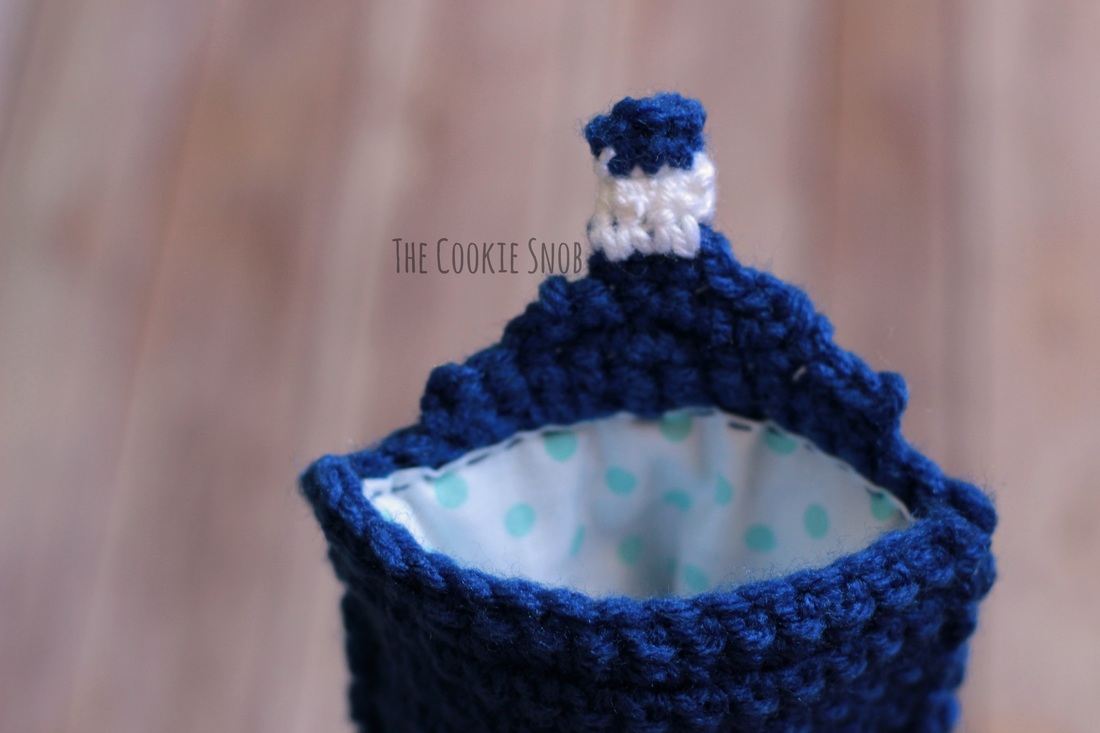
st(s) = stitch(es) ch = chain ss = slip stitch sc = single crochet Gauge: 4 sc = 1"; 4 rows = 1" Windows: (make 2) Use size G crochet hook and white yarn. Ch 5. Row 1: sc in the second ch from the hook and in every other st across, turn (4) Rows 2-4: ch 1, sc across, turn (4) Fasten off, leaving a long tail for sewing. Notice Sign: Use size G crochet hook and white yarn. Ch 5. Row 1: sc in the second ch from the hook and in every other st across, turn (4) Rows 2-3: ch 1, sc across, turn (4) Fasten off, leaving long tail for sewing Police Box Sign: Use size G crochet hook and black yarn. Ch 15. Row 1: sc in the second ch from the hook and in every other st across, turn (14) Row 2: ch 1, sc across (14) Fasten off, leaving long tail for sewing. Using white yarn and a tapestry needle, stitch the letters "POLICE BOX" evenly across the sign. (Hopefully you are better at stitching letters than I am...) Police Box Case: Use size H crochet hook and the blue yarn. Ch 16. Row 1: sc in the second ch from the hook and in every other st across, turn (15) Rows 2-64: ch 1, sc across, turn (15) Now we're going to take a break from the body of the case so that we can start adding embellishments before we fold it in half and stitch up the sides. (Trust me, it's much easier this way.) I recommend placing a stitch marker (or something similar) into the loop where your hook is so that nothing comes unraveled while you're working. Using black yarn and the size G crochet hook, surface crochet the square panels. You can also stitch them on using a tapestry needle if you prefer, but I like the sturdiness and thickness of the surface crochet. The squares are roughly 4 sc wide and 4 rows tall. I started with the lowest pair of squares between rows 36 and 37 of the case, leaving a 2 sc space between the squares. Place the next set of squares 2 rows above the top of the square. Continue this placement until you have 8 squares (4 squares tall and 2 squares wide). Using long tails, attach the windows to the top 2 squares. Then, using black yarn and a tapestry needle, stitch on window panes (2 vertical lines and 1 horizontal line). Attach the notice sign to the square below the left window. Attach the "POLICE BOX" sign above the windows. Now that everything's looking pretty, we're going back to finishing the case. Fold the case in half and ss the sides together, leaving the top open. Fasten off and weave in ends. You can stop here if you're happy with the way it looks, but I think adding the roof is the perfect touch to finish it off. It's tricky to get the shape quite right, so be sure to pay attention to which rows begin with a ch 1 and which do not. Roof: Using size H crochet hook, attach blue yarn in the 3rd st from the side seam on the front. Row 1: ch 1, sc in the same st and in the next 10 sts across, turn (11) Row 2: ss in the next 2 sts, ch 1, sc in the same st and in the next 6 sts, turn (7) Row 3: sc in the next 5 sts, ss, turn (5) Row 4: ss in the next 2 sts, ch 1, sc in the same st and in the next 2 sts, turn (3) Switch to white yarn. Rows 5-6: ch 1, sc across (3) Switch back to blue yarn. Row 7: ch 1, sc across (3) Fasten off and weave in ends. Ta-dah! You now have a timey-wimey spacey-wacey sunglasses case that you can slip into your bag to keep your shades cool. And if you want to make it extra nice, you can use a bit of fabric to line the case (and hide all the ends you didn't want to weave in...I won't tell if you don't). If you've never lined anything before, I recommend this handy dandy tutorial off of Craftsy. I hope you enjoy this pattern! If you make one of your own, I would love to hear about it. And I always love to see pictures. You can reach me in the comments section below or on social media. Happy hooking! ***You may not copy this pattern, repost it anywhere (either altered or in its original form), or claim it as your own. You may not use any photos on this site for your own use. ***
7 Comments
Erin
6/30/2016 08:15:08 pm
Awesome! How fun to have a complete matching set :)
Reply
Marie
7/6/2016 12:05:10 am
This is fantastic -- it would also be really need to somehow attach it to the couch so we can pop the tv remote control into it!
Reply
Erin
7/6/2016 11:12:17 am
That's a great idea! Looking at it right now, it's just about the perfect size for a remote. Now to figure out how to attach it... I actually crocheted a remote holder that attaches to my couch a while ago, but it's much bigger (it holds 3 remotes), so the same method wouldn't work. I'll let you know if I think of something!
Reply
Karla
7/18/2017 10:24:19 pm
This is amazing. I need to make this for my glasses asap. Thank you for the great pattern.
Reply
Leave a Reply. |
Welcome!Thank you for stopping by to visit my own personal corner of the web! Feel free to take a look around and check out what I've been crafting, crocheting, or baking. Hopefully you'll find something to inspire your own creativity! Archives
March 2024
|



 RSS Feed