|
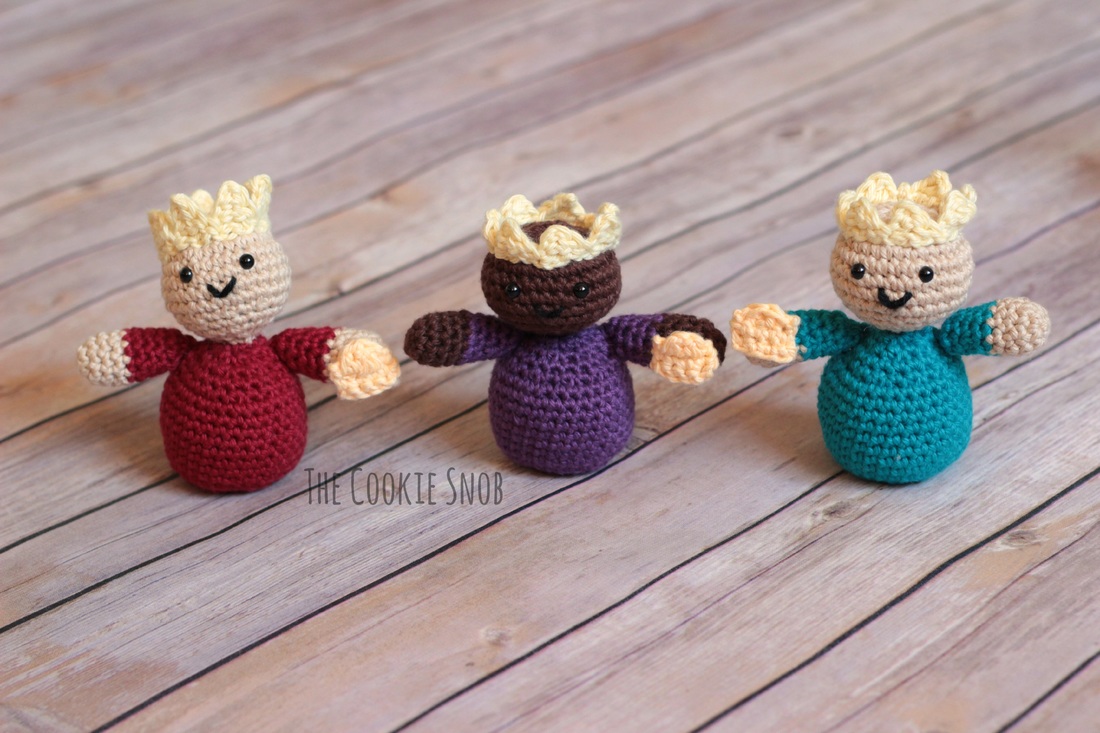
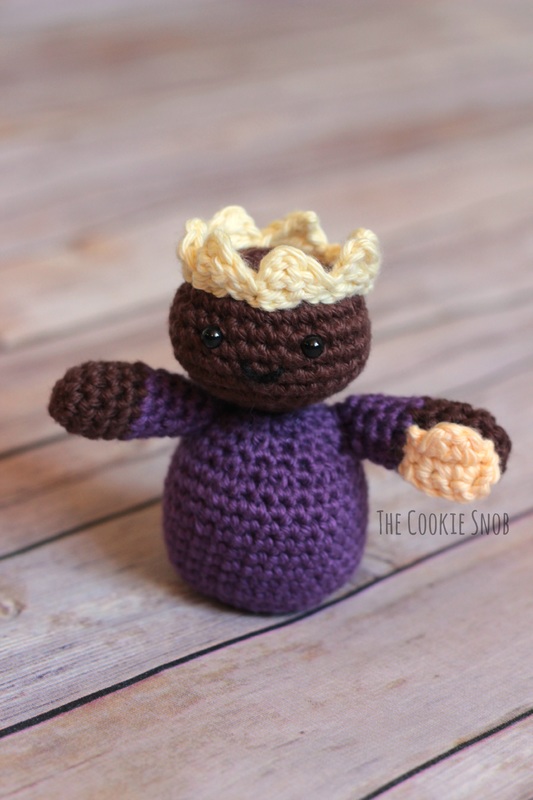
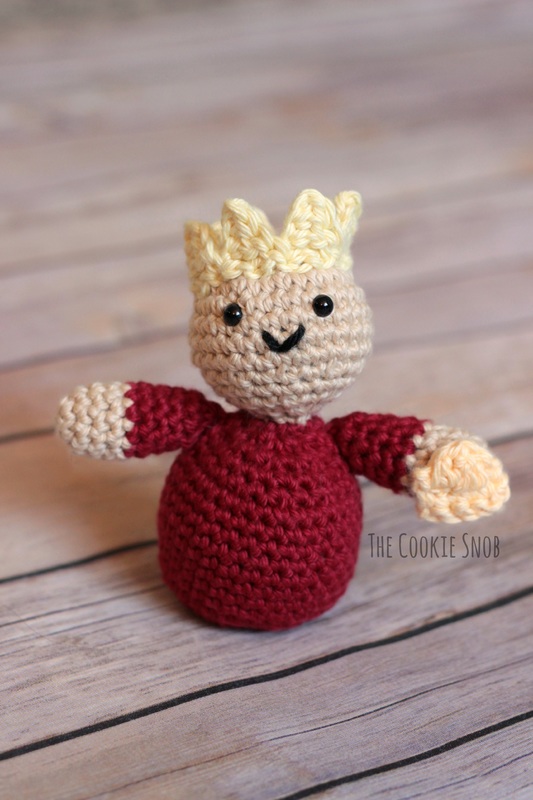
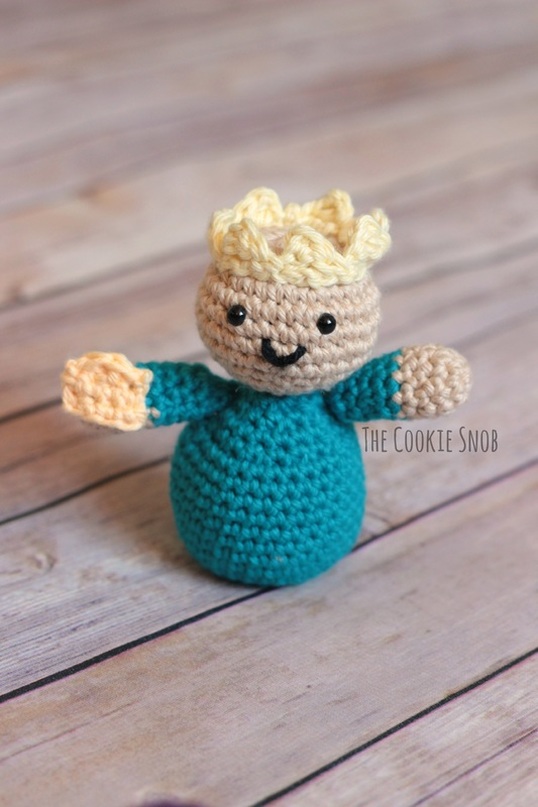
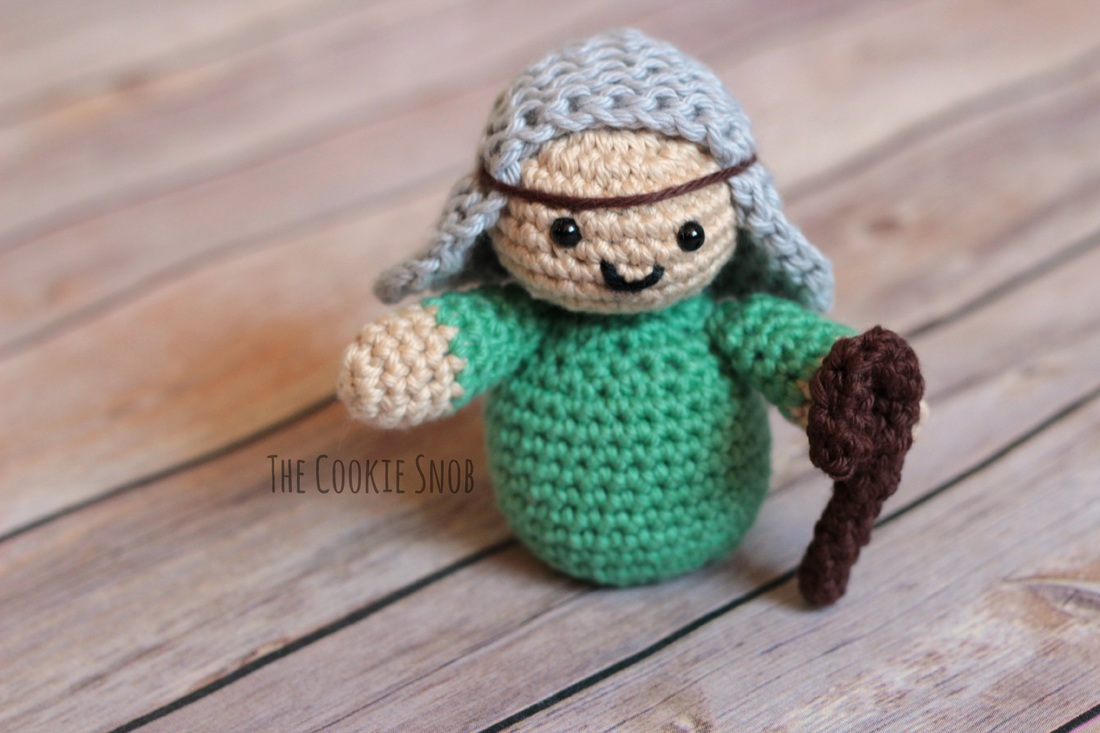
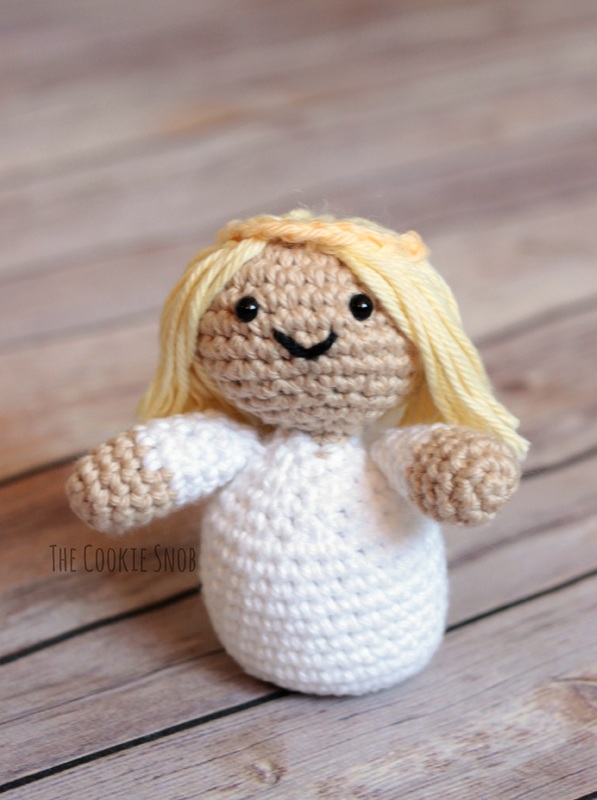
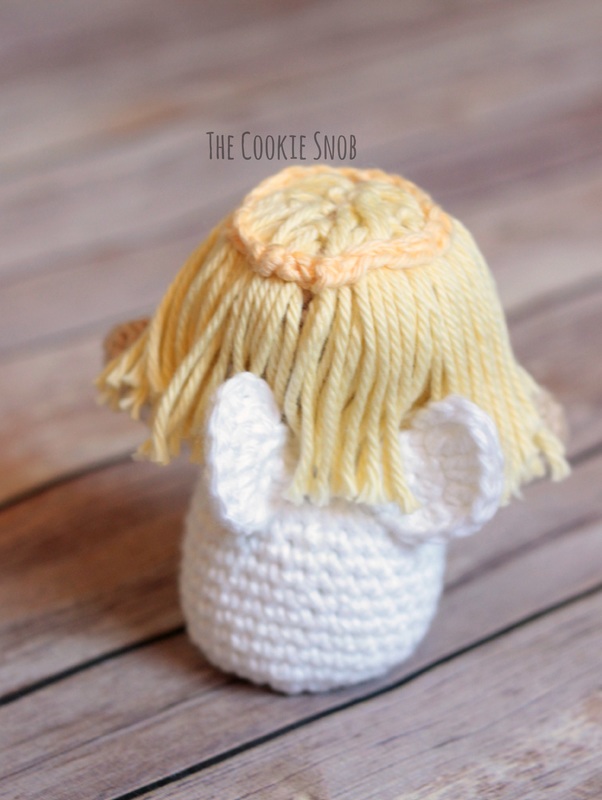
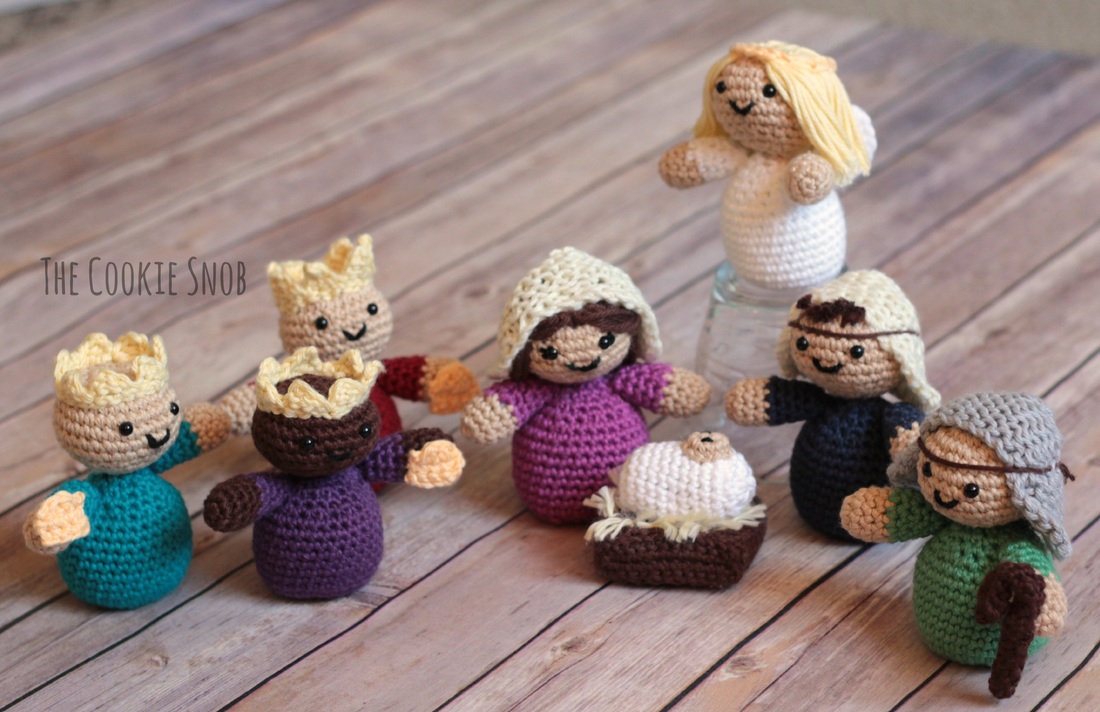
And now it's time for the last blog post about my crocheted nativity! In case you missed them you can find instructions for making the adult figures here and free patterns for the baby and the manger here. This final installment will show you how to make accessories like crowns and wings for dressing up your adult nativity figures. Most of these are pretty informal patterns (more of an idea than anything else), so if anything is confusing please let me know and I'm happy to help you out. As with the other pieces of my nativity, everything is made using a size F (3.75 mm) crochet hook and worsted weight I Love This Cotton! Yarn. You will also need a tapestry needle for attaching pieces and weaving in ends. Stitch glossary: st(s) = stitch(es) ch = chain ss = slip stitch sc = single crochet inc = work 2 sc in the same st dec = single crochet decrease (I prefer to use the invisible decrease stitch) hdc = half double crochet hdc inc = work 2 hdc in the same st dc = double crochet dc inc = work 2 dc in the same st tr = treble (triple) crochet tr inc = work 2 tr in the same st Let's start with crowns. I designed a couple of different crowns for you to choose from, depending on how you want to style your wisemen. This wiseman got the shorter version of the crown. I personally like the way this one looks the best, but it does tend to curl a bit more than the taller crown you'll see next. Short Crown: [ch 3, turn, sc in the first ch from the hook, dc in the next ch, tr in the last ch] 7 times, ss to the first st to join into a circular shape (be sure not to twist it) Fasten off, leaving a long yarn tail for sewing. Using a tapestry needle and the yarn tail, sew to head. Weave in ends. As you can see, this wiseman got a taller version of the crown. It almost looks too tall for my taste, but it does keep its shape the best. Tall Crown: [ch 4, turn, sc in the first ch from the hook, hdc in the next ch, dc in the third ch, tr in the last ch] 7 times, ss to the first st to join into a circular shape (be sure not to twist it) Fasten off, leaving a long yarn tail for sewing. Using a tapestry needle and the yarn tail, sew to head. Weave in ends. As per the Christmas story, the wisemen need gifts. Feel free to make whatever shape you'd like to for the gifts. I opted for a box with a rounded top shape for all of them, but it would also be cute to make a rectangle, a circle, and a rounded top so that they all have unique gifts. Or, if you want to go the non-crochet route, I think sewing a bead or a button on there as the gift would be really adorable. Gift: Ch 5 Row 1: sc in the 2nd chain from the hook and in ever other ch across, turn (4) Rows 2-3: ch 1, sc across, turn (4) Row 4: ss in first st, dc in next 2 sts, ss in last st Fasten off, leaving long yarn tails for sewing. Using a tapestry needle the yarn tails, attach to nativity figure. Weave in ends. The shepherd has a head covering just like Joseph's (you can find instructions for it in the first nativity post), so he also has a shepherd's crook to set him apart. Shepherd's Crook: Make a magic circle and work 4 sc into the magic circle. Working in rounds (meaning the stitches are worked in a continuous spiral without joining), sc around until the crook is the length you want it to be. Fasten off, leaving a long yarn tail. Using a tapestry needle, weave the yarn tail through the front loops of the las row and pull taut to close. Then make a small stitch, connecting the end of the crook to the middle of the crook (this forms the characteristic bent shape). Use the remaining yarn tail to sew the crook onto the arm of the shepherd. Weave in ends. One of the angel's distinguishing features is its halo. The halo is super simple, but I decided to write it out, just in case it's helpful for anyone. Halo: Ch 26. Ss to join (be careful not to twist the chain). Fasten off, leaving long tail for sewing. Using a tapestry needle and the long yarn tail, attach halo to the angel's head. They're not super obvious from the front, but the angel also has a cute little pair of wings on her back. Angel Wings: (make 2) Make a magic circle and work 8 hdc into the magic circle Hdc inc in the first 3 sts, dc inc in the next 2 sts, tr inc, ch 3, ss to the base of the tr inc. Fasten off, leaving long tail for sewing. Using a tapestry needle, weave the ends of the yarn to the base of the wing and then sew the wing onto the angel's back. Weave in ends. And there you have it! Everything you need to make your own cute crocheted nativity. If you have questions or comments, I'd love to hear from you in the comment section below or you can find me on social media. Happy hooking and happy holidays!
***You're welcome to do whatever you'd like to with finished products made from these patterns but if you do sell them, I ask that you link back to my page. You may not copy these patterns, repost them anywhere (either altered or in their original form), or claim them as your own. You may not use any photos on this site for your own use. ***
5 Comments
Christina Krosche
12/1/2015 09:40:39 pm
These are lovely! Have you considered making a few animals to go with the nativity?
Reply
Erin
12/6/2015 05:43:24 pm
Thank you! I've definitely thought of adding a few animals (sheep, donkey, camel), but just haven't had the time to do it yet. If I find the time to add to the set I'll be sure to post about it on the blog :)
Reply
Erin
2/8/2016 01:19:39 pm
Are you looking for a knitted or crocheted camel pattern? I've found free versions of both on Ravelry, if you want to take a look there :)
Reply
Leave a Reply. |
Welcome!Thank you for stopping by to visit my own personal corner of the web! Feel free to take a look around and check out what I've been crafting, crocheting, or baking. Hopefully you'll find something to inspire your own creativity! Archives
March 2024
|



 RSS Feed