
|
From start to finish, this pattern has definitely been in the works the longest. I designed it while on vacation this last summer, but then with the unexpected surprise delivery and out-of-state NICU craziness (not recommended, by the way), followed by the general craziness that is having a newborn and a toddler, it kind of got delayed...but it's finally done! And thanks to you all, he even has a name now. Meet Milo the Brontosaurus! 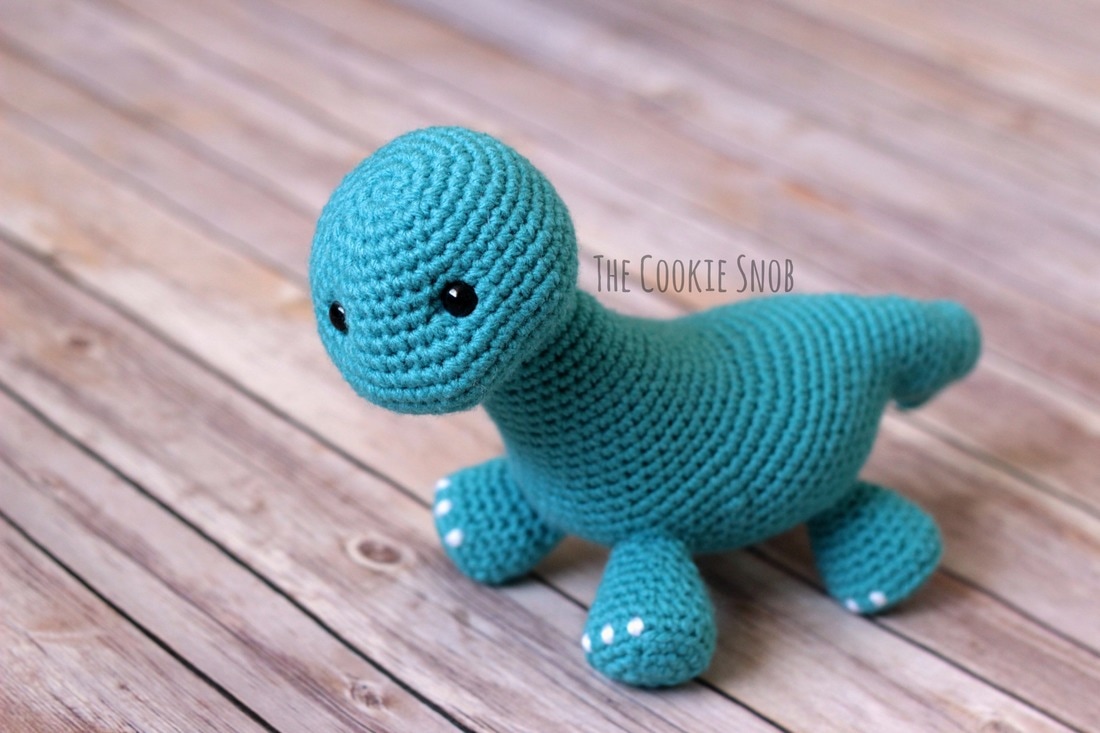 Milo is cuddly and oh so cute. My favorite feature? He's worked almost exclusively in one piece. That's right: minimal number of pieces of join. (Does anyone else hate joining pieces as much as I do?) You only have to attach the legs and then you're good to go! If you want to make one of your own, you can find the pattern on Ravelry or in my Etsy shop. 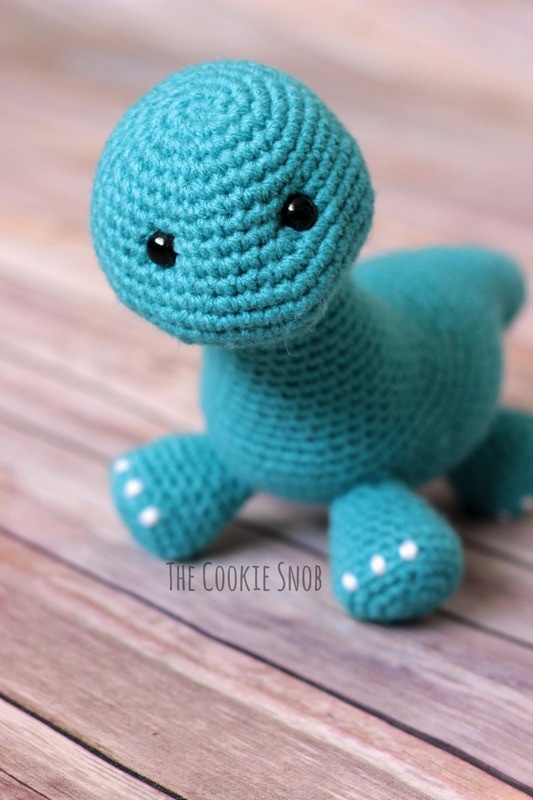 This pattern uses only basic stitches, but I would recommend it for intermediate level crocheters or above because of techniques like the magic circle and shaping. The pattern includes step-by-step pictures and helpful tips to make it all as simple to follow as possible. It also includes a photo tutorial on the invisible decrease stitch. All crochet terms are US terminology.  This pattern uses less than a skein of worsted weight yarn (I used Loops & Threads Impeccable for mine) and a size E (3.5mm) crochet hook. But since gauge doesn't matter, you can easily change the hook or yarn to get the look you want (just make sure your stitches are tight enough to keep the stuffing in). You'll also need 10mm safety eyes (although you can definitely stitch the eyes on instead if that works better for you), fiberfill stuffing, and a tapestry needle for sewing on the legs. I would recommend using a stitch marker to help you keep your place since the pattern is worked in a continuous round.  I hope that you all enjoy this pattern! A special thank you to my wonderful pattern testers Ashleigh, Katie, Nashira, and Paula. 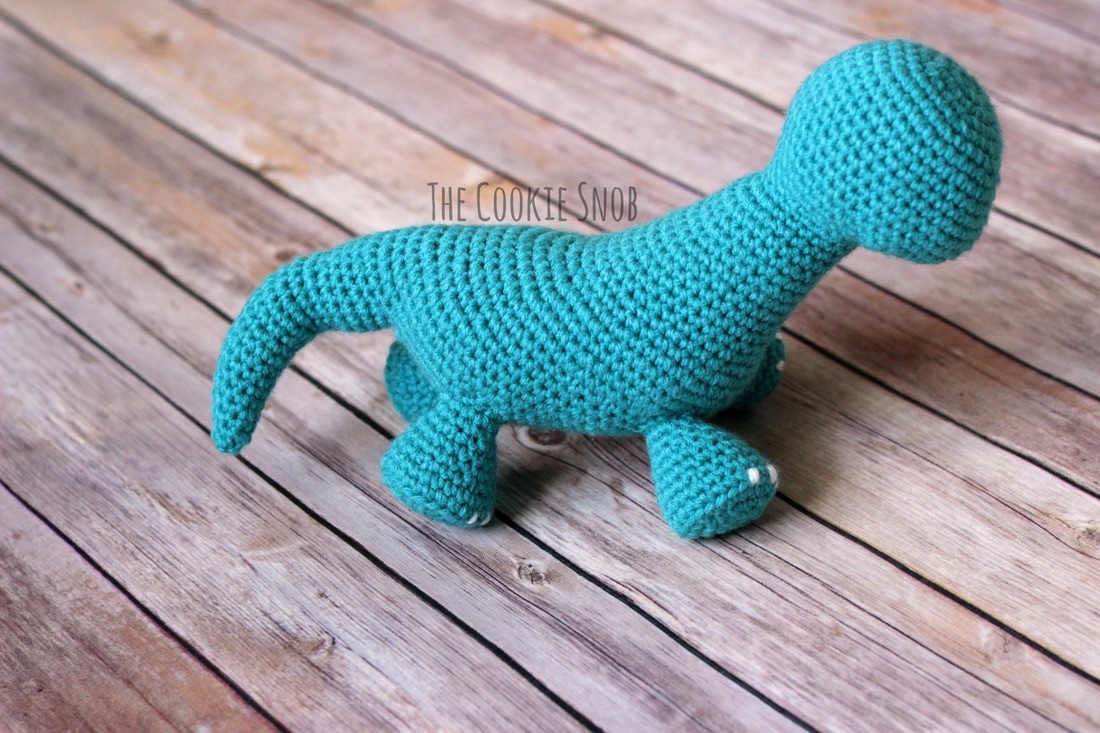 If you end up making a brontosaurus, I'd love to see a picture of how it turns out! And, of course, if you have any questions, feel free to contact me. I'm happy to help you out as much as I can. As always, you can reach me in the comment section below or on social media. Happy hooking! 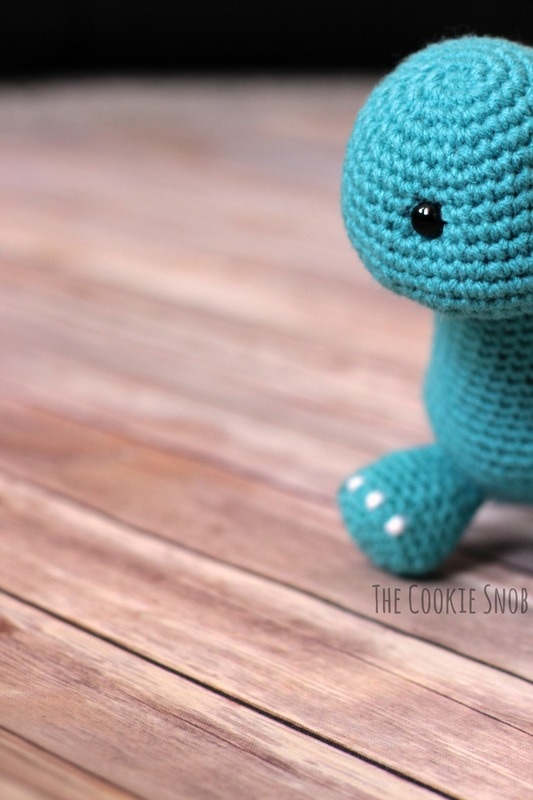 ***You're welcome to do whatever you'd like to with finished products made from this pattern but if you do sell them, I ask that you link back to my page. You may not copy this pattern, repost it anywhere (either altered or in its original form), or claim it as your own. You may not use any photos on this site for your own use. ***
5 Comments
Ruth
7/7/2018 04:54:58 pm
Yes I definitley dislike the finishing work...the weaving in and sewing things on so this pattern is perfect.
Erin
7/8/2018 02:48:59 pm
I've found that certain brands of safety eyes work better than others. I was using the Hobby Lobby safety eyes for a while, but found that they can fall out if you pull on them too hard (yikes). I found some better ones on Amazon that I've never been able to pull apart and that hold up to my kids' rough-housing. But a few months ago, my youngest and his crazy teeth successfully managed to bite off the tops of a pair of 6mm safety eyes (they still stayed in place though, so that backing really does hold if you get a good set of eyes). Luckily he didn't swallow them. He probably wouldn't have been able to do that with bigger sized safety eyes, but you never know.
rRuth
7/12/2018 02:10:36 am
It won't be in a crib but I'm afraid the 4 year old might leave it on the floor and the baby pick it up. thank you so much for the info. I think I'll do the safe thing and bite the bullet as they say and embroider the eyes. Leave a Reply. |
Welcome!Thank you for stopping by to visit my own personal corner of the web! Feel free to take a look around and check out what I've been crafting, crocheting, or baking. Hopefully you'll find something to inspire your own creativity!   
Archives
March 2024
|
 RSS Feed