
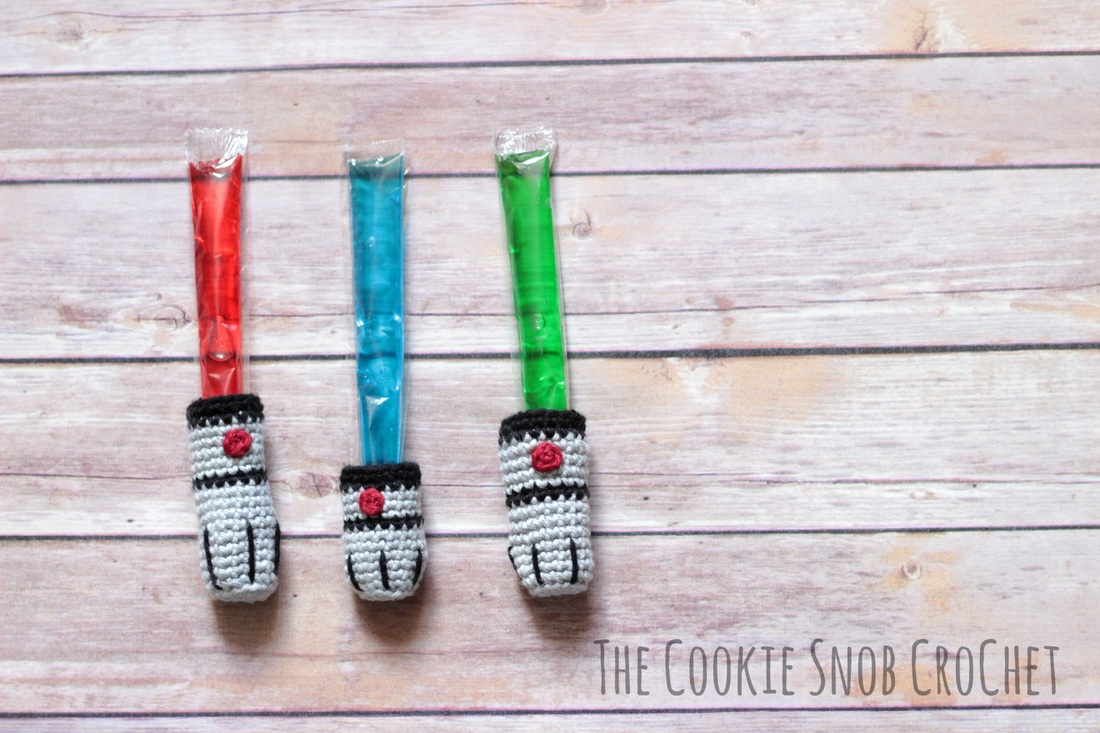
 Lately, I've been seeing crocheted ice pop cozies popping up all over the place online. There are lots of different designs, but my favorites definitely have to be the ones that look like lightsabers. What could be better than keeping your hands insulated from a cold ice pop straight from the freezer while looking like a Jedi? So I made up this quick little pattern in 3 different sizes: toddler, child, and adult. And I'm sharing it with you for free so that you can make your own! Below is a step-by-step picture tutorial for the child-sized lightsaber. If you're just interested in the pattern by itself or in different sizes, you can find them at the bottom of this post. 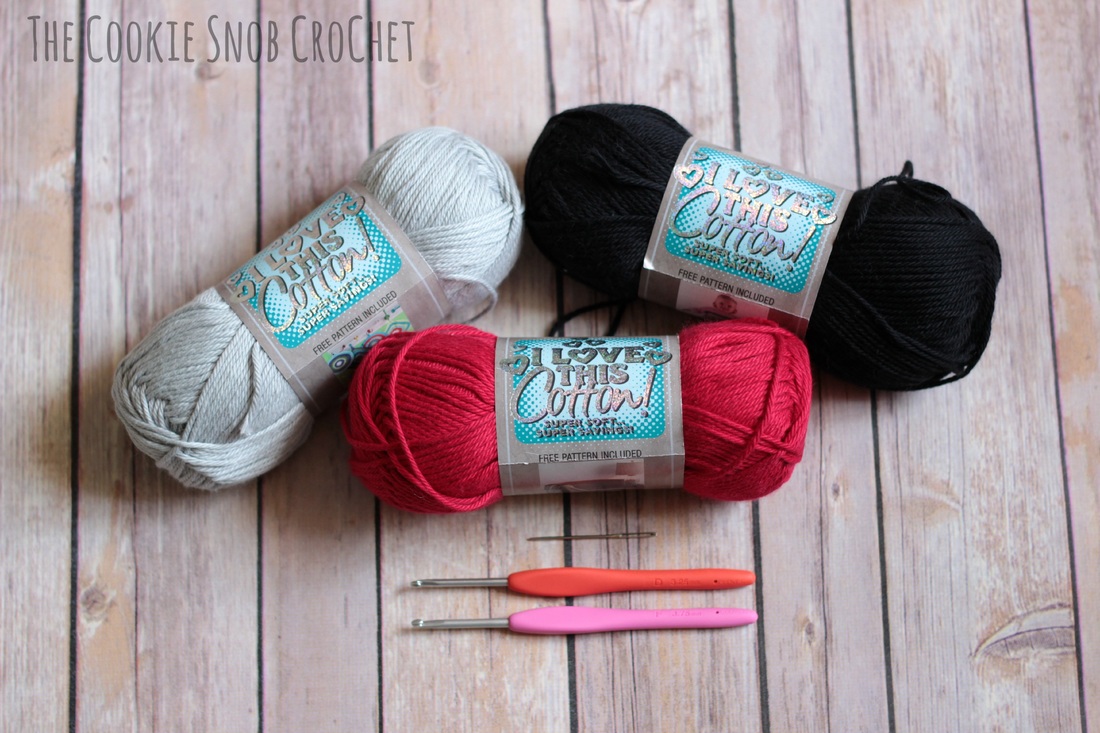 If you're interested in a printable, PDF version of this pattern you can find one on Ravelry. Materials:
Stitch Glossary: st(s) = stitch(es) ch = chain ss = slip stich sc = single crochet inc = 2 sc in the same st Note: This pattern is worked in joined rounds, meaning that at the end of round you'll join the last stitch to the first stitch of the round with a slip stitch and then begin the next round without turning the piece. This creates a more uniform appearance for the base of the lightsaber Base (Child): Begin with gray yarn. Round 1: Make a magic circle and work 8 sc into the magic circle. Join with a ss to the first sc. (8) Round 2: Ch 1, inc in the same st and in each st around. Join with a ss to the first sc. (16) 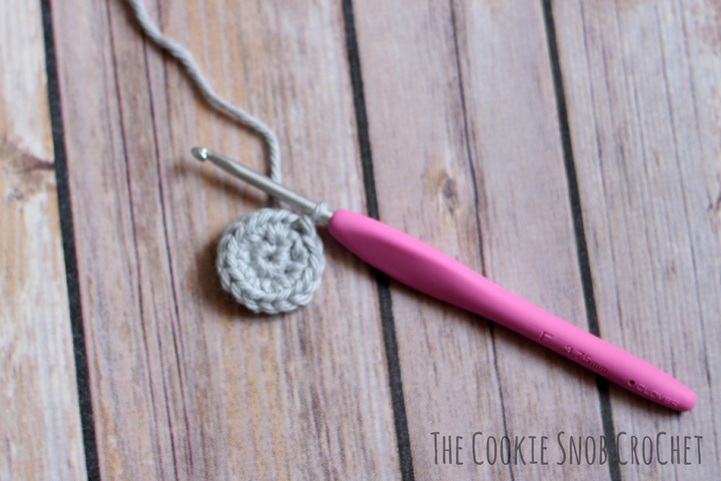 Round 3: Ch 1, working in the back loops only, sc in the same st ad in each st around. Join with a ss to the first sc. (16)  Round 4-9: Ch 1, sc in the same st and in each st around. Join with a ss to the first sc. (16) 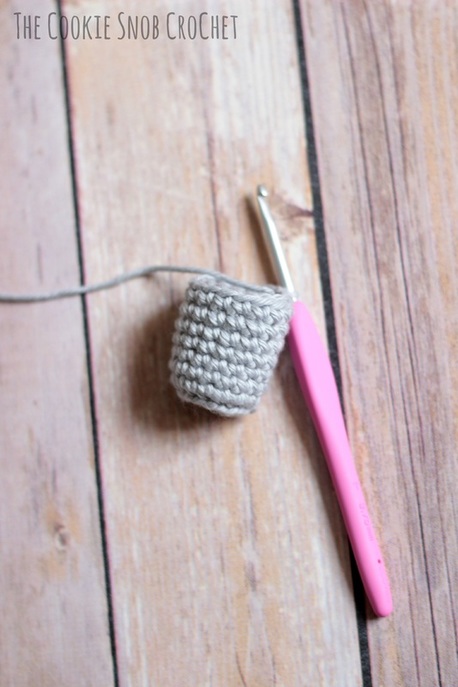 Using black yarn and a tapestry needle, stitch the stripes along the base of the lightsaber. I chose to add 5 stripes, 3-4 sts apart (trying to space them evenly). Each stripe begins at the base of the lightsaber and extends up across 4 rounds. Feel free to add more stripes or fewer stripes in order to get the exact look you want. 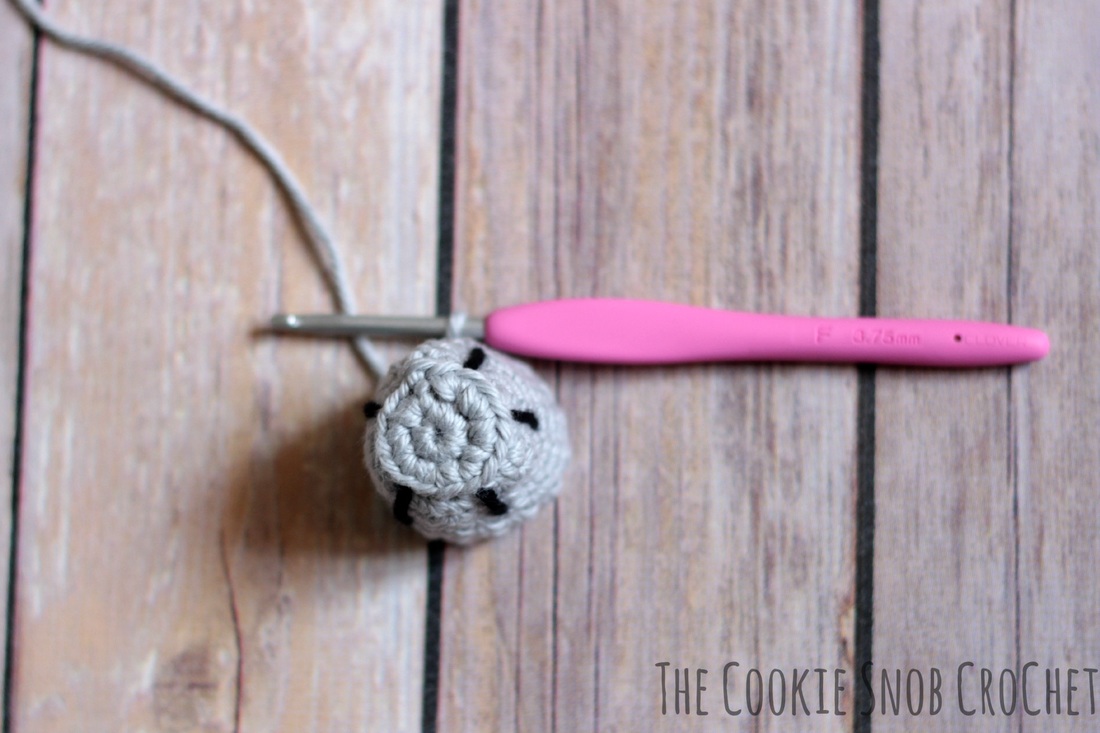 Change to black yarn. Round 10: Ch 1, sc in the same st and in each st around. Join with a ss to the first sc. (16) 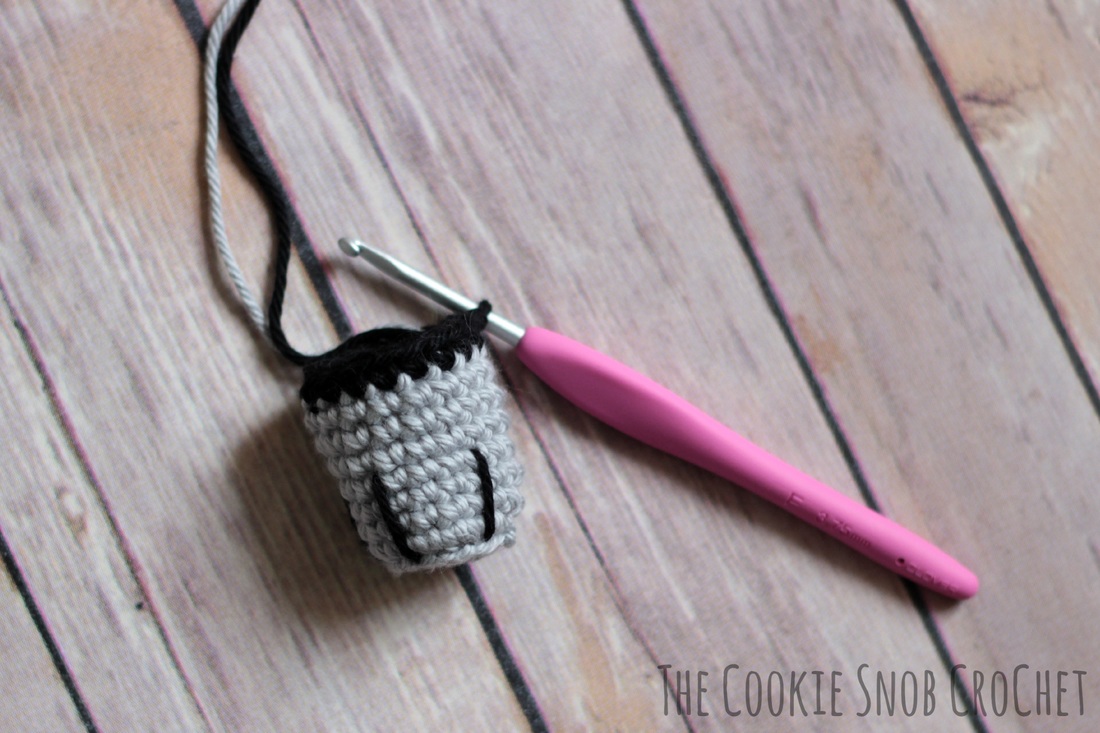 Change back to gray yarn. Round 11-14: Ch 1, sc in the same st and in each st around. Join with a ss to the first sc. (16) Change back to black yarn. Round 15-16: Ch 1, sc in the same st and in each st around. Join with a ss to the first sc. (16) Fasten off and weave in ends. 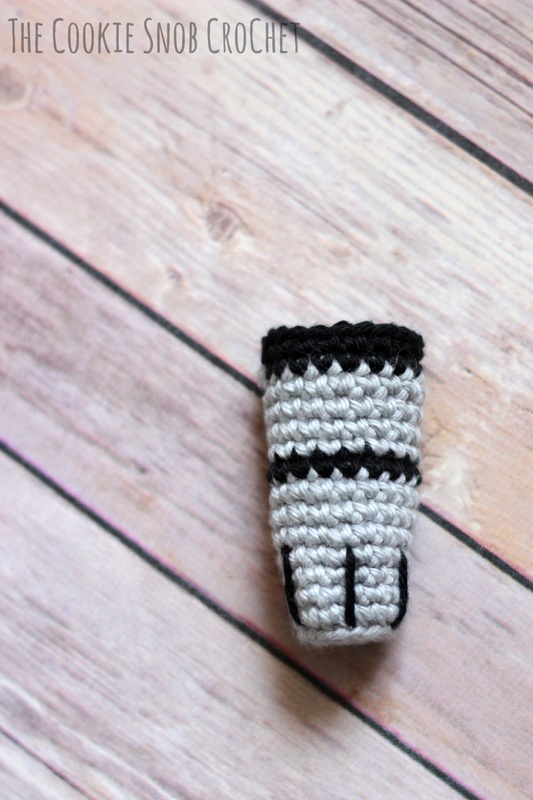 Button: Round 1: Make a magic circle and work 4 sc in the magic circle. Join with a ss to the first sc. (4) 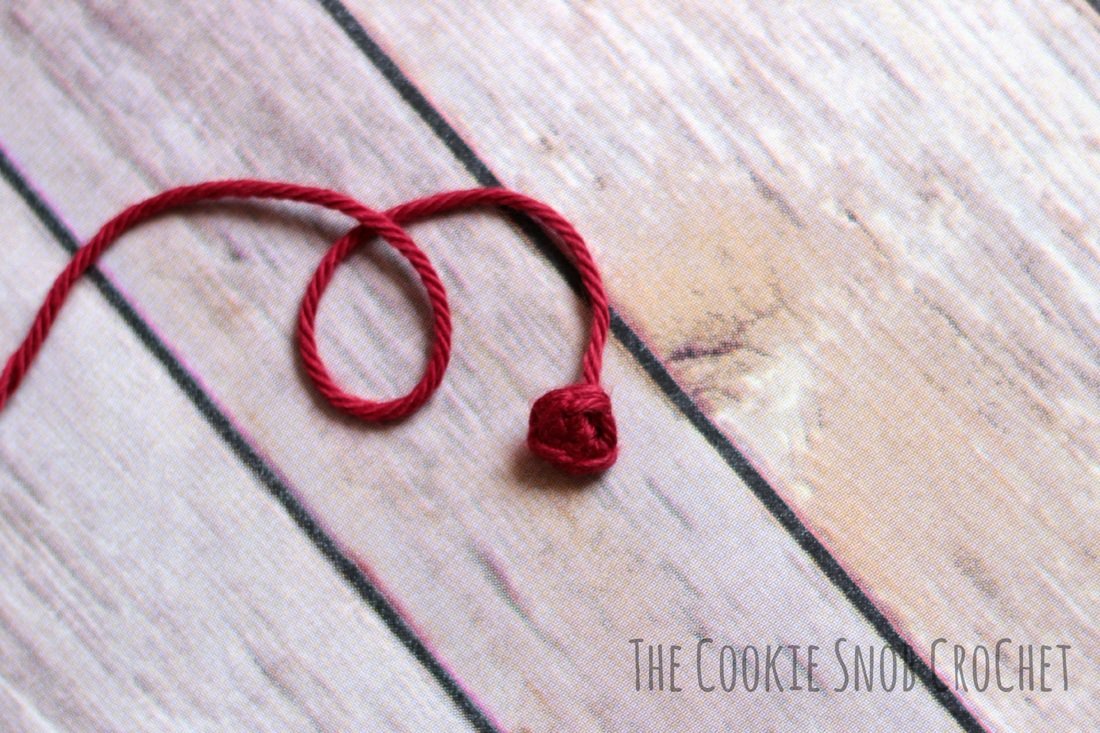 Fasten off, leaving a long tail for sewing. Attach the button in the middle of the top gray section of the base. You have now finished your very own lightsaber ice pop cozy! 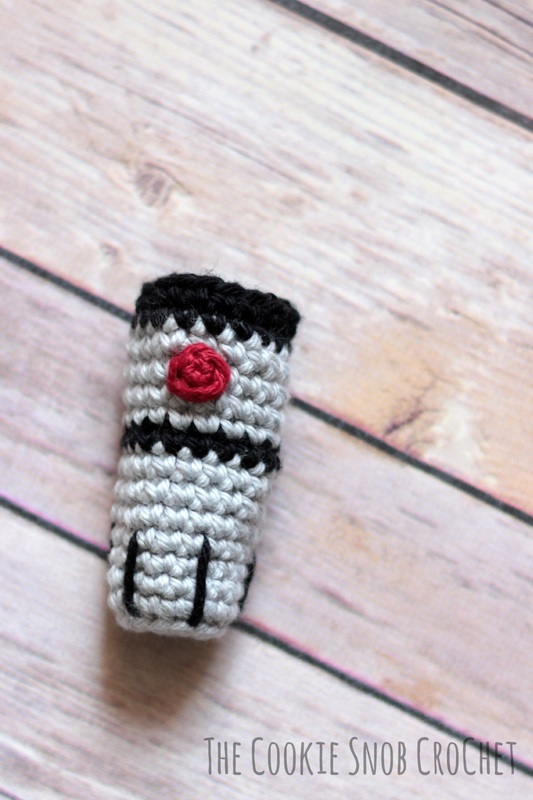 Toddler size Base: Begin with gray yarn. Round 1: Make a magic circle and work 8 sc into the magic circle. Join with a ss to the first sc. (8) Round 2: Ch 1, inc in the same st and in each st around. Join with a ss to the first sc. (16) Round 3: Ch 1, working in the back loops only, sc in the same st and in each st around. Join with a ss to the first sc. (16) Round 4-8: Ch 1, sc in the same st and in each st around. Join with a ss to the first sc. (16) Using black yarn and a tapestry needle, stitch the stripes along the base of the lightsaber. I chose to add 5 stripes, 3-4 sts apart (trying to space them evenly). Each stripe begins at the base of the lightsaber and extends up across 4 rounds. Feel free to add more stripes or fewer stripes in order to get the exact look you want. Change to black yarn. Round 9: Ch 1, sc in the same st and in each st around. Join with a ss to the first sc. (16) Change back to gray yarn. Round 10-12: Ch 1, sc in the same st and in each st around. Join with a ss to the first sc. (16) Change back to black yarn. Round 13-14: Ch 1, sc in the same st and in each st around. Join with a ss to the first sc. (16) Fasten off and weave in ends. Button: Round 1: Make a magic circle and work 4 sc in the magic circle. Join with a ss to the first sc. (4) Fasten off, leaving a long tail for sewing. Attach the button in the middle of the top gray section of the base. Child Size Base: Begin with gray yarn. Round 1: Make a magic circle and work 8 sc into the magic circle. Join with a ss to the first sc. (8) Round 2: Ch 1, inc in the same st and in each st around. Join with a ss to the first sc. (16) Round 3: Ch 1, working in the back loops only, sc in the same st and in each st around. Join with a ss to the first sc. (16) Round 4-9: Ch 1, sc in the same st and in each st around. Join with a ss to the first sc. (16) Using black yarn and a tapestry needle, stitch the stripes along the base of the lightsaber. I chose to add 5 stripes, 3-4 sts apart (trying to space them evenly). Each stripe begins at the base of the lightsaber and extends up across 4 rounds. Feel free to add more stripes or fewer stripes in order to get the exact look you want. Change to black yarn. Round 10: Ch 1, sc in the same st and in each st around. Join with a ss to the first sc. (16) Change back to gray yarn. Round 11-14: Ch 1, sc in the same st and in each st around. Join with a ss to the first sc. (16) Change back to black yarn. Round 15-16: Ch 1, sc in the same st and in each st around. Join with a ss to the first sc. (16) Fasten off and weave in ends. Button: Round 1: Make a magic circle and work 4 sc in the magic circle. Join with a ss to the first sc. (4) Fasten off, leaving a long tail for sewing. Attach the button in the middle of the top gray section of the base. Adult Size Base: Begin with gray yarn. Round 1: Make a magic circle and work 8 sc into the magic circle. Join with a ss to the first sc. (8) Round 2: Ch 1, inc in the same st and in each st around. Join with a ss to the first sc. (16) Round 3: Ch 1, working in the back loops only, sc in the same st and in each st around. Join with a ss to the first sc. (16) Round 4-11: Ch 1, sc in the same st and in each st around. Join with a ss to the first sc. (16) Using black yarn and a tapestry needle, stitch the stripes along the base of the lightsaber. I chose to add 5 stripes, 3-4 sts apart (trying to space them evenly). Each stripe begins at the base of the lightsaber and extends up across 6 rounds. Feel free to add more stripes or fewer stripes in order to get the exact look you want. Change to black yarn. Round 12: Ch 1, sc in the same st and in each st around. Join with a ss to the first sc. (16) Change back to gray yarn. Round 13-17: Ch 1, sc in the same st and in each st around. Join with a ss to the first sc. (16) Change back to black yarn. Round 18-19: Ch 1, sc in the same st and in each st around. Join with a ss to the first sc. (16) Fasten off and weave in ends. Button: Round 1: Make a magic circle and work 4 sc in the magic circle. Join with a ss to the first sc. (4) Fasten off, leaving a long tail for sewing. Attach the button in the middle of the top gray section of the base. 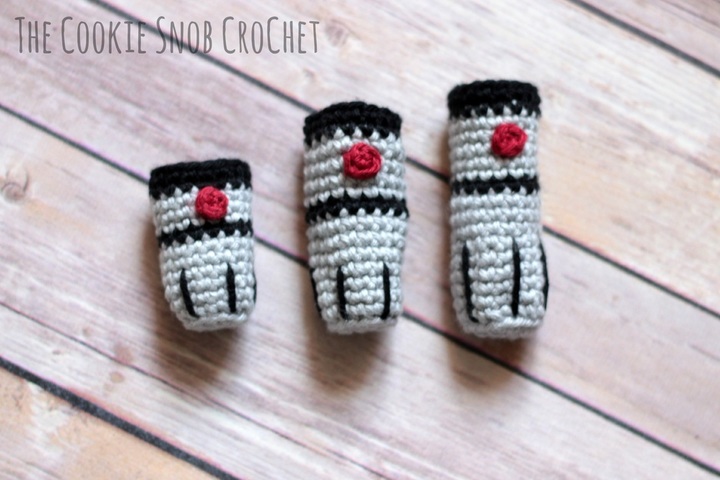  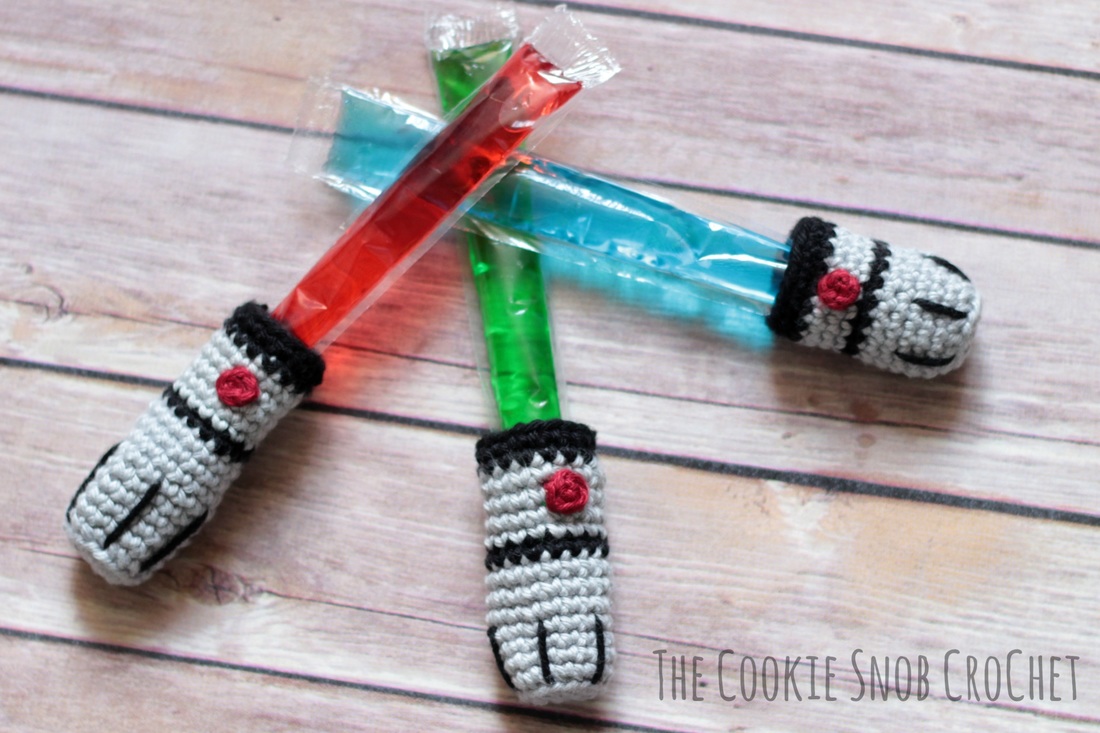 I hope that you enjoy your new ice pop cozy! If you end up making one, I'd love to see how it turns out. You can find me on Twitter, Facebook, Ravelry, or by email. Or, if you'd like to purchase a pre-made ice pop cozy, take a look at my Etsy shop.
***You're welcome to do whatever you'd like to with finished products made from this pattern but if you do sell them, I ask that you link back to my page. You may not copy this pattern, repost it anywhere (either altered or in its original form), or claim it as your own. You may not use any photos on this site for your own use. ***
6 Comments
Sally
6/15/2015 03:40:11 pm
You are a freaking GODDESS! I will make a couple of these for myself because I don't think my nephews will be old enough to understand this...maybe my brother in law and sister will. ;D Rock on, wait, no...may the force be with you!
Erin
6/15/2015 04:02:30 pm
Thanks! Let me know how they turn out. I'd love to see a picture of your finished lightsabers :)
Sally
6/16/2015 05:16:49 pm
Sure! But it'll be on Ravelry, I don't have a website of my own. :)
brooklyn
5/15/2023 04:15:24 pm
and may the force be with you young padawan
Bernadette
1/7/2018 02:22:42 pm
I love these so much! Our office is decorated in Star Wars theme. :) What skill level is this and how long does it take to make?
Erin
1/7/2018 07:28:08 pm
How fun! These are pretty simple to put together, so they're fairly beginner friendly; if the magic ring gives you trouble, you can easily chain 3-4 sts and slip stitch to form a ring instead. It's worked in the round, so I might not suggest it for someone's very first crochet project, but I think it should be doable for a beginner. These are small, so I'd estimate less than an hour to make one. Leave a Reply. |
Welcome!Thank you for stopping by to visit my own personal corner of the web! Feel free to take a look around and check out what I've been crafting, crocheting, or baking. Hopefully you'll find something to inspire your own creativity!   
Archives
March 2024
|
 RSS Feed