|
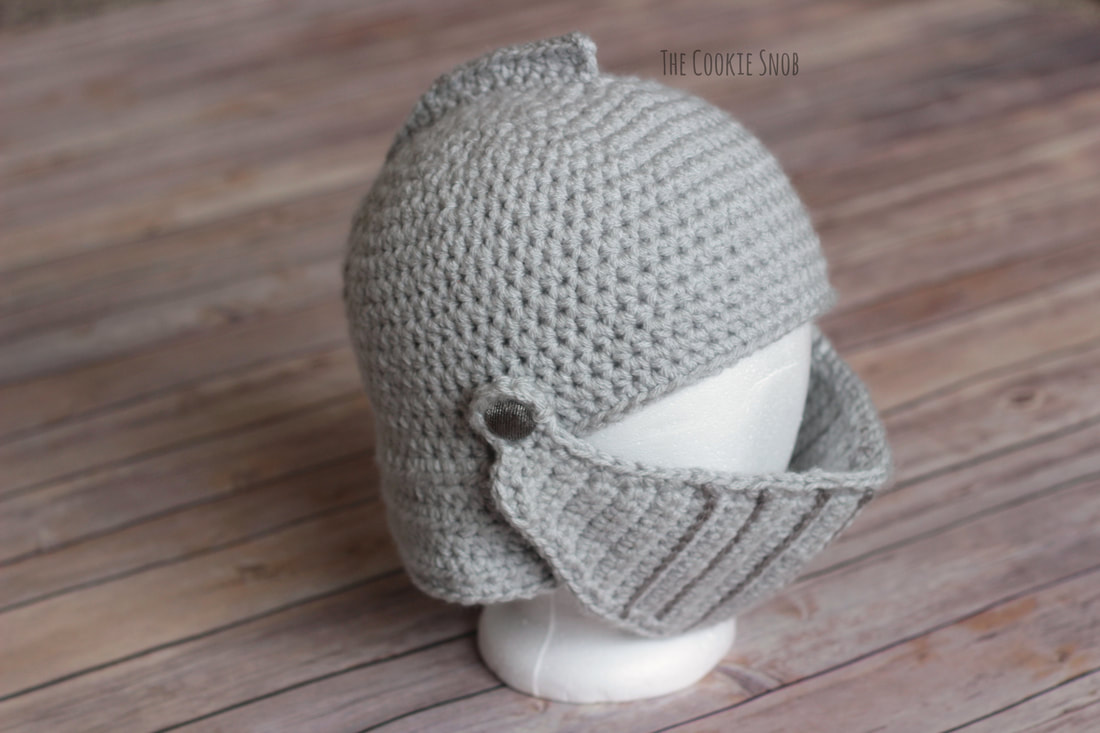
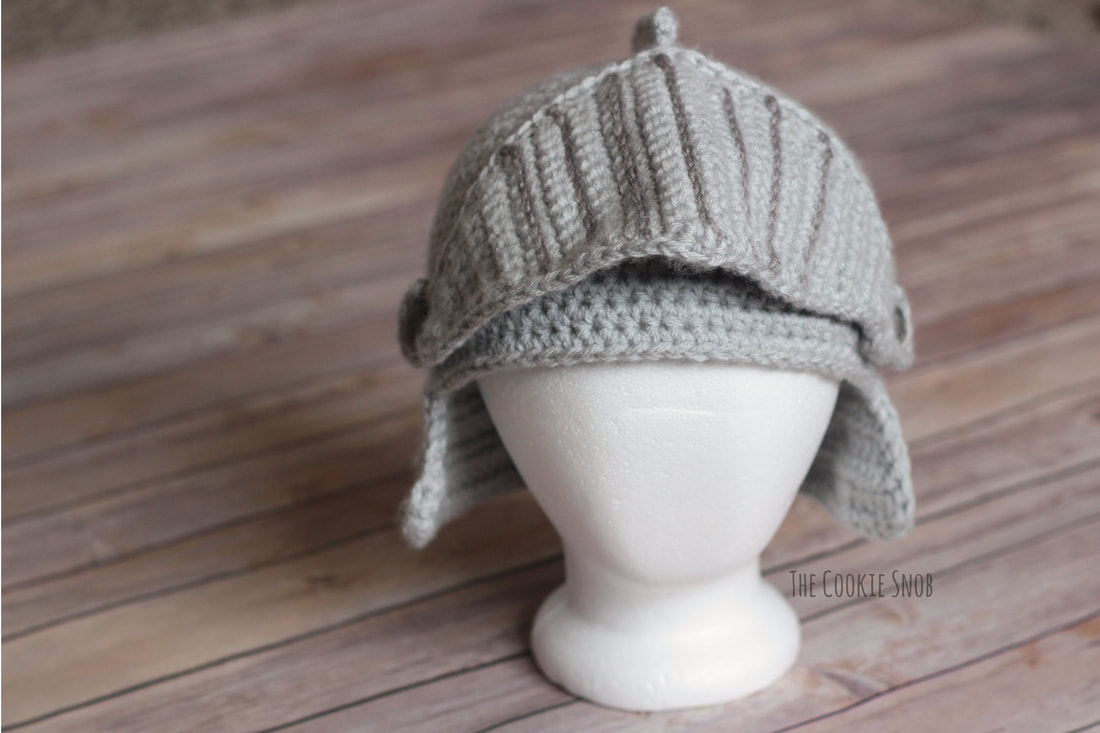
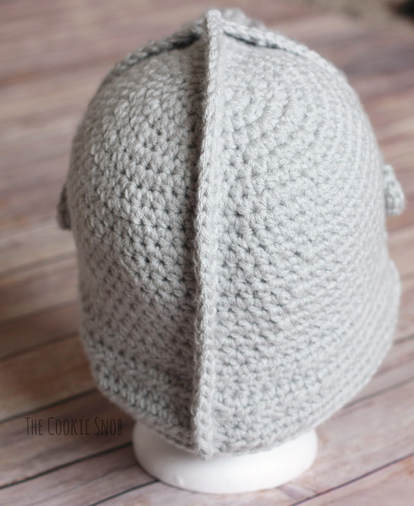
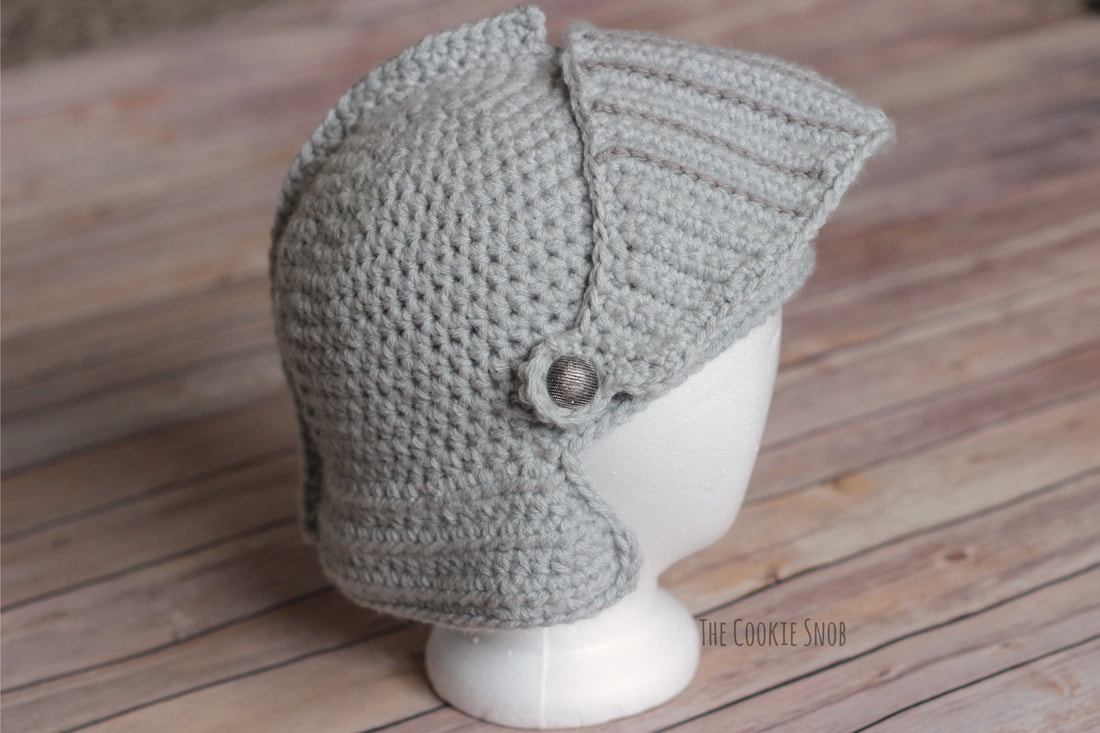
For Halloween this year, I needed a knight helmet for my husband. I suppose I could have bought one somewhere, but you know how I am. If I can crochet something, the odds are good that I will. I came across this sweet Knight's Helmet pattern by BrieCrochet Designs, who's generous enough to offer the pattern for free! My favorite part is the visor that flips up and down. I had to make some changes to her pattern to make it work for me, but I absolutely love the concept. There isn't any gauge for this project and since I know I crochet tighter than average and a lot of the Ravelry comments mentioned the pattern being on the small side, I opted to size up to a J (6.0mm) hook. Per the pattern, I used worsted weight yarn held double, so it's extra thick, which helps it hold its shape well and makes for a sturdy (and warm) construction. I used I Love This Yarn! in Gray Mist for mine. For buttons, I used some that were slightly smaller than the recommended 1" size, but they had an awesome chainmail-esque look to them (plus they were on clearance...score!). They still worked great, so I would say that smaller buttons should be fine, as long as they're not tiny. I made a several significant pattern alterations to get the look I needed. The biggest change I made was to completely alter the beanie base. Obviously, the pattern must have worked for the original designer, since her pictures look great, but there was no way I was going to be able to make it into a wearable hat. It was super wonky shaped, probably because it didn't follow the crocheted circle formula. So I made up my own quick beanie base instead that would end up with the same number of stitches. Here's what I did to make the Adult Large size: Round 1: Make a magic circle and work 8 hdc into the circle, ss to join (8) Round 2: ch 1, hdc inc around, ss to join (16) Round 3: ch 1, [hdc inc, hdc in the next st] around, ss to join (24) Round 4: ch 1, [hdc, hdc inc, hdc] around, ss to join (32) Round 5: ch 1, [hdc inc, hdc in the next 3 sts] around, ss to join (40) Round 6: ch 1, [hdc in the next 2 sts, hdc inc, hdc in the next 2 sts] around, ss to join (48) Round 7: ch 1 [hdc inc, hdc in the next 5 sts] around, ss to join (56) Round 8: ch 1, [hdc inc, hdc in the next 13 sts] around, ss to join (60) Round 9: ch 1, [hdc inc, hdc in the next 8 sts] 6 times, hdc inc, hdc in the next 5 sts, ss to join (67) Rounds 10-18: ch 1, hdc around, ss to join (67) Then I continued with the ear/neck part as written. If I were to remake it, I would probably add a couple of extra rows to extend the length of the neck part, but it works as written. For the visor, I wasn't quite happy with the look of option A in the pattern and I didn't want to bother with the fuss of option B, so I invented my own option C. Basically, I followed the base of option B and then used a darker gray yarn to surface crochet the accent lines. I think it gives a neater look without having to deal with the hassle of sewing on individual pieces. I also added an extra row on each end of the visor to make it a little bit longer. Since I'm a lazy crocheter, I also made a couple of small modifications so that I wouldn't have to fasten off and weave in ends as often. Instead of fastening off at the end of Row 37, I skipped the second button hole and went straight on to the outlining round. Then when I got to the opposite end where the button hole should go, I crocheted the button hole following the instructions from Row 37 and then immediately outlined it following the outlining round instructions, then just kept on going all the way around. That way it was one continuous piece. Then, for the fin, I took the lazy route once again. (Have you figured out by now that I don't like sewing on pieces?) Instead of making a separate fin, having to guess the correct length to chain, and then having to sew it in place without making it crooked, I just decided to surface crochet a line where I wanted the fin (following the placement instructions in the pattern). Then I just pretended that was my starting chain and worked Rows 1 and 2 for the fin directly onto the surface crochet. Thanks to BrieCrochet Designs for sharing your work! Again, if you're looking for the pattern you can find it here. This hat is a super cool concept and I'm excited to see it in action! With how cold it can get in the winter time, I think this hat will definitely be put to good use after Halloween's over. And hopefully these notes are helpful to anyone else making this pattern who wants to adapt it a bit. Happy hooking!
1 Comment
Una
12/20/2020 02:09:55 am
Hi, I started making the beanie base from 'Brie crochet', and it got super wonky, I'm gonna unravel the whole thing and use your pattern instead. However, I have thicker yarn than worsted, but 67sts is not enough for my hubby's head. Do you think I could make 76 sts instead (Round 9 and Round 10 increased by 8)?
Reply
Leave a Reply. |
Welcome!Thank you for stopping by to visit my own personal corner of the web! Feel free to take a look around and check out what I've been crafting, crocheting, or baking. Hopefully you'll find something to inspire your own creativity! Archives
March 2024
|


 RSS Feed