|
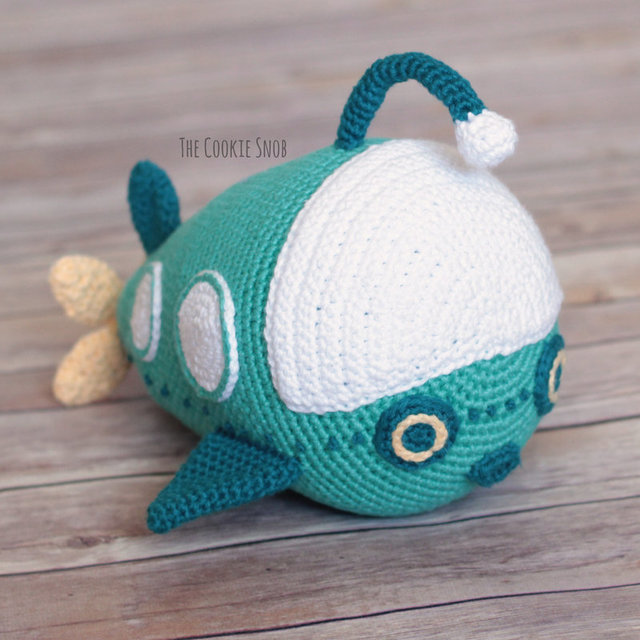
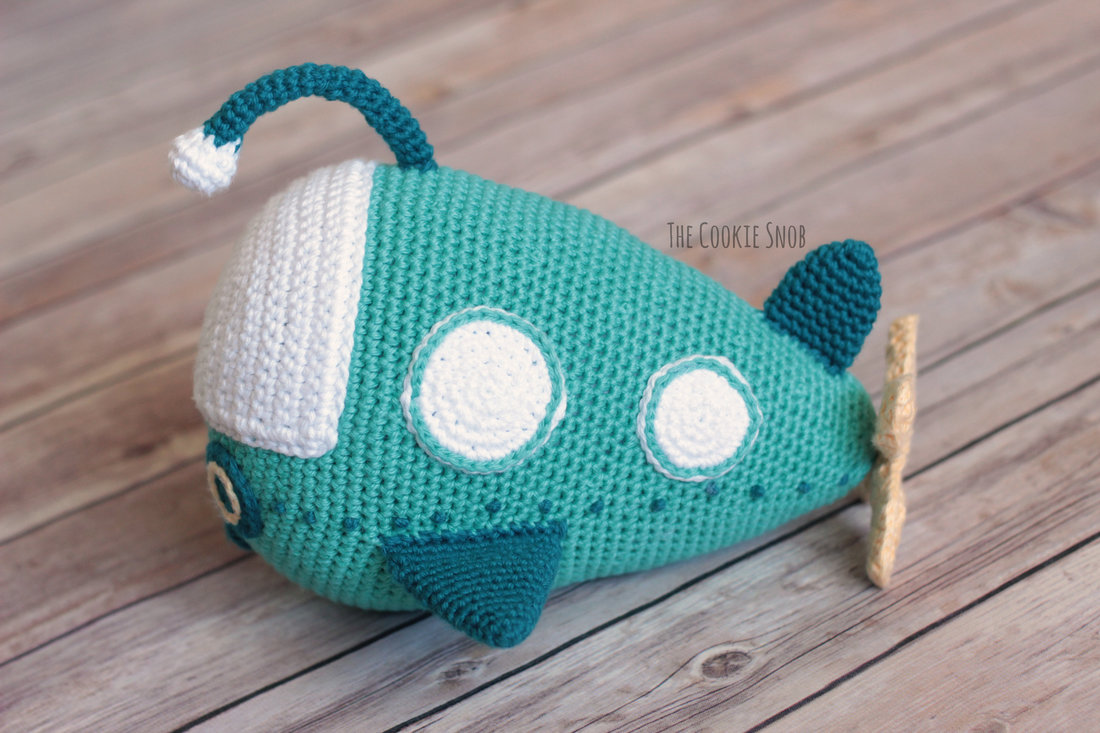
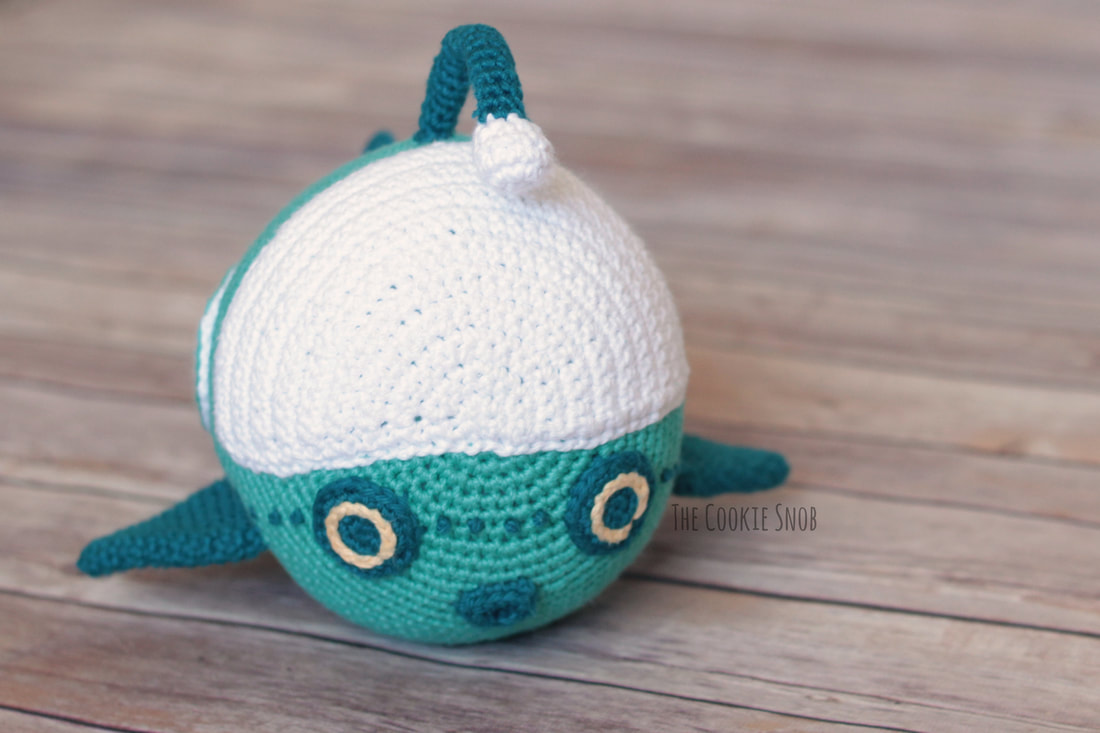
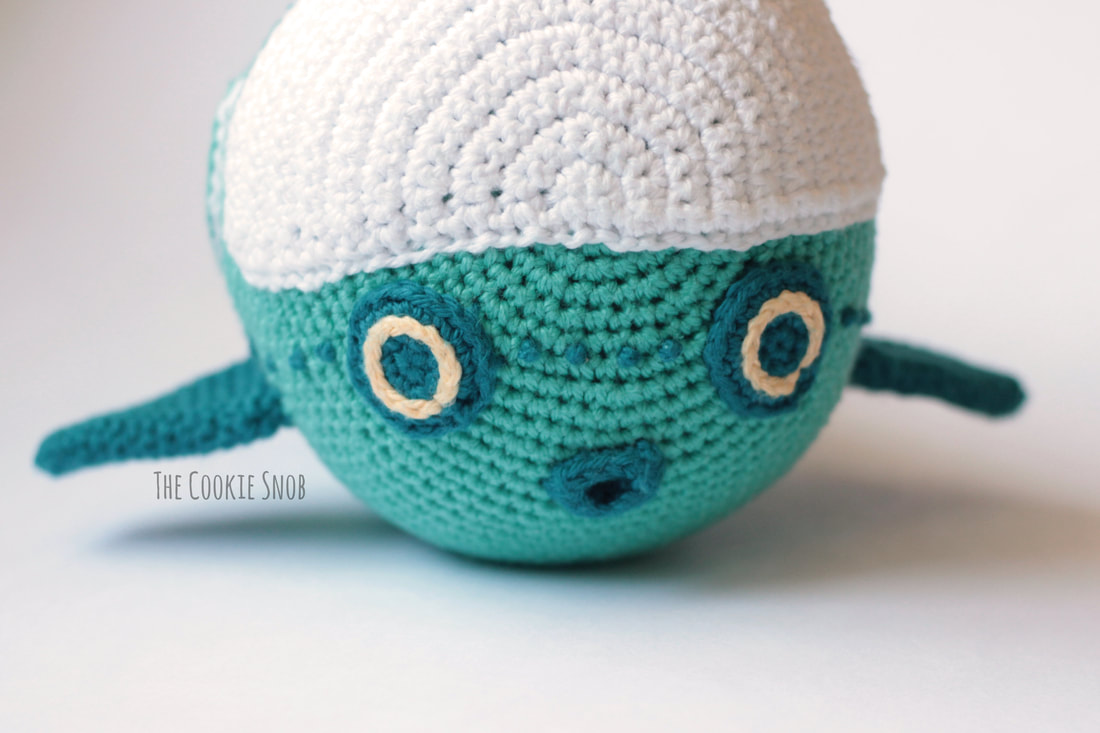
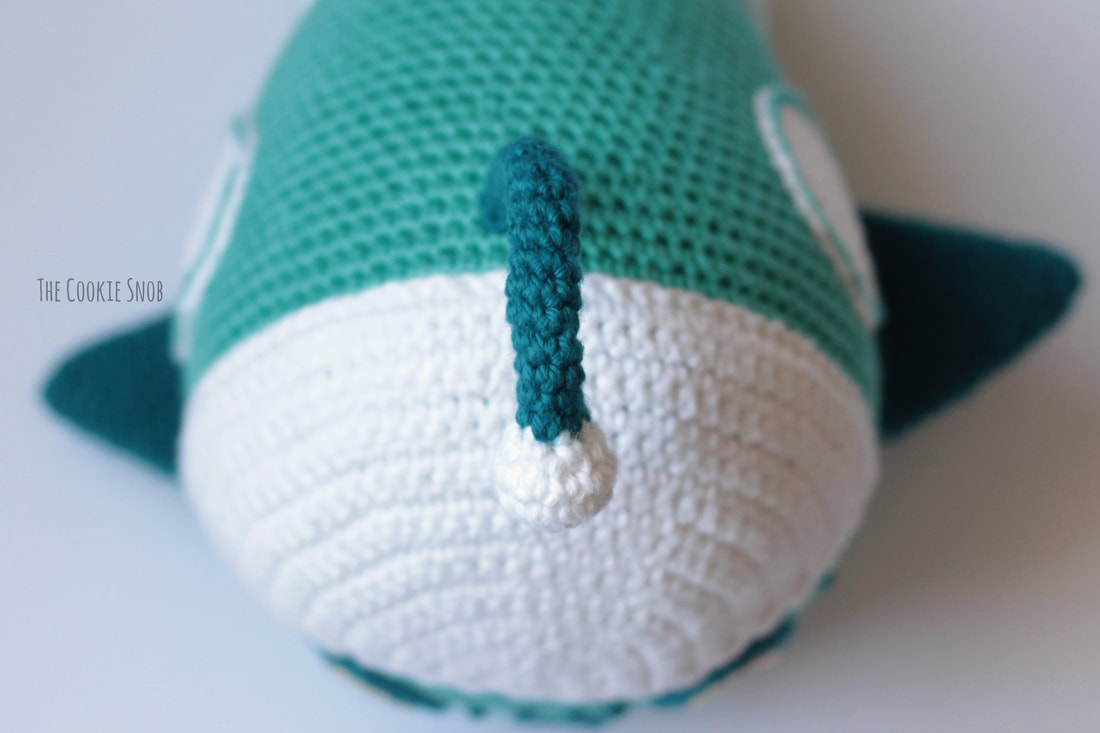
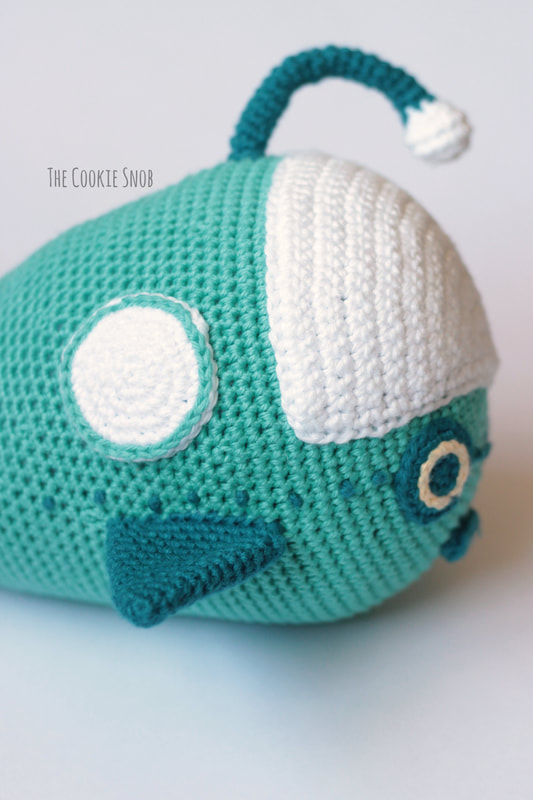
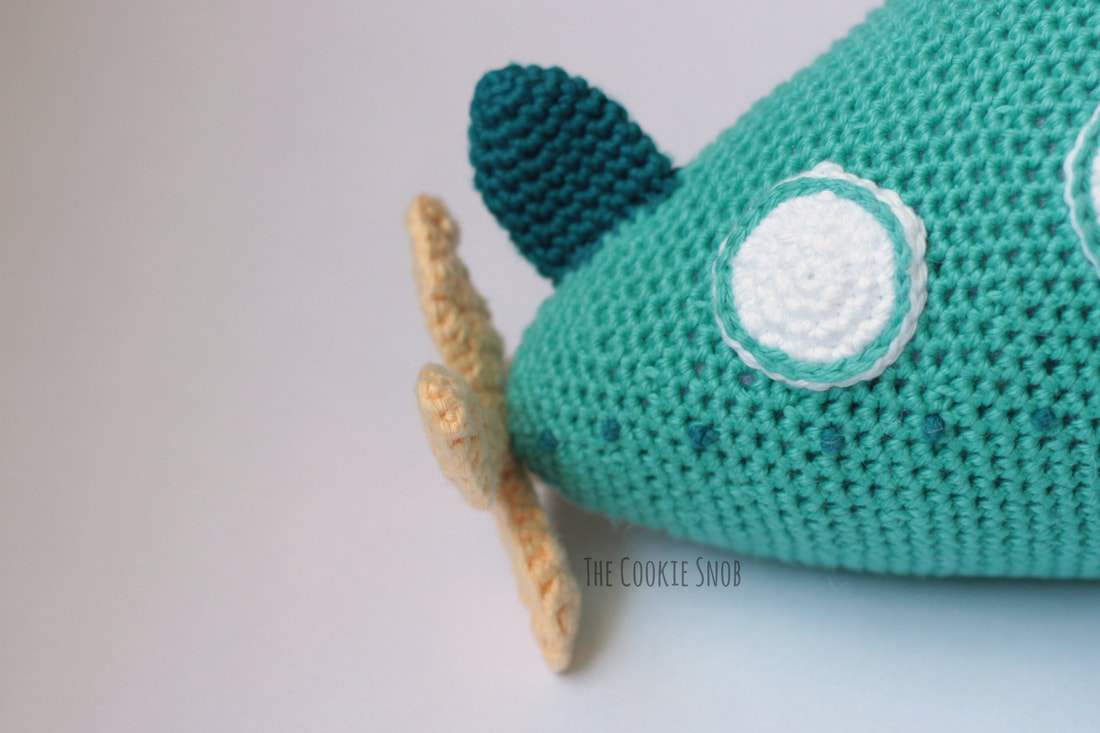
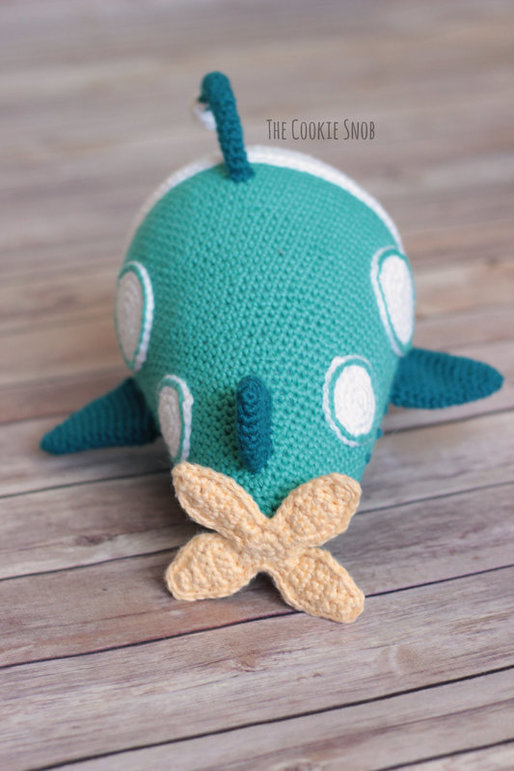
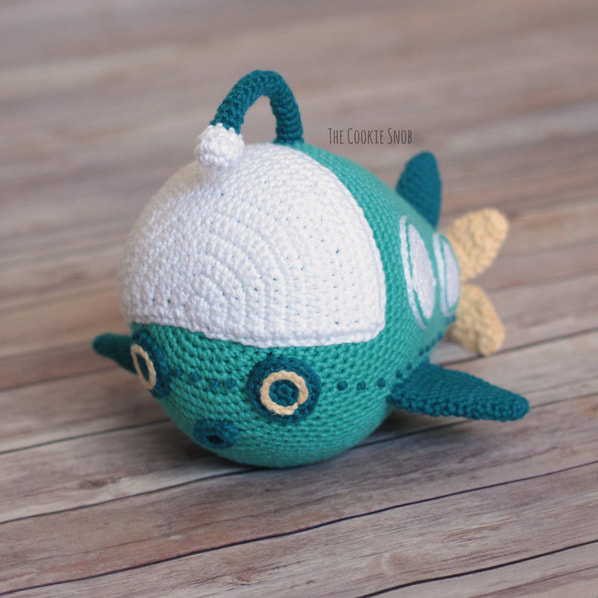
My 3 year old is obsessed with Octonauts right now. He spends all day, every day "sounding the octo-alert" and looking for his mission. Almost all of his imaginary games involve at least one character from the show and he loves to tell me about all of his favorite sea creatures from the "Creature Report." Lately, he's been asking me to make him a GUP (one of the submarines the characters use). A more normal response probably would have been to buy a plastic toy, but I couldn't resist the crocheting challenge. And thus was born the GUP-A Plushy! I have to warn you: this pattern is not for the faint of heart. It's pretty large (The body of mine is about 18" in circumference at the widest point and about 10" long), and it has a LOT of pieces. It also requires some trickier decoration techniques like surface crochet and French knots. So this definitely isn't a quick one hour project for a beginner. But, on the plus side, it's pretty adorable and it's certainly an accomplishment. If you're planning to make one, you may want to consider going down a hook size; I tend to crochet tightly, so if you're a loose crocheter, yours will end up a lot bigger. Which isn't necessarily a problem, but you might need more yarn. Now, obviously, I don't have the rights to the Octonauts characters/designs. After digging through the swamp of confusing copyright laws, I'm pretty sure that it's fine to make a GUP for personal use, but it's not cool to sell one. So I'm offering this pattern for free to you all (and won't be selling a PDF for it). While I'm normally fine with you selling things made from my patterns, please remember that this pattern is intended for personal use only. Alright, now that we're done with formalities, let's get to the pattern! Materials:
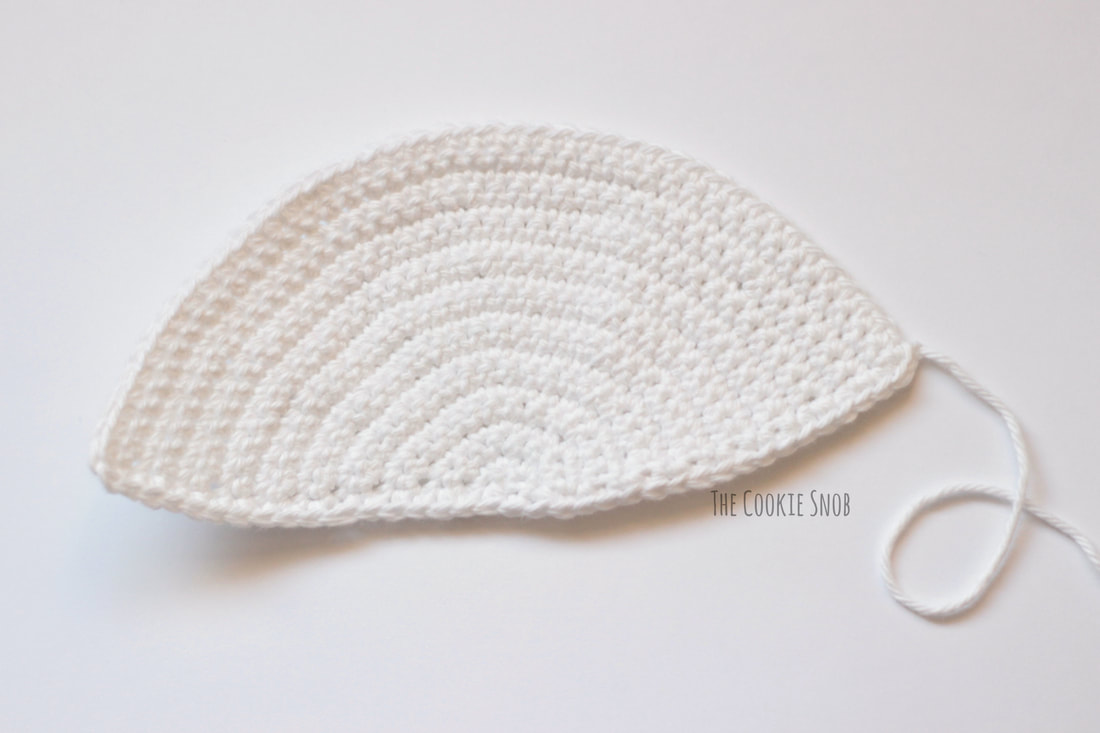
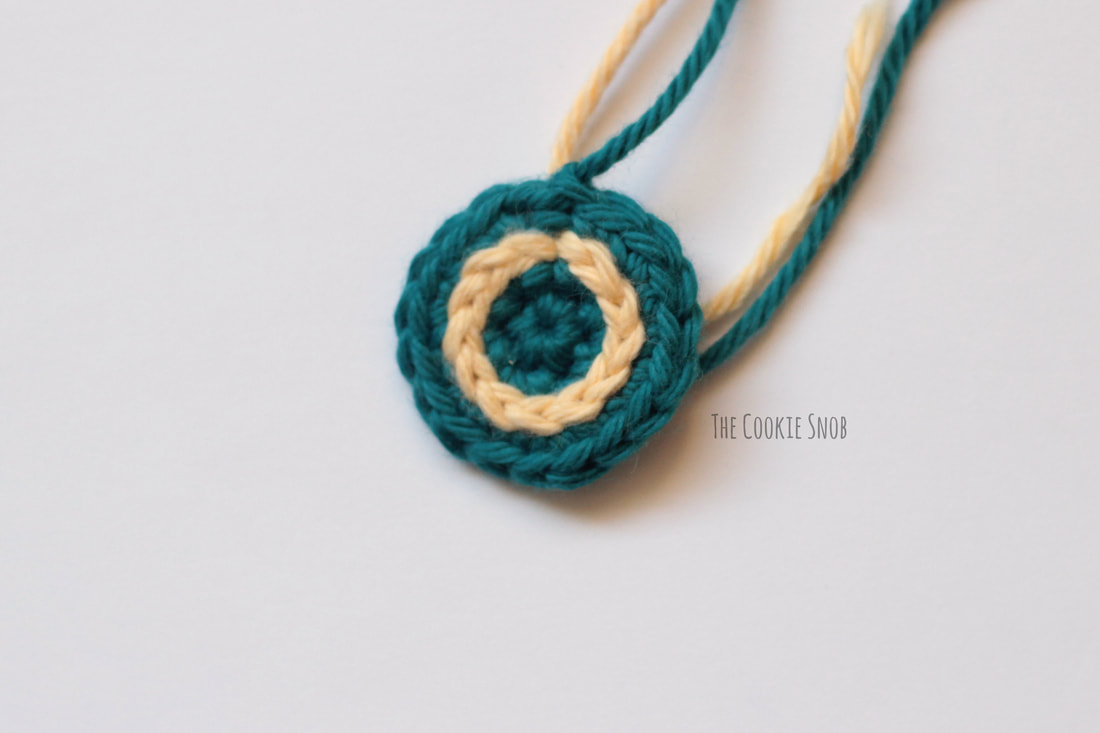
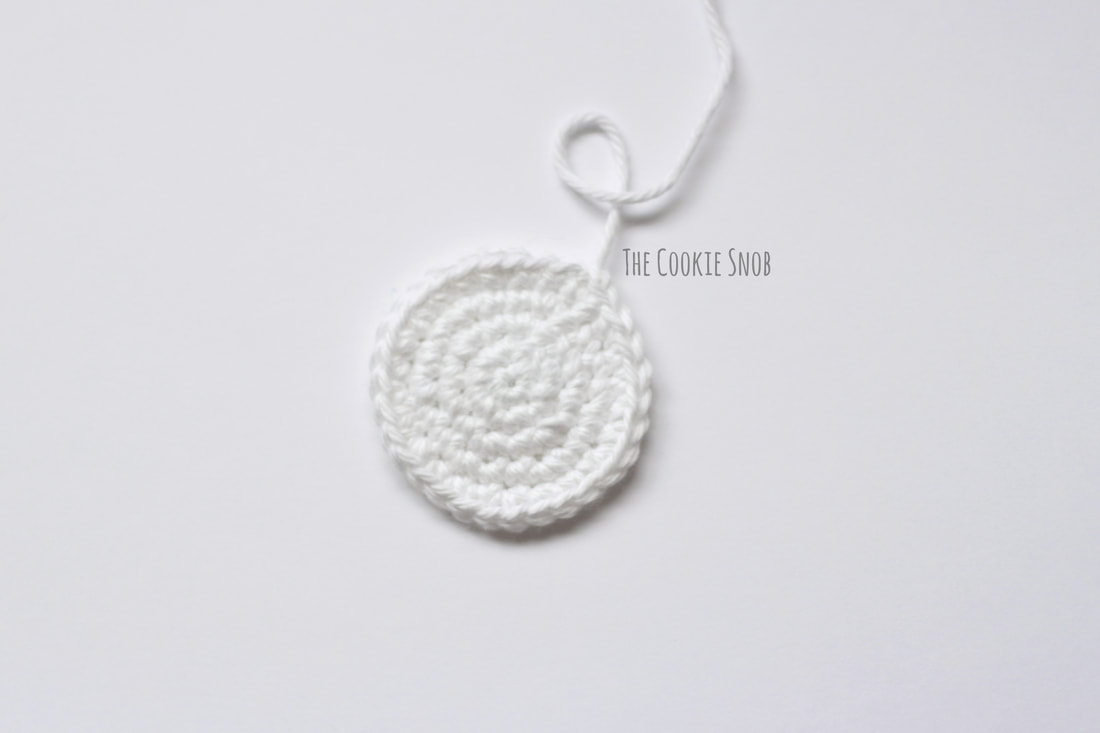
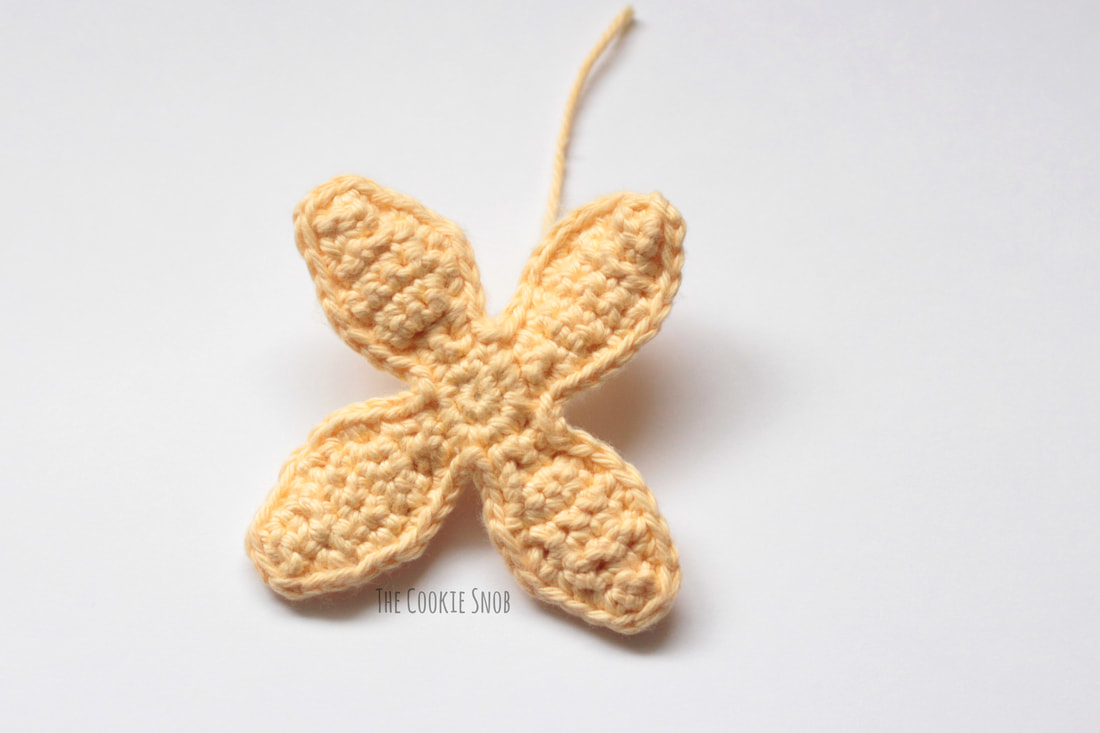
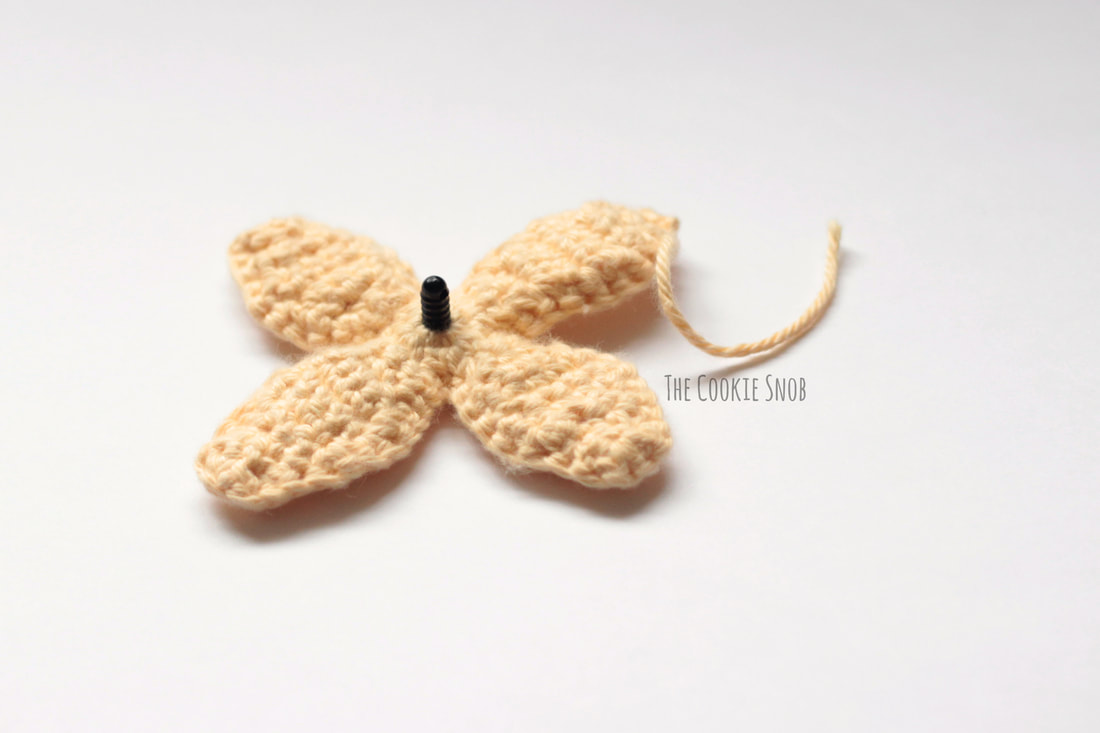
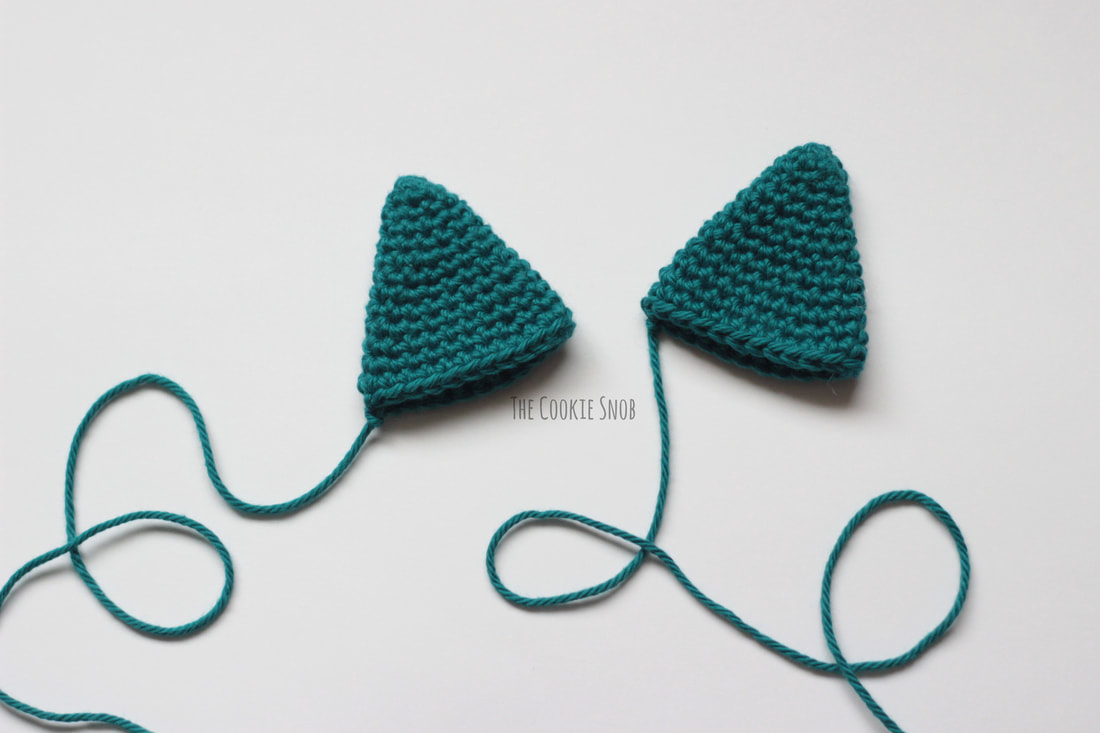
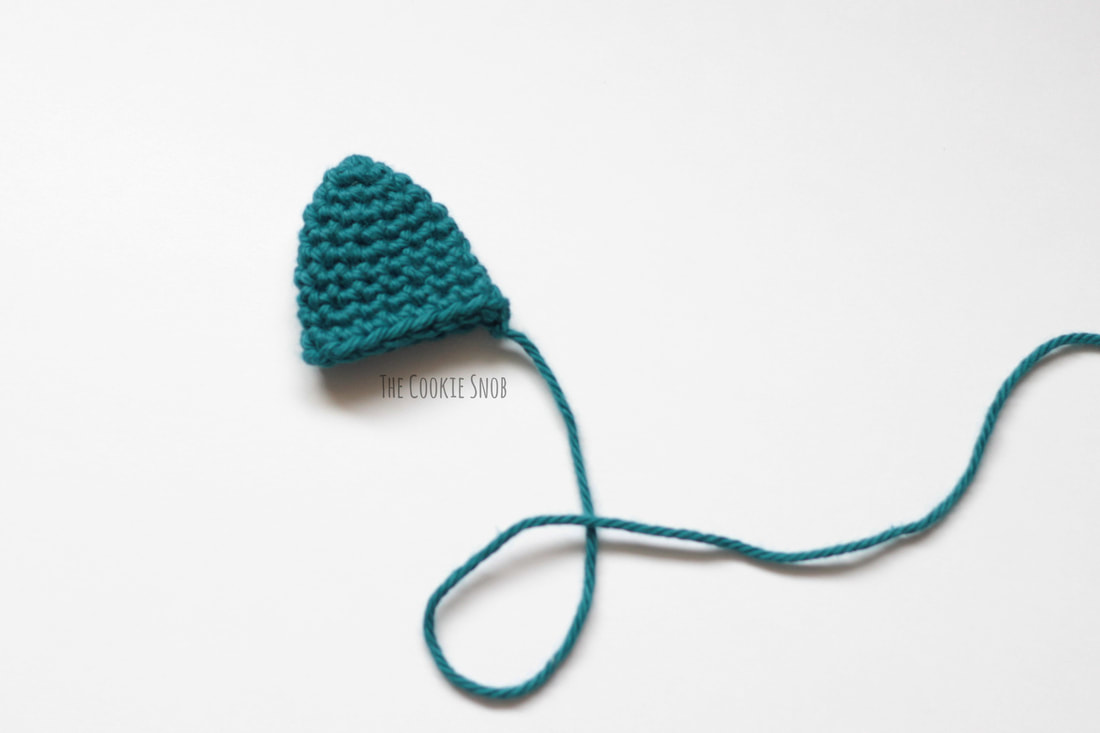
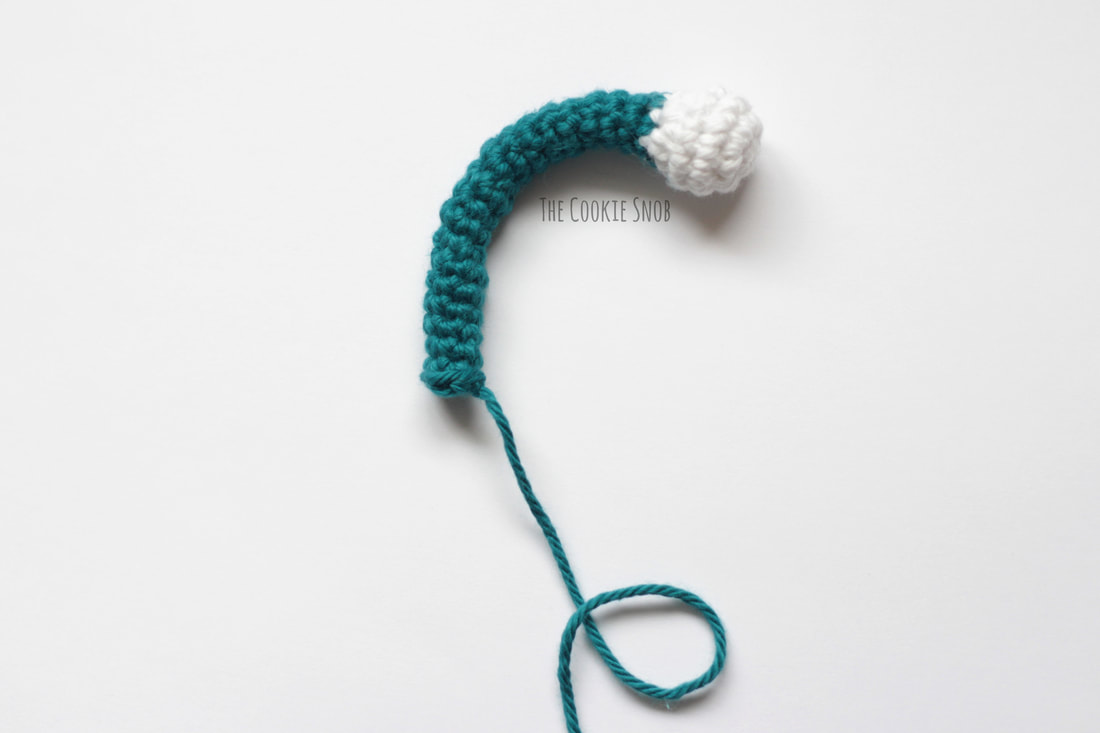
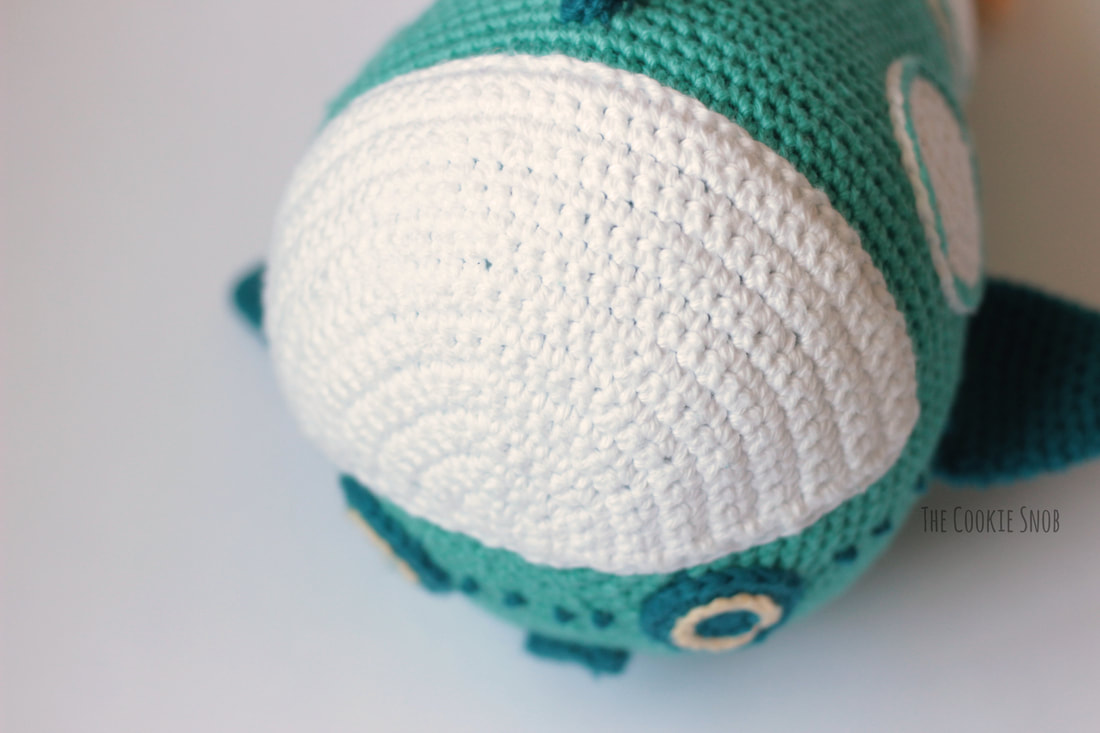
Stitch Glossary: st(s) = stitch(es) ch = chain ss = slip stitch sc = single crochet inc = sc increase (work 2 sc in the same st) dec = sc decrease (I prefer to use the invisible decrease stitch for most sections of the pattern) Windshield: Using the White yarn and the E hook: Row 1: Make a magic circle and work 3 sc into the circle, pull taut to close and turn (3) Row 2: ch 1, inc 3 times, turn (6) Row 3: ch 1, [inc, sc] 3 times, turn (9) Row 4: ch 1, [sc, inc, sc] 3 times, turn (12) Row 5: ch 1, [inc, sc in the next 3 sts] 3 times, turn (15) Row 6: ch 1, [sc in the next 2 sts, inc, sc in the next 2 sts] 3 times, turn (18) Row 7: ch 1, [inc, sc in the next 5 sts] 3 times, turn (21) Row 8: ch 1, [sc in the next 3 sts, inc, sc in the next 3 sts] 3 times, turn (24) Row 9: ch 1, [inc, sc in the next 7 sts] 3 times, turn (27) Row 10: ch 1, [sc in the next 4 sts, inc, sc in the next 4 sts] 3 times, turn (30) Row 11: ch 1, [inc, sc in the next 9 sts] 3 times, turn (33) Row 12: ch 1, sc around, turn (33) Row 13: ch 1, [sc in the next 5 sts, inc, sc in the next 5 sts] 3 times, turn (36) Row 14: ch 1, sc around, turn (36) Row 15: ch 1, [inc, sc in the next 11 sts] 3 times, turn (39) Row 16: ch 1, sc around, turn (39) Row 17: ch 1, [sc in the next 6 sts, inc, sc in the next 6 sts] 3 times, turn (42) Row 18: ch 1, sc around, turn (42) Row 19: ch 1, [inc, sc in the next 13 sts] 3 times, turn (45) Row 20: ch 1, sc around (45) Fasten off, leaving an extra long yarn tail for sewing Headlight (make 2): Starting with the Deep Teal yarn and the E hook: Round 1: Make a magic circle and work 6 sc into the circle, ss to the first sc to join (6) Round 2: ch 1, inc around, ss to join (12) Round 3: ch 1, [inc, sc] 6 times, ss to join (18) Fasten off, leaving a long yarn tail for sewing Using the Banana yarn, surface crochet a circle in the space between rounds 2 and 3. Front Porthole (make 2): Using the White yarn and the E hook: Round 1: Make a magic circle and work 6 sc into the circle, ss to the first sc to join (6) Round 2: ch 1, inc around, ss to join (12) Round 3: ch 1, [inc, sc] 6 times, ss to join (18) Round 4: ch 1, [sc, inc, sc] 6 times, ss to join (24) Round 5: ch 1, [inc, sc in the next 3 sts] 6 times, ss to join (30) Fasten off. Back Porthole (make 2): Using the White yarn and the E hook: Round 1: Make a magic circle and work 6 sc into the circle, ss to the first sc to join (6) Round 2: ch 1, inc around, ss to join (12) Round 3: ch 1, [inc, sc] 6 times, ss to join (18) Round 4: ch 1, [sc, inc, sc] 6 times, ss to join (24) Fasten off. Propellor (make 2): Using the Banana yarn and the E hook: Row 1: Make a magic circle and work 8 sc into the circle, ss to the first sc to join (8) Rows 2-4: ch 1, sc in the next 2 sts, turn (2) Row 5: ch 1, inc twice, turn (4) Rows 6-8: ch 1, sc in the next 4 sts, turn (4) Row 9: ch 1, dec twice, turn (2) Row 10: ch 1, sc in the next 2 sts, turn (2) Row 11: ch 1, dec (1) Fasten off. [Rejoin the yarn in the next sc from Row 1 and repeat Rows 2-11] 3 times. After making the second propellor, hold the two propellor pieces together and sc through both pieces to create a clean edge while also attaching the pieces together. See below for an optional step in the joining process to allow the propellor to spin, or just skip the step with the safety eye for a fixed propellor. Optional: If you're planning to make a spinning propellor, be sure to insert the front piece of the safety eye into the center of one side before completely attaching the two pieces; the "eye" should be sandwiched between the two sides with the post sticking out of the back. Note: The rest of the pattern is worked in a continuous round, (meaning the stitches are worked in a continuous spiral without turning or joining). I recommend using a stitch marker and moving it after every round to help you keep track of which round you're working on. Side Fin (make 2): Using the Deep Teal yarn and the E hook: Round 1: Make a magic circle and work 6 sc into the circle (6) Round 2: sc around (6) Round 3: [inc, sc] 3 times (9) Round 4: sc around (9) Round 5: [inc, sc in the next 2 sts] 3 times (12) Round 6: sc around (12) Round 7: [inc, sc in the next 3 sts] 3 times (15) Round 8: sc around (15) Round 9: [inc, sc in the next 4 sts] 3 times (18) Round 10: sc around (18) Round 11: [inc, sc in the next 5 sts] 3 times (21) Round 12: sc around (21) Round 13: [inc, sc in the next 6 sts] 3 times (24) Round 14: sc around (24) Ss to the next st to even off the round and fasten off, leaving a long yarn tail for sewing Top Fin: Using the Deep Teal yarn and the E hook: Round 1: Make a magic circle and work 6 sc into the circle (6) Round 2: sc around (6) Round 3: inc around (12) Rounds 4-5: sc around (12) Round 6: [inc, sc in the next 5 sts] twice (14) Rounds 7-8: sc around (14) Round 9: [inc, sc in the next 6 sts] twice (16) Round 10: sc around (16) Ss to the next st to even off the round and fasten off, leaving a long yarn tail for sewing Antenna: Starting with the White yarn and the E hook: Round 1: Make a magic circle and work 6 sc into the circle (6) Round 2: inc around (12) Rounds 3-4: sc around (12) Lightly stuff with fiberfill Round 5: dec around (6) Finish lightly stuffing; stuffing the rest of the antenna is optional (I didn't stuff the stalk of the antenna on mine). Switch to the Deep Teal yarn and the C hook. Rounds 6-9: sc around (6) Round 10: inc, sc, dec, sc, sc (6) Rounds 11-14: sc around (6) Round 15: sc, sc, inc, sc, dec (6) Round 16: sc around (6) Rounds 17-18: repeat rounds 15-16 Round 19: sc, dec, sc, inc, sc (6) Rounds 20-24: sc around (6) Fasten off, leaving a long yarn tail for sewing If you want it to hold it's shape more firmly, you can insert a pipe cleaner into the stalk of the antenna and trim to fit, but I wanted to make sure mine was washable so I left mine empty. GUP Body: Using the Aspyn yarn and the E hook: Round 1: Make a magic circle and work 6 sc into the circle (6) Round 2: inc around (12) Round 3: [inc, sc] 6 times (18) Round 4: [sc, inc, sc] 6 times (24) Round 5: [inc, sc in the next 3 sts] 6 times (30) Round 6: [sc in the next 2 sts, inc, sc in the next 2 sts] 6 times (36) Round 7: [inc, sc in the next 5 sts] 6 times (42) Round 8: [sc in the next 3 sts, inc, sc in the next 3 sts] 6 times (48) Round 9: [inc, sc in the next 7 sts] 6 times (54) Round 10: [sc in the next 4 sts, inc, sc in the next 4 sts] 6 times (60) Round 11: [inc, sc in the next 9 sts] 6 times (66) Round 12: sc around (66) Round 13: [sc in the next 5 sts, inc, sc in the next 5 sts] 6 times (72) Round 14: sc around (72) Round 15: [inc, sc in the next 11 sts] 6 times (78) Round 16: sc around (78) Round 17: [sc in the next 6 sts, inc, sc in the next 6 sts] 6 times (84) Round 18: sc around (84) Round 19: [inc, sc in the next 13 sts] 6 times (90) Rounds 20-24: sc around (90) Round 25: [dec, sc in the next 13 sts] 6 times (84) Round 26-27: sc around (84) Round 28: [sc in the next 6 sts, dec, sc in the next 6 sts] 6 times (78) Rounds 29-31: sc around (78) Round 32: [dec, sc in the next 11 sts] 6 times (72) Rounds 33-35: sc around (72) Round 36: [sc in the next 5 sts, dec, sc in the next 5 sts] 6 times (66) Rounds 37-38: sc around (66) I recommend that you pause crocheting at this point and begin attaching pieces to the body. If you really want to, you can wait until the very end to attack pieces, but I find it easier to attach pieces as I go. Using the long yarn tail, sew the windshield to the front; the stitches should line up exactly with the top half of the front. I find it easiest to first stitch the curved part of the windshield in between Rounds 20 and 21 and then to stitch the straight bottom of the windshield across the center of the front. Hint: When sewing it in place, I stitched through the front loops only of the windshield to help it lay flatter against the body of the GUP Using the yarn tails, sew the headlights below a couple of stitches below the windshield (placed between Rows 7 and 14 of the windshield) For the "mouth" you can either use the Deep Teal yarn to surface crochet the shape, centered between the eyes and then work a sc into each st of the surface crochet, ss to join and fasten off. OR, if you prefer, you can ch 12, ss to join, and then ch 1 and sc in each st, ss to join and fasten off. Use the yarn tail to sew in place. Using the tapestry needle and the Deep Teal yarn, stitch French knots in between the headlights, as shown. Continue to stitch French knots for the bolts along each side of the body in a straight line; continue to add them as you go when you continue crocheting the body. Using the yarn tail, sew the antenna to the center top of the body about 3 rounds back from the edge of the windshield. Be sure to stitch this one really well, since it's likely to get pulled on a lot! (Or maybe that's just my kids...) Flatten the side fins and then use the yarn tails to sew to each side of the body, parallel to the French knots and the bottom of the windshield. The edge of the front side of the fin should be about one round behind the edge of the windshield. Using the Aspyn yarn and the E hook, surface crochet through the last round of the front window and the body to attach them together on each side. The front window should be placed about 4 rounds back from the curved edge of the windshield, with the bottom of the window lining up with the bottom of the windshield. Begin stuffing and continue to stuff as you go. Remember to continue making your French knots down each side as well. Now let's resume crocheting the body: Round 39: [dec, sc in the next 9 sts] 6 times (60) Rounds 40-41: sc around (60) Round 42: [sc in the next 4 sts, dec, sc in the next 4 sts] 6 times (54) Rounds 43-44: sc around (54) Round 45: [dec, sc in the next 7 sts] 6 times (48) Rounds 46-47: sc around (48) Round 48: [sc in the next 3 sts, dec, sc in the next 3 sts] 6 times (42) Rounds 49-50: sc around (42) Round 51: [dec, sc in the next 5 sts] 6 times (36) Rounds 52-53: sc around (36) I recommend pausing again to add the back windows. Attach with surface crochet, as with the front windows, about 7 rounds behind the front window. Round 54: [sc in the next 2 sts, dec, sc in the next 2 sts] 6 times (30) Rounds 55-56: sc around (30) Round 57: [dec, sc in the next 3 sts] 6 times (24) Rounds 58-59: sc around (24) Round 60: [sc, dec, sc] 6 times (18) Round 61: sc around (18) Round 62: [dec, sc] 6 times (12) Finish stuffing the body and make your final French knots. If you're making a spinning propellor, attach the backing to the bottom of the safety eye post sticking out from the propellor. Then place the post and backing into the remaining hole. Work the last round around the post of the safety eye; the larger backing will keep it in place inside of the body once it's done. Round 63: dec around (6) Fasten off, leaving a long yarn tail. Using the tapestry needle, thread the tail through the remaining front loops of the last round and pull taut to close. Tie off and weave in ends. If you're making a stationary propellor, stitch the center of the propellor to Round 63. Flatten the top fin. Using the yarn tail, sew the top fin in the top center of the body, behind the back windows. Weave in any remaining ends. Phew! And now you have a finished Gup-A! After all of that work, I think you deserve some ice cream. With extra sprinkles. I hope you enjoyed this pattern for your very own huggable GUP-A! I'm sure your little Octonaut fan will love it! And remember, this pattern is intended for personal use only. If you have any questions or comments about it, you can reach me in the comments section below or on social media. Happy hooking! Want to make sure you don't miss any future blog posts? Join my mailing list: ***You may not copy this pattern, repost it anywhere (either altered or in its original form), or claim it as your own. You may not use any photos on this site for your own use. ***
6 Comments
3/7/2018 02:08:40 pm
I love toys that go with books or favorite shows. The kids love them.
Reply
Kumar Plocher
9/26/2018 03:45:32 pm
Would you be able to make one of these to sell to someone who is crochet-challenged? My wife and I are collecting crochet Octonaut toys to appease the needs of our littles without plastic, but there don't seem to be any gups anywhere (thank goodness the crewmembers and Octopod are all available).
Reply
Erin
9/29/2018 12:38:55 pm
Hi Kumar,
Reply
inbal
2/27/2019 01:10:48 pm
Hey great chart Do I knit one and sell the product in my shop and have your name listed on the chart?
Reply
Leave a Reply. |
Welcome!Thank you for stopping by to visit my own personal corner of the web! Feel free to take a look around and check out what I've been crafting, crocheting, or baking. Hopefully you'll find something to inspire your own creativity! Archives
March 2024
|



 RSS Feed