
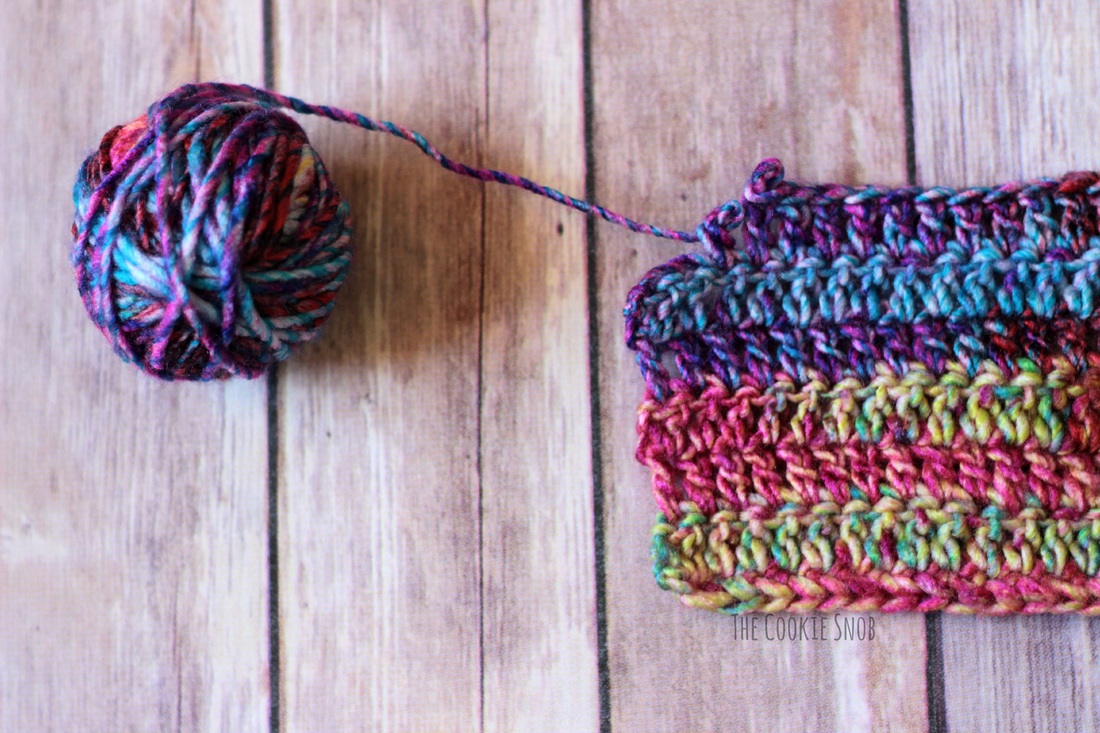
 Ah, frogging. The bane of every crocheter's existence at one point or another. In case you haven't heard the term before, "frogging" a piece means to unravel it and undo your stitches. The name comes from the fact that you have to "rip it, rip it" all out. Say that out loud a few times and you'll see exactly why someone was reminded of a frog. I'm not sure if knitters use the term as well (if there are any knitters out there, feel free to chime in), but frogging is definitely a word that you'll see a lot in the crochet community. Frogging is most commonly done when there's a mistake in the needlework or when you want to reclaim the yarn for some other purpose.  Now I know what you're thinking: "But, Erin, why would you write an entire blog post on frogging? It's the easiest thing in the world!" Well, you're right in that frogging is pretty easy to do. I mean, my 1 year old can do it and he's not even toilet trained! (Hello, tangled mess of yarn all over my living room.) But there actually is a technique to it and there are a few tips to be aware of that will make frogging SO much easier. This is especially true for certain types of yarns that are considered difficult to work with precisely because they don't frog easily. Often these are really lovely yarns that have a soft "halo" on them, like Red Heart Boutique or Yarn Bee Aurora Borealis, or any type of fuzzy yarn. I've even heard of people who refuse to use these yarns simply because they dread frogging them. But fear the amphibian no more, my friends! Frogging is a valuable tool and you can make it work for you. 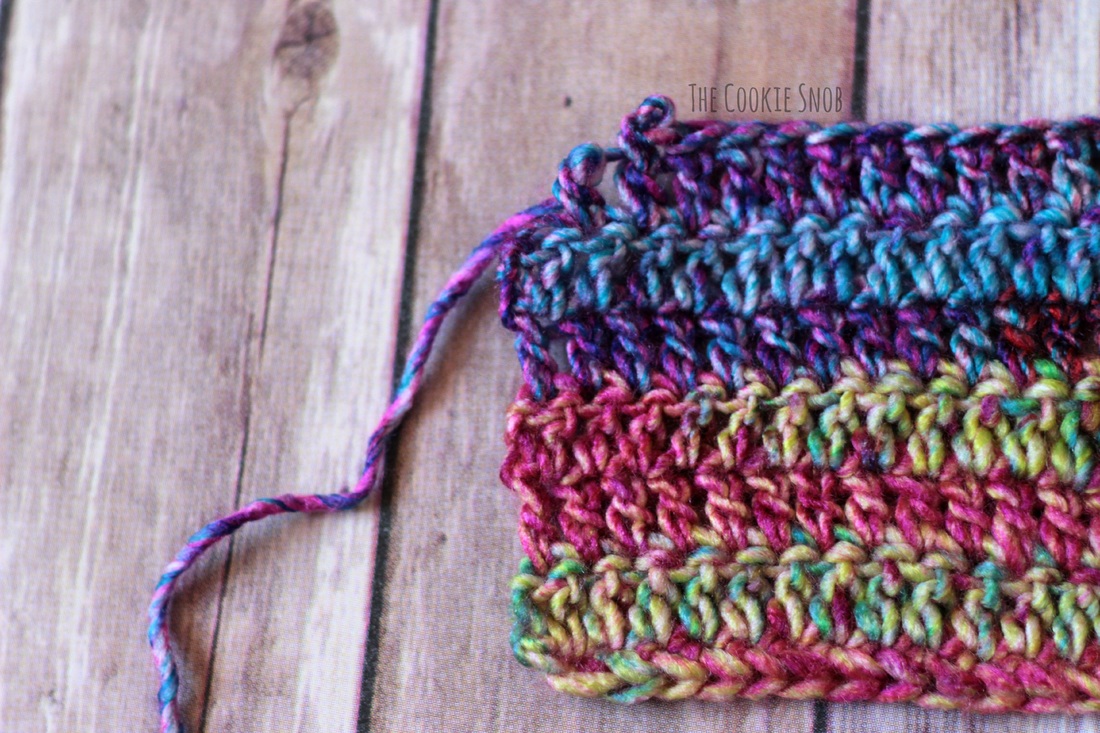 When frogging a crochet project, most people have a tendency to just sort of yank on the yarn, pulling it up or to the side. Admittedly, this is the most instinctive thing to do and you can probably get away with it if you're working with a basic yarn like Red Heart Super Saver or something similar. But pulling this way actually creates a lot of unnecessary friction on the yarn and can quickly lead to tangles that are almost impossible to fix.  Instead of pulling up and away from yourself, you should pull the yarn straight down from the base of the stitch. This will reduce the friction on the yarn and make the frogging process go a lot more smoothly. I find that it's a bit slower than just haphazardly pulling out the yarn, but when I consider the time I would have spent fruitlessly trying to untangle knots while muttering insults at the yarn under my breath, I would argue that it actually saves me time when I have to frog difficult yarn. So to me it's definitely worth the extra effort (especially since it's really not that much harder to do). 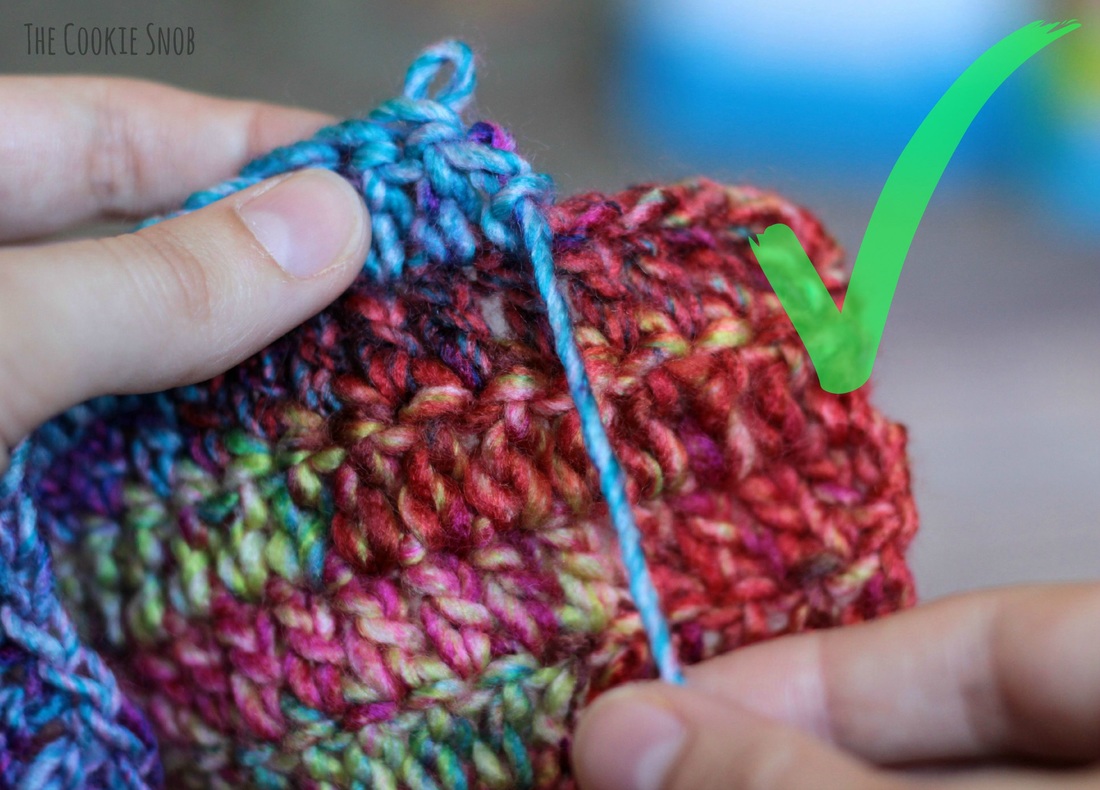 But just because this is a better method doesn't mean that it's foolproof. It's still possible to get some tangles during the frogging process using this approach. Although I can guarantee there will be fewer tangles this way than if you just start yanking on the yarn. If the fibers of the yarn get twisted around each other too much, stop pulling and gently massage the tangled spot to loosen the fibers. This should help separate them enough for you to keep going. If it's a particularly difficult spot and that isn't working for you, I would recommend trying scissors next. Sometimes you can see the tangled spot and cut it loose, freeing the knot. Or, worst case scenario, you can just cut the yarn and reattach the two ends later (using a method like the Russian join). Do NOT just pull on the yarn even harder. This will make the knot even tighter and can lead to accidentally ripping your yarn apart (while simultaneously destroying your hands). No bueno. Even if you do succeed at breaking the knot with sheer force, it can often stretch out your yarn in that spot, making it noticeable thinner and susceptible to breaking. So don't do it! (Only you can prevent yarn abuse.) 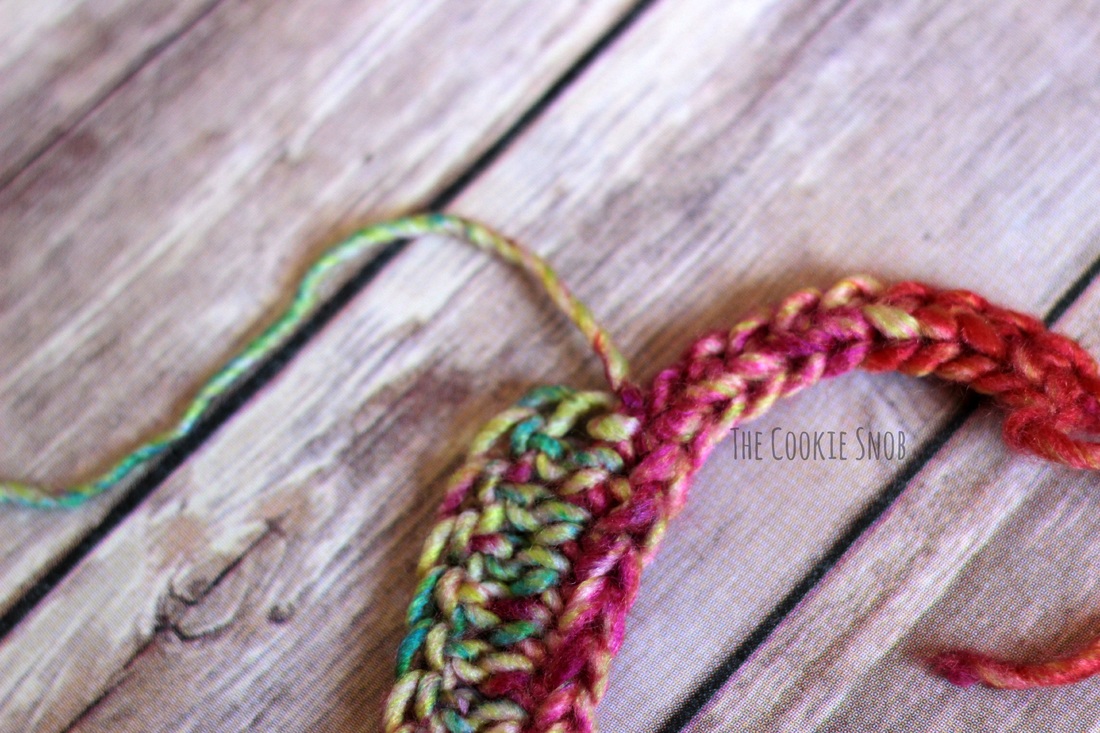 As you're frogging your piece, be sure to gently wrap up the yarn you pull free so that it doesn't get tangled on itself. More than once I've been overly ambitious and frogged a ton of yarn before trying to wrap it, only to have all the loose yarn get tangled, so try to wrap up the yarn as you go. This tip is particularly valuable if you're surrounded by small children or pets who don't have any qualms about playing with any yarn they can find. Try to wrap your yarn loosely so that you don't stretch out the fibers. If you notice that your yarn is starting to get visibly thinner, then you're probably pulling it too tight. 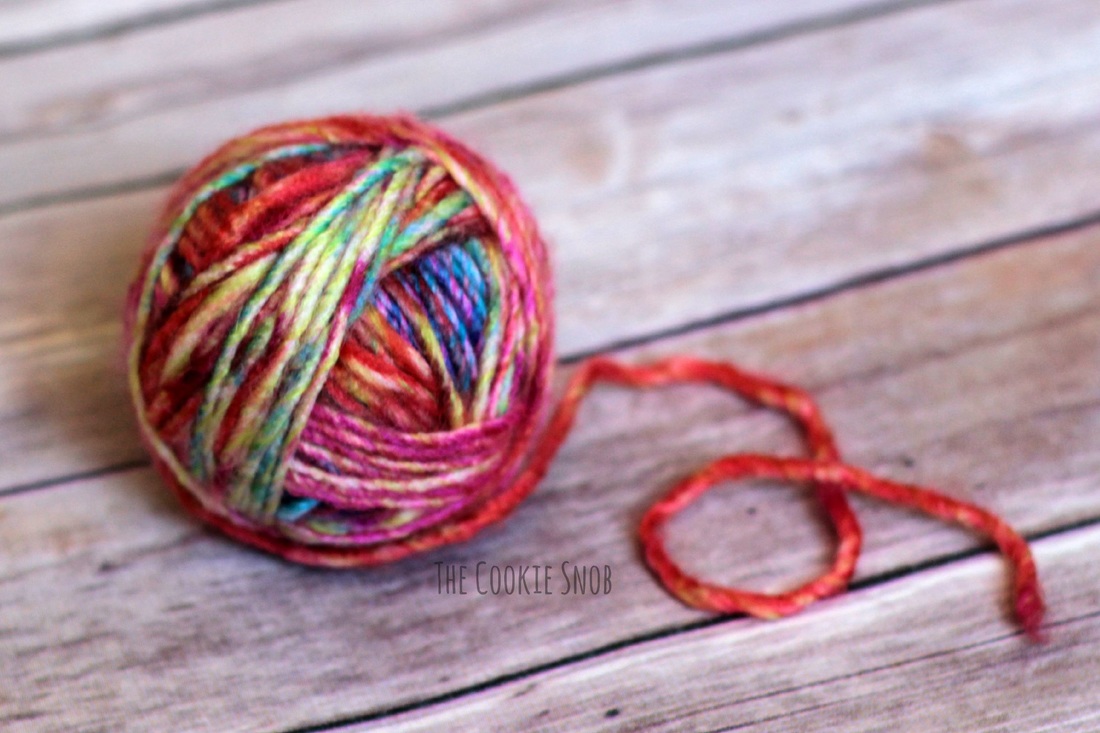 My very favorite thing about frogging is that it's like an undo button in real life! If I make a giant mistake or if I decide that my yarn would be better for something else, I can get all my yarn back in basically perfect condition! Try doing that with watercolors.
That being said, with great power comes great responsibility. Some things definitely scream "Frog me!" and should be fixed sooner rather than later. But other times it may be better to just keep going (especially if you're simply tempted to give up on a pattern before it has a chance to take shape). Use your best crocheting judgement to decide whether or not it's worth undoing your hard work. But when it is time to "rip it, rip it," well, now you should have the tricks you need to make the frog your friend. Do you have any additional frogging tips or insights? I'd love to hear 'em! Share your ideas in the contact section below or find me on social media. Happy hooking!
4 Comments
Lois
1/7/2016 09:02:23 am
I'm a newbie @crochet. I find it very, very difficult to keep from wandering wider & wider or narrower & narrower. Especially when crocheting something simple like a scarf. Does one have to count stitches all the time?
Erin
1/7/2016 06:24:29 pm
That's definitely one of the trickiest things about starting to crochet. Once you get good at "reading" your crochet, it'll be really easy to know where to start and stop making stitches each round just by looking at it. But until you get to that point, it can be helpful to count your stitches every few rows. It'll help you keep your work even and practice reading your stitches. It can also help to look at youtube videos or picture tutorials to get a better idea of what the beginning and the end of each row looks like if you're having trouble with it.
Mehernaaz
4/12/2018 05:09:28 am
Hi. Smart post. I'll use your tips next time. Can you tell me what yarn you've used in the pictures for this post? I love it.
Erin
4/12/2018 08:35:25 pm
Thanks! The yarn is Yarn Bee Aurora Borealis in the colorway Fruit Punch (it's a Hobby Lobby brand yarn). Leave a Reply. |
Welcome!Thank you for stopping by to visit my own personal corner of the web! Feel free to take a look around and check out what I've been crafting, crocheting, or baking. Hopefully you'll find something to inspire your own creativity!   
Archives
March 2024
|
 RSS Feed