|
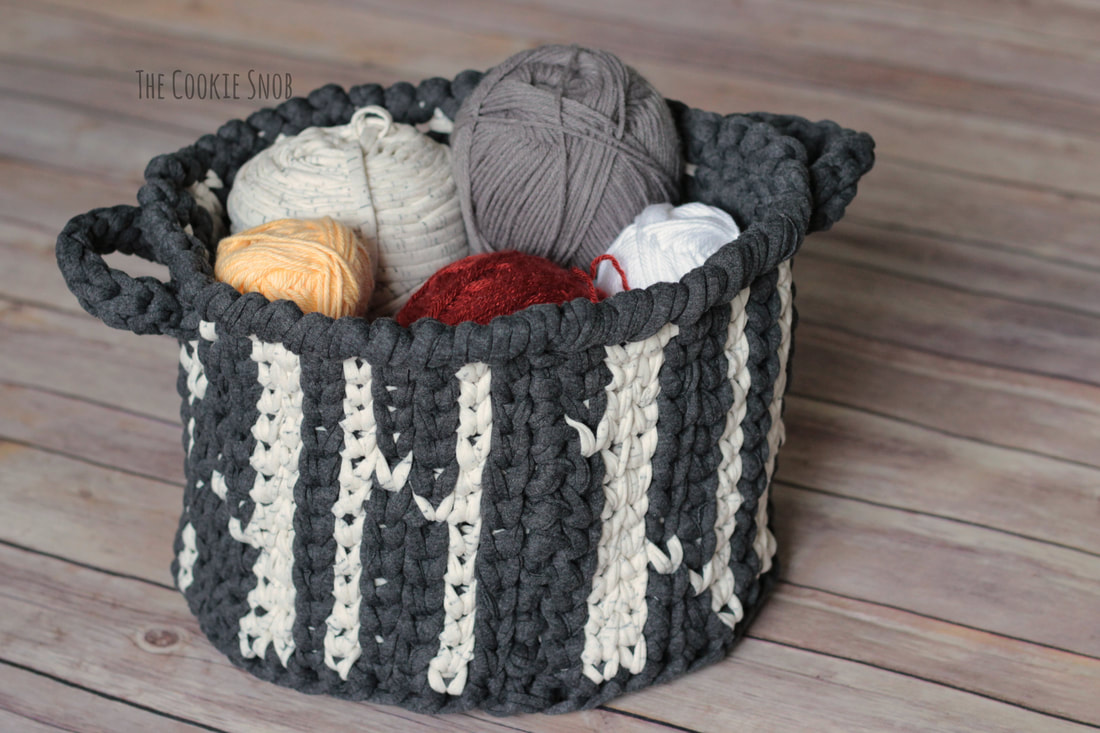
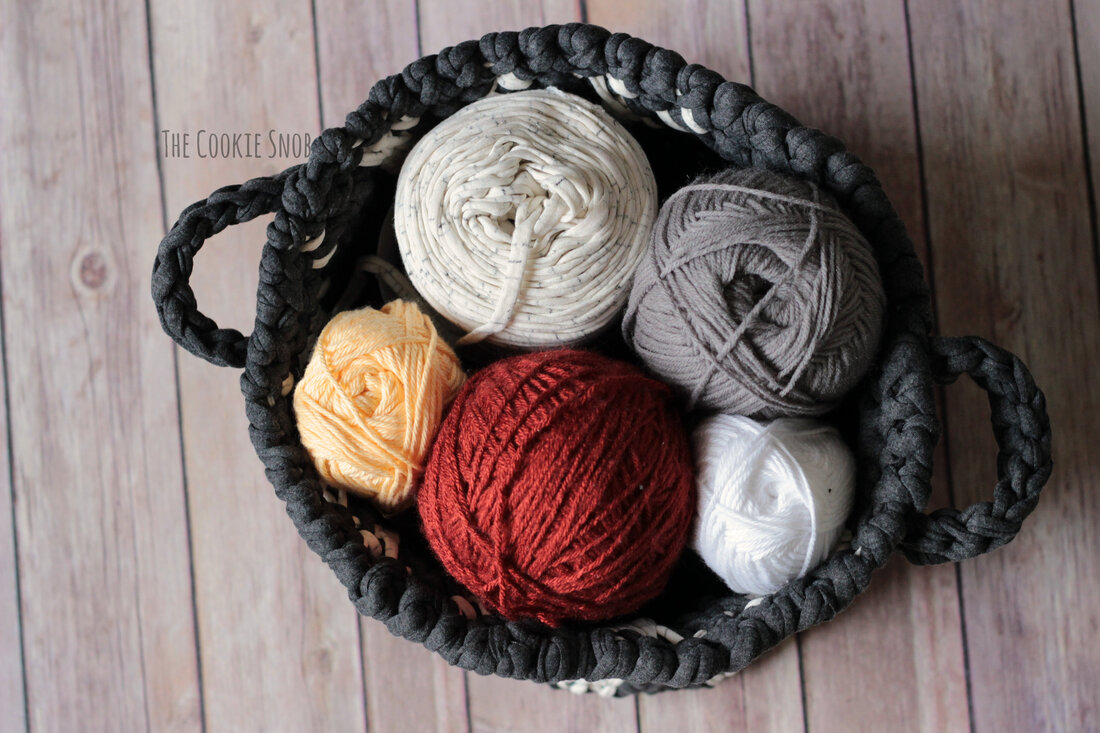
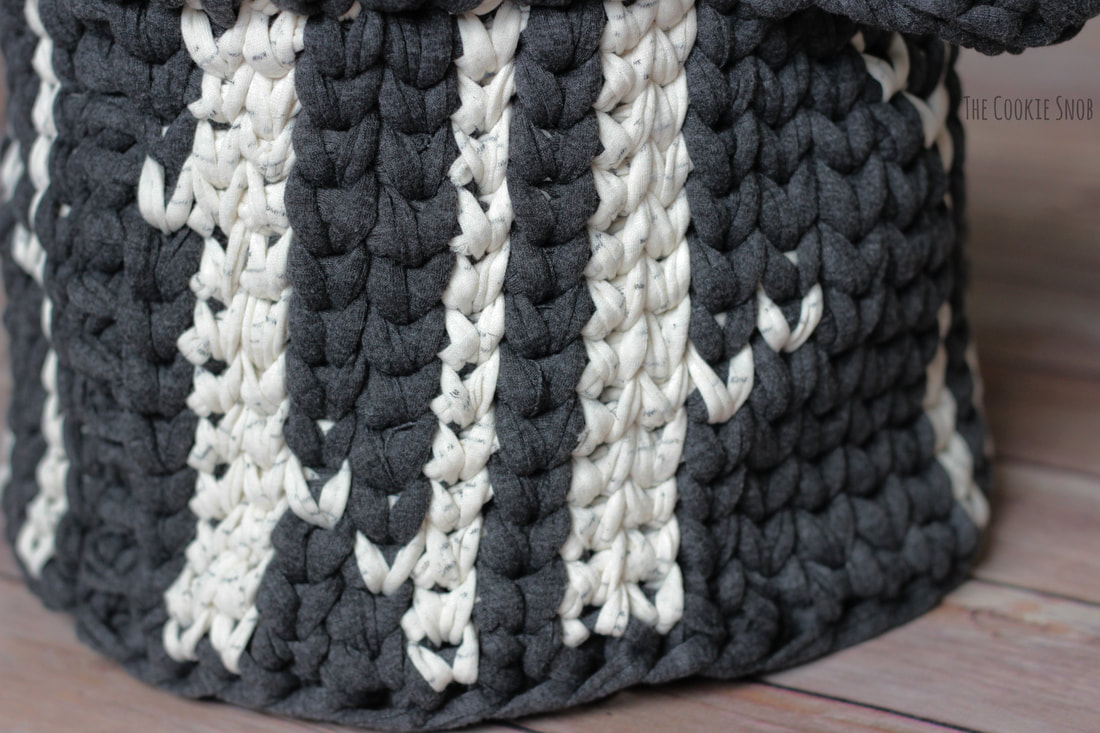
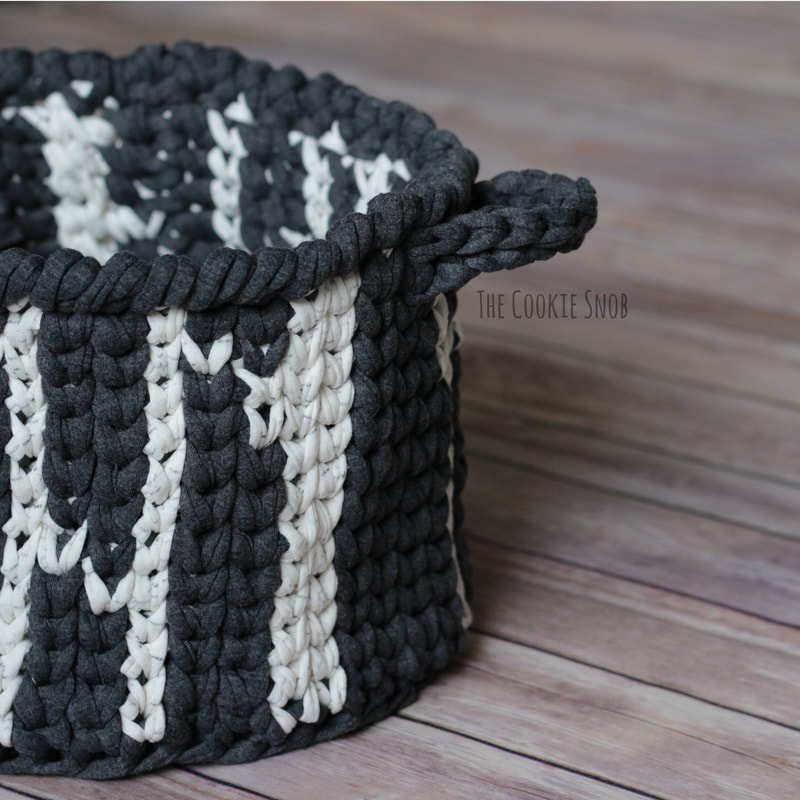
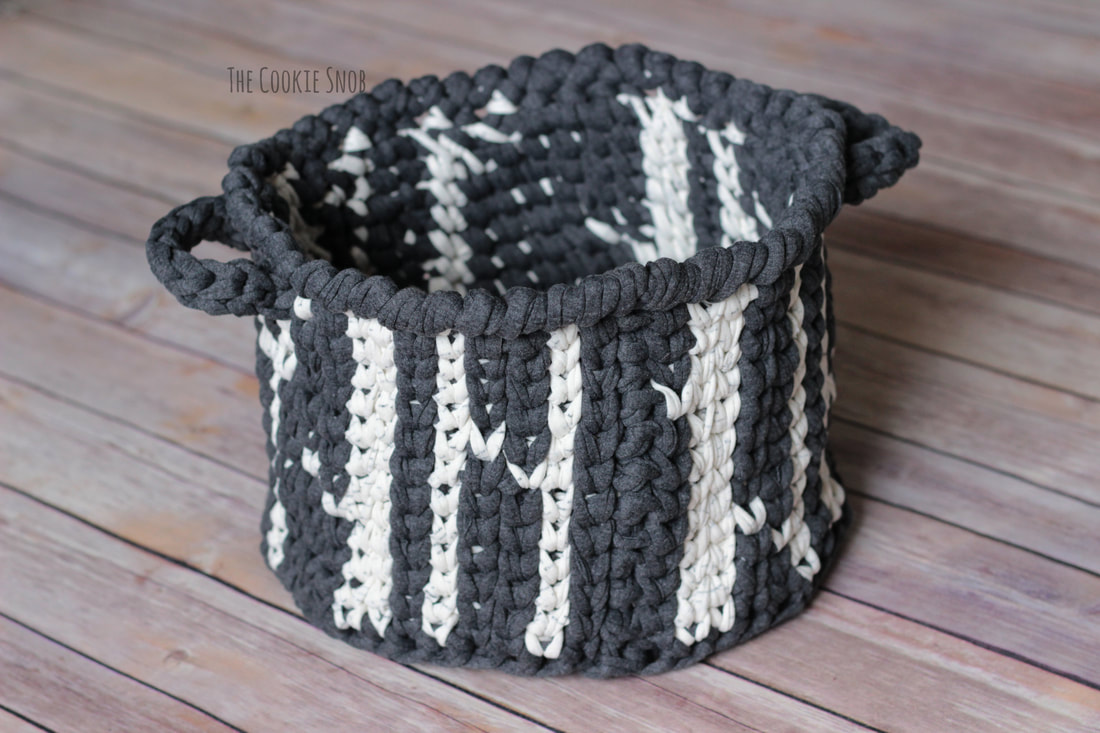
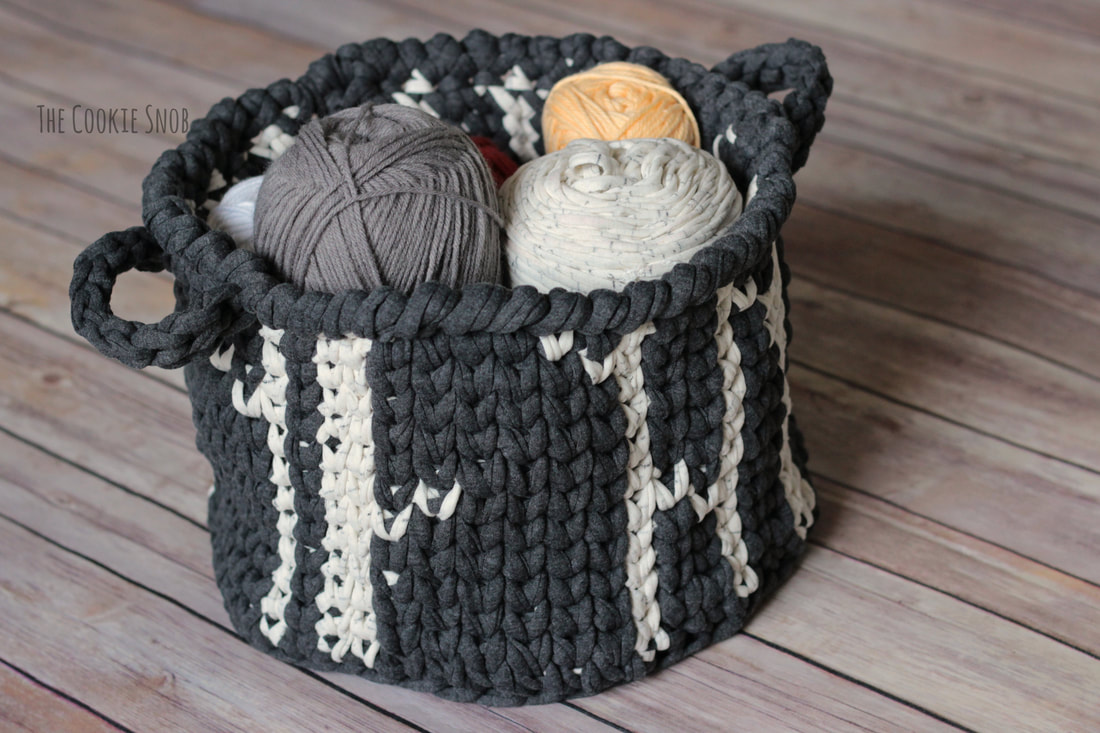
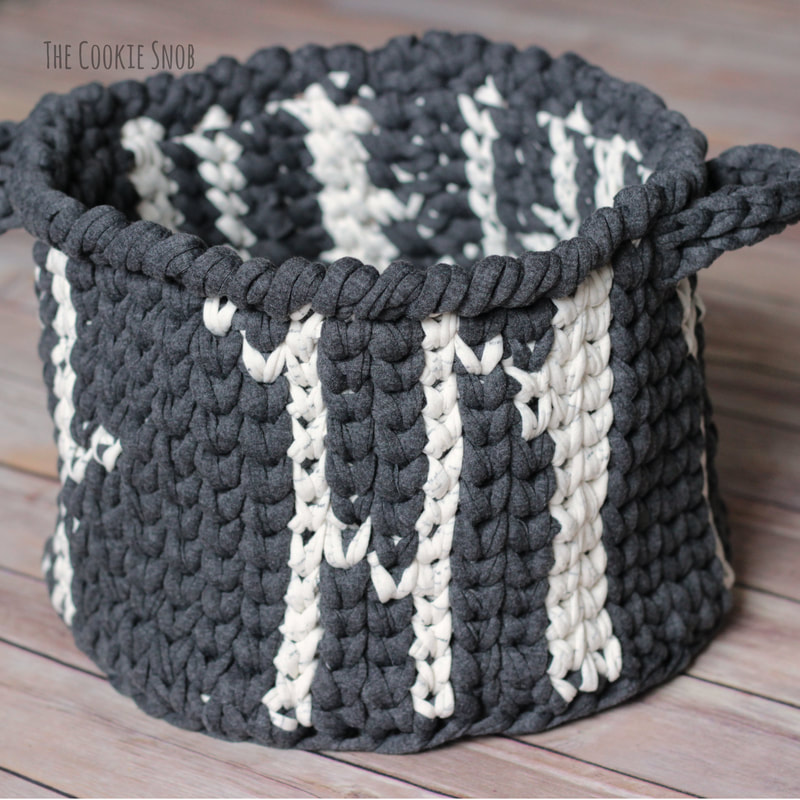
Happy Earth Day, friends! In honor of Earth Day, I have a new pattern for you all: a forest-inspired basket. Not only is this basket lovely and functional, but it's also made from upcycled T-shirt yarn. Super cool, right? Based on the materials I had available, I made mine into a birch tree forest, but I think this basket would look awesome in a huge range of colors, so you can use whatever you have access to. A word on gauge before we get into pattern specifics: T-shirt yarn is hugely variable. Even within the same "brand," different colors will differ in width and stretch because, well, T-shirts vary so much! So while I've given you a rough gauge based on the yarns I used, it's just meant to be a reference to help get you started and figure out the relative size of your basket/how much yarn you'll need. If the yarns you have don't match up with the gauge, don't sweat it. If you need to use a different hook size to keep your stitches stiff enough, then go for it! Each basket will be unique, so I suggest you just roll with it. It'll be an awesome basket no matter what size it ends up being. As for the logistics of the basket, the base is standard half double crochet stitches and the sides are tapestry crochet using the waistcoat stitch. If you've never used the waistcoat stitch before, it's a slightly modified single crochet stitch. You just put your stitch in the middle of the post instead of in the usual spot and then work everything else the same way. Here's a link to a nice tutorial that can show you how it's done. I like the waistcoat stitch because it creates a tight stitch that helps the basket stand on its own, plus it has a cool knit-look. One tip: try to keep your stitches a little on the loose side so that you don't have to fight to get your hook in the right place. If you really don't like the stitch, you can use regular single crochet instead. It'll still work, it'll just look slightly different (more square instead of "v" shaped), and you may want to size down a hook size. And one last note on the tapestry crochet aspect: you'll be working with two different colors and switching back and forth between them. The chart below will show you how to make the pattern; each square is one stitch (wc unless otherwise noted) and the ch 1 doesn't count as a st. I recommend that you carry the color you're not using with you as you go instead of cutting off the yarn each time you change colors. Make sure you don't pull the yarn you're carrying extra tight or it can warp the shape of your basket; just hold it relaxed and crochet over it normally. And when you change colors, always change to the new color when you still have two loops of the old color on your hook (so you'll be finishing the stitch with the new color). This will keep the color changes neat and help make the design look clearer. Okay, I think that's everything! Feel free to contact me if you have other questions about how this pattern works. But for now, let's get started! If you'd like an ad-free printable PDF version of this pattern, you can find one on Ravelry. It includes both the standard PDF of the pattern (basically exactly what you'll see here on the blog) and a version with an extra large tapestry chart for printing. Stitch Glossary: st(s) = stitch(es) ch = chain ss = slip stitch sc = single crochet wc = waistcoat stitch (see note above) hdc = half double crochet hdc inc = hdc increase (work 2 hdc in the same st) rsc = reverse sc (crab stitch) Materials:
Gauge: (See note above) For a 7.5" tall and 11" diameter basket: 4" = 6 wc 4" = 7 rows Round 1: Make a magic circle, ch 1, work 8 hdc into the circle, pull taut to close, ss to first hdc to join (8) Round 2: ch 1, hdc inc 8 times, ss to join (16) Round 3: ch 1, [hdc inc, hdc] 8 times, ss to join (24) Round 4: ch 1, [hdc, hdc inc, hdc] 8 times, ss to join (32) Round 5: ch 1, [hdc inc, hdc in the next 3 sts] 8 times, ss to join (40) Round 6: ch 1, [hdc in the next 2 sts, hdc inc, hdc in the next 2 sts] 8 times, ss to join (48) Tapestry Round 1: ch 1, follow the tapestry chart as shown using sc in the back loop only, ss to join (48) Tapestry Rounds 2-12: ch 1, follow the tapestry chart as shown using wc, ss to join (48) Edging: ch 1, rsc around (48) Fasten off. Stitch the small gap in the edging shut (where the ss would go) and then weave in ends. Handles (make 2): ch 11 Row 1: ss in the 2nd ch from the hook and in the next 9 sts (10) Fasten off, leaving a long yarn tail for sewing. Stitch the handles securely in place on opposite sides of the basket, just beneath the edging. Weave in ends. And now you have a lovely decorative-yet-still-useful basket! I hope that you enjoyed making this pattern with me! If you have any questions about any part of the pattern or if you have comments, you can reach me in the comments section below, find me on social media, or send me an email. And if you end up making one of these baskets and don't mind sharing, it would make my day to see how yours turns out! Happy hooking, yarn friends! Want to make sure you don't miss out on any future blog posts? Join my mailing list! (Spam-free, I promise!) ***You're welcome to do whatever you'd like to with finished products made from this pattern but if you do sell them, I ask that you link back to my page. You may not copy this pattern, repost it anywhere (either altered or in its original form), or claim it as your own. You may not use any photos on this site for your own use. ***
0 Comments
Leave a Reply. |
Welcome!Thank you for stopping by to visit my own personal corner of the web! Feel free to take a look around and check out what I've been crafting, crocheting, or baking. Hopefully you'll find something to inspire your own creativity! Archives
March 2024
|




 RSS Feed