
|
I find that life rarely goes as planned, even when you try to prepare for things. I had all sorts of great ideas for things to do leading up to my due date and all sorts of projects to catalog so that I could still post content while snuggling my newborn, but it didn't quite work out that way. My son's extra early arrival while we were out of town definitely threw me for a loop a bit and I had to take an unofficial hiatus. But I'm starting to get my feet back under me, so I'm back! And I've got lots of great ideas for you to try, starting with this fun and easy felt board DIY. 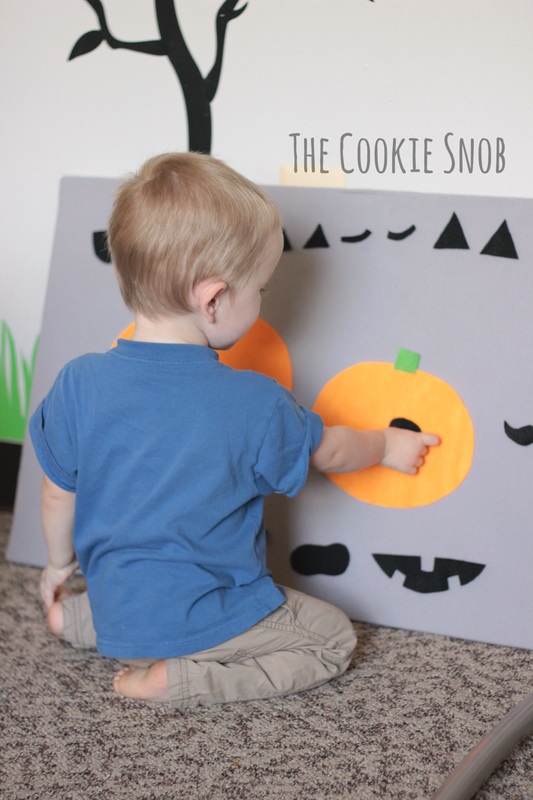 Felt boards are awesome. You can do so much with them and they're perfect for toddlers and older kids alike. It could even be a great resource for you homeschoolers out there (there are tons of educational felt board ideas). And, best of all, it's super easy to make yourself. If you can wrap a present, then you can make one of these. No frills required. You'll only need a few supplies for this project: a base, a covering, and an adhesive. I decided to use a 20"X30" foam board for my base, since it was inexpensive and easy to find. I opted for the thickest one I could find to make it sturdier, but you could definitely use something thinner (or smaller) if you want to. To cover the board, you can use either felt or flannel (felt pieces will stick to either). I prefer to use flannel since it's a bit cheaper than large rolls of felt. I used 1 yard of gray flannel for mine. And, lastly, for glue I used some spray adhesive. But you could easily use Modge Podge or something similar instead. 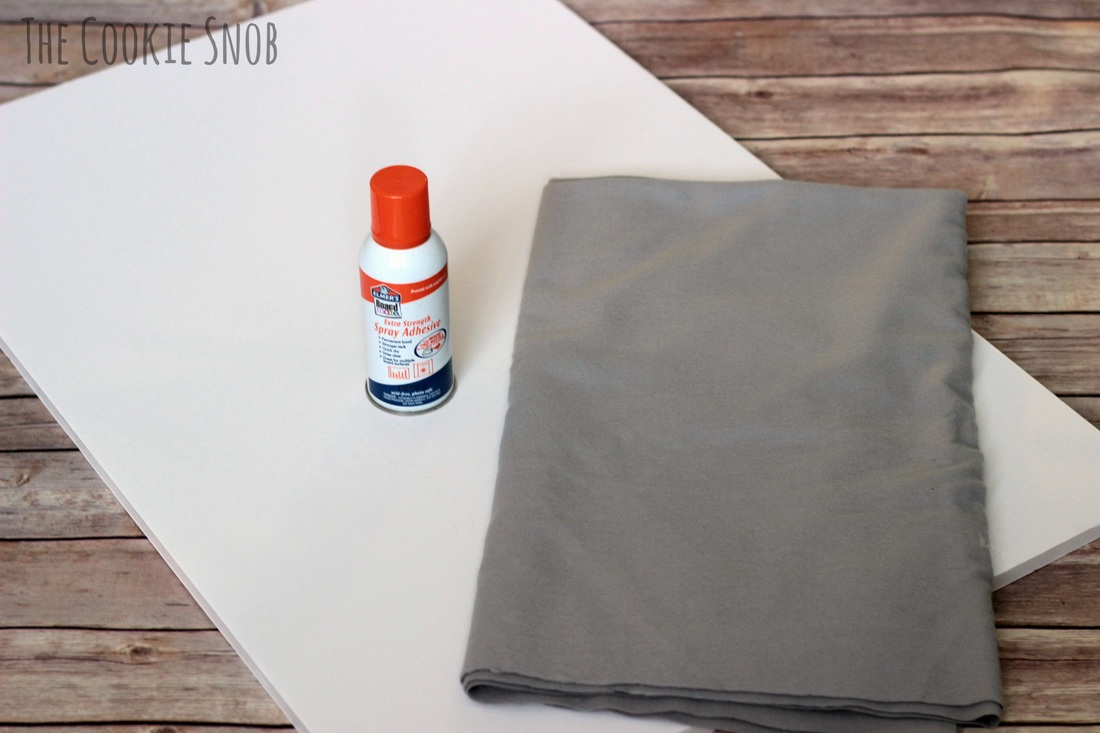 Once you have your supplies, it's time to start assembling. If you use flannel, you'll want to iron out any wrinkles beforehand so that your board is nice and flat looking. Simply lay out your board and wrap it in the flannel, just like you would when wrapping a present. If it looks like you have too much flannel to work with, now is a great time to cut off any excess. Once you have your "wrapping plan" figured out, you can start applying your adhesive. If you're using spray adhesive or something else that dries quickly, I recommend doing this in small sections so that you can put it all together without feeling rushed. Be sure to pull the flannel taut as you go to avoid extra wrinkles. 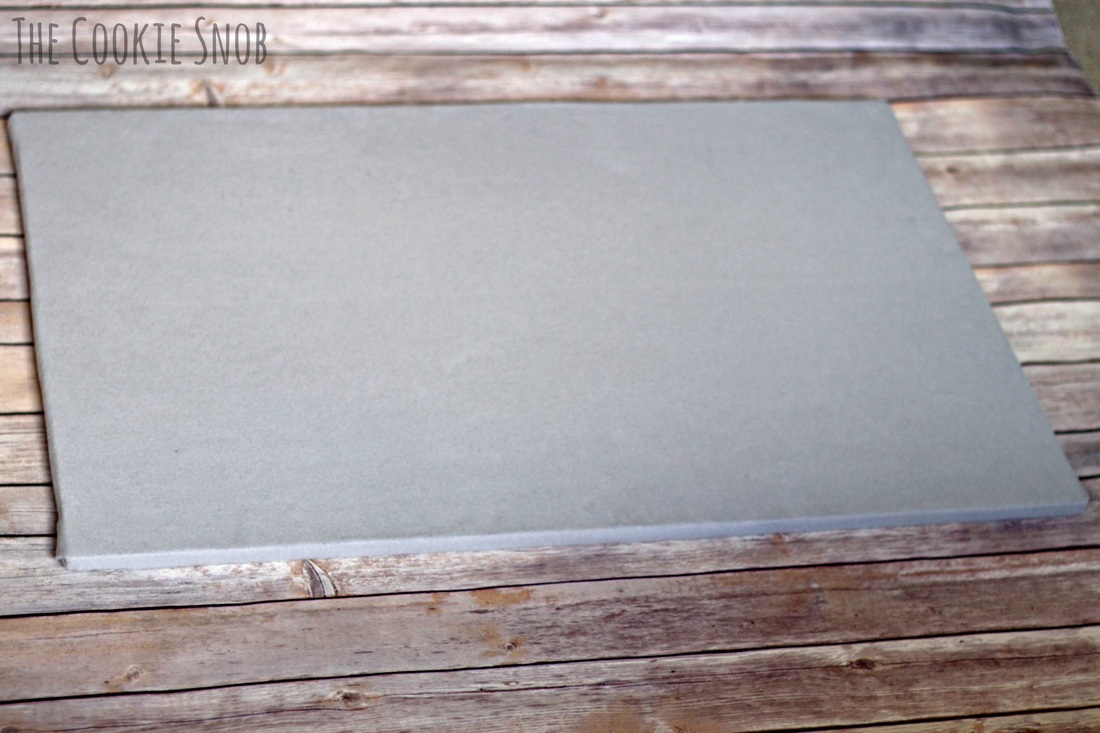 If you're wondering exactly how I wrapped mine, this shot of the back should give you a pretty good idea. It's not the prettiest thing I've ever seen, but, hey, it's the back. If this isn't clear enough or if you'd like some extra instructions on how to wrap it, please let me know and I'm happy to help you out. 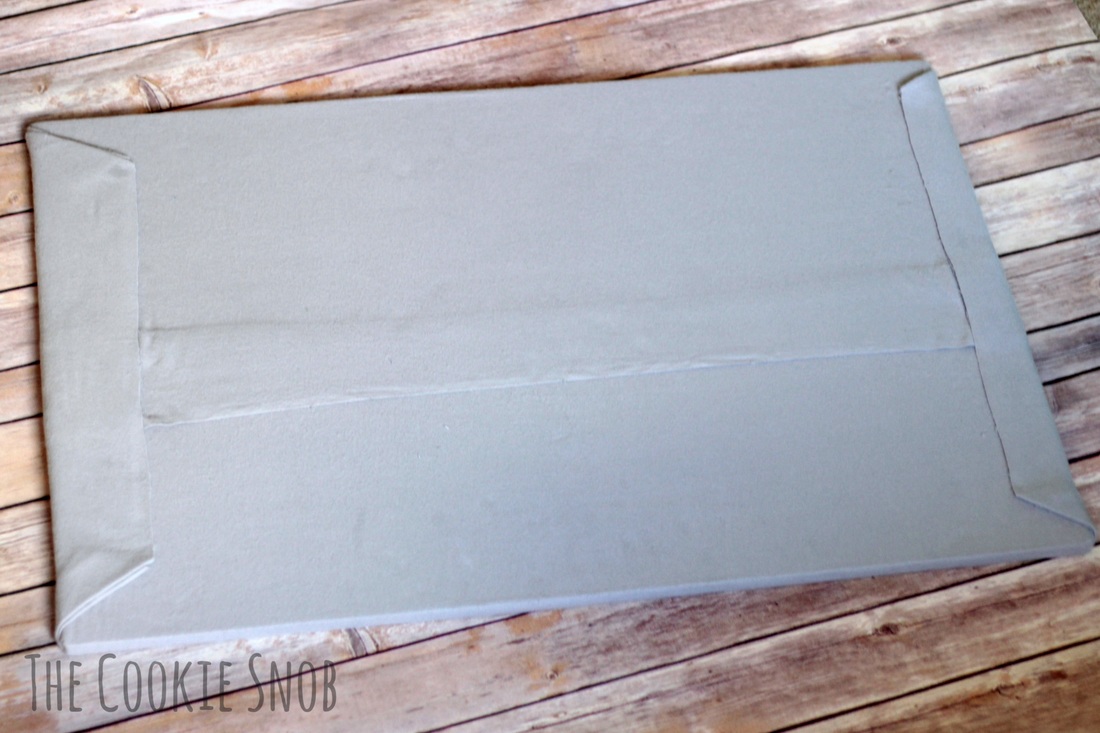 Let the board dry (most adhesives would recommend waiting about an hour, just to be safe), and then you're done! Easy peasy, right? And you now have an awesome new toy. If you've never played with a felt board before, all you really need to know is that pieces of felt (or flannel) will just stick to the board without any extra adhesive or velcro. They aren't permanently attached so you can easily move things around and change out your board whenever. Super cool. So the possibilities are basically endless! Since it's fall, here's one simple Halloween-themed idea to get you started: Jack-o'-lanterns. 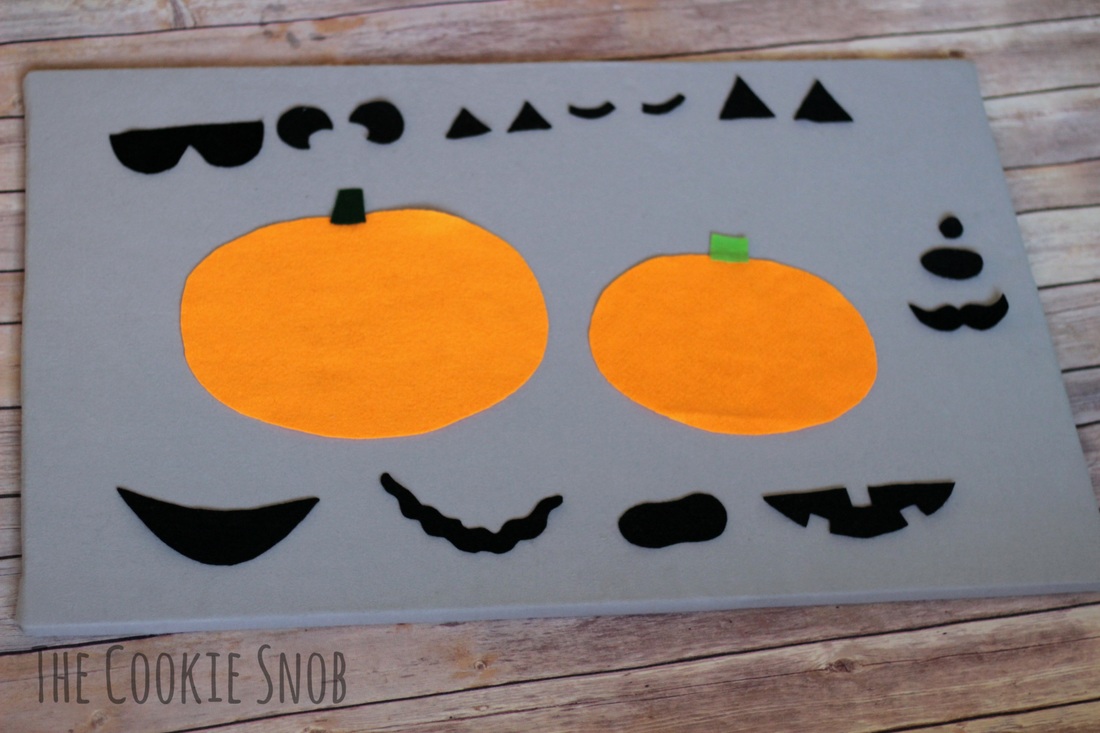 Using some orange felt, cut out ovals or circles to make some pumpkins. Make them big or small, squat or skinny, realistic or simplistic. Whatever works for you. Then cut out some fun accessories for decorating your jack-o'-lanterns. I made green stems and an assortment of different face options in black felt. You could also go all out and make extra accessories like hats, clothes, arms and legs, or even monster friends. Get creative! I guarantee your kiddo will love it. Or, if you're like me, you can shamelessly enjoy playing with it yourself while your littles are napping. What my toddler doesn't know can't hurt him... 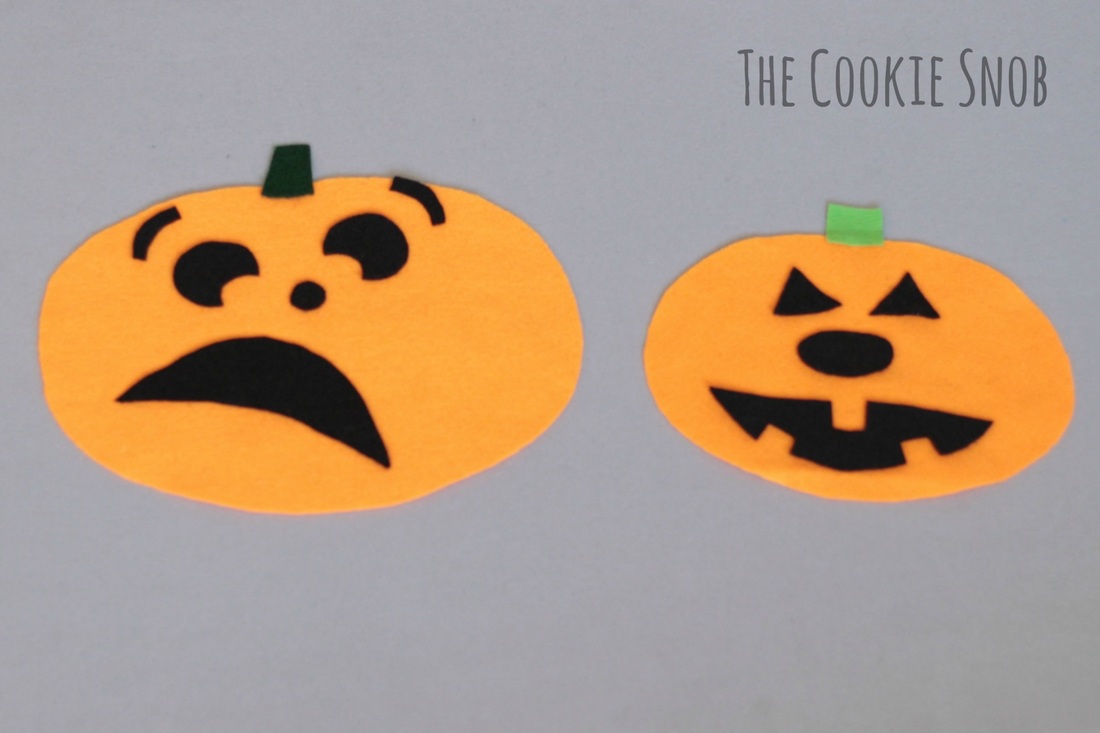 Hopefully this inspires you to make a felt board of your very own! And I have lots of other felt board ideas I'm working on, so check back for more in the future. Or, if you have great ideas of your own, feel free to share in the comments section or on social media. It always makes my day to hear from y'all. Happy crafting!
Update: If you're looking for more ideas, you can check out the pizza and ice cream felt boards here.
0 Comments
Leave a Reply. |
Welcome!Thank you for stopping by to visit my own personal corner of the web! Feel free to take a look around and check out what I've been crafting, crocheting, or baking. Hopefully you'll find something to inspire your own creativity!   
Archives
March 2024
|
 RSS Feed