|
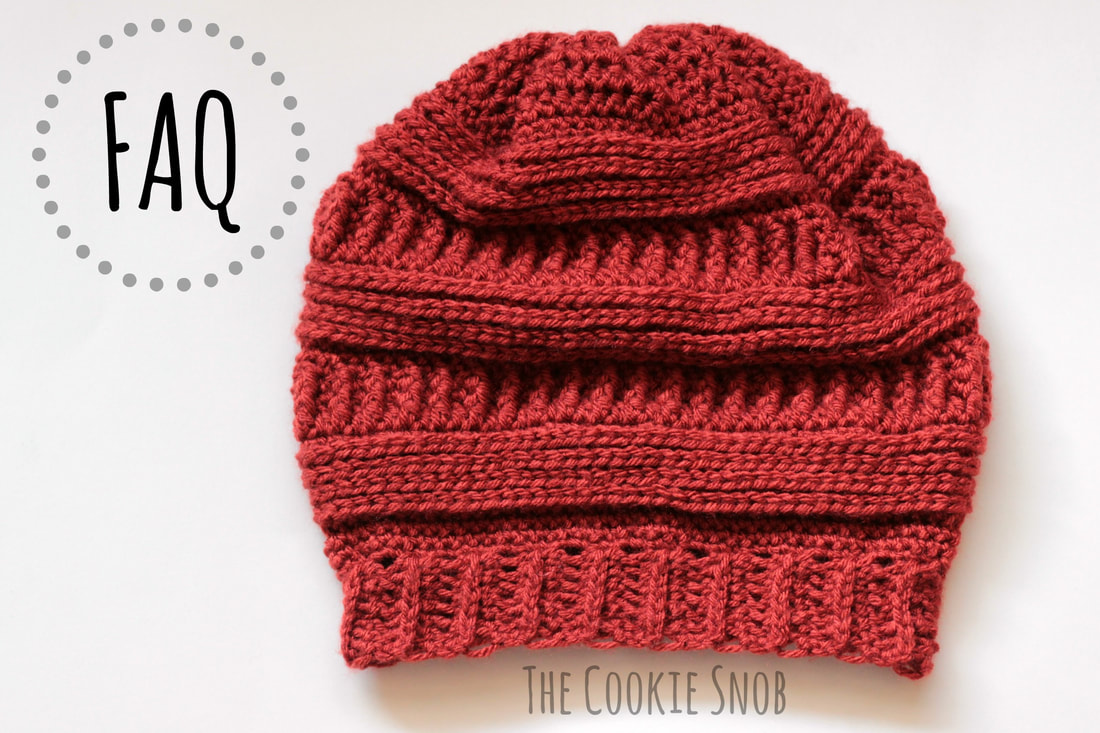
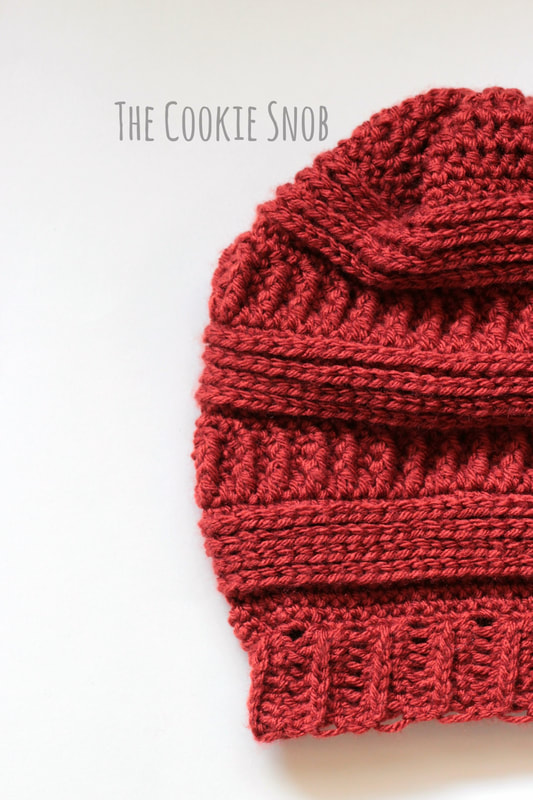
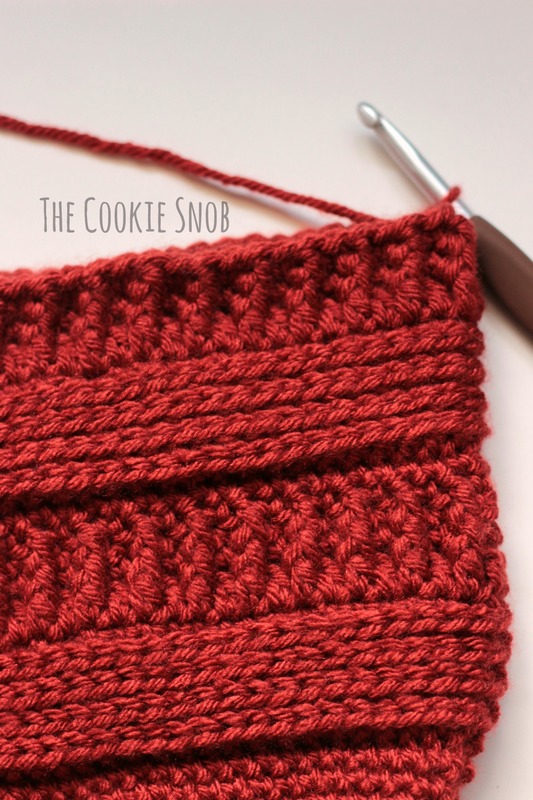
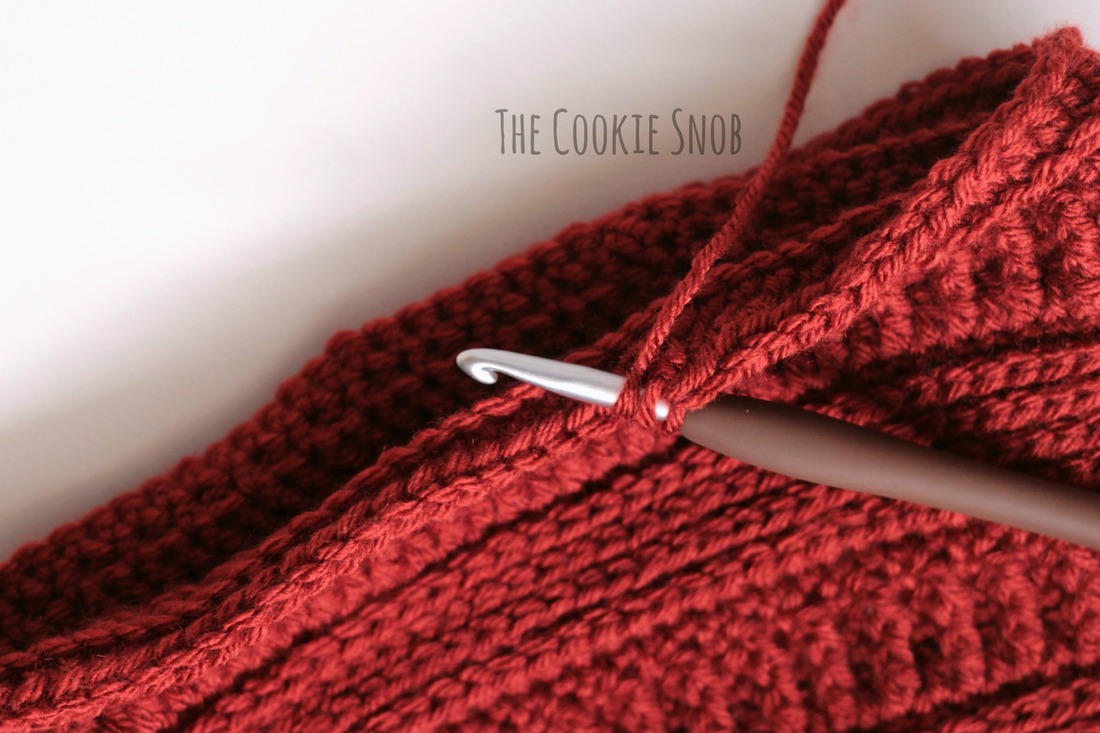
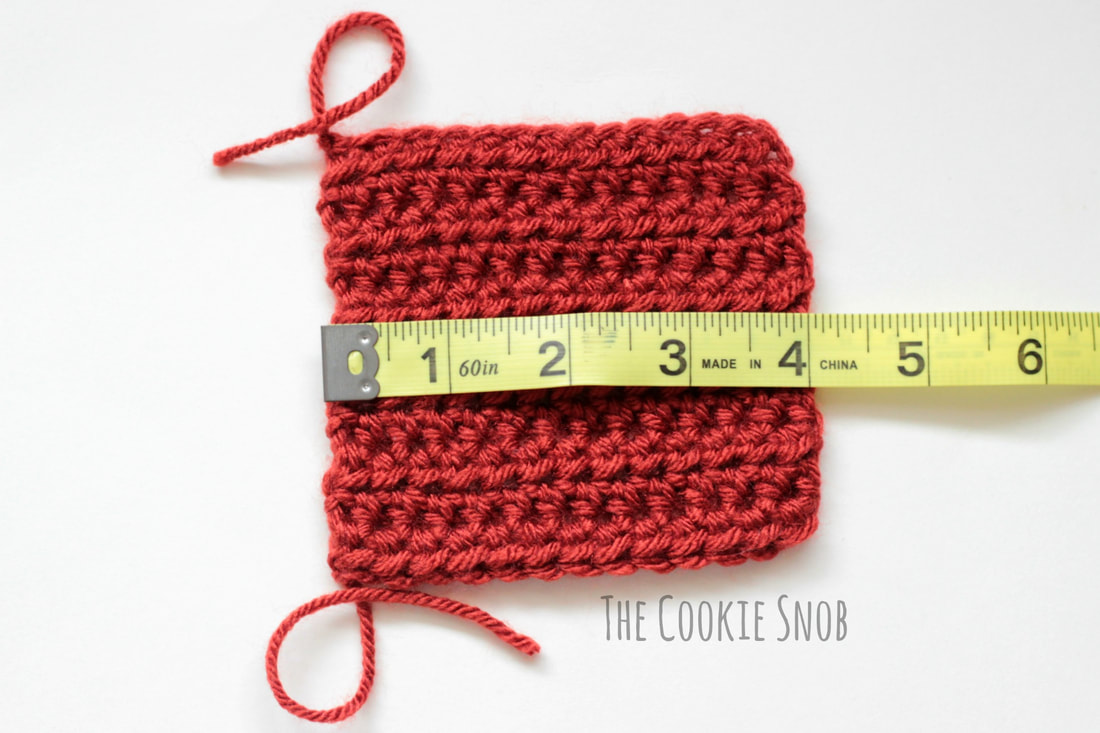
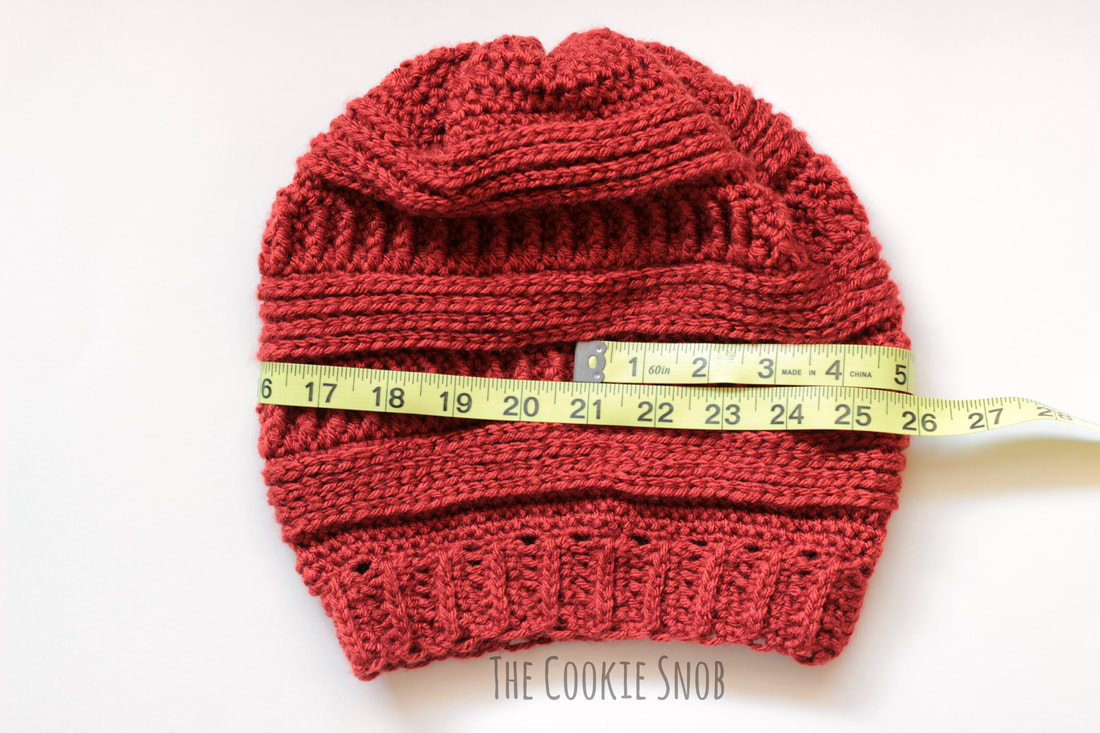
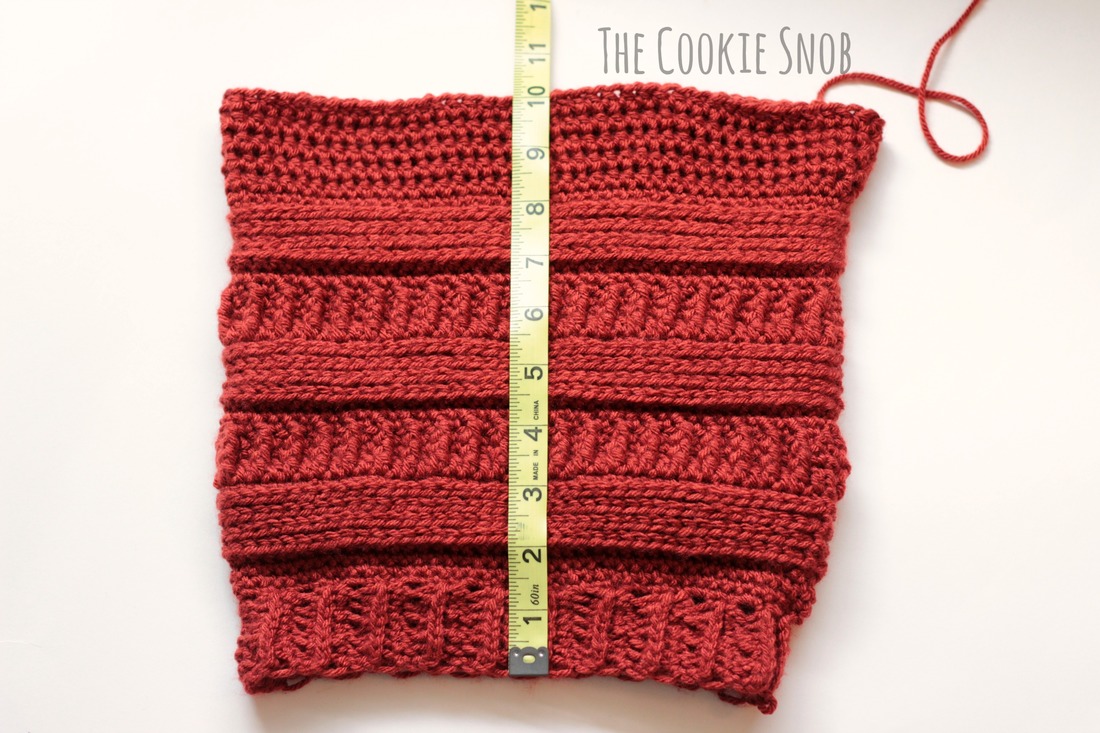
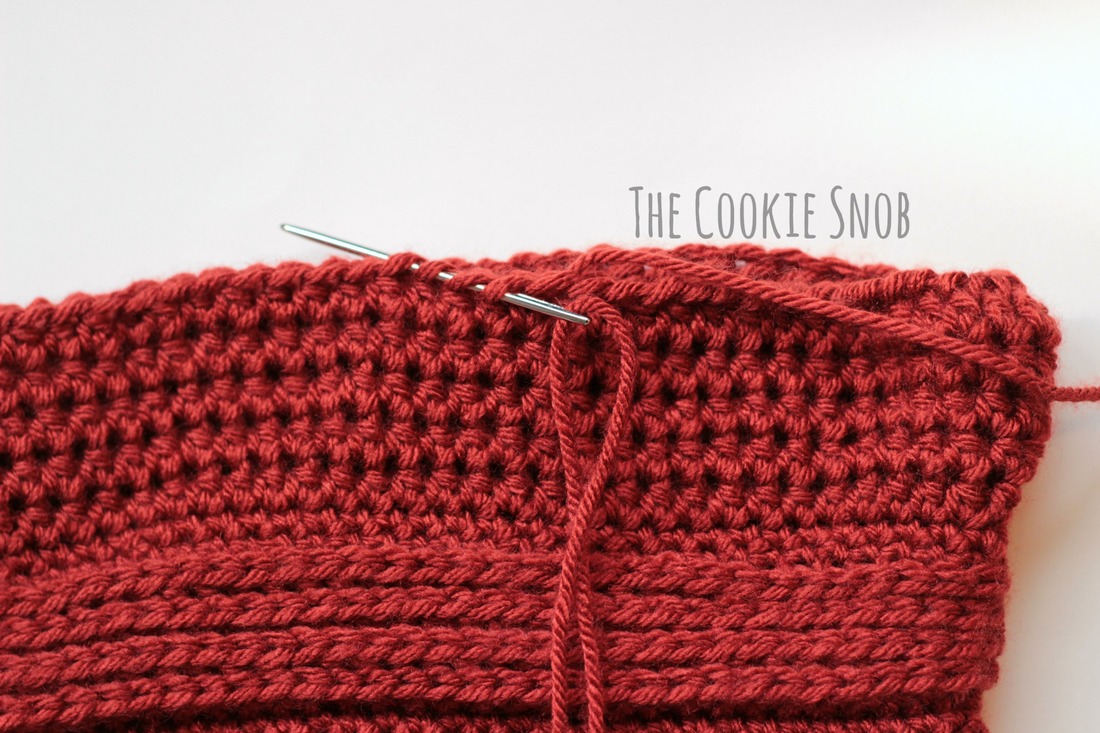
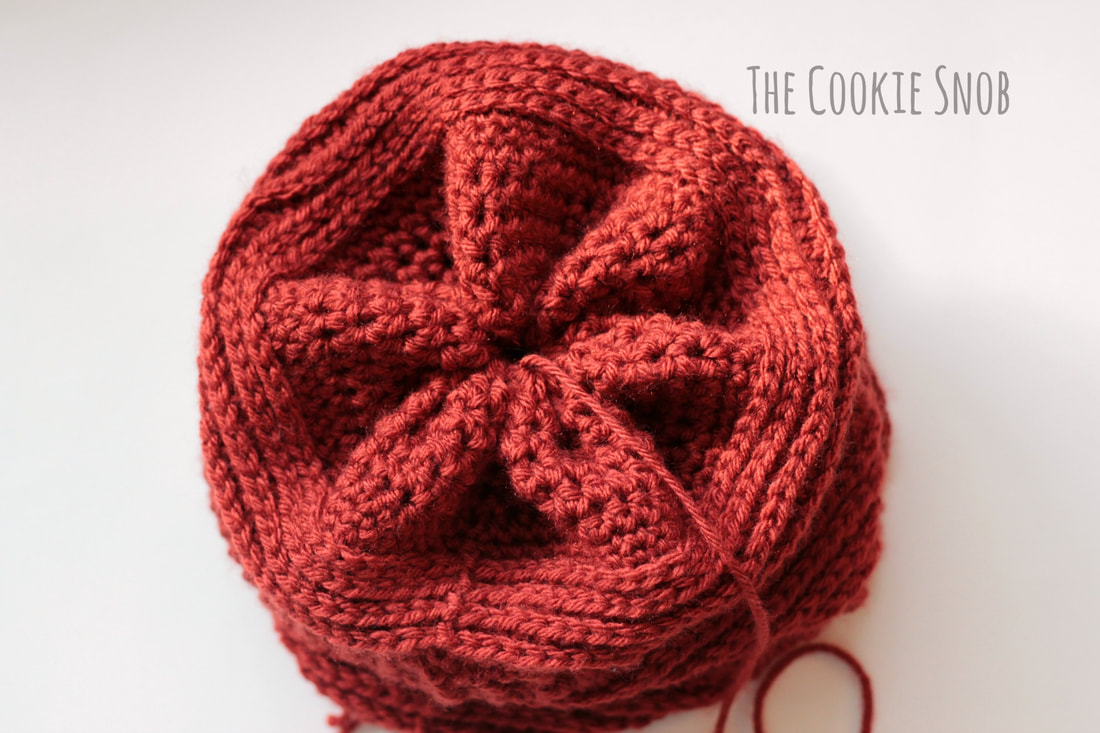
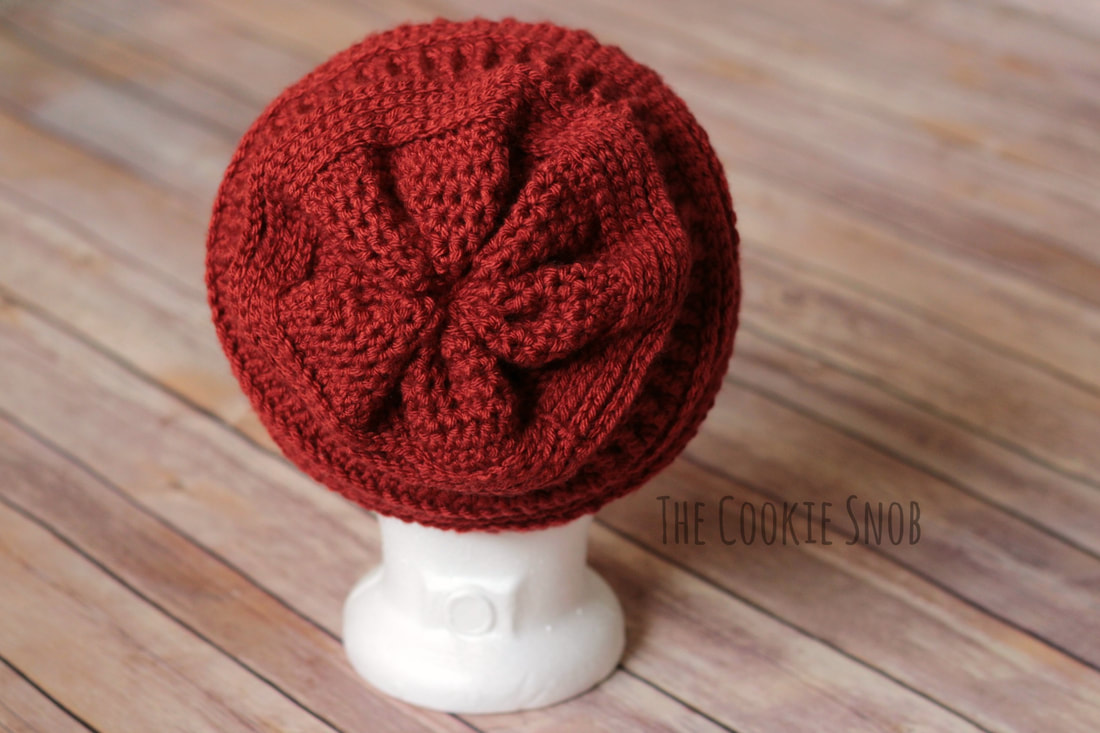
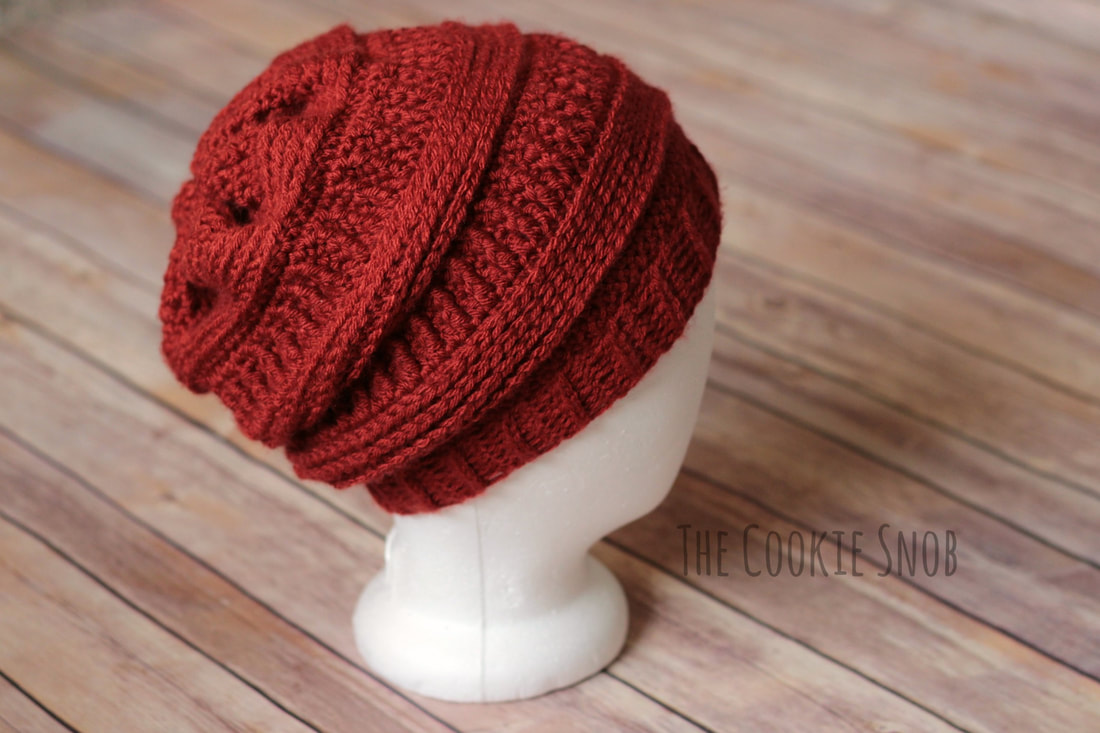
Some of you have been making my 3 mL slouchy beanie pattern, and it's been super cool! I have loved seeing your pictures and hearing your feedback. But there are also a few questions that I've been asked several times about the pattern. So I decided to put together a quick Frequently Asked Questions (FAQ) post about this pattern. If you've found yourself with questions about this pattern, take a look through these FAQs and solutions and feel free to contact me if you have any additional questions. Like I used to tell my students, "If you have a question about something, the odds are good that someone else does too." Is there any other way to do the brim? Yes! If you're not a fan of the way the brim is written, you can really easily substitute any other brim you prefer. I would recommend that you still work the brim "sideways" in short rows and then crochet along the edge for the body of the hat in order to maintain the right stretchiness that you would want for a brim. Using something like a fpdc, bpdc pattern wouldn't have the same elasticity, even if it would have a similar ribbed look. In round 10 of the body, my stitches keep doubling. Help! This is the round where you make the ribbing by alternating between sc and fpdc. If you work both a sc and a fpdc in the same stitch, then this would double the number of stitches. You do NOT want to do this. You want to make sure that you're only working one stitch in each of the stitches from the previous round so that you can maintain the same number of stitches. In other words, in the first stitch, you'll work a sc. In the second stitch, you'll work a fpdc. In the third stitch you'll work a sc...and so on. For round 12, should I work the fpdc around the sc in round 11 or around the fpdc from round 10? You should work the fpdc from round 12 around the fpdc from round 10. That way the posts of the fpdc will be connected, making a neat ribbing. If you work around the sc you'll get more of a gap, which could also be another explanation for for the next problem (see below). My ribbing doesn't look right; there's a gap in the middle of it. What's wrong? This gap can be caused by the round of sc (round 11). You'll notice that on mine, it looks neat and connected. But if you're a really loose crocheter or if you make really tall sc, then you might get a small gap. In this scenario, you can just skip round 11. In the picture below, I've done the first bit of ribbing (at the bottom) as written and the second bit of ribbing (at the top) omitting round 11. As you can see, they look fairly similar. I find that without the round of sc, the ribbing tends to lean a tiny bit to the right and the dc are more scrunched looking, but it's barely noticeable (and may not happen if you're a loose crocheter). So I still recommend round 11 if it doesn't disrupt your ribbing because I think it looks neater, but if it does make a gap, just skip it. It should be fine. My textured rows seem to be inside out. What happened? This can happen if you join the yarn around the brim with the wrong side facing out. The pattern specifies that the right side should be facing out as you begin to work in the round in order to avoid this. But, life happens sometimes, so don't panic if this happens to your hat. Once you start working rounds 4-8, it'll become really obvious which side is facing out. If the wrong side is facing out and you don't feel like frogging it, you can just changed the ribbing. You can either do a [sc, bpdc] around, or you can do a [fpdc, bpdc] pattern, which will be reversible. Then you can just flip the hat inside out when you're done. It won't look exactly the same because the "wrong side" of sc stitches will be facing out, but it'll still be a really similar looking hat. I think my hat is inside out. When I work the body of the hat, the 3rd loop is in the back. Why isn't it in the front? Okay, so this actually isn't a problem; it's supposed to be this way. When you work in the 3rd loop while making the brim, the 3rd loop will always be in the front, but that's just because you're turning the piece as you go. When you work the hat in the round without turning, the 3rd loop will always stay on the inside of the hat. I tried to get a picture of working the 3rd loop on the backside (see the picture below), but if this still seems confusing, I recommend working the snail pattern from the 3rd Loop Tutorial. Either way, your hat is correct, so keep on going! My hat is too big! What can I do? There are basically 3 different scenarios here. Depending on which way your hat is "too big," you'll want to do different things to fix it. Scenario 1: The hat is too big all around This issue comes down to gauge. Did you make your gauge swatch? (Instructions are found in the original post.) I know, I know. No one likes making gauge swatches. I'm guilty of ignoring them too. But would you rather spend a few minutes making a small square or spend hours making a hat, only to find it's way too big? As a show of solidarity, I made one with you. Feel better? Alright, now that you've made your gauge swatch, compare it to mine. I crochet tighter than average, so if yours is a different size, it's probably too big (rather than too small). Try moving down a hook size and remaking your gauge swatch. Does it match up now? If so, great! If not, think about trying a different hook size or yarn. But since this is a slouchy hat and you need a good drape, you should check one more thing before moving on, even if you do have a matching gauge. Are the stitches in the swatch too tight or stiff? If so, you'll want to go back up to the larger hook size; to compensate, you'll need to decrease the number of stitches and the height to help keep the hat proportional. In this case, you'll want to take a look at the solutions for Scenarios 2 and 3 as well. Scenario 2: The circumference of the hat is too wide If you're happy with your gauge, but you just want a different circumference for the hat (if you're making a child sized hat, or if you prefer a less baggy slouchy hat, for example), then you can just decrease the number of stitches for the body of the hat. As it says in the pattern, as long as you have an even number of stitches, your hat will work out great! This gives you a lot of flexibility to personalize the hat however you'd like it to fit. In case you're wondering what the original dimensions are when following the gauge as written, the original hat is approximately 20.5" in circumference at the widest point (the measuring tape slipped a tiny bit in the picture below). Scenario 3: The hat is too tall If you prefer a less "slouchy" slouchy hat or if you just want it shorter (as for a child sized hat), you can decrease the number of rounds in the hat. If it needs to be just a little bit shorter, I would recommend omitting some of the final hdc rows. If you need a couple inches or more off the hat, you can alter the pattern by omitting the last repeat or by decreasing the number of rows in the ribbing or 3rd loop section. If you'd like an idea of how to do this, the pattern for the messy bun version of this hat is a great example. And, if you're wondering about the original dimensions as written, the original hat is 10" tall (including the brim) before closing up the top. I'm confused by the instructions for closing the hat. Is there another way to finish it? Closing off the hat is actually a lot easier than it may look when you're just reading it. When you actually have the hook in hand, it should seem a lot simpler. But if it doesn't, never fear. There's a basically foolproof alternative. After you finish crocheting, fasten off the hat and leave a long yarn tail. Then, using a tapestry needle, weave the tail through the last round. I recommend weaving it through the front loop only of each stitch (as shown below), for a tighter closure. Then pull the tail taut. This will close off the top like a drawstring bag. There will probably be a small hole leftover, but you can stitch it shut with the remaining yarn tail. I recommend doing the stitching on the inside of the hat so that the outside can remain neater. I still prefer the original closure method, because I think it looks better, but the woven tail will do the trick. And if you're going to add a pompom to the end of the hat, it will help cover up the small indentation, so the closure method won't matter as much. I hope that you find this helpful as you're working through the hat. If you find that you have any additional questions, feel free to contact me in the comments section below or on social media. And if you make one of these hats, please share a picture! I always love to see your wonderful projects! Happy hooking!
12 Comments
Barbara
4/11/2018 05:24:48 pm
Please explain what you mean by working the half dc in the 3rd loop for the brim
Reply
Erin
4/12/2018 02:38:11 pm
Hi Barbara,
Reply
Anne
1/31/2024 09:44:03 am
How to work half dbl crochet in 3rd loop
Reply
Gloria
8/31/2019 06:57:57 pm
I was not able to figure out the original instructions on how to close the top, but the alternate way of using the needle worked great. Loved the pattern! Thanks for sharing!
Reply
Meg
1/14/2020 04:27:31 pm
Feeling stupid over here.
Reply
Meg
1/14/2020 04:47:22 pm
Disregard my question plz, crocheting while sick and my brains a little slow lol.
Reply
Karen
4/19/2020 09:12:27 am
Does the chain 2 at the start of round 9 count as a dc?
Reply
Erin
4/20/2020 11:03:29 am
Hi Karen,
Reply
Nour
3/8/2022 10:45:11 pm
Hello! Do you turn your work once you get into the body of the hat or keep working on the same side? I wasn't sure since you specified turning in the instructions for the brim.
Reply
Nour
3/10/2022 08:20:10 pm
Never mind -! I finally noticed after a lot of trial and error (and frogging) that you put "across" to mean building the new row on the inside part of the stitch under it, so no turning!
Reply
Victoria Seymour
11/11/2023 10:24:18 am
I see that it says it takes a skein of yarn. But how many grams or yards? I want to use my left over yarn, but I want to make sure I have enough.
Reply
Sam
1/31/2024 04:03:59 am
Hi! I absolutely love this hat and have learned a bunch of stitches in the process. Thank you!. I’ve read the instructions and your FAQ posts, and yet I’m struggling with row 10. I understand that rather than doubling my stitches, I should alternate between fpdc and sc. But I still can’t figure out two things:
Reply
Leave a Reply. |
Welcome!Thank you for stopping by to visit my own personal corner of the web! Feel free to take a look around and check out what I've been crafting, crocheting, or baking. Hopefully you'll find something to inspire your own creativity! Archives
March 2024
|



 RSS Feed