|
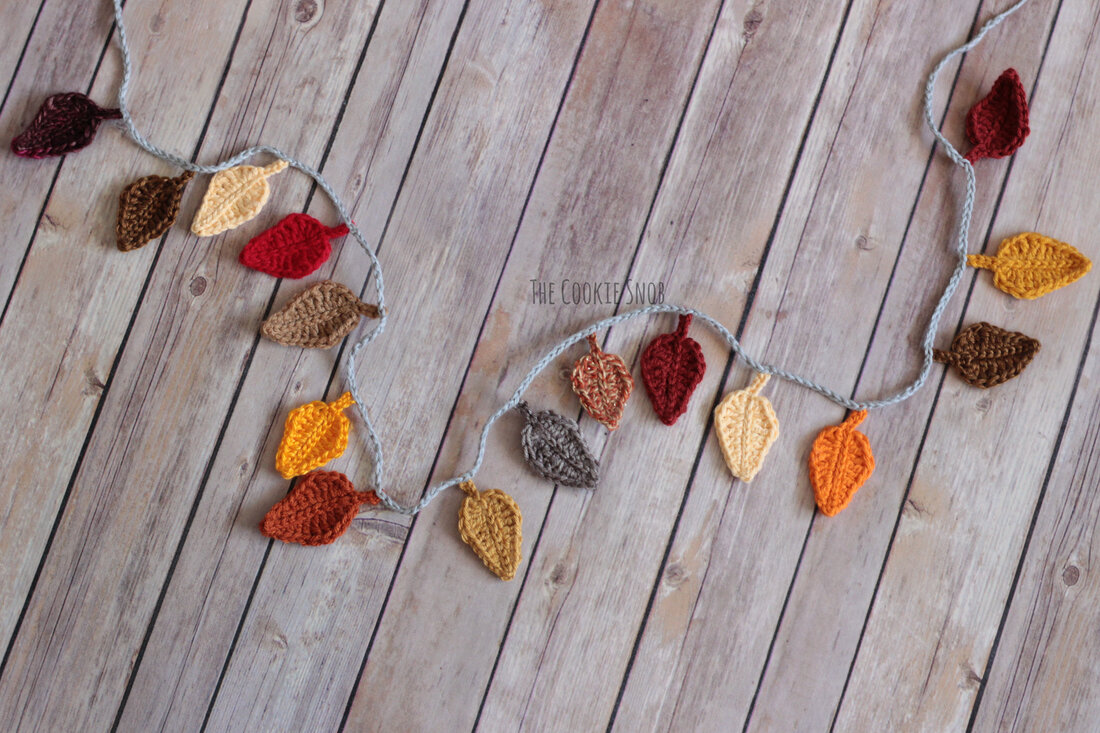
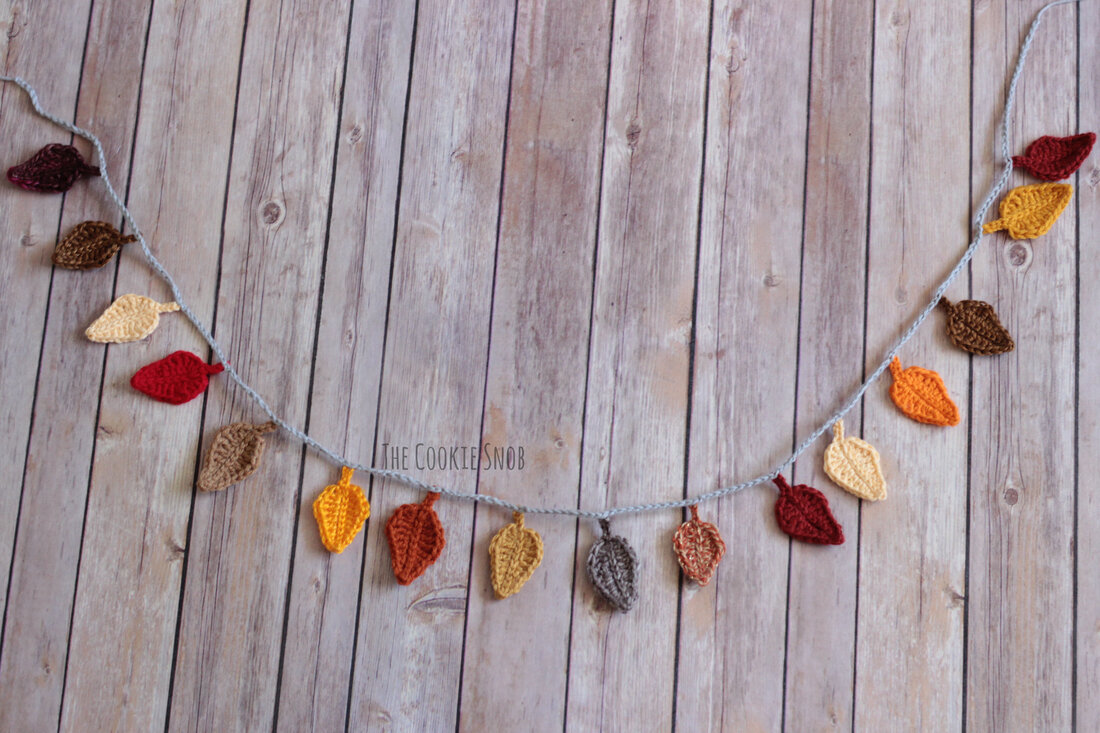
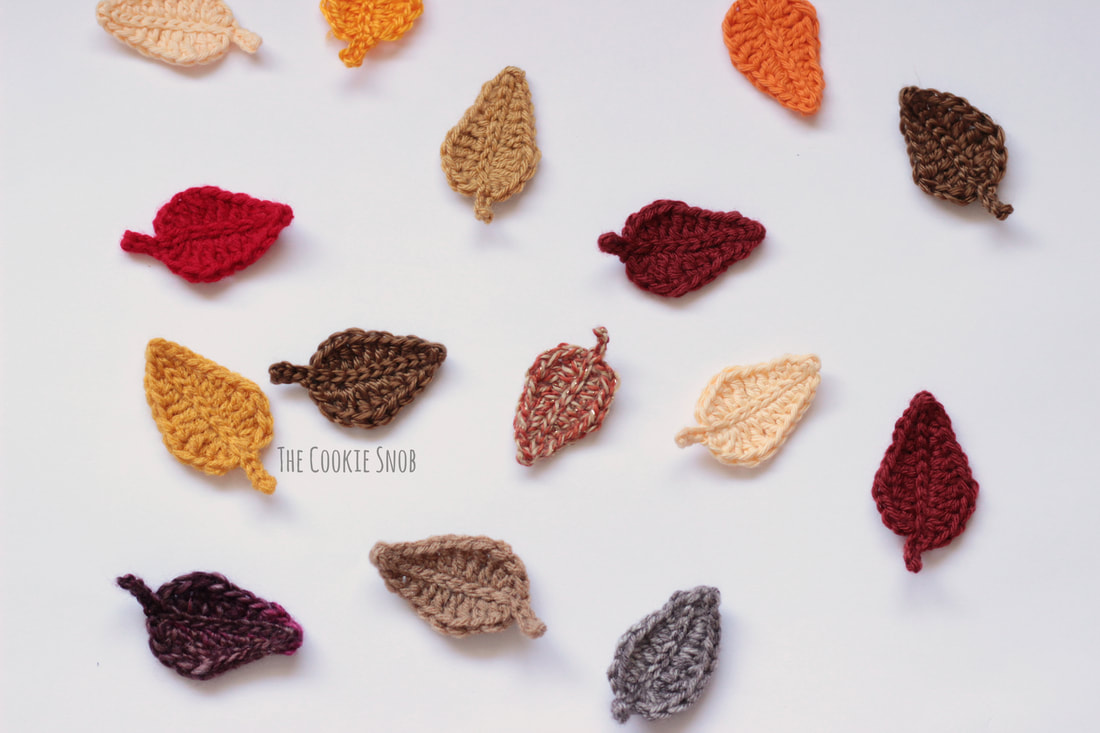
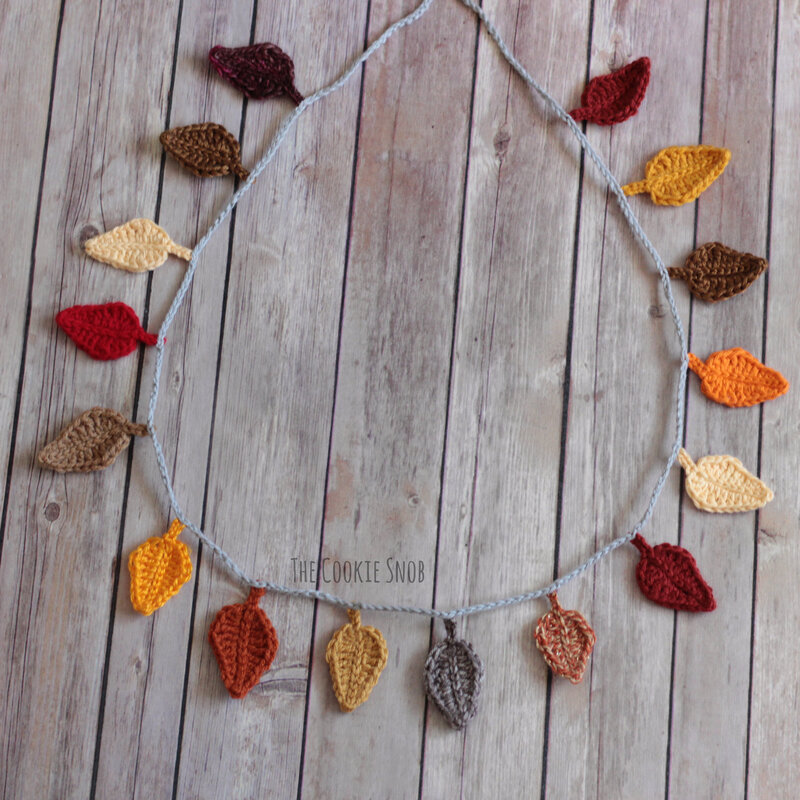
I LOVE deciduous trees. Their lush green leaves in summer. Their hopeful blossoms in spring. Even their bold, bare branches in winter (aka "dead stick season," aka "the worst"). But nothing leaves me in awe quite like their brilliant leaves in fall. Now those are swoon-worthy, even for the less arboreally-minded among us; I'm pretty sure it's impossible not to see the beauty in vibrant fall foliage. And since it's officially fall now, it only seemed right to pay homage to my favorite feature of one of my favorite things using my favorite medium. This leaf garland was exactly what I needed. With a little bit of yarn magic, I now have a tiny piece of endless fall indoors. What could be better? The leaf pattern for this garland actually began its life as the center of a granny square I was designing for an afghan a couple years ago. I managed to make it into a decent looking square, but the process of squaring it off was somewhat fiddly and I wasn't feeling confident that I could make the pattern clear enough for people to follow with consistent results. So it was banished to the pile of unpublished patterns (dun dun DUN). But I heard the leaf calling to me this year, so I rescued just the center of the square and repurposed it to make this lovely garland. Of course, the leaf could be handy for all sorts of things, so feel free to get creative with it! It would make an adorable appliqué, keychain, or just an adorable little leaf. You could even get cutesy and stitch a face on it, make a leaf buddy! (Or maybe would that be creepy? Probably depends on the facial expression...) Anyway, this leaf pattern is definitely a winner. Especially since it's all worked in one piece! That's right, no sewing. (Lazy crocheter over here, remember?) And it uses only the smallest amount of yarn, so it's a perfect stash buster. I made all of mine from scrap yarn. Let's take a look at the pattern. I've included both a stitch chart and written instructions (along with step-by-step photos) for the leaf, so you can use whichever method works best for you. If you'd like an ad-free printable PDF version of this pattern, you can find one on Ravelry. Stitch Glossary: st(s) = stitch(es) ss = slip stitch ch = chain sc = single crochet hdc = half double crochet dc = double crochet tr = treble (triple) crochet Materials:
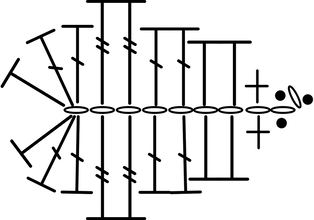
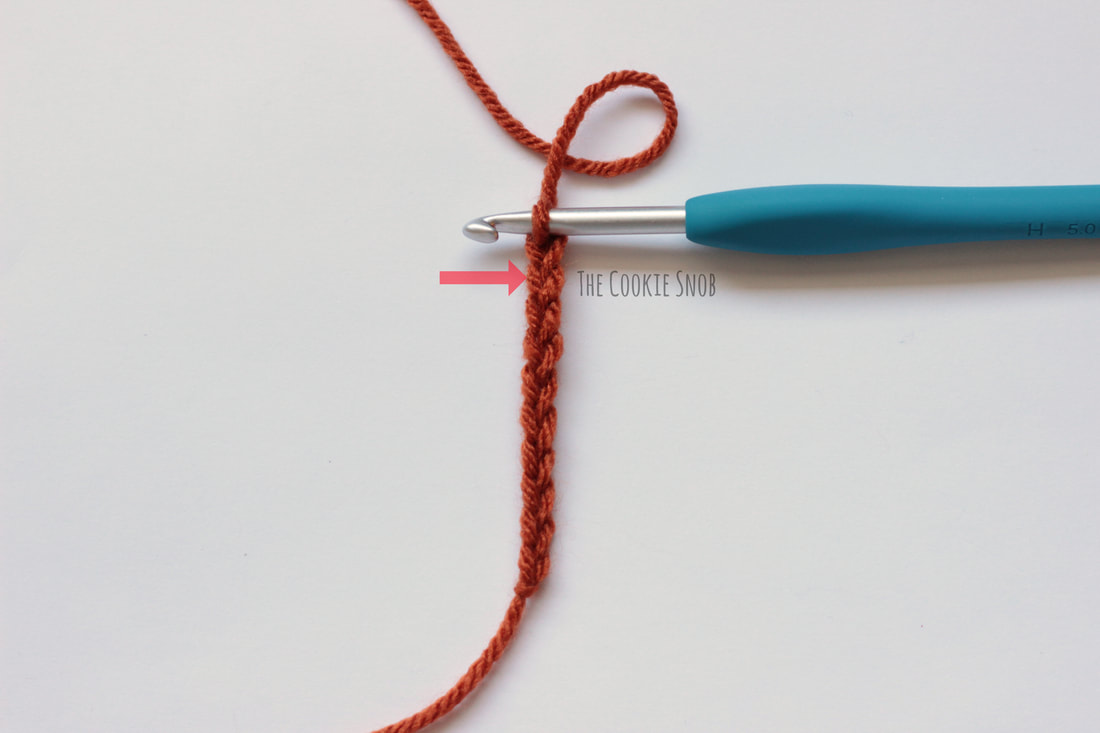
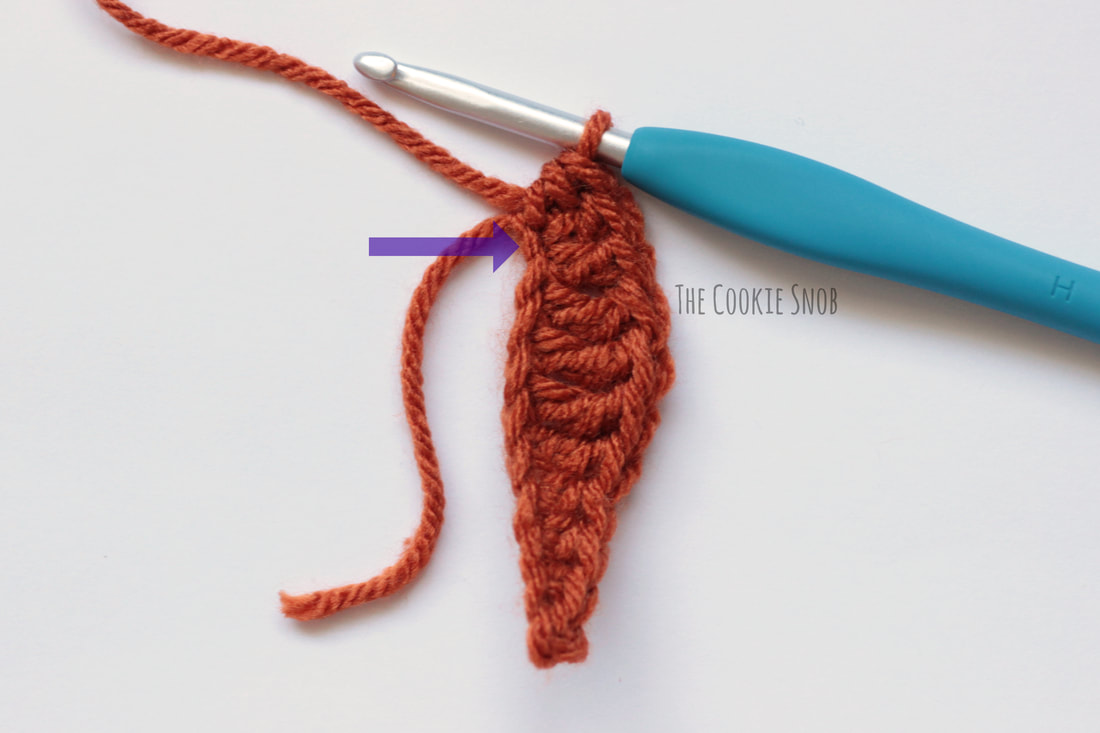
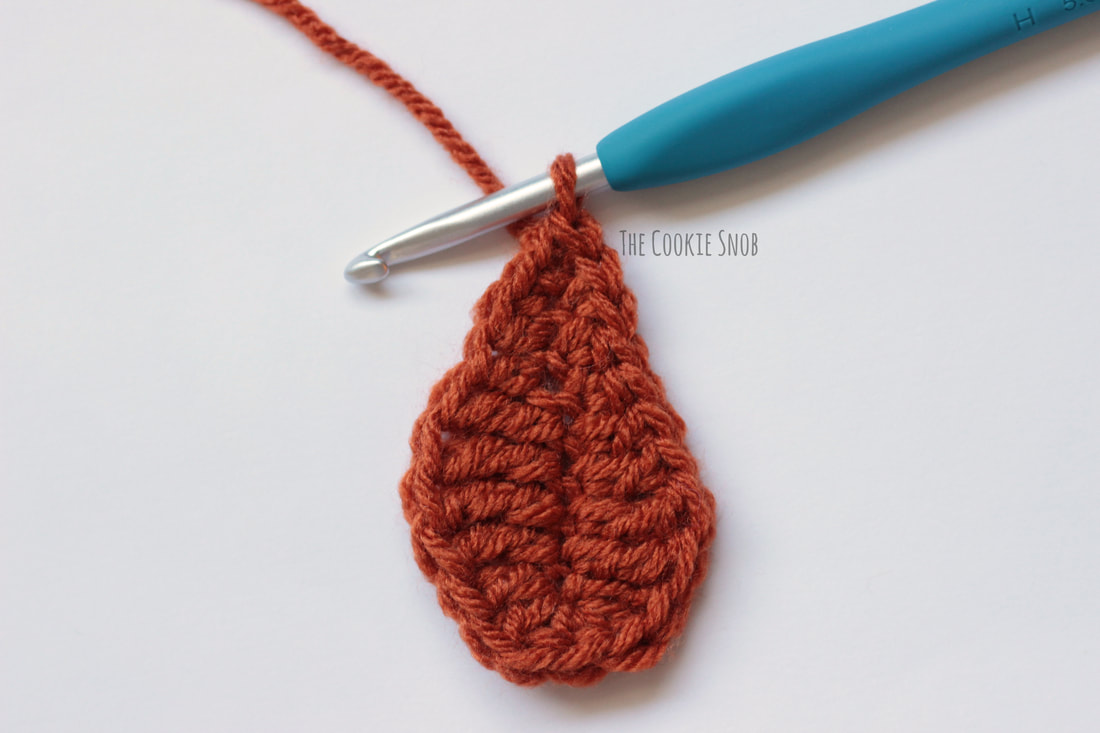
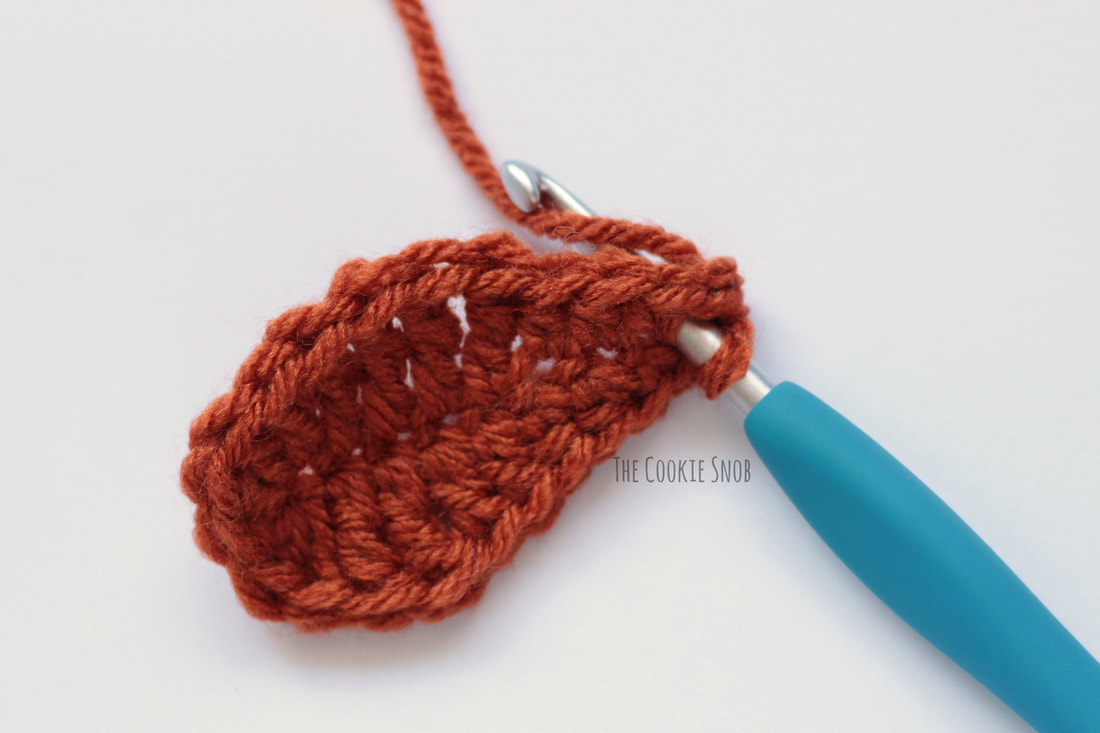
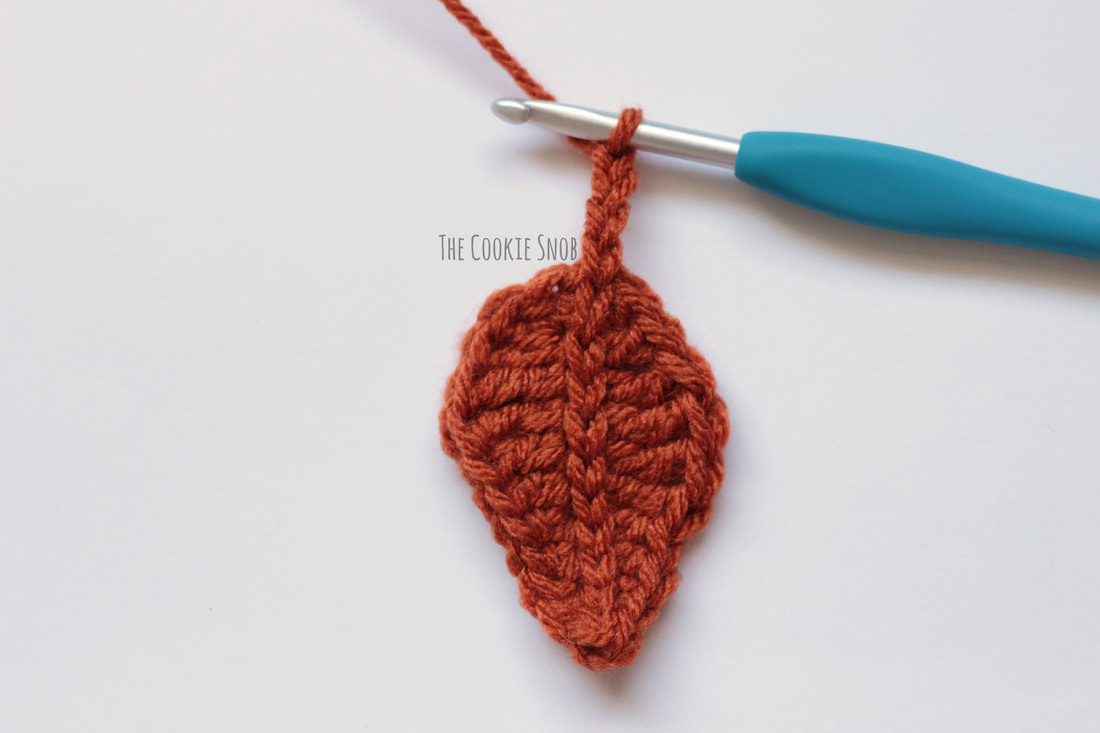
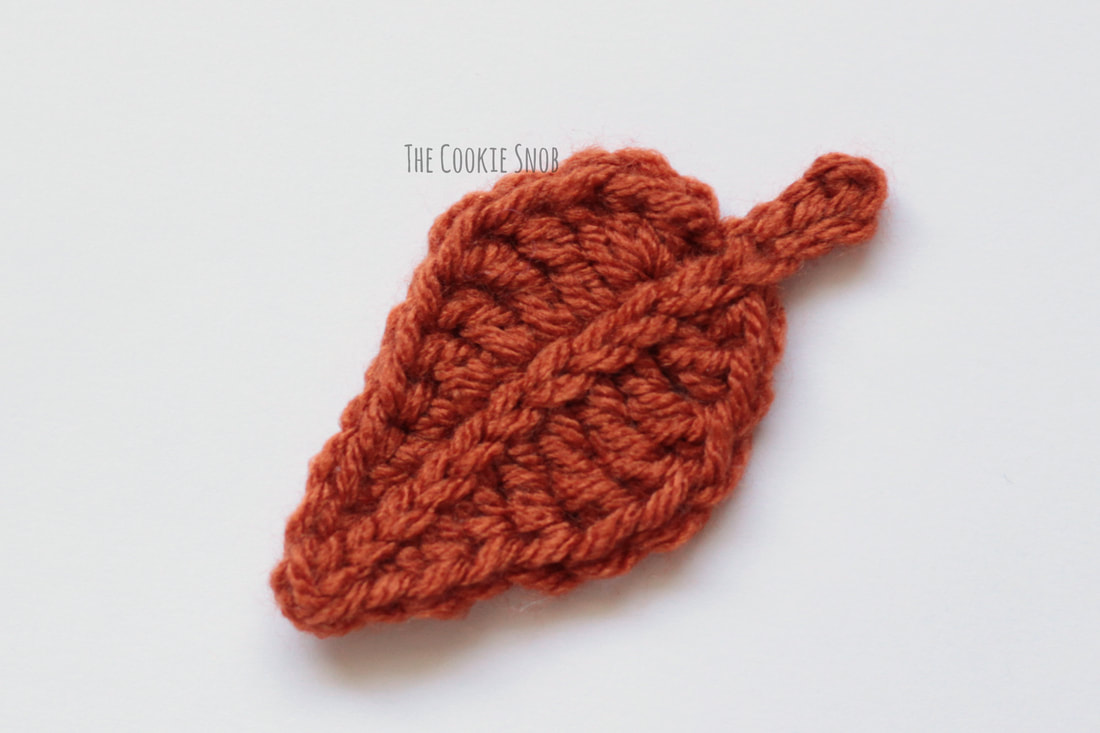
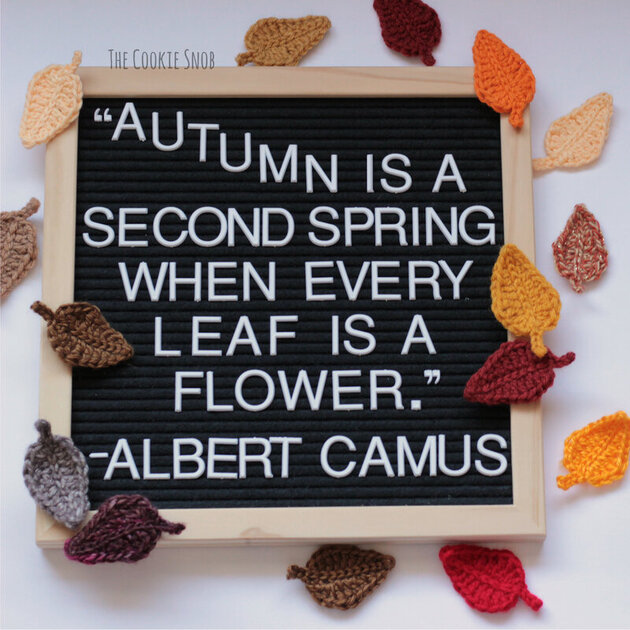
Leaf Base: Follow the stitch chart as shown, or follow the written instructions for the base. Ch 10. We're going to work stitches down one side of the chain and then back up the other side, so I recommend working into just one loop of the chain as you go to make it easier to keep track of all your stitches; I've marked the first one you'll be using with an arrow in the picture below. Ss in the 2nd ch from the hook, sc in the next st, hdc in the next 2 sts, dc in the next 2 sts, tr in the next 2 sts, [dc, dc, hdc] in the last ch. Now we're going to work back up the chain using the remaining loops. I've marked the first one on this side with an arrow. Working on the other side of the ch: [hdc, dc, dc] in the first st, tr in the next 2 sts, dc in the next 2 sts, hdc in the next 2 sts, sc in the next st, ss in the last st, ss to the first ss to join. Don't fasten off yet. Now we're going to add the stem. Stem: Insert your hook into the center of the leaf, just below the tip. Yarn over and pull through the leaf and the loop on your hook (first surface crochet made). Continue to surface crochet down the center of the leaf until you get to the far end. At the far end of the leaf, ch 4. Ss in the 2nd ch from the hook and in the next 2 sts, ss to the leaf base to join. Fasten off and weave in ends. You did it! Hopefully the pictures, chart, and written instructions together will be enough to make it easy to follow, but if you get stuck at any point, feel free to contact me and I'll do my best to help you out. Once you've made as many leaves as you'd like, we're going to attach the leaves to the garland string. The more leaves you use, the longer your finished garland will be. Garland String: Ch 20 (or more or fewer depending on how long you want the ends to be). Take one of your leaves and insert your hook through the end of the stem (or in another point of the leaf if you want a different orientation). Yarn over and pull through the stem and the loop on your hook. The leaf should now be attached. Ch 10 and repeat with the next leaf. Make sure that your leaves all have the right side facing you while you're slip stitching through the stem so that they all face the same way on the finished garland. Once you've attached all of your leaves, ch 20 and fasten off. Weave in ends. (Note: in the picture below, the leaves are 5 ch apart, but it was too close together so I frogged it and switched to 10 ch apart for the final version.) And there you have it: a gorgeous fall leaf garland. I hope that it brings a little bit of fall leaf magic indoors for you! If you have any questions or comments about this pattern, you can reach me in the comments section below, by email, or on social media. And if you end up making one or using the leaves for something else, I'd love to see! This pattern has a ton of potential for customization and I love seeing your beautiful makes. Your creativity always inspires me. In honor of fall, I'll leave you now with the words of Albert Camus: I hope you enjoy your autumn flowers! Happy hooking! Want to make sure you don't miss out on any future blog posts? Join my mailing list! (Spam free, I promise!) ***You're welcome to do whatever you'd like to with finished products made from this pattern but if you do sell them, I ask that you link back to my page. You may not copy this pattern, repost it anywhere (either altered or in its original form), or claim it as your own. You may not use any photos on this site for your own use. ***
21 Comments
Viki
10/26/2019 09:27:33 pm
Thank you... Soooo cute! My daughter is gonna be SO jealous ... lol I'm gonna be making SO many leaves! Is there a stitch bigger (longer) than a triple to make a larger leaf?
Reply
Erin
10/30/2019 09:38:34 am
Hi Viki! I'm glad you like the leaves! And yes, there are definitely taller stitches you can use to adapt the pattern. Here's a great blog post about them from Moogly: https://www.mooglyblog.com/tall-crochet-stitches/
Reply
Sam
11/2/2019 09:15:48 pm
Just wanted to say thank you for this awesome and insanely easy-to-follow leaf pattern! I've been trying several that I found and this one was my fave by far! Thanks so much!
Reply
4/5/2024 11:22:46 pm
Good information has been given which many people have commented here which has given me a lot of understanding and the information given here in the blog is an old business but now it is running from many trending.
Reply
Debra De La Rosa
10/6/2020 01:22:45 pm
Thank You! I like Sam have tried several patterns and this was not only the easiest, but my favorite leaf. It looks like a leaf!
Reply
9/22/2021 12:20:10 pm
It's Fall Season again. I am extremely impressed with your writing skills as well as with the layout on your blog. And also this article is really useful and informative. Thank you for your effort in putting this together. Thank you for this and keep up the nice quality writing, it’s rare to see a nice blog like this one today.
Reply
Sandy
9/26/2021 10:31:48 am
Hello!
Reply
7/25/2023 12:49:44 pm
Thanks for the<a href="https://www.romanticfunplaces.com/"> information</a> you shared about Places To Visit In <a href="https://www.romanticfunplaces.com/places-to-visit-in-lekki-at-night">Lekki At Night</a> I appreciate your efforts and taking the time and sharing this content.
Reply
7/25/2023 12:51:19 pm
Thanks for the<a href="https://www.romanticfunplaces.com/"> information</a> you shared about Places To Visit In <a href="https://www.romanticfunplaces.com/places-to-visit-in-lekki-at-night">Lekki At Night</a> I appreciate your efforts and taking the time and sharing this content.
Reply
Cheryll barron
9/26/2023 10:47:54 pm
Love the fall leaf garland. Leaves are so easy. Do you have a Christmas garland that you could suggest? Thank you.
Reply
10/14/2023 10:42:10 pm
Are you looking for how to download any of your favorite mp3 music, videos, apps, games, mobile applications, and many more? <a href="https://alertmealways.com/waptrick-download-free-mp3-music-videos-apps-games-themes-tv-series-on-waptrick-com/">Waptrick</a> is just the answer to get access to downloading these mobile files without stress. Waptrick is a mobile wap portal that allows users to download amazing files with easy access. The website is mainly for mobile users with low storage devices. The official website – waptrick.com is of the popular mobile sites millions of users visit today to download their favorite mobile contents.
Reply
10/14/2023 10:42:44 pm
<a href="https://alertmealways.com/waptrick-music-download-free-mp3-music-song-on-www-waptrick-com/">Waptrick music</a> is one of the categories under the Waptrick website where you can access full collection of free mp3 music to your device. Without any doubt, for those of you who are familiar with Waptrick, Waptrick is known as a website where millions of users can download free mp3 files completely for free, Mp4 videos, Mp4 movies, Tv Series, Mobile apps, wallpapers, Java Games, Android games, and many more.
Reply
10/14/2023 10:43:30 pm
<a href="https://alertmealways.com/waptrick-games-download-free-android-java-games/">Waptrick </a>is a popular website where you can download free java games, mp3 music, android games, mp3 & mp4 videos, themes, wallpapers, mobile apps, and many more. The waptrick website host millions of visitors on daily basis who visits the site and download their favorite media files. Apart from the listed media content mentioned above that you can download from Waptrick, there are other amazing media files you can access on this website. They include e-Books, Photo Gallery, Song Lyrics, TV series, Themes, and Horoscopes
Reply
10/14/2023 10:44:08 pm
<a href="https://alertmealways.com/waptrick-mp3-download-download-free-mp3-music-video-games-waptrick-latest-songs-on-waptrick-com/">Waptrick Mp3 Download</a> is web portal on the Waptrick.com music download site where you download free Waptrick music and free mp3 songs or music. The music platform offers new and existing user’s access to search for any of their favorite songs from popular musical artistes of the world. If you want to download mp3 songs to your device and you don’t know where to go to, good you are here. This post guides you on everything you need to know about the Waptrick mp3 download – free waptrick music download, videos, and games portal.
Reply
1/21/2024 01:20:58 am
Are you looking for how to access your <a href="https://alertmealways.com/aarp-life-insurance-login-how-to-access-manage-your-account/">AARP Life insurance login </a>page and you are having difficulty accessing it, do not panic and good you are here. First and foremost, The AARP Life Insurance login page offers every policyholder access to manage their account online, make payment, file claims, log in to your account to view your contact information, create account and reset your password, upload documents, and even manage your beneficiaries.
Reply
1/21/2024 01:26:11 am
Are you looking for how to access your <a href="https://alertmealways.com/globe-life-eservice-center-how-to-access-manage-your-account/">Globe Life eService Center</a> and you do not how to go about it, good you are here. The Globe Life’s eService Center offers you access to answer any question regarding your policy questions 24-hours a day. However, there are certain requirements you will need to access the eService Center and these include email address and password. You must also bear in mind that you will need some important information to access your policy information, and this includes policy number, the insured’s name, date of birth, and Phone number.
Reply
1/21/2024 01:26:45 am
Are you looking for how to Access and manage your PHH Mortgage Login portal and it seems difficult, good you are here. Firstly, <a href="https://alertmealways.com/phh-mortgage-login-how-to-access-your-account-i-make-payment/">PHH Mortgage Login</a> is an online home loan platform that offers you the access to make payment, buy a home, shorten your repayment period, reduce interest rate, lower your monthly payment, refinance your property, check your transaction history, and other variety of loan options to customers which includes conventional loan, VA loan, FHA loan and more. It also offers you as a customer access to view your escrow account balance and payment, review your loan activity and provides all information you need to know about them.
Reply
1/21/2024 01:27:13 am
Are you a homeowner and you are looking for how to access your Essex Mortgage Login portal, good you are here. Firstly, the <a href="https://alertmealways.com/essex-mortgage-login-how-to-access-manage-your-account-make-a-payment/">Essex Mortgage Login</a> offers you access to make your Essex Mortgage Payment, login to your customer portal to access general information, tax forms, documents, payoff requests, statements, speak with customer care representative, and many more.
Reply
Much appreciated! This article is enlightening, and I've <a href="https://www.meeksguide.com/all-oneplus-phones-that-won-mkbhd-smartphone-awards/">gained valuable knowledge</a>. Planning to share it with my friends on <a href="https://www.meeksguide.com/instagram-sign-in-how-to-login-from-mobile-web-on-computer/">Instagram</a> so they can enjoy this read. Additionally, explore this article on the <a href="https://www.meeksguide.com/the-best-phones-of-2023-the-mkbhd-smartphone-awards/">MKBHD Smartphone Awards</a>; it's quite impressive too.
Reply
Leave a Reply. |
Welcome!Thank you for stopping by to visit my own personal corner of the web! Feel free to take a look around and check out what I've been crafting, crocheting, or baking. Hopefully you'll find something to inspire your own creativity! Archives
March 2024
|




 RSS Feed