|
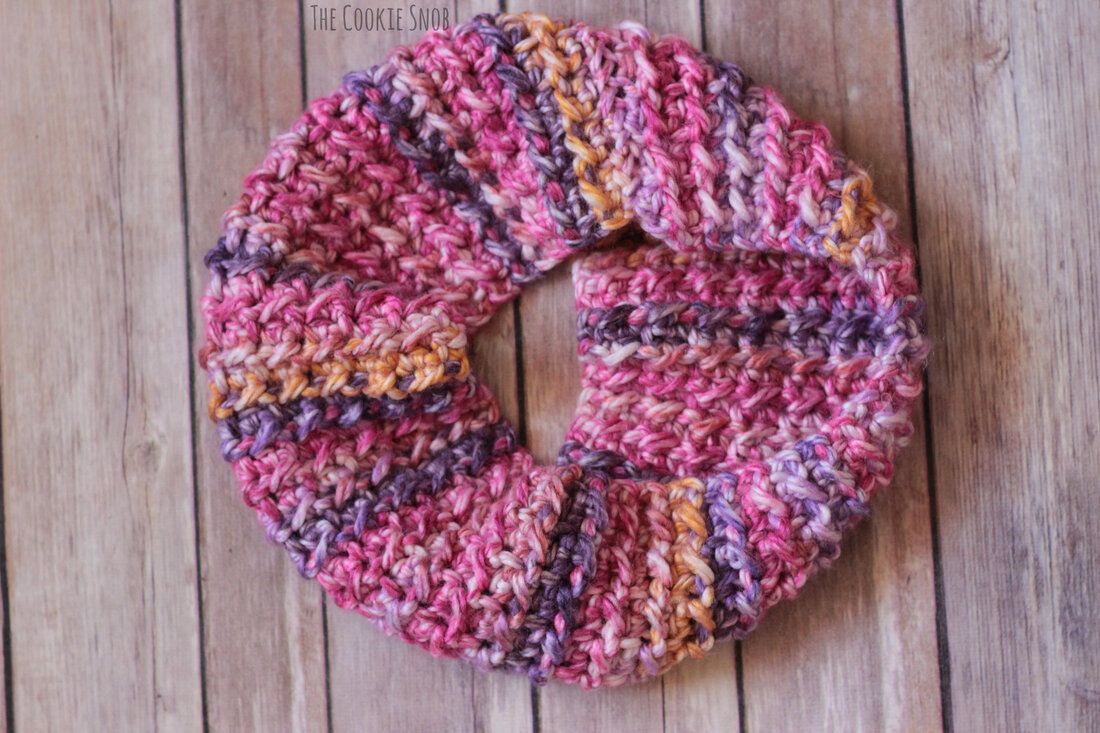
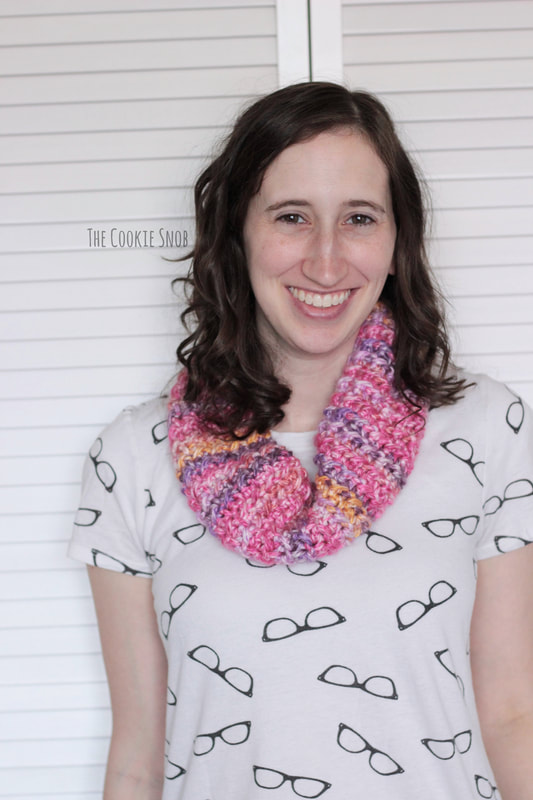
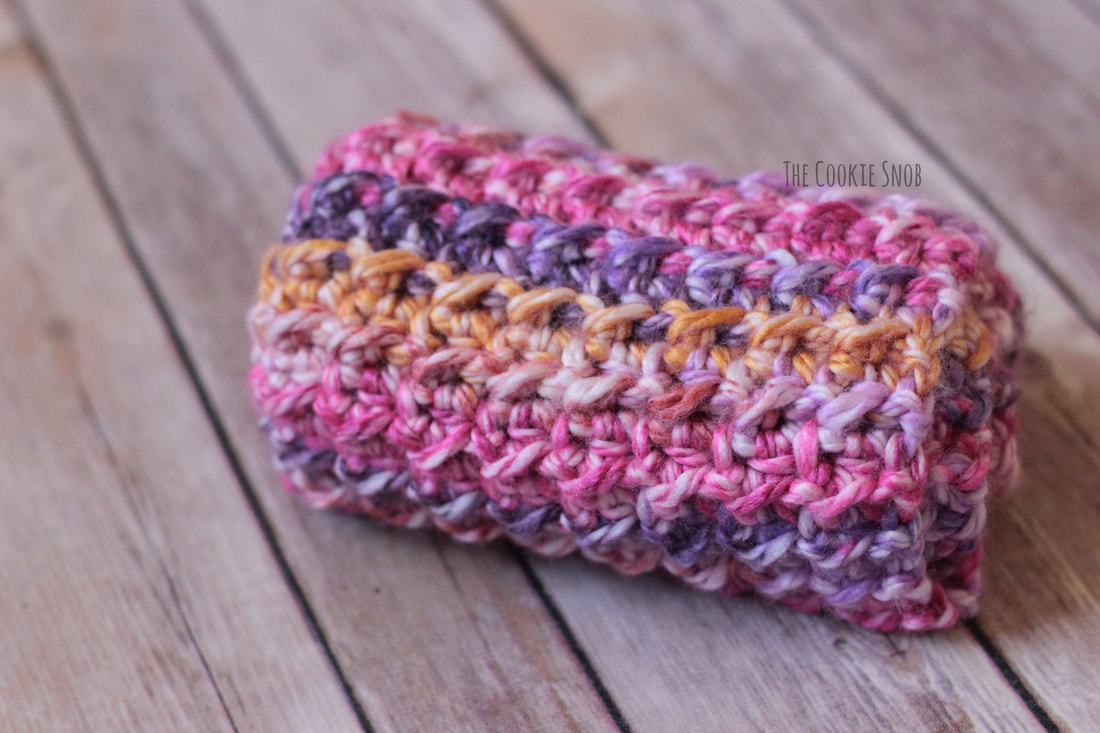
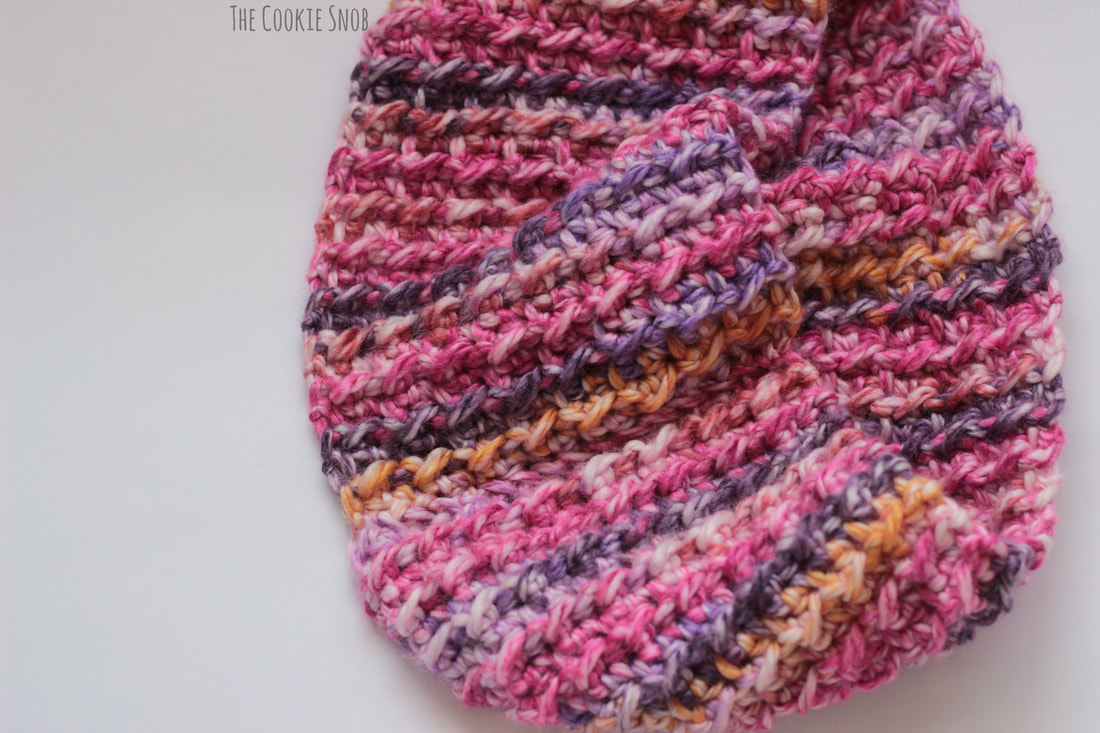
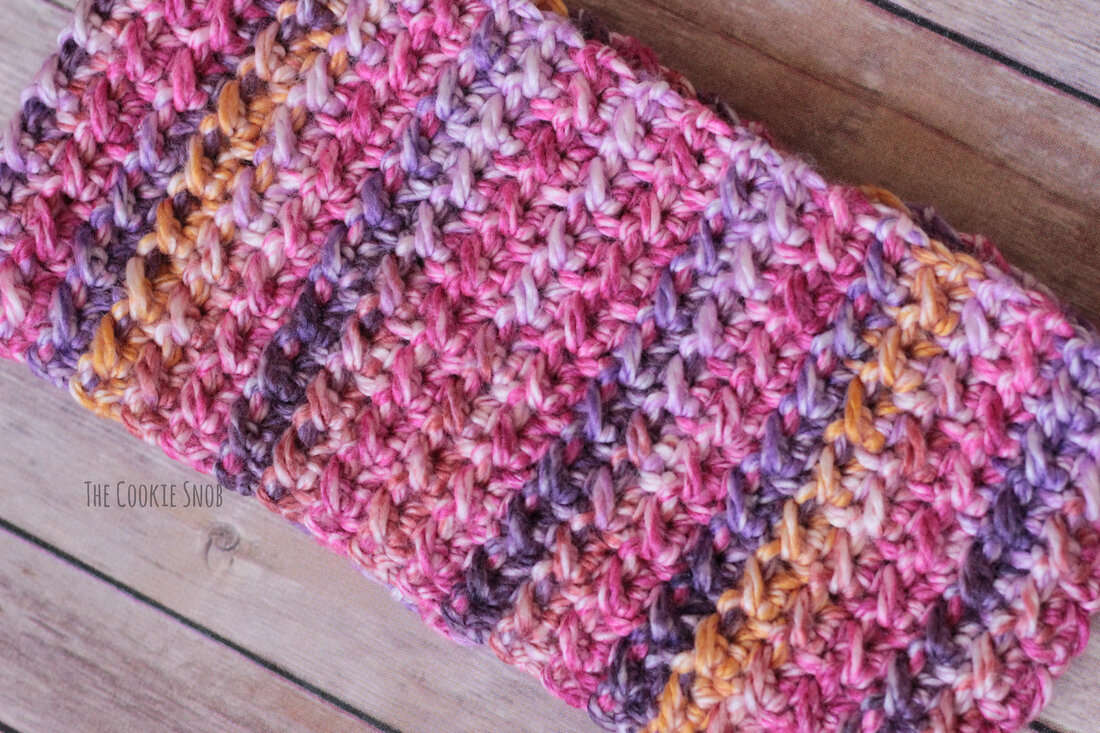
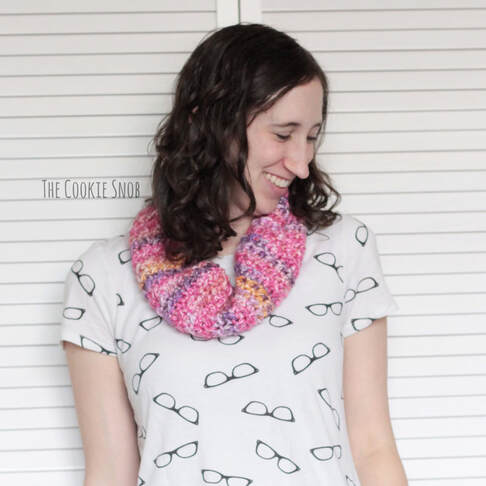
Sometimes, crocheting can get complicated. Don't get me wrong, intricate crochet patterns are stunning works of art and are definitely worth it. But sometimes I find that I just need something completely mindless. No counting, no constantly checking a pattern. Just easy repetitive stitches. So for anyone else who needs something simple and mindful to help them unwind a bit, I have the perfect pattern for you: the Even Moss Stitch Cowl. Even though this pattern is super super simple (I almost hesitate to call it a "pattern," since it's more a concept than anything), it's far from boring. This cowl has some seriously gorgeous texture going on. It uses the even moss stitch, which is just half double crochet and slip stitch. It's that easy! This pattern is perfect for using up any orphaned skeins of chunky yarn in your stash. With a big hook and big yarn, the extra squishy stitches of this cowl come together really quickly. You can also easily customize this pattern to make your scarf wider, narrower, longer, or shorter. And you can even switch up the gauge and use a different weight yarn if you really want to. Just chain an even number of stitches and you're off! So let's check out the pattern and get going! Stitch Glossary: st(s) = stitch(es) ch = chain ss = slip stitch hdc = half double crochet Materials:
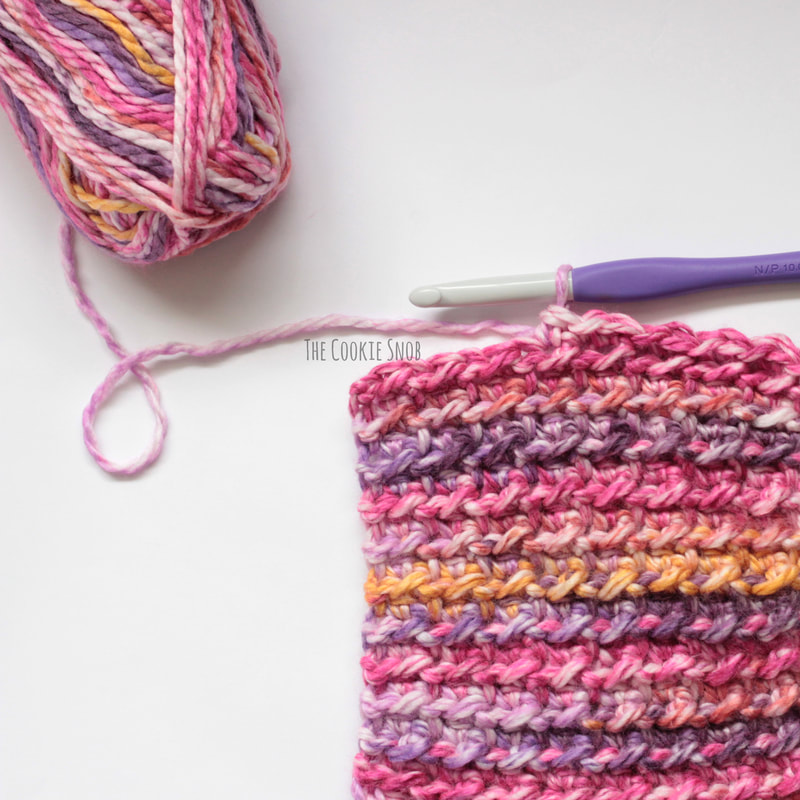
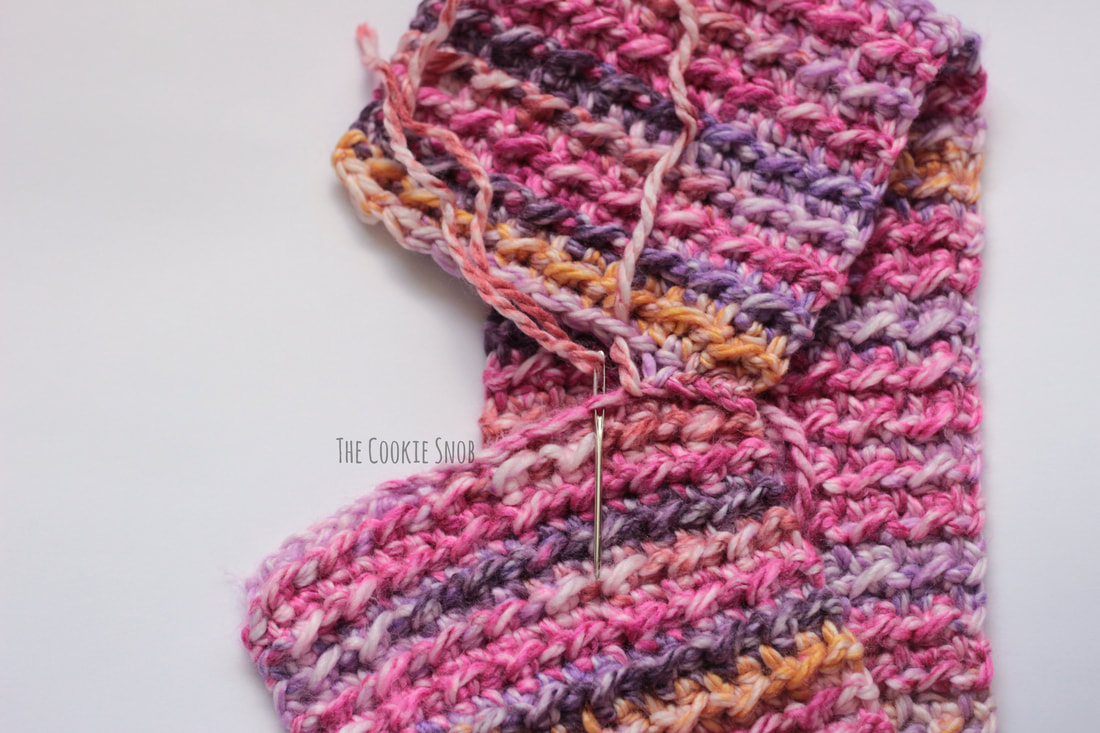
*Note: Apparently the Alpine Authentic yarn has been discontinued. But this pattern should work perfectly as written with another bulky weight (5) yarn of your choice Gauge: For a 6" wide cowl: 2" = 6 sts 2" = 5 rows Ch. 18 Row 1: ss in the 2nd ch from the hook, *hdc in the next st, ss in the next st*, repeat from * to * until the end of the row, turn (17) Row 2: ch 1, ss, *hdc in the next st, ss in the next st*, repeat from * to * until the end of the row, turn (17) You should be working your ss into a ss from the previous row and your hdc into a hdc from the previous row. Repeat row 2 until your cowl measures 26" long (or until your desired length). Once your cowl is the length you want, fasten off, leaving a long yarn tail. Using the tapestry needle and your long yarn tail, stitch the short ends of the cowl together. Now just weave in your ends and you're ready to go! See how easy that was? I hope you enjoy this fun textured cowl! If you have any questions or comments, you can reach me in the comments section below, by email, or on social media. And, as always, if you end up making one, I'd love to see how it turns out! Seeing your beautiful crocheting and the awesome ways you personalize patterns always makes my day. Happy hooking! Want to make sure you don't miss out on any future blog posts? Join my mailing list! (Spam free, I promise!) ***You're welcome to do whatever you'd like to with finished products made from this pattern but if you do sell them, I ask that you link back to my page. You may not copy this pattern, repost it anywhere (either altered or in its original form), or claim it as your own. You may not use any photos on this site for your own use. ***
4 Comments
Liz
11/7/2019 12:19:44 pm
So cute!! Thanks so much!
Reply
Liron
11/9/2019 06:54:56 pm
Thank you for this fun, useful and fabulous pattern! I made it with firmer yarn so it turned out a bit like a neck warmer for me. Sooo beautiful.
Reply
Leave a Reply. |
Welcome!Thank you for stopping by to visit my own personal corner of the web! Feel free to take a look around and check out what I've been crafting, crocheting, or baking. Hopefully you'll find something to inspire your own creativity! Archives
March 2024
|



 RSS Feed