|
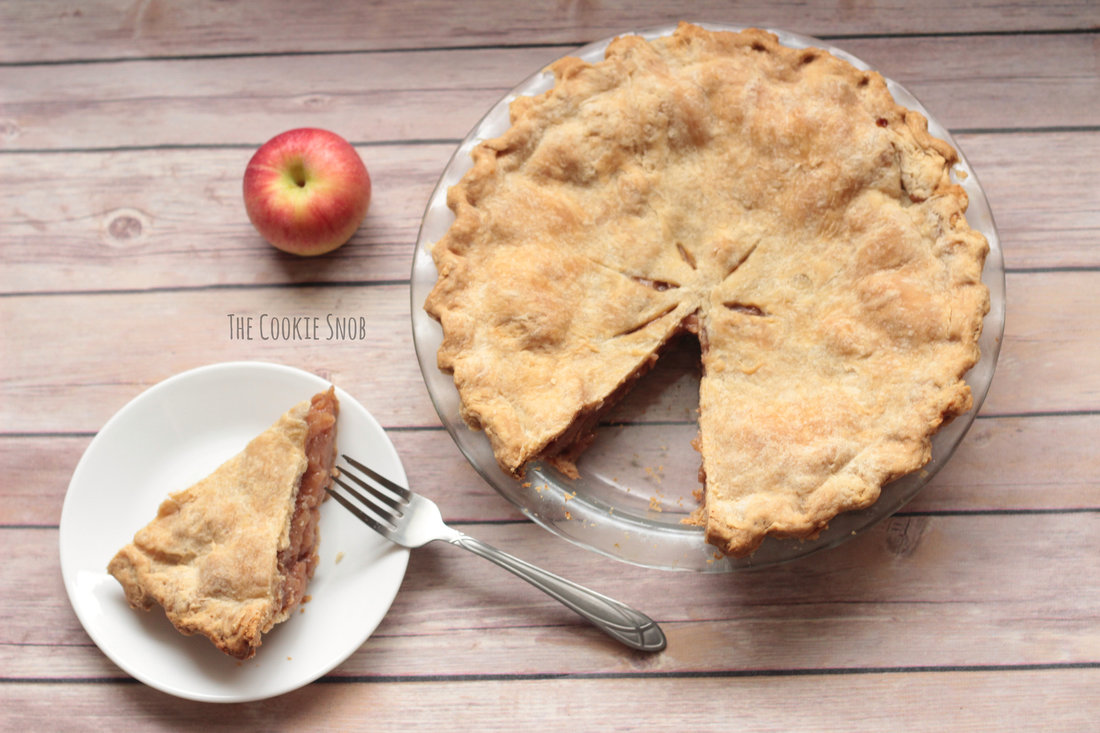
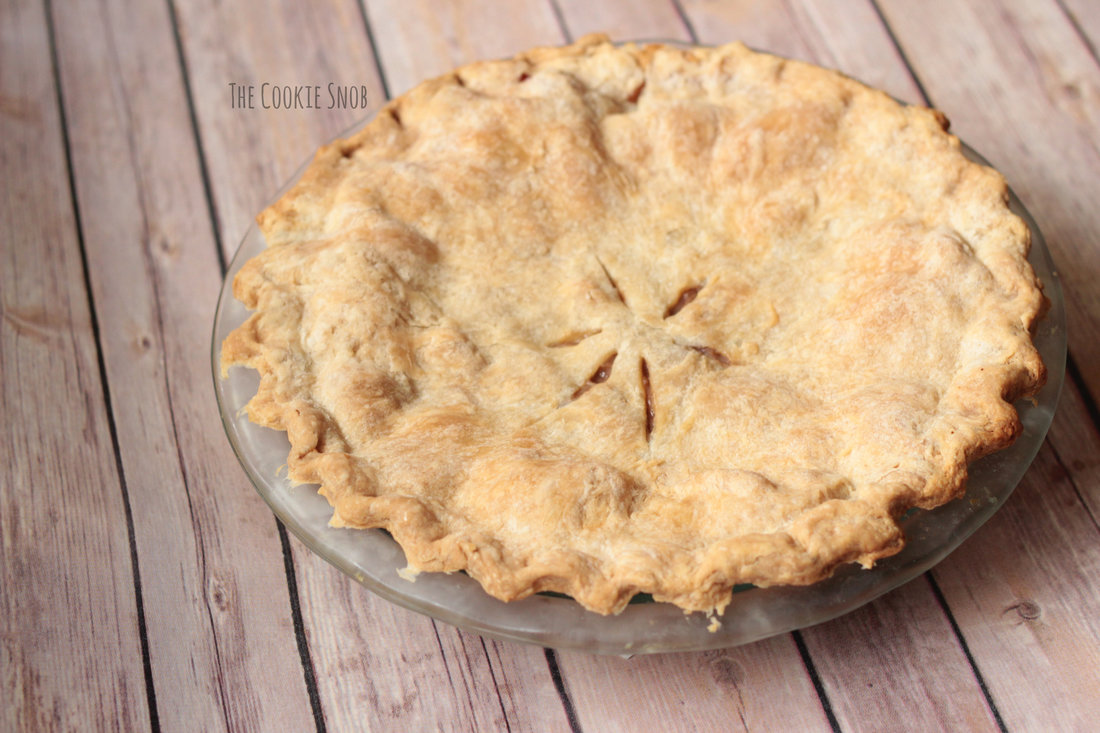
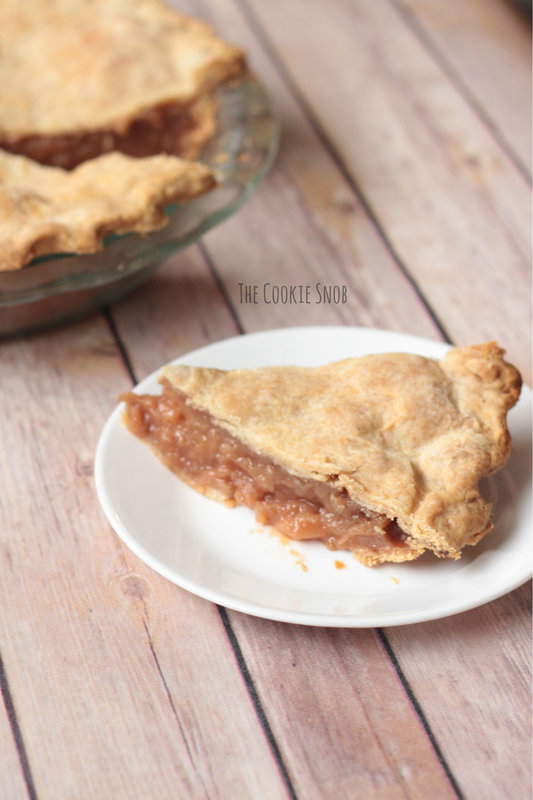
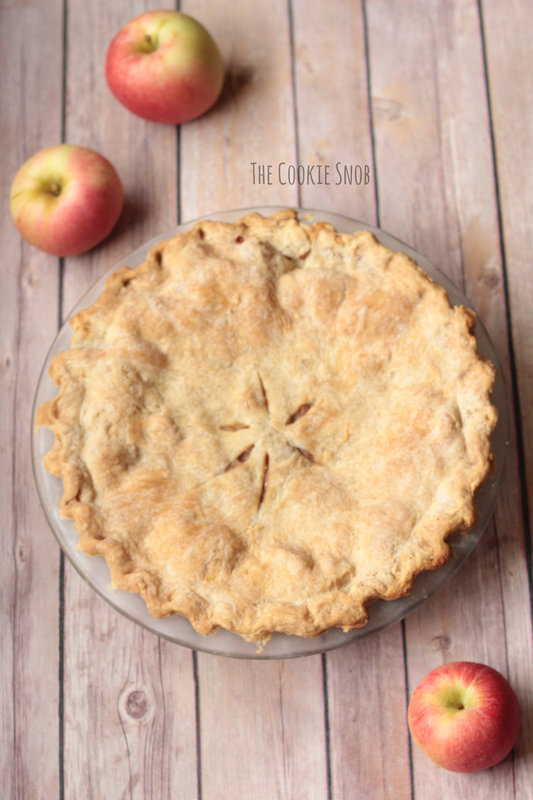
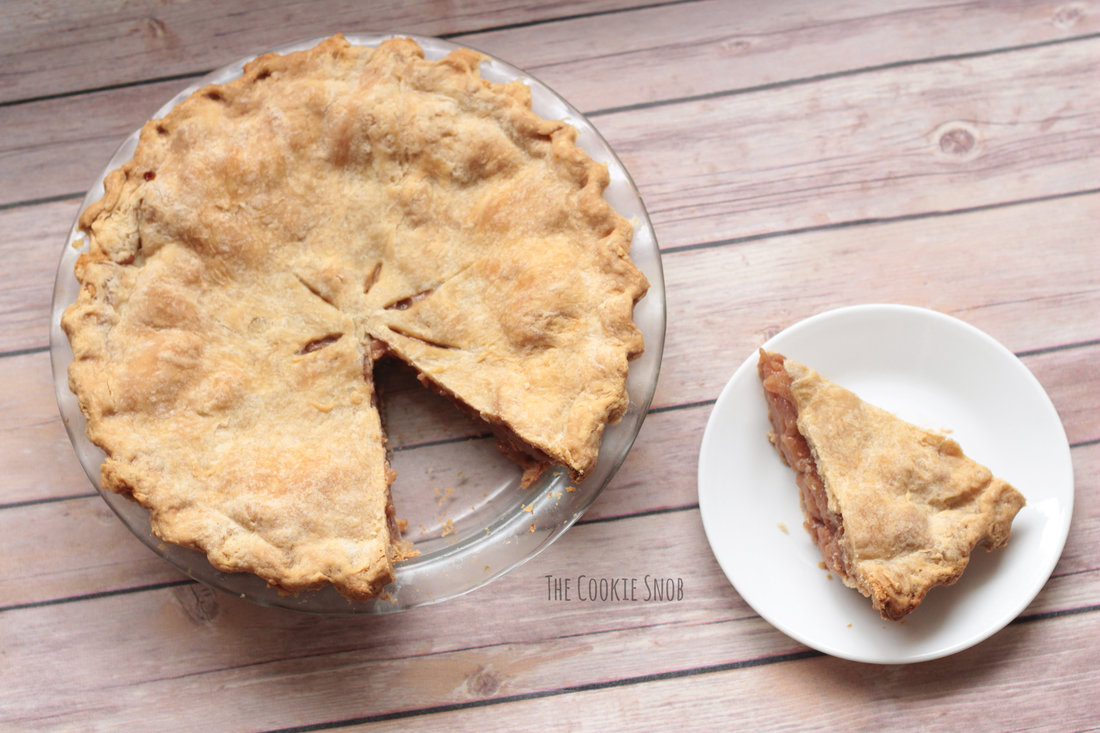
We may be in the midst of "pumpkin spice" season, but for me fall just isn't complete without some crisp, fresh apples. And after taking the kids apple picking at the farm, we always end up with way too many apples. Which means it's time to bake! One of my favorite apple recipes is Apple Padeedledunk (basically an apple crisp), but I always have a soft spot for pie. Normally I make a single crust version with a crumb topping, but this year I decided to branch out a bit and venture into the land of double crust pies. I've made lattice-top pies before, but this was my first full double crust pie. I don't know what I was waiting for since the crust is always my favorite part anyways. And it's actually a lot easier than fussing with a lattice. This pie is an interesting combo of traditional and unique. It definitely has that classic look, but the apple flavor doesn't pull any punches. Unlike most apple pie recipes, this one uses boiled cider to up the ante, giving it a rich spiced apple flavor. (The smell of this pie filling is seriously incredible.) It also has an extra long bake time, turning the apples into more of a cohesive filling than individual apple slices. With its flaky crust and the deep apple flavor that just screams "FALL," this is one pie that needs to get added to your fall baking repertoire ASAP. Double Crust Apple Pie Source: Adapted slightly from Genius Kitchen Yield: One 9.5" pie Ingredients: For the crust: 2-1/2 cups of all purpose flour 1 tsp of salt 1/4 cup of vegetable shortening, chilled 10 Tbsp of unsalted butter, chilled and cubed 7-9 Tbsp of ice water For the filling: 8 cups of apples, cored, peeled, and cut into small pieces (I used a combination of Cortland, Jonagold, Empire, and Honeycrisp apples, but any pie apples will work) 1 Tbsp of lemon juice 1-1/4 cups of powdered sugar 1/4 cup of boiled cider 1 Tbsp of vanilla extract 2 Tbsp of unsalted butter, melted 1 tsp of cinnamon 1/4 tsp of nutmeg 1/4 tsp of allspice 1/4 tsp of salt 6 Tbsp of all purpose flour Instructions: 1. To make the crust, whisk together the flour and salt. Using a pastry cutter (or two forks), incorporate the butter and shortening until they are about pea-sized. Drizzle 6 Tbsp of ice water over the dough and gently mix with a fork to moisten the dough. Add 1 more Tbsp of water and mix again. If the dough is too flaky to hold together, continue adding ice water 1 Tbsp at a time until you form a cohesive dough. Divide the dough into two (with one piece slightly larger than the other) and form each into a flattened disk. Wrap in cling film and chill in the fridge. 2. For the filling, combine the apples, lemon juice, sugar, boiled cider, vanilla, butter, spices, salt, and flour in a large bowl. Stir well to combine. 3. Remove the pie dough from the fridge and roll out the larger disk into the bottom crust. Transfer to a 9.5" pie plate. Pour filling into the crust. Roll out the smaller disk into the top crust and gently place over the filling. Trim off any excess pie dough and crimp the edges of the top and bottom crusts together to seal the pie. With a sharp knife, cut slits into the top crust to help vent the steam. 4. Bake the pie at 350℉ for 45 minutes (I like to bake mine on top of a cookie sheet to make it simpler to take in/out of the oven and to catch any spills). Lightly cover the entire pie with tin foil and bake for an additional 1 hour 15 minutes at the same temperature. Remove from oven and allow to cool completely before serving. I recommend leaving the pie to cool overnight so that the filling will be completely cool and set; this also gives the flavors a chance to develop more. I hope that you enjoy this pie recipe! If you have a question about the recipe, you can reach me in the comments section below or on social media. If you end up making one, I'd love to hear about it! Happy baking!
3 Comments
Mary Swink
11/6/2017 01:18:55 pm
Thanks for the third bun beanie. I made it yesterday with a variegated yarn and it turned out beautifully. I wish I could send you a picture.
Reply
Erin
11/7/2017 10:45:51 am
I'm glad you like the hat! It sounds lovely. If you want to share a picture, you can always email me (you can just click the little envelope icon at the top left side of this page). I hope you enjoy your new hat! :)
Reply
10/20/2018 04:24:23 am
This article is very useful, thank you for sharing. And allow me to share articles too, it's about health and treatment. God willing
Reply
Leave a Reply. |
Welcome!Thank you for stopping by to visit my own personal corner of the web! Feel free to take a look around and check out what I've been crafting, crocheting, or baking. Hopefully you'll find something to inspire your own creativity! Archives
March 2024
|



 RSS Feed