|
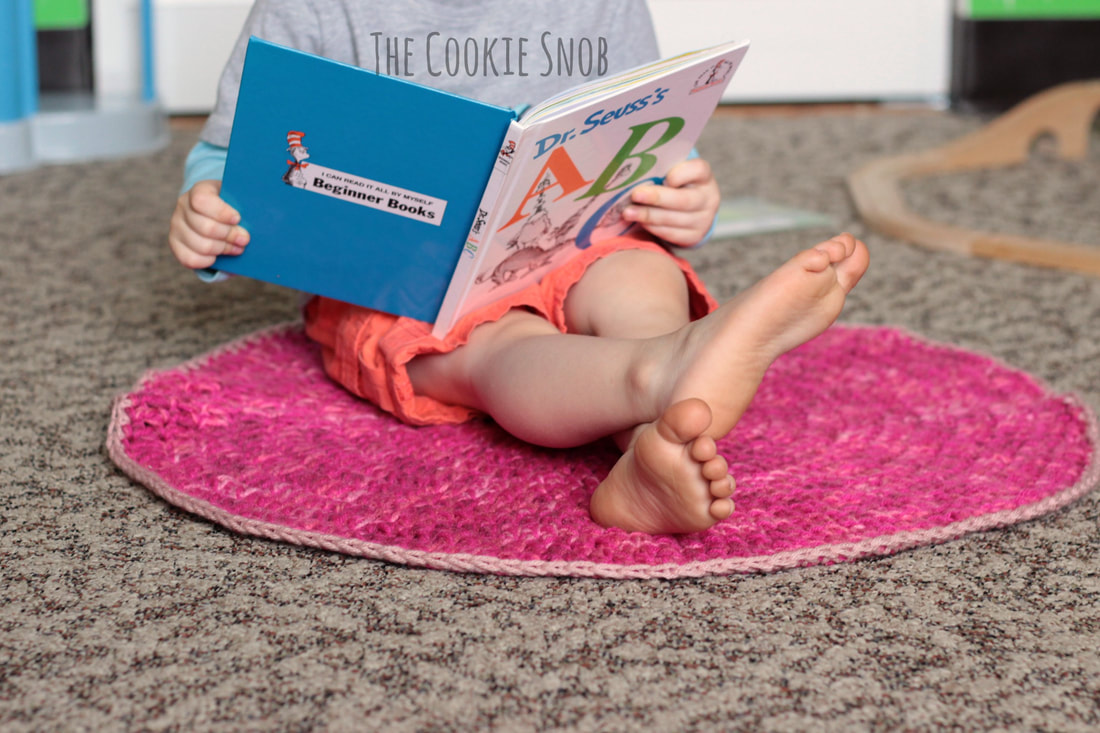
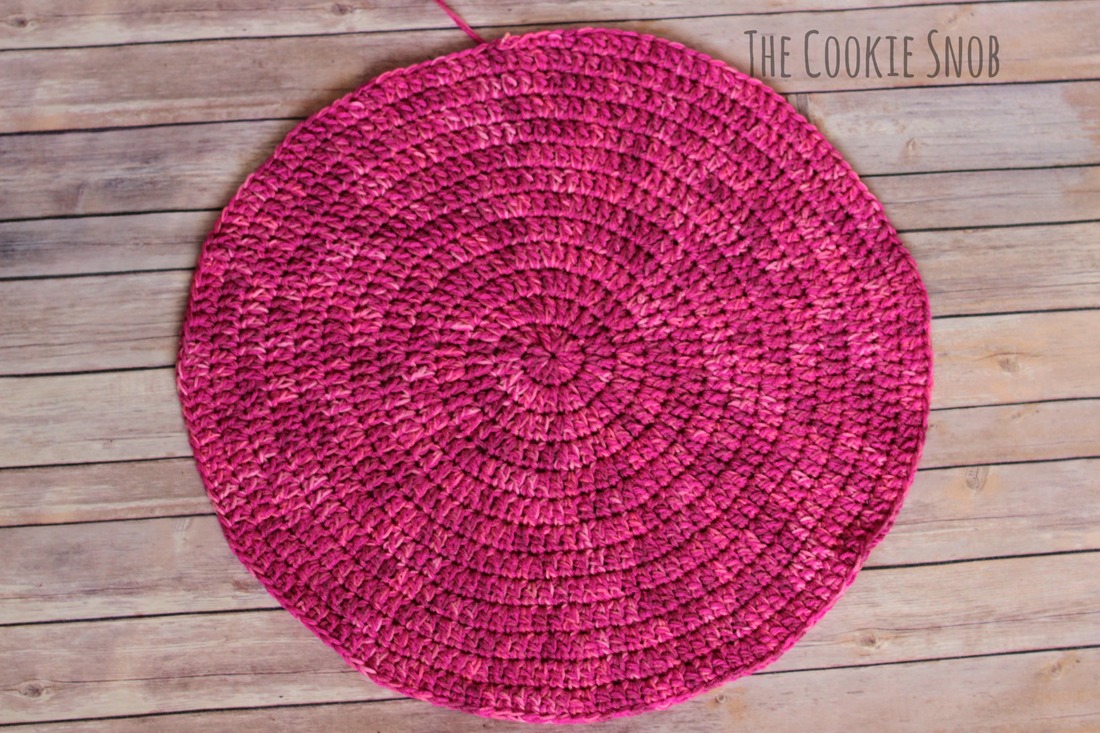
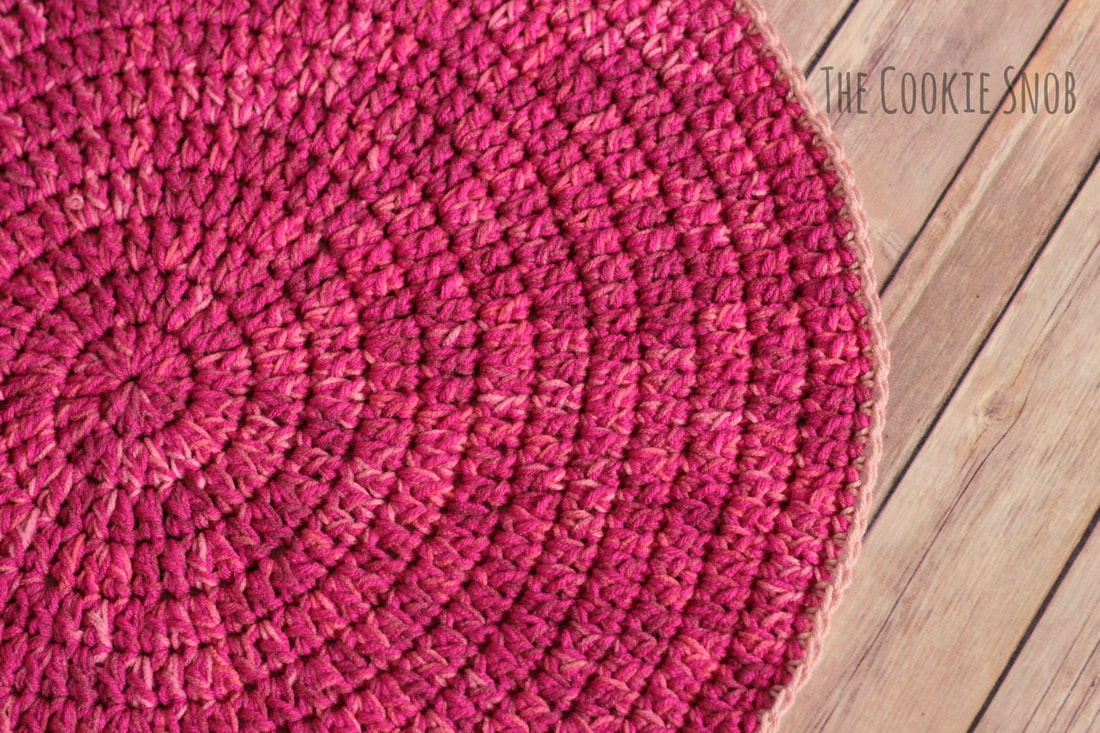
My oldest son is still too little for school, but he loves the concept. I suggested that we could do an informal pre-pre-school together at home if he wants, and now every day he asks me, "Can we do Mommy School now? Pleeeease?" So I've been putting some simple "school" ideas together and thought it might be a nice touch to make him a circle time rug. He was super excited to pick out some yarn from my stash and supervised my crocheting. And it quickly came together into a cute little rug! This is almost too basic to be a pattern really, but I thought I'd share anyway for anyone who might be looking for something similar. I've also included helpful tips for crocheting flat circles of any size. There are essentially two options when it comes to flat circle construction: you can either work in joined rounds (creating a seam), or you can work in a continuous spiral (creating a seamless circle). I like to avoid seams whenever possible, so I opted for the spiral version. After choosing your construction method, there are two key elements to ensure that your circle will lie flat. You have to make sure that (1) you start with the correct number of stitches and (2) that you increase at the correct rate. If you start with too many or increase too quickly, you'll get wavy edges. If you start with too few or increase too slowly, it will pull into a cup shape. Luckily, there's a sort of formula that has always given me nice flat circles. For the starting stitches, the number you'll want to use depends on the type of stitch you're using; the taller the stitch, the more you'll need. To get a perfect circle you should start with 6 sc or 8-10 hdc or 12 dc. Then you will always increase by that number of stitches each round, as evenly spaced out as possible. So, for example, if you start with 6 sc, you will have 6 inc in each successive round. This rug pattern will give you a good example of the circle "formula." One more note about making circles: if you place the increase stitches in the same location over several rounds, distinct corners will begin to form, ruining the round shape. Instead, you should stagger the location of your increases in order to preserve the neat circle. You can find an example of this staggered spacing in this pattern as well. Now on to the pattern! Materials:
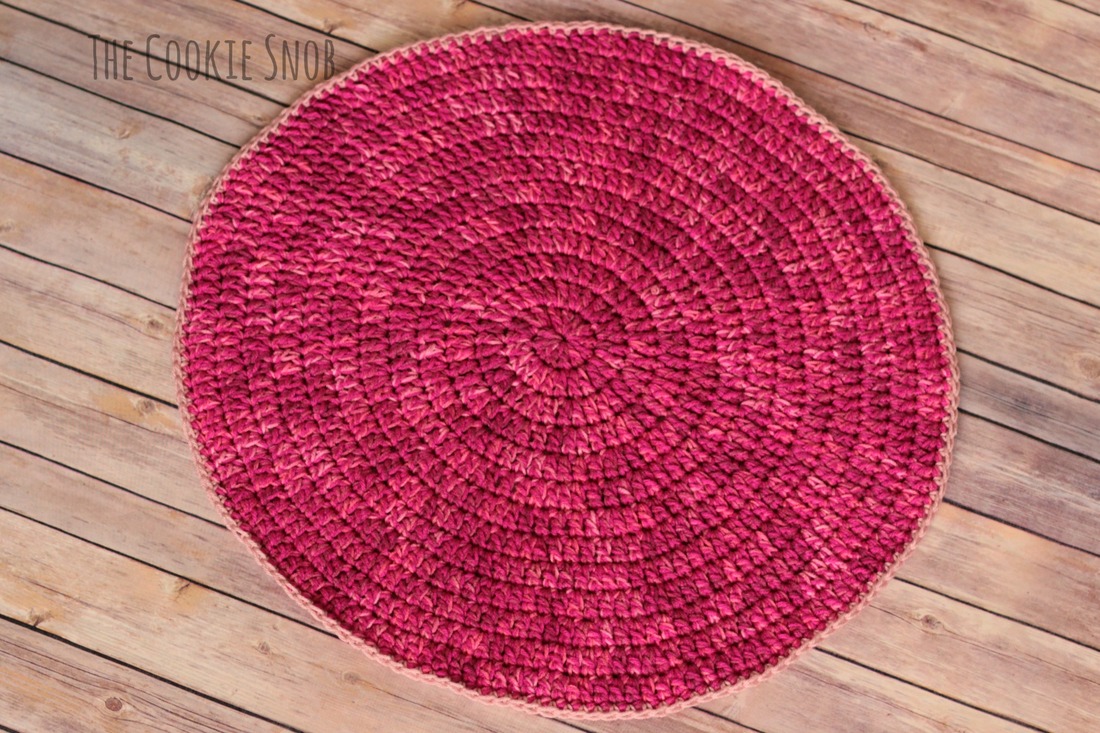
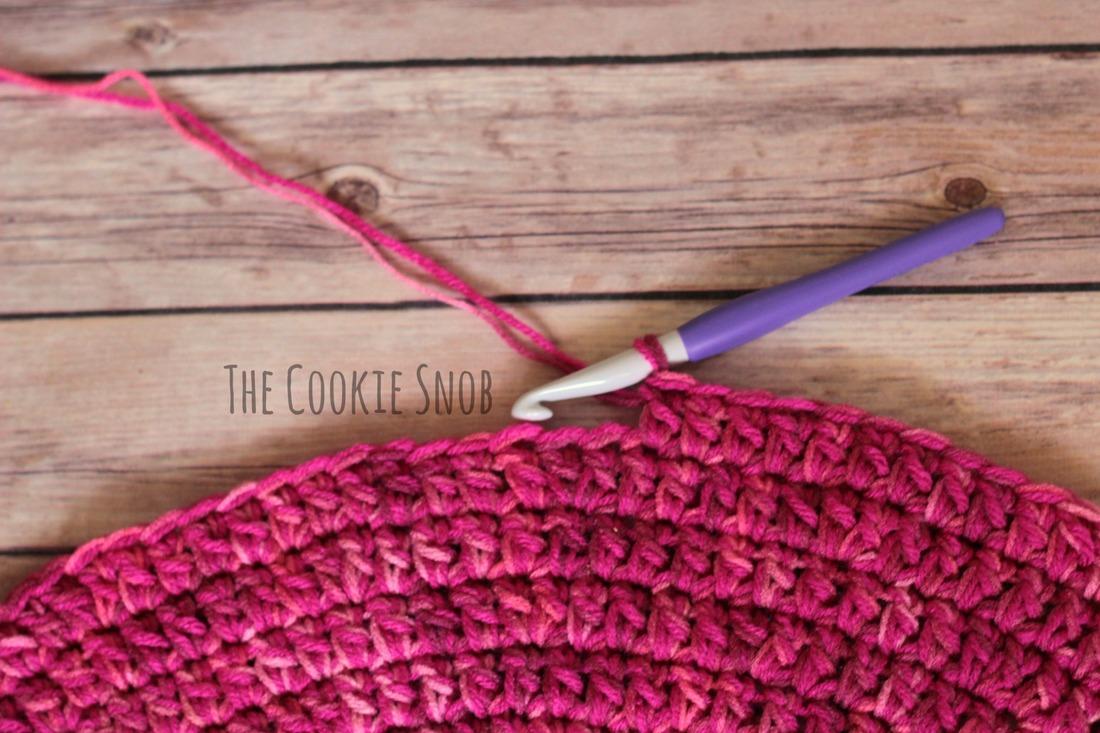
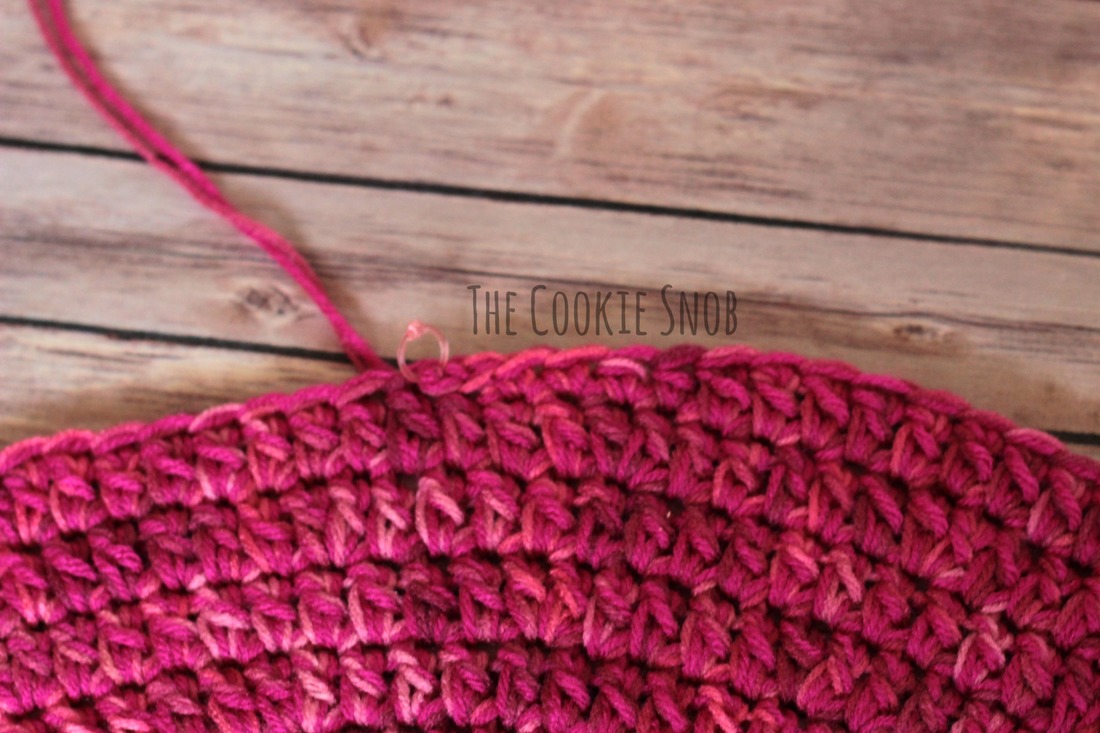
Stitch Glossary: st(s) = stitch(es) ss = slip stitch sc = single crochet hdc = half double crochet dc = double crochet dc inc = work 2 dc in the same st Note: This pattern is worked in a continuous spiral without joining or turning. I recommend using a stitch marker and moving it after each row to help you keep your place. Round 1: Make a magic circle, ch 2 and work 12 dc into the circle; pull taut to close (12) Round 2: dc inc around (24) Round 3: [dc inc, dc] around (36) Round 4: [dc, dc inc, dc] around (48) Round 5: [dc inc, dc in the next 3 sts] around (60) Round 6: [dc in the next 2 sts, dc inc, dc in the next 2 sts] around (72) Round 7: [dc inc, dc in the next 5 sts] around (84) Round 8: [dc in the next 3 sts, dc inc, dc in the next 3 sts] around (96) Round 9: [dc inc, dc in the next 7 sts] around (108) Round 10: [dc in the next 4 sts, dc inc, dc in the next 4 sts] around (120) Round 11: [dc inc, dc in the next 9 sts] around (132) Round 12: [dc in the next 5 sts, dc inc, dc in the next 5 sts] around (144) Round 13: [dc inc, dc in the next 11 sts] around (156) You can continue with the "formula" if you'd like to make your rug larger, but I decided to stop mine here (mine turned out to be 24" wide). Once you stop, though, you'll find a small problem. Since you've been working in a spiral, the edges aren't even! But don't panic; there's a simple fix. To even off the edges, you can just add extra smaller stitches to taper down the tall edge until it meets with the previous round. For this rug, I continued with 2 hdc, then 2 sc, and 2 ss before fastening off. On a smaller project I would have just used one of each smaller stitch, but for a larger project like this I found it looked better to taper more slowly. Feel free to eyeball it and do what looks best to you. Ta-dah! Now you have a nice flat circle! You can either leave it as is, or finish it off with a border. I decided that I wanted to add a simple border to mine so using just one strand of worsted weight yarn and the same crochet hook, I loosely worked sc all the way around and then ss to join. Then I fastened off and wove in ends. If you do add a border, be sure not to pull your stitches too tight, or it may begin to curl up at the edges. Now you have a quick, simple rug. And, if you read through the tips above, you now have the perfect formula for flat circles in any size and with any of the basic stitches. Handy, right? If you have any questions or comments, you can reach me in the comments section below or on social media. Happy hooking! ***You're welcome to do whatever you'd like to with finished products made from this pattern but if you do sell them, I ask that you link back to my page. You may not copy this pattern, repost it anywhere (either altered or in its original form), or claim it as your own. You may not use any photos on this site for your own use. ***
4 Comments
Jessica
9/13/2017 12:16:02 am
Great idea! I should make one for my toddler as her brother is off to preschool.
Reply
Marian Raml
11/17/2021 10:40:00 am
Approximately how many yards of yarn does it take?
Reply
Leanne
1/18/2024 04:29:48 pm
Following this pattern, on round 3 I keep ending with 32 stitches not 36. Where am I going wrong?
Reply
Ellie
6/14/2024 07:54:26 am
I realize this is...many months late, but for future reference of anyone facing The same problem, The pattern is basically saying do one dc, increase, and continue with two dc the rest of the way *2dc inc* repeat until the end which you should end with one dc after an increase. It's a bit confusing and that's where I went wrong, so I hope this helps
Reply
Leave a Reply. |
Welcome!Thank you for stopping by to visit my own personal corner of the web! Feel free to take a look around and check out what I've been crafting, crocheting, or baking. Hopefully you'll find something to inspire your own creativity! Archives
March 2024
|



 RSS Feed