|
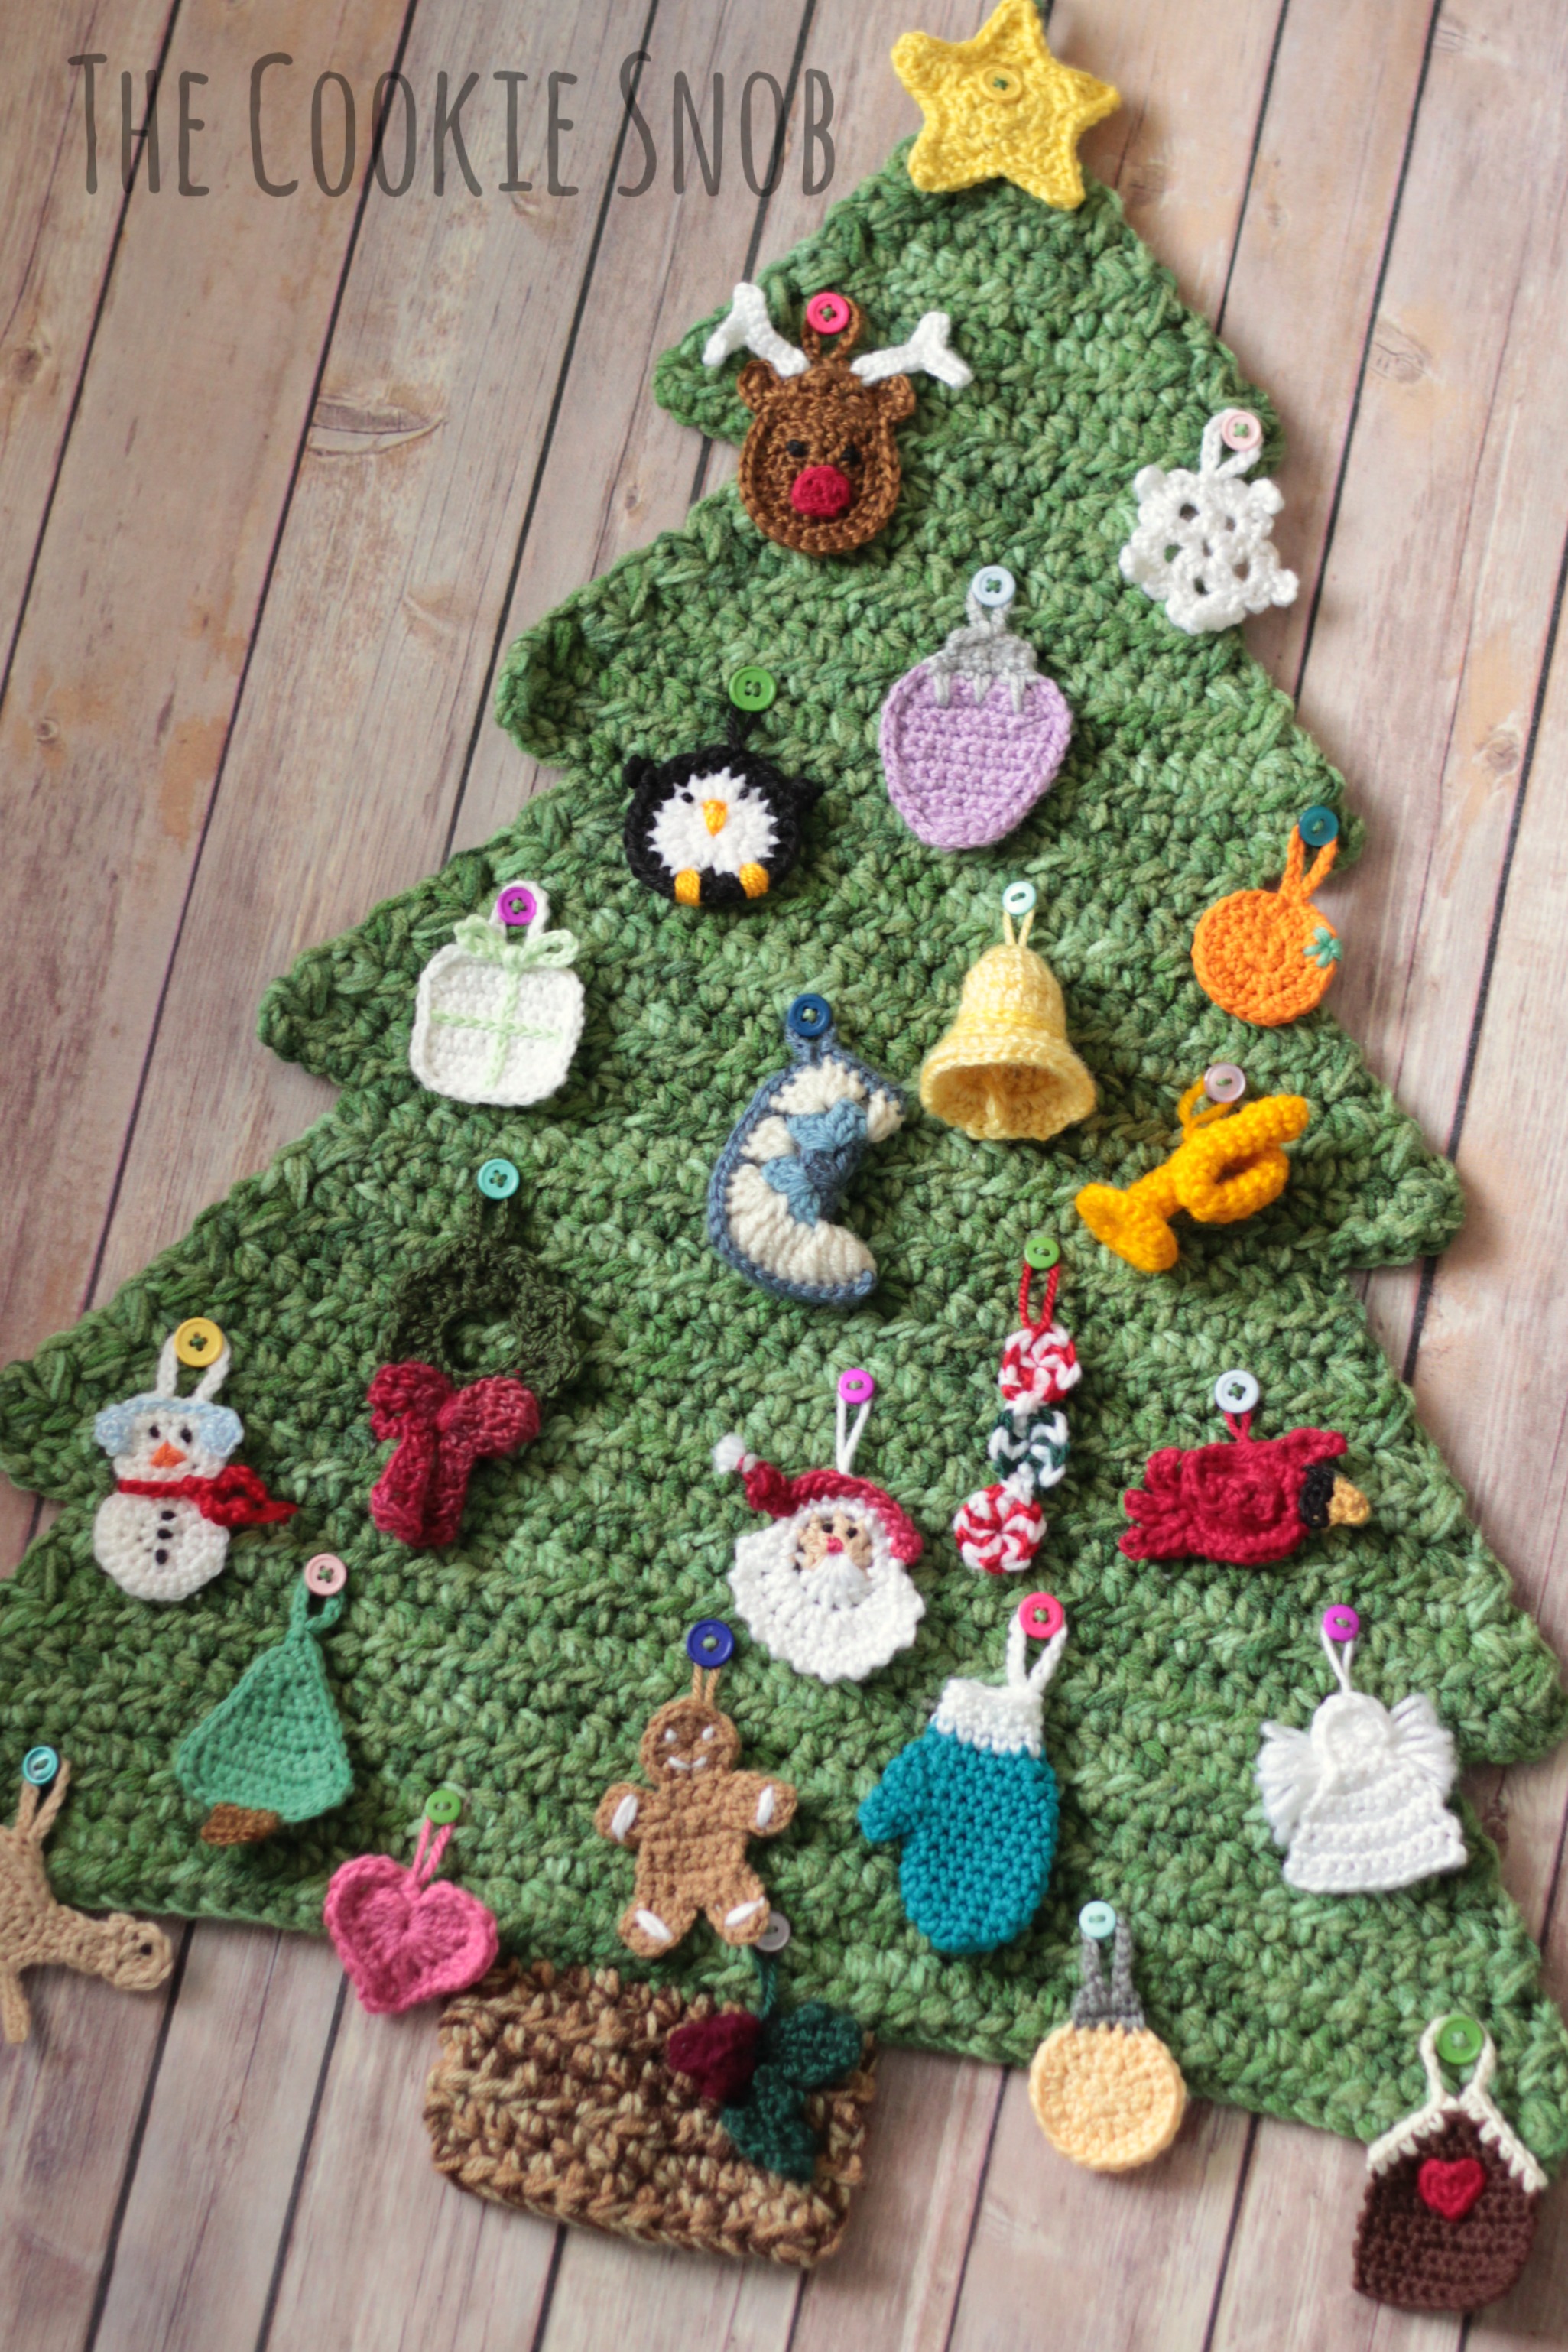
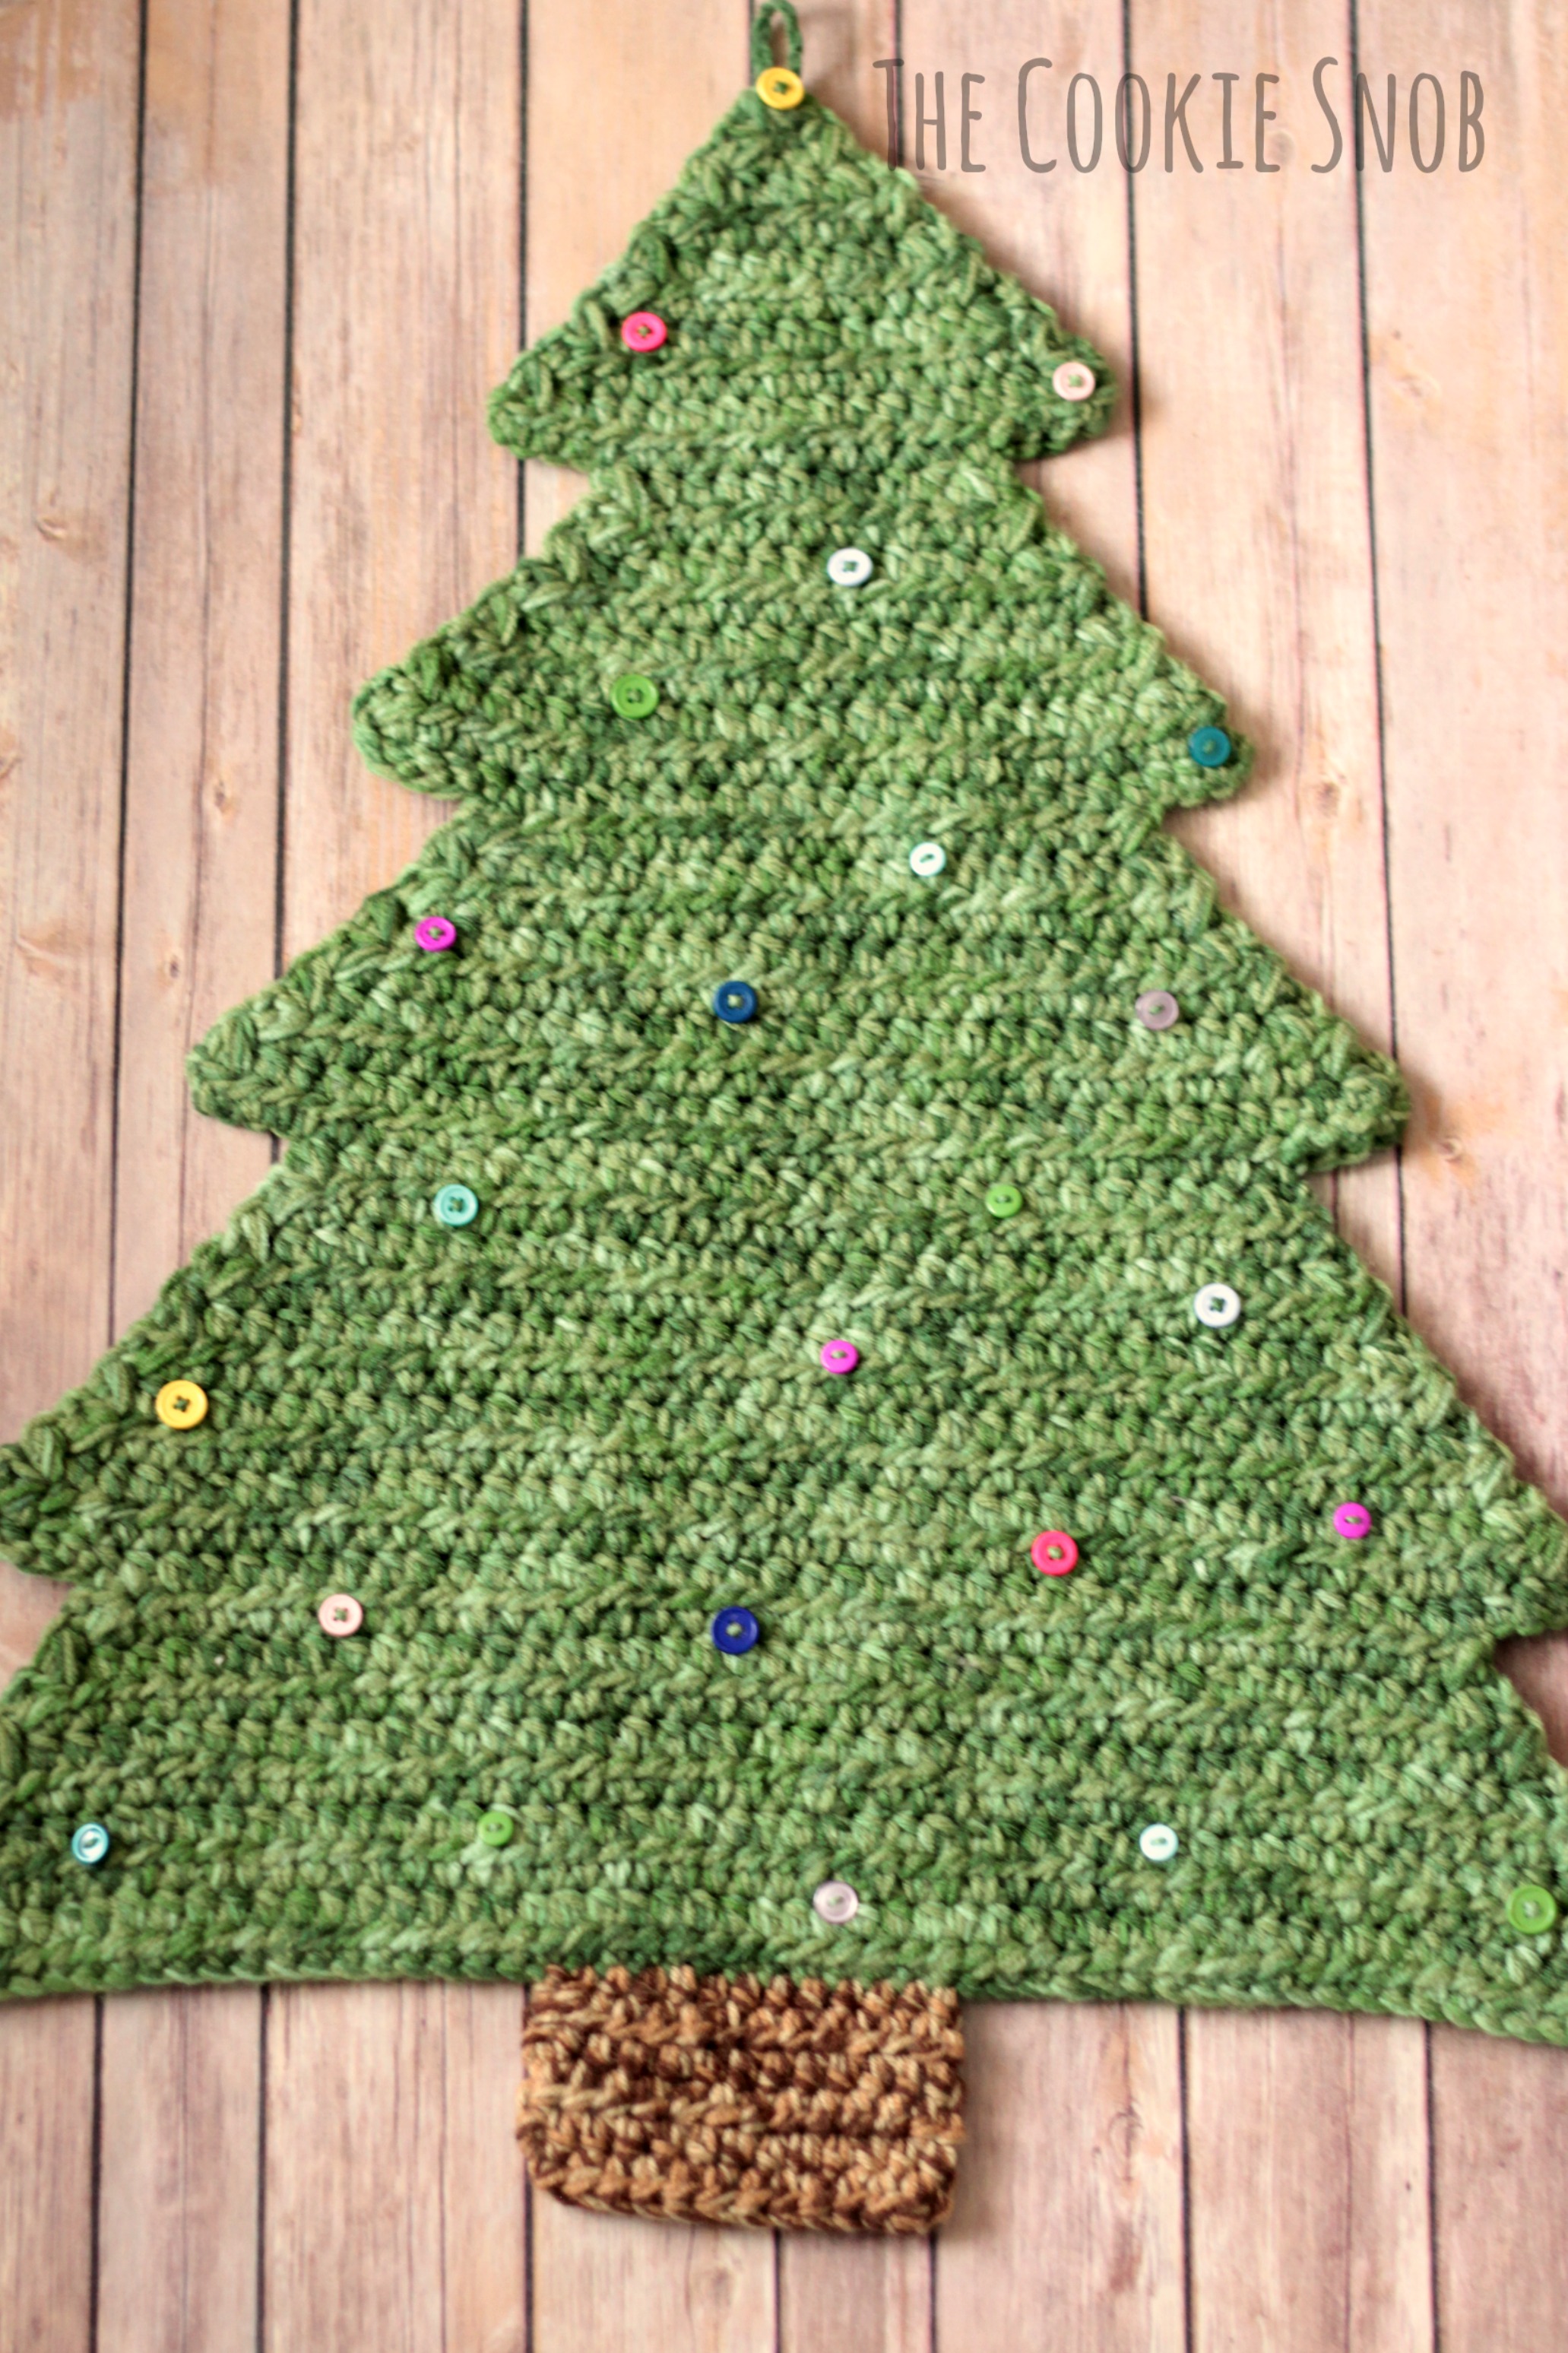
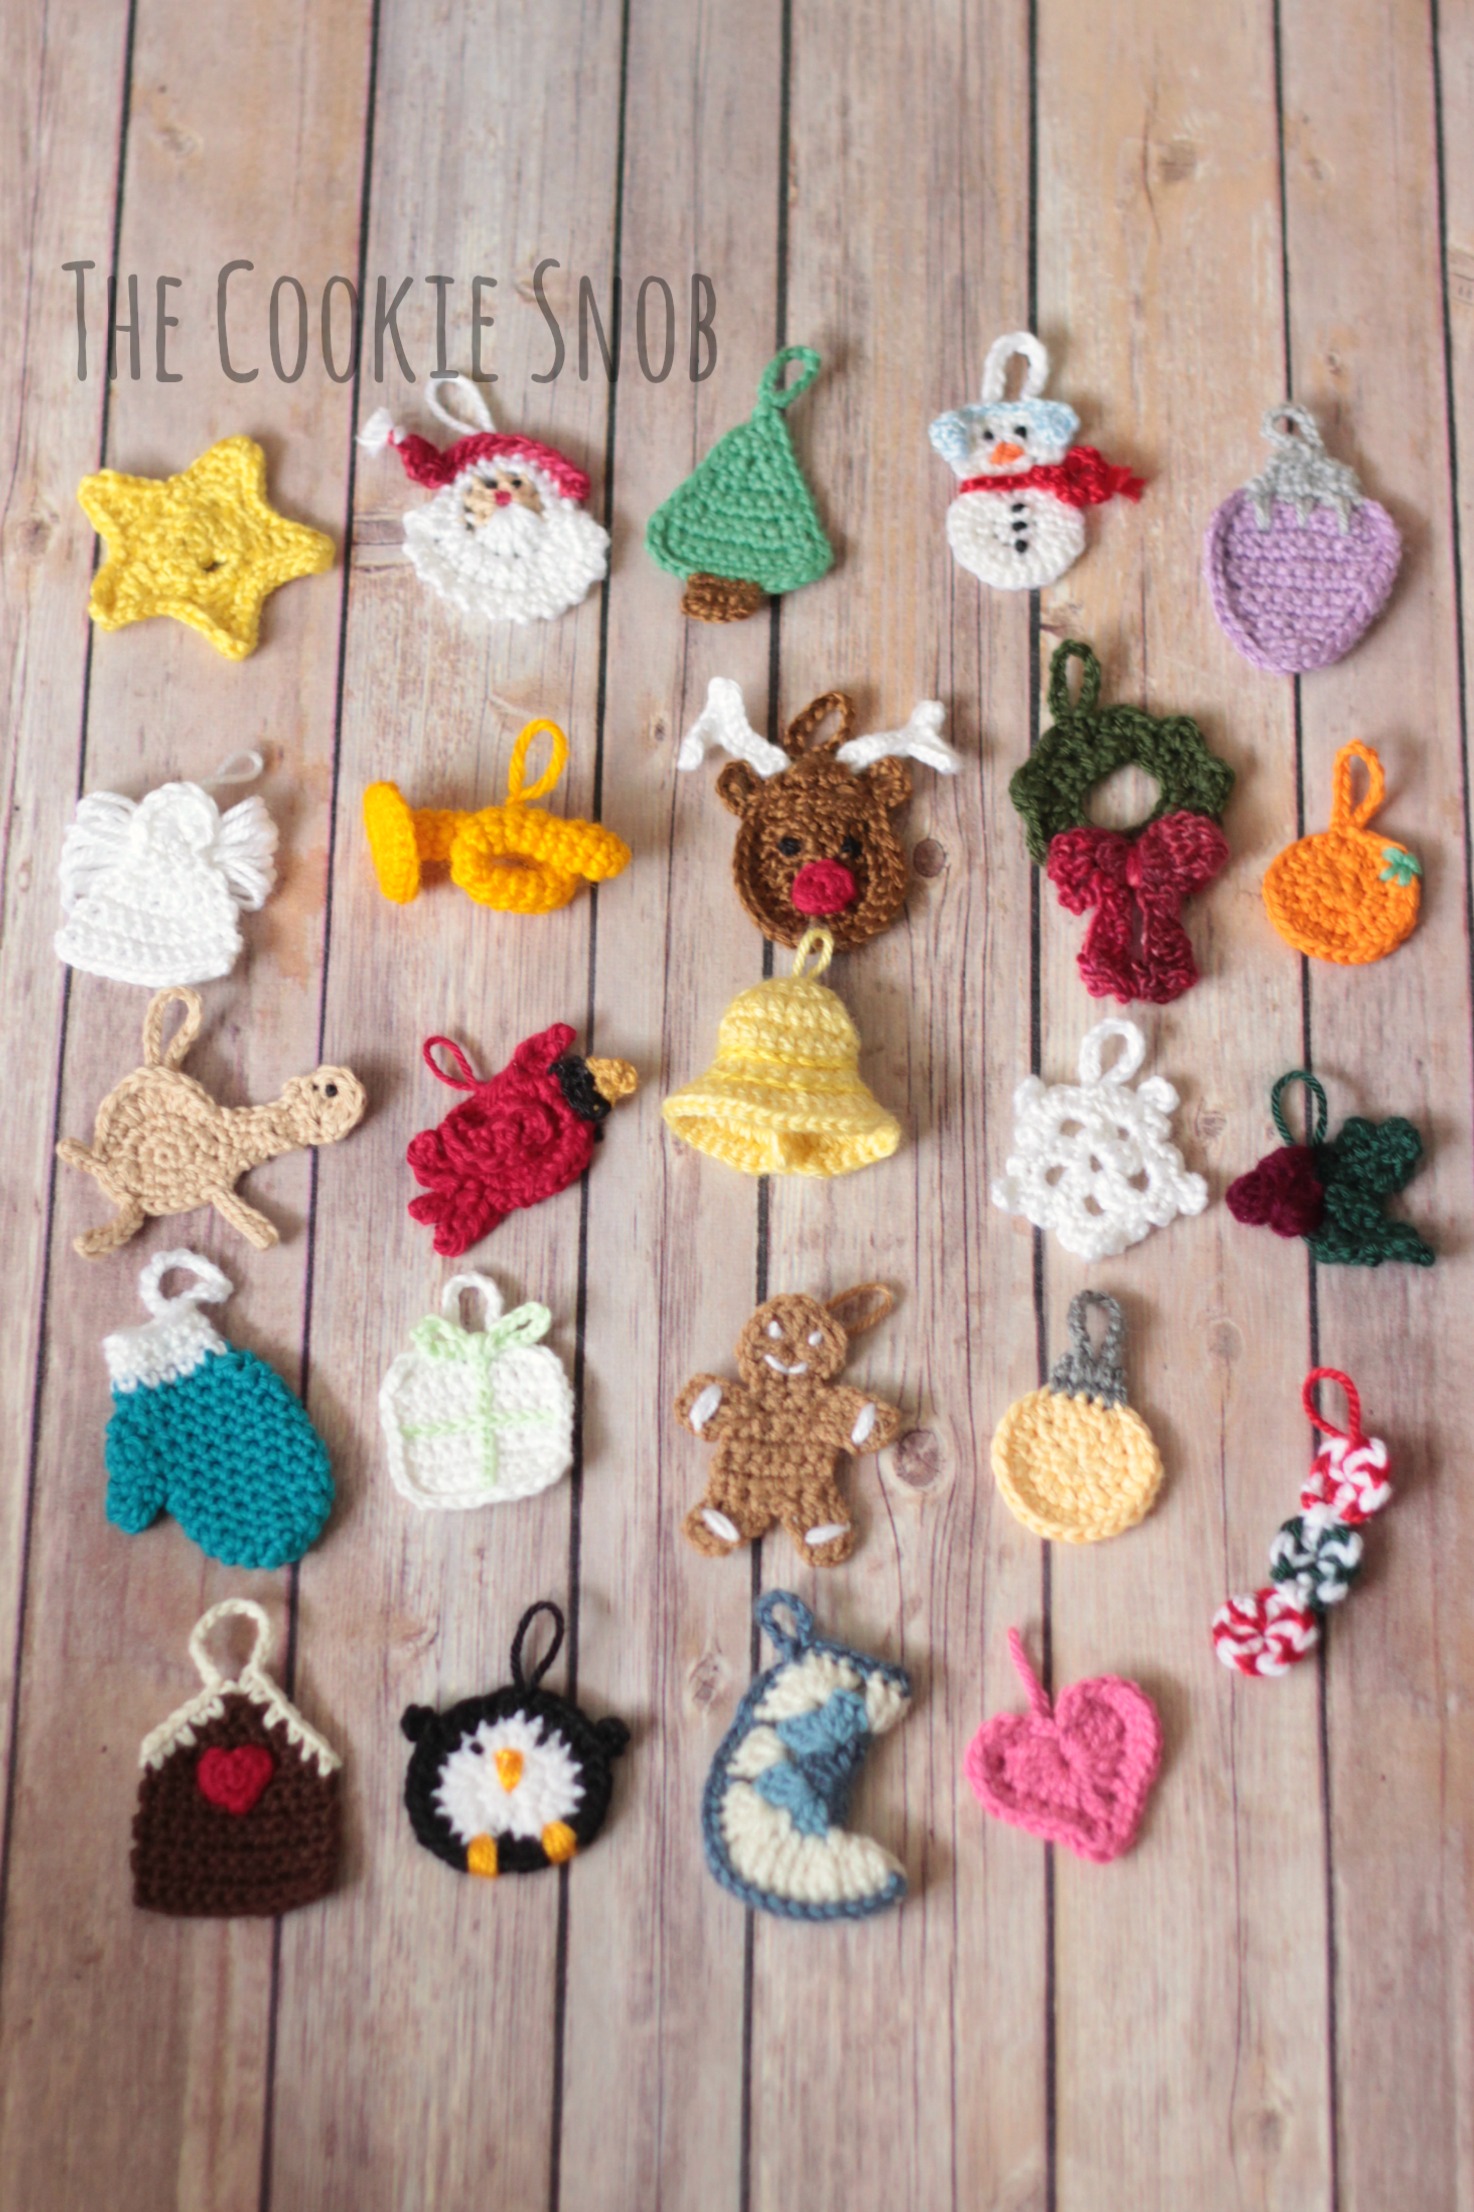
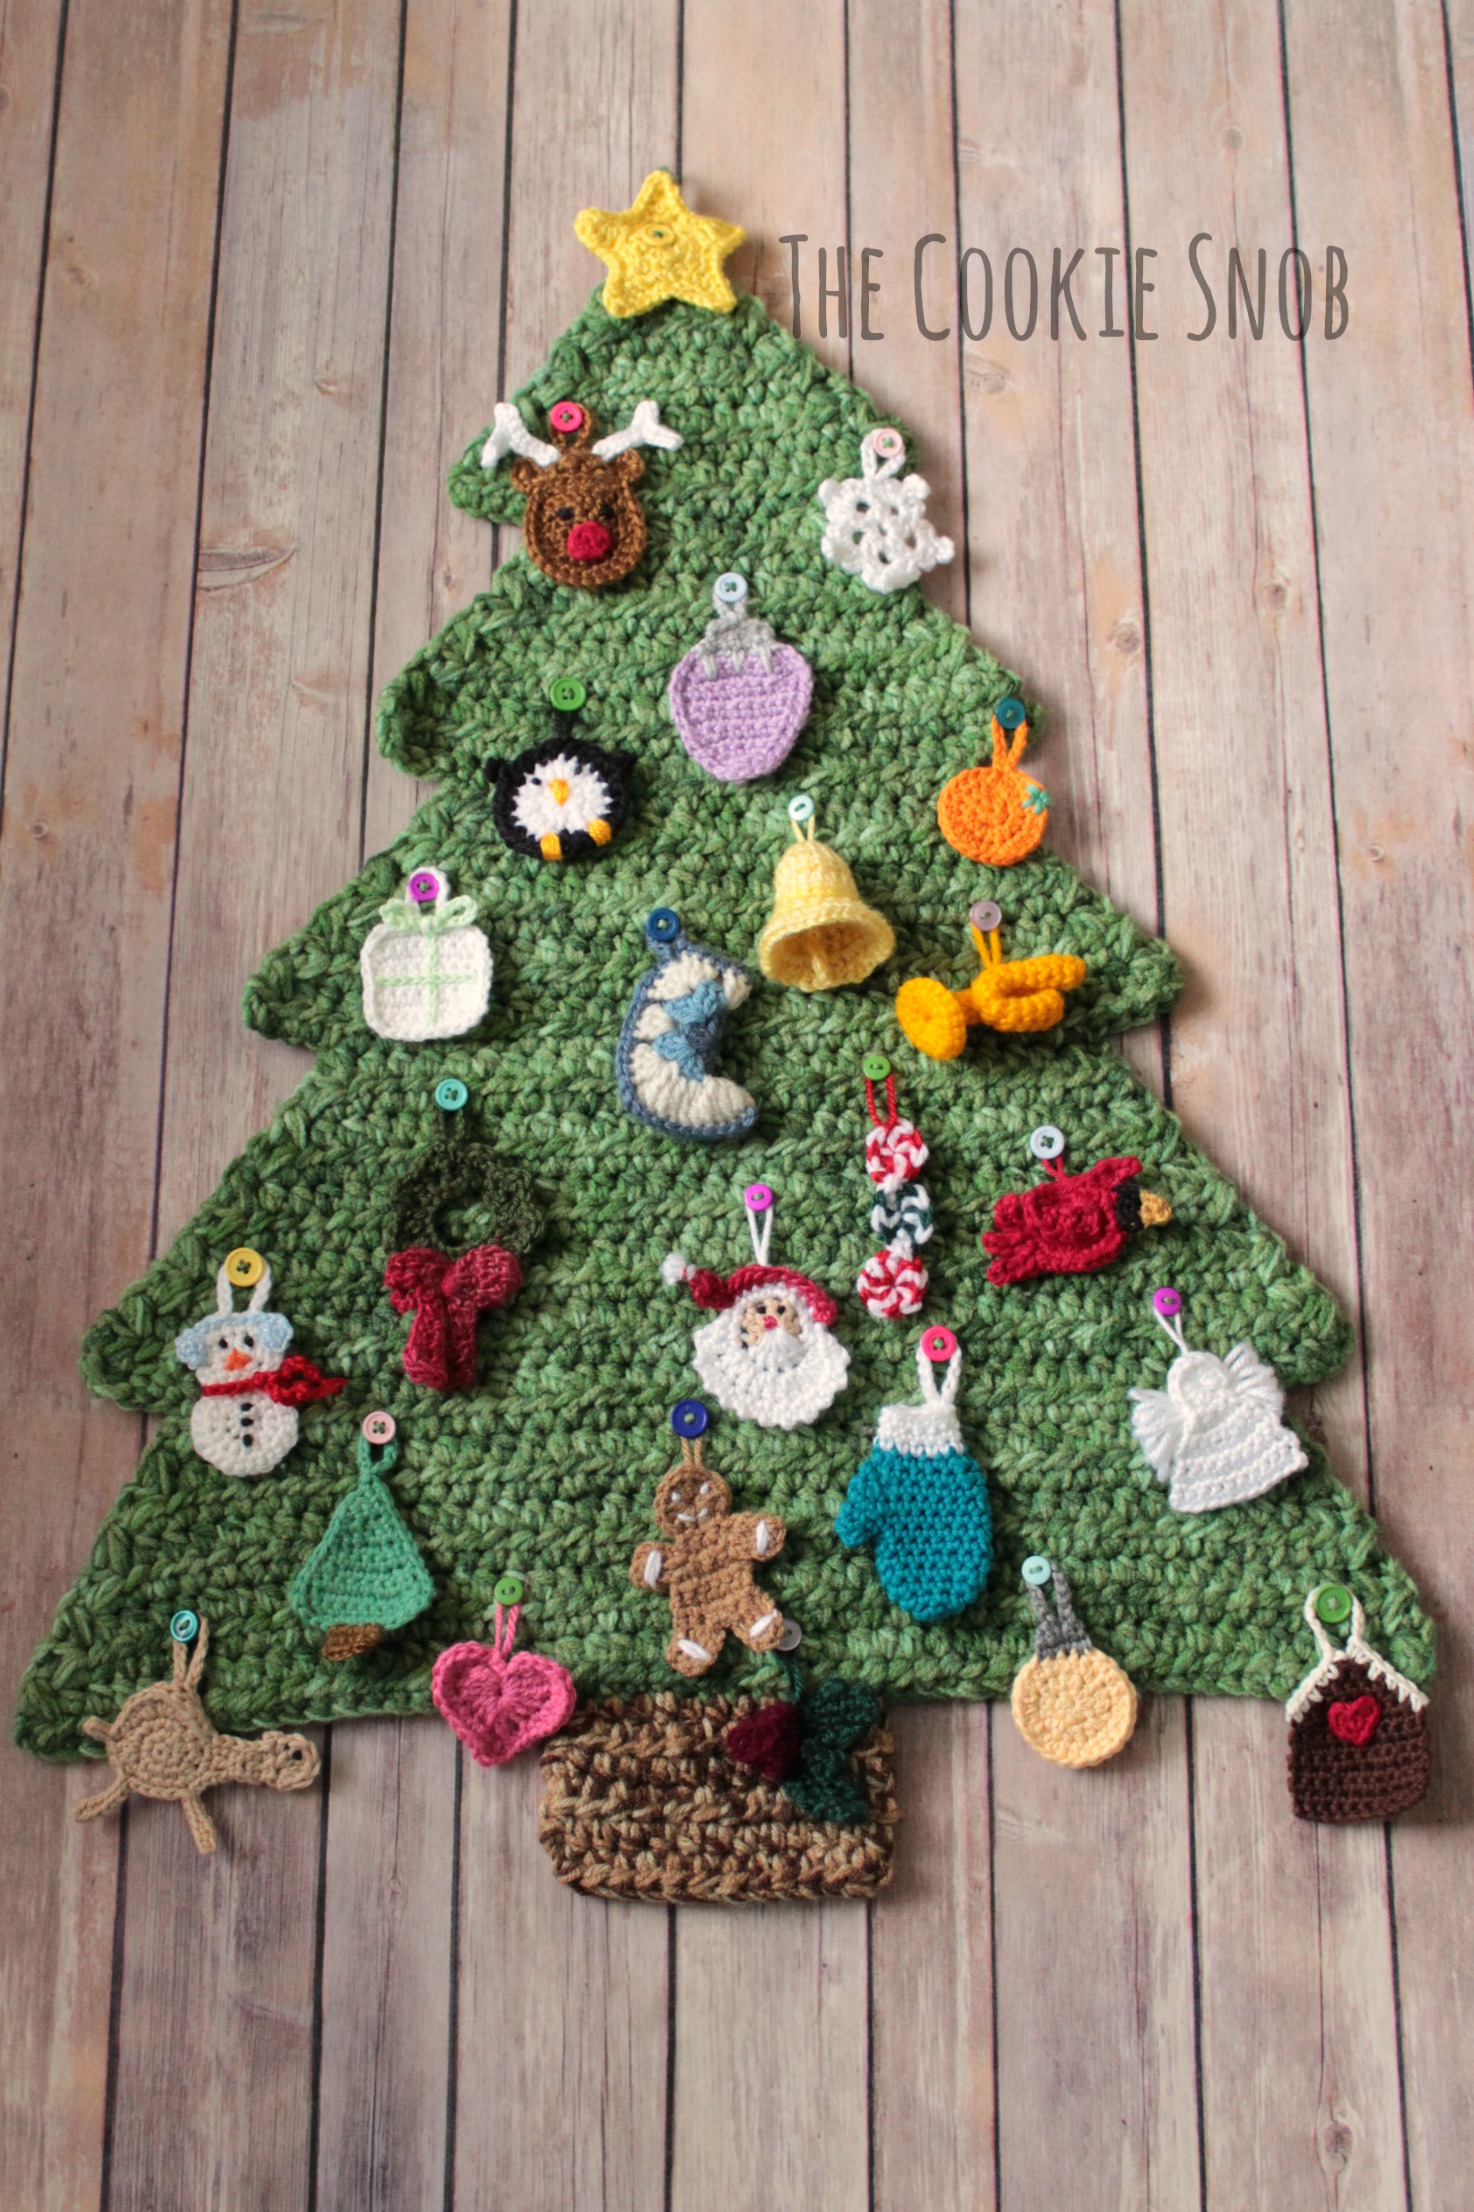
Thanksgiving has come and gone and now it's officially time to start gearing up for Christmas! As my toddler has told me, "My so 'cited Christmas!" So to help us count down the days to Christmas Eve, I finally did what I've been wanting to do for years and made this fun advent calendar. Starting December 1st, we'll add a new ornament to the tree each day until the halls are fully decked. I just love how it turned out. Doesn't it make you want to start singing Christmas carols? "Oh, Christmas tree! Oh, Christmas tree..." Just me? Well then...moving on.... My tree is a hodge-podge of various free patterns that I found across the web. The biggest piece is the tree itself. I used the clever Advent Tree pattern by River Weaving. It's a large-ish piece, but it works up quickly because it's worked with three strands of yarn at a time (this also makes the piece stiff enough to hold it's shape so you won't get curling edges). I just used whatever green and brown yarn I had around at the time (I think it was mostly Red Heart Super Saver and some I Love This Yarn on the trunk). The only change I really made was to add a loop for hanging the tree by slip stitching to the back, chaining until it was the length I wanted (about 18 sts) before then slip stitching back to the same spot. Then I sewed on buttons in random spots. I only used 24 because I wanted to count down to Christmas Eve, but feel free to use 25 if that's more your style. And, of course, we need some ornaments to hang on those buttons! Deciding which ornaments to use was the most daunting part of this project for me, so I thought I'd share which ones I ended up using, but feel free to branch out and use whatever design catches your eye. I'd just recommend that you try to keep them on the smaller end so that your tree doesn't get too squishy. I kept most of the patterns as written, with a couple of modifications here and there like adding loops to hang them on the tree. To add a loop, I'd suggest that you either tie on a loop of yarn or chain one at the top of your piece (I usually chained 12 for mine). These ornaments are all free patterns that I've linked to (yay for so many generous and talented crafters!). A few of these are original patterns of my own that I haven't posted quite yet. I'll get them up on the blog soon and update this post with links once they're ready, but in the meantime this should be plenty to get you started. And feel free to contact me if there's a particular pattern you'd like to see first. So, without further ado, here are the patterns I used. I tried to note any changes I made (hopefully I'm not forgetting anything...after I make enough little ornaments my mind starts to get a little fuzzy).
And in case you missed the link earlier in the post, you can find the tree pattern here: http://riverweaving.blogspot.com/2012/12/advent-tree-pattern.html I hope that this gave you some ideas and inspired you to make an advent calendar of your own! And I hope that you have a wonderful holiday season full of peace and light...and yarn. Lots and lots of yarn. Happy Hooking!
32 Comments
Liz
11/28/2016 02:01:54 am
Reply
Erin
11/28/2016 07:30:49 pm
Thank you! It's always nice to get positive feedback :)
Reply
Gloria Pearce
9/18/2020 07:50:53 pm
where is the Christmas tree pattern?
Reply
Gloria Pearce
10/16/2020 09:09:01 pm
Please send the Christmas tree pattern.
Erin
10/16/2020 10:15:26 pm
Hi Gloria,
Ester Lizaola
12/20/2016 08:03:13 pm
Thank you for the pattern I loved it
Reply
Erin
12/25/2016 09:50:32 pm
I'm glad you enjoyed it! :)
Reply
Eva
9/22/2020 10:33:41 am
I was looking for the tree pattern
Reply
Karly
9/5/2017 04:56:16 pm
When you make the tree and it has the ch. 6 at the end of some of the rows...is that correct? Or was it supposed to be a ch. 2 like the other rows? It just leaves a big hole where the ch. 6 is and I don't see that in yours.
Reply
Erin
9/5/2017 06:52:18 pm
I made the tree so long ago that I don't remember 100%, but I would guess that I probably did a ch 3 instead of a ch 6. My tree is currently in storage so it's hard to double check, but I'll try to pull out the Christmas box and confirm. In the meantime, I vote you just go for whatever looks best. If it's leaving a hole, I vote you decrease the number of turning ch.
Reply
Ashley
12/2/2017 02:07:19 am
I know this is a little late, but just in case someone else is wondering... the ch 6 on certain rows is to make the next row “branches” extend past the previous row (making the outer zig zag of the tree. You ch 6, then hdc in 3rd from the hook, then make HDC is the remaining chains until you reach the original previous row stitches. I’ll admit, I am struggling with the foundation hdc- not the actual stitch, but I feel like mine is upside down because when I finish the fhdc, my yarn is on the bottom and the extra section I’ve just made has a gap between it and the tree body. Any suggestions?
Reply
Erin
12/4/2017 08:11:27 pm
Thanks for sharing, Ashley! It's been way too long since I made that pattern, so thanks for explaining what I'd forgotten.
Laura Green
9/16/2017 09:30:26 pm
I just love this advent calendar!!!!! You did an amazing job, I am having a blast making one for my little family! Thank you so much for sharing your amazing talent and gift!
Reply
Erin
11/5/2017 08:46:58 am
We add a new ornament to the tree each day. Then on Christmas Eve the star goes on top 😊 But you could definitely do it differently if you preferred.
Reply
Ashley
12/2/2017 02:09:43 am
I love this! Just started tonight and I’m halfway done after a few hours. I didn’t realize how large it would end up!!
Reply
Cathy
10/7/2018 07:00:14 am
Thank you so much for sharing this pattern. I love it have finished tree can’t wait to start on ornaments. I am making it for my 3 year old granddaughter!
Reply
11/21/2018 10:32:23 am
> Se possivel em portugues o video da arvore de natal.
Reply
Erin
12/3/2018 12:49:36 pm
I'm glad you like the advent calendar! But as I mentioned in the blog post, the tree pattern comes from another designer, so I don't have any rights to the pattern in order to translate it, etc.
Reply
Barbara
4/7/2019 02:50:29 pm
I am using worsted weight for all three shades of green. It makes a stiffer tree that doesn’t fold on itself when hung. If it does, when adding the ornaments, I think an addition of stiff interfacing might do the trick.
Reply
Erin
4/8/2019 11:50:56 am
Hi Barbara,
Reply
Marthe
10/31/2019 04:54:27 am
Dear Erin,
Reply
Cheryl
12/9/2019 02:25:20 pm
Hi from Patricia Beach, Manitoba!
Reply
Juanita Hucherick
12/25/2019 09:13:15 pm
On your direction on row 2- Ch2, hdctog, now do I do two hdctog.
Reply
Phyllis Burkett
9/28/2020 03:14:49 pm
Cannot find the pattern of the tree or ornaments
Reply
Erin
10/16/2020 10:13:57 pm
Hi Phyllis,
Reply
Roxy
11/13/2022 06:12:10 am
Hiya,
Reply
Erin
11/13/2022 03:58:42 pm
Hi, Roxy! I've been using and storing this tree every year since I made it back in 2016 (so for the last 6 years) and haven't had any issues with creasing. I just gently fold it and stick it in the box of Christmas decorations, then pull it out and hang it up the next year. I'm guessing that because it's such a thick base (with multiple strands held together), it's pretty wrinkle/crease resistant. But if you want to be extra sure, you can be careful not to put anything super heavy on top of it when it's in storage or just store it flat and unfolded somewhere. Enjoy your tree!
Reply
Kelly
11/28/2023 07:21:49 pm
Hi there!
Reply
Leave a Reply. |
Welcome!Thank you for stopping by to visit my own personal corner of the web! Feel free to take a look around and check out what I've been crafting, crocheting, or baking. Hopefully you'll find something to inspire your own creativity! Archives
March 2024
|


 RSS Feed