
|
I LOVE cables. Knitted cables are my absolute favorite. But there's no reason that crocheters can't get in on the cable party too! I knew that I wanted to include cables in my next hat design, but I didn't want to just use vertical cables. Been there, done that. Instead, I decided to place the cables horizontally around the brim, almost like a crown. With one of these hats, you're basically the (subtle) Queen of Crochet. 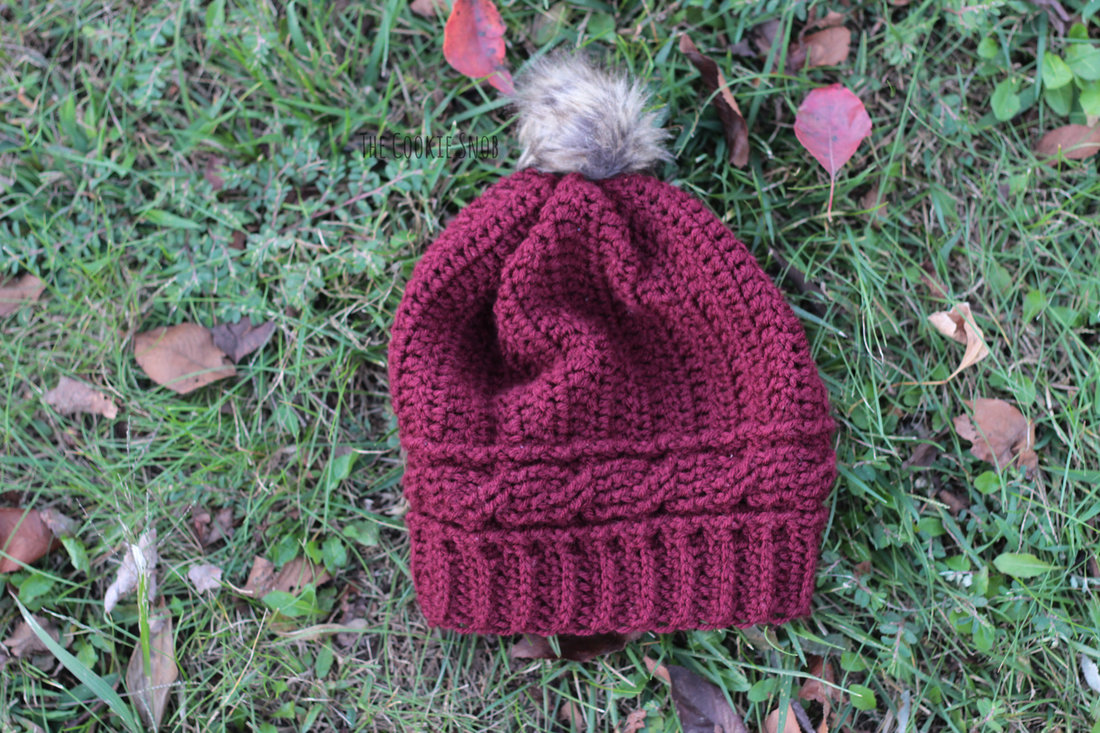 Unlike most beanies, which are made either from the top down or from the bottom up, this beanie uses a horizontal construction. Essentially, you'll be making the beanie from side to side and then you'll seam it up at the end. So you'll have to do a bit of sewing, but as a tradeoff, the brim and the body are all one piece, so you won't have to attach those. I designed mine to be just slightly slouchy, but if you want yours slouchier, you can just extend the number of dc stitches at the end of the hat or add more repeats of the pattern. Or if you want it to be a tighter fitting beanie, you can decrease the number of dc stitches at the end of the hat. As written, following the gauge, the hat is about 10" tall and 20.5" around. 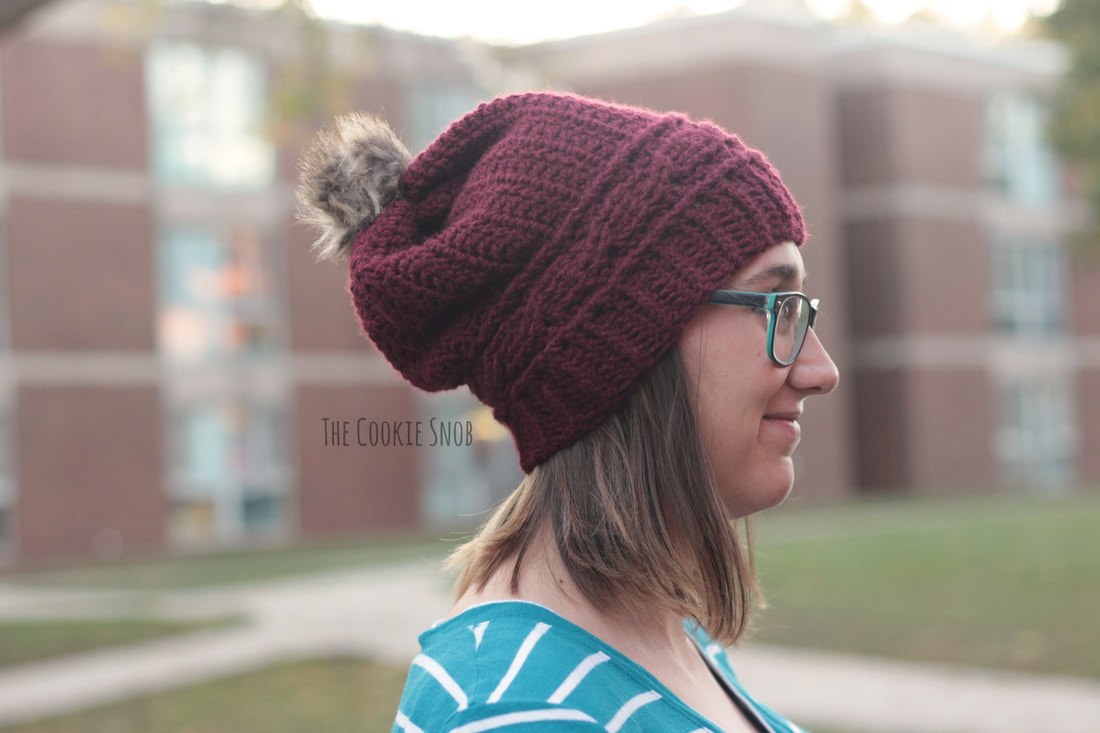 Most of the stitches are pretty standard, but the brim of the hat consists of hdc worked in the 3rd loop. This gives a stretchy, ribbed look. If you're not familiar with working in the 3rd loop, I recommend checking out this quick tutorial I put together. And if you want the brim to be wider but don't want the body of the hat to be wider, I would recommend using short rows. Feel free to ask questions about this if you're not sure what that means. Now on to the pattern!  If you'd like a printable, PDF version of this pattern, you can find one on Ravelry. Materials:
Stitch Glossary: st(s) = stitch(es) ch = chain hdc = half double crochet dc = double crochet fpdc = front post double crochet bpdc = back post double crochet fptr = front post treble (triple) crochet RS = right side WS = wrong side Gauge: 4" = 14 dc, 4" = 8 rows Ch 37 Row 1: hdc in the 2nd ch from the hook and in the next 6 sts, dc in the last 29 sts, turn (36) Row 2: (RS) ch 2, dc in the next 20 sts, fpdc in the next st, dc in the next st, fpdc in the next 4 sts, dc in the next st, fpdc in the next st, dc in the next st, hdc in the 3rd loop for the last 7 sts, turn (36) 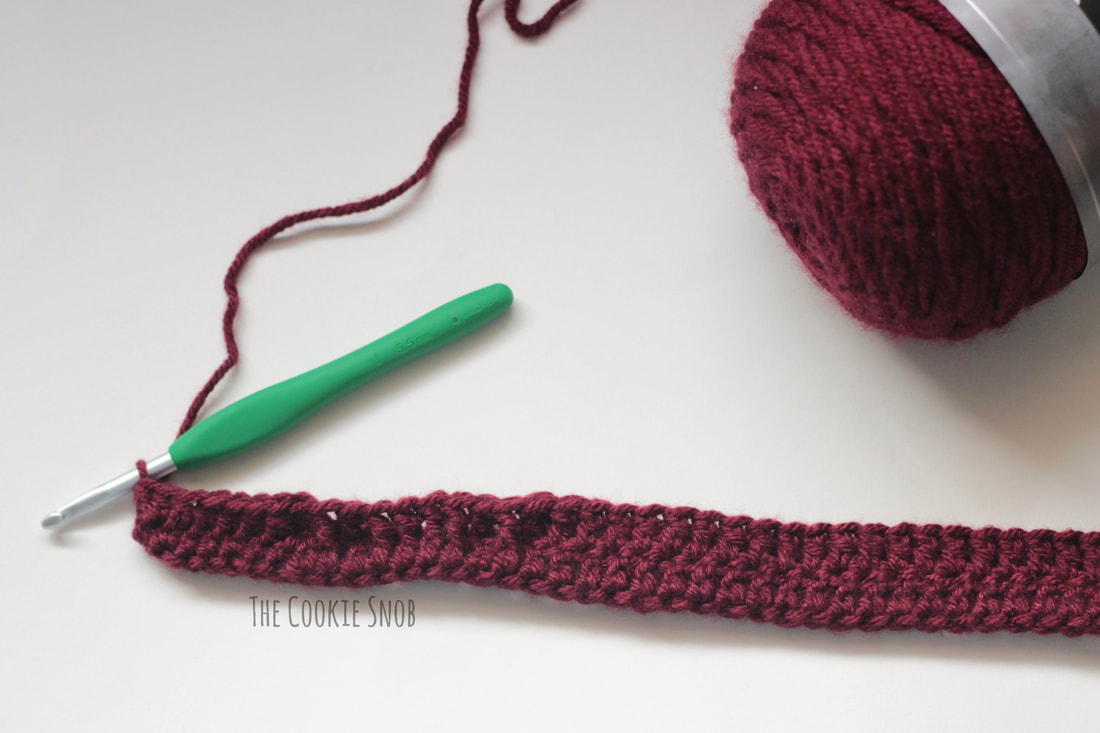 Row 3: (WS) ch 1, hdc in the 3rd loop for the next 7 sts, dc in the next st, bpdc in the next st, dc in the next st, bpdc in the next 4 sts, dc in the next st, bpdc in the next st, dc in the last 20 sts, turn (36) Row 4: (RS) ch 2, dc in the next 20 sts, fpdc in the next st, dc in the next st, skip the next 2 sts, fptr in the next 2 sts, then fptr in the previous 2 sts that you skipped, then dc in the next unworked st, fpdc in the next st, dc in the next st, hdc in the 3rd loop for the last 7 sts, turn (36) 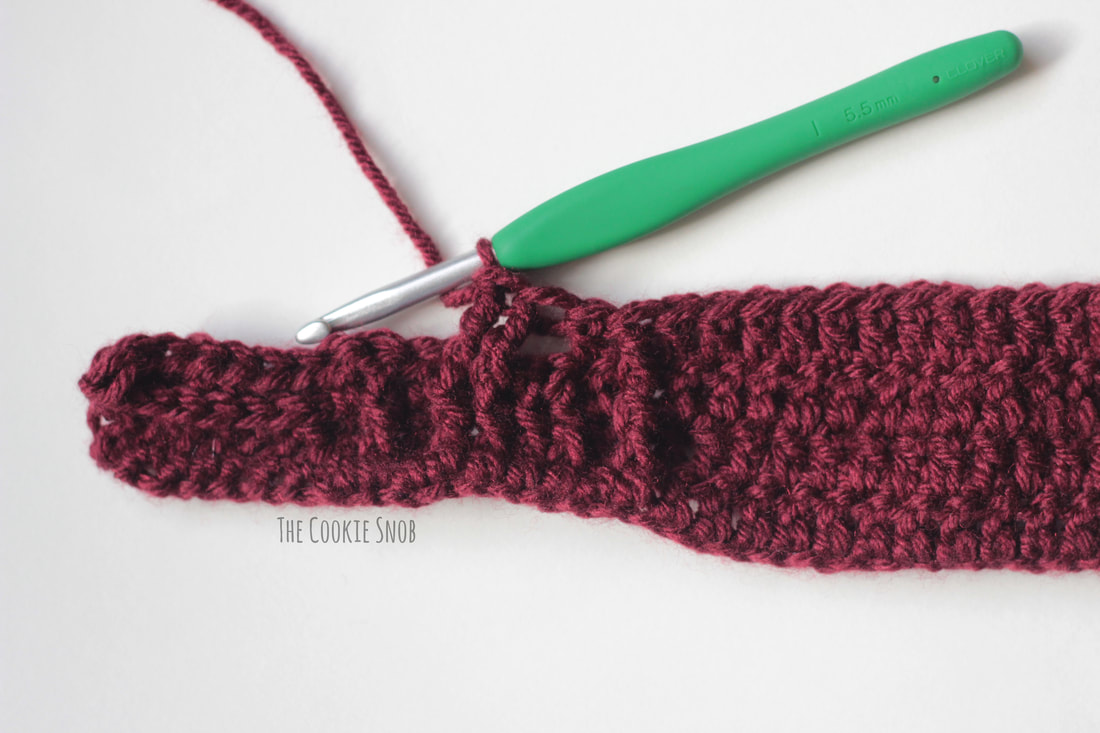 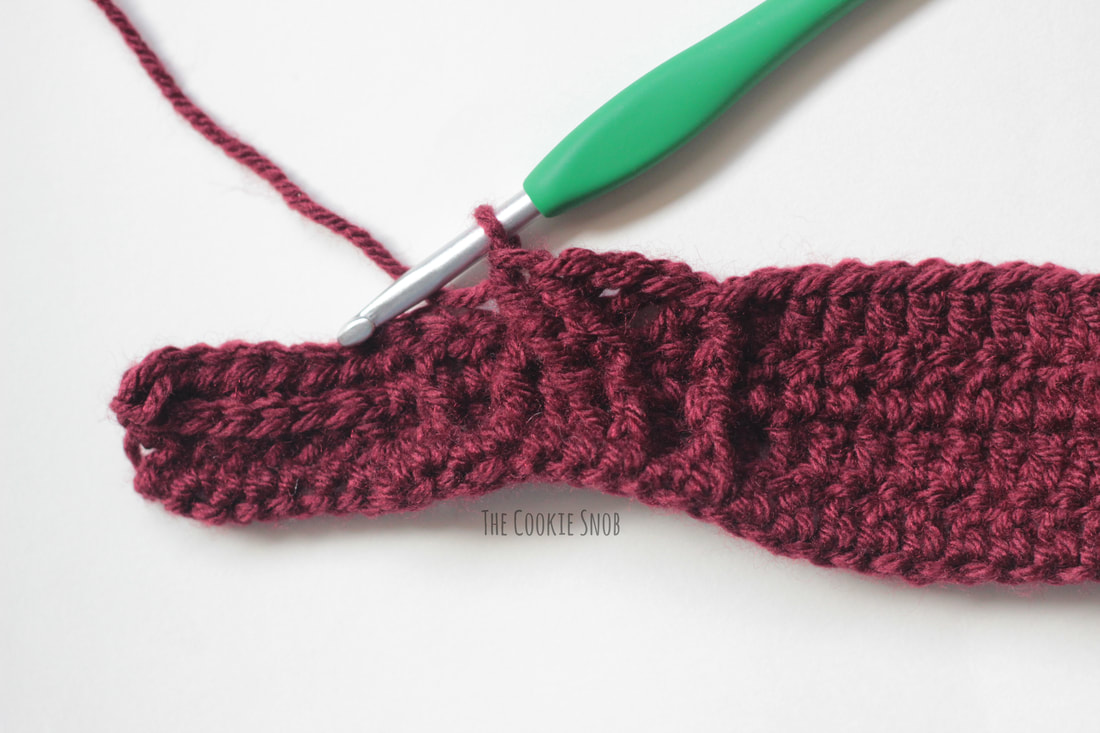 Row 5: Repeat row 3 Row 6: Repeat row 2 Row 7: Repeat row 3 Rows 8-35: Repeat rows 4-7 nine times Row 36: Repeat row 4 ***Note: Some people have reported issues with sizing, even after matching gauge. I'll revisit this pattern after the Christmas-crazy is over and see what I can figure out, but for now, I would recommend just increasing the number of pattern repeats until the hat is the size you want.*** Fasten off, leaving an extra long yarn tail. 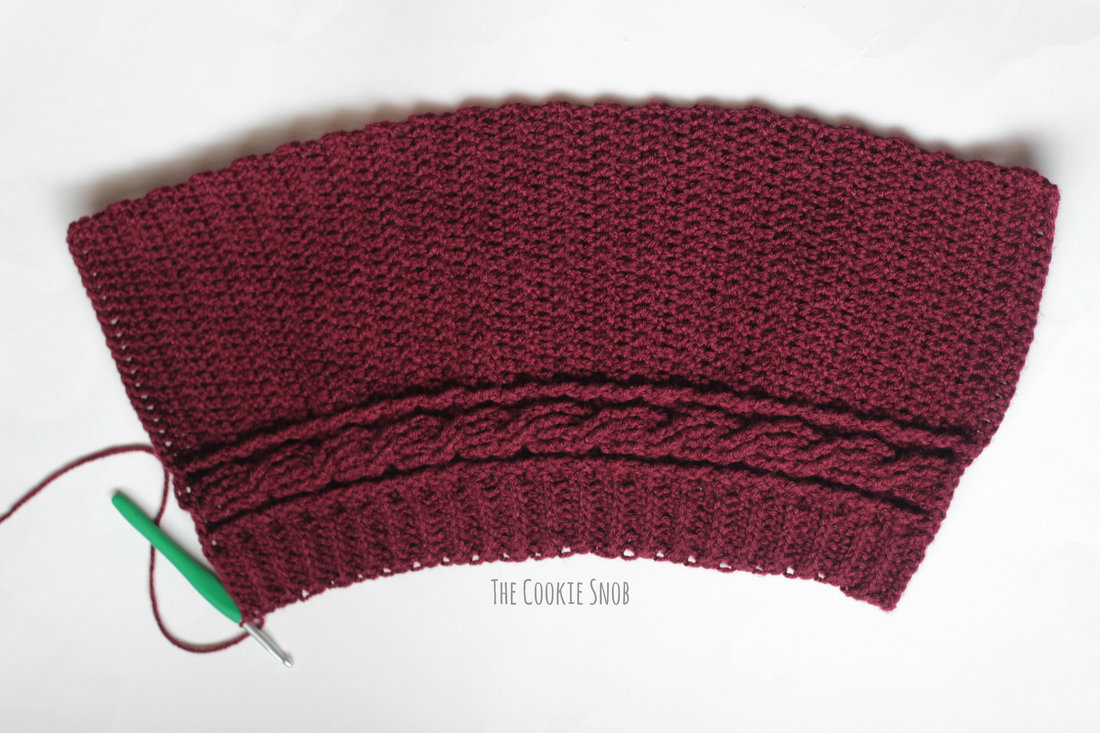 Using a tapestry needle and the long tail, sew up the side of the hat to form a tube. 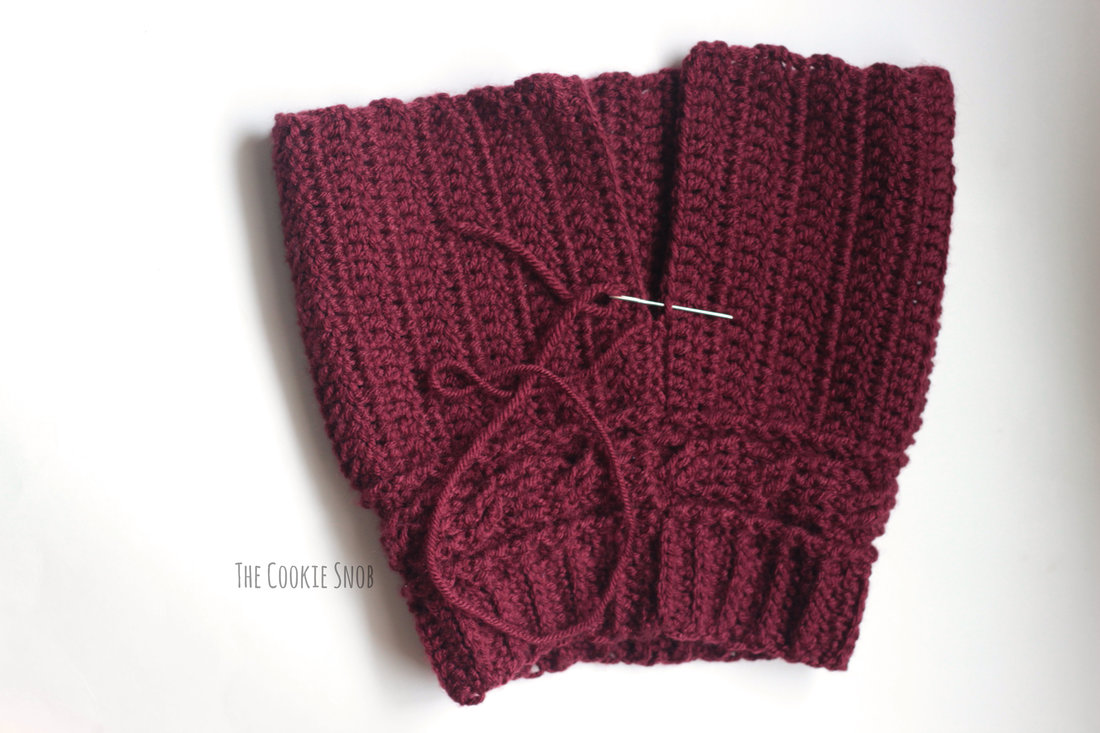 Weave the yarn through the stitches at the top of the hat and pull taut to close (similar to a drawstring bag). I find that a small hole still remains after doing this, so I use the remaining yarn to stitch the hole shut. I prefer to turn the hat inside out and stitch the hole shut on the wrong side to help keep things neat. 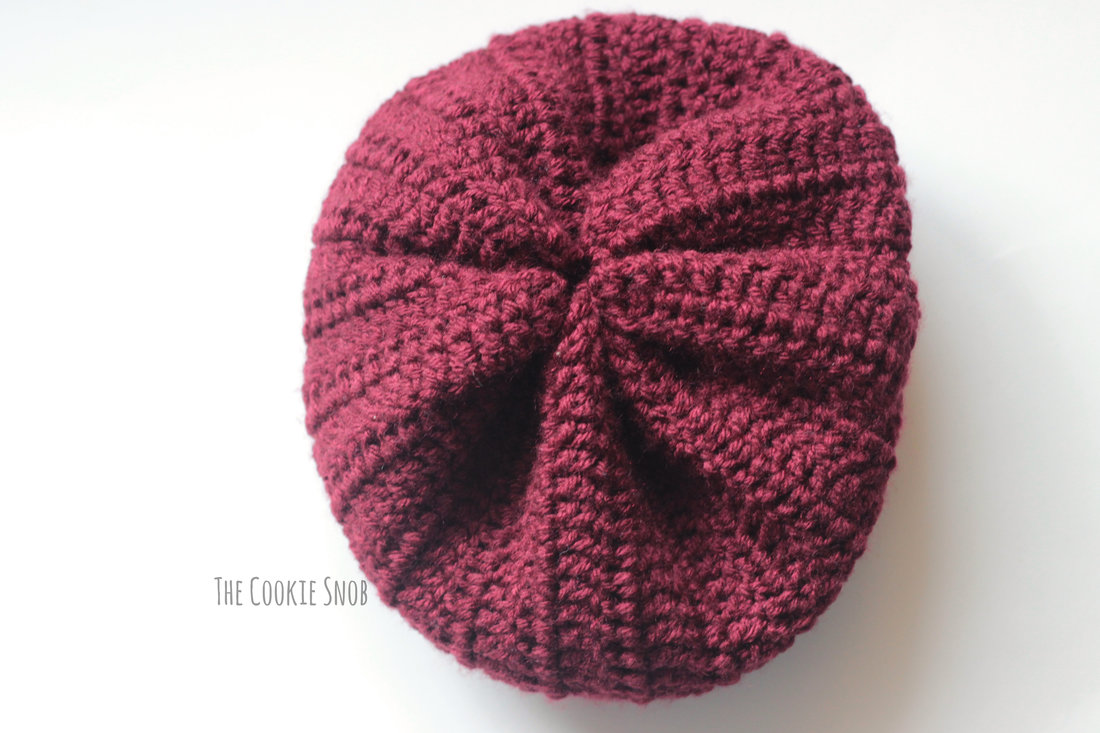 Optional: Stitch on faux fur pompom (I recommend using the remaining yarn tail to do this, since thread can have a tendency to tear when used with yarn). Weave in ends. 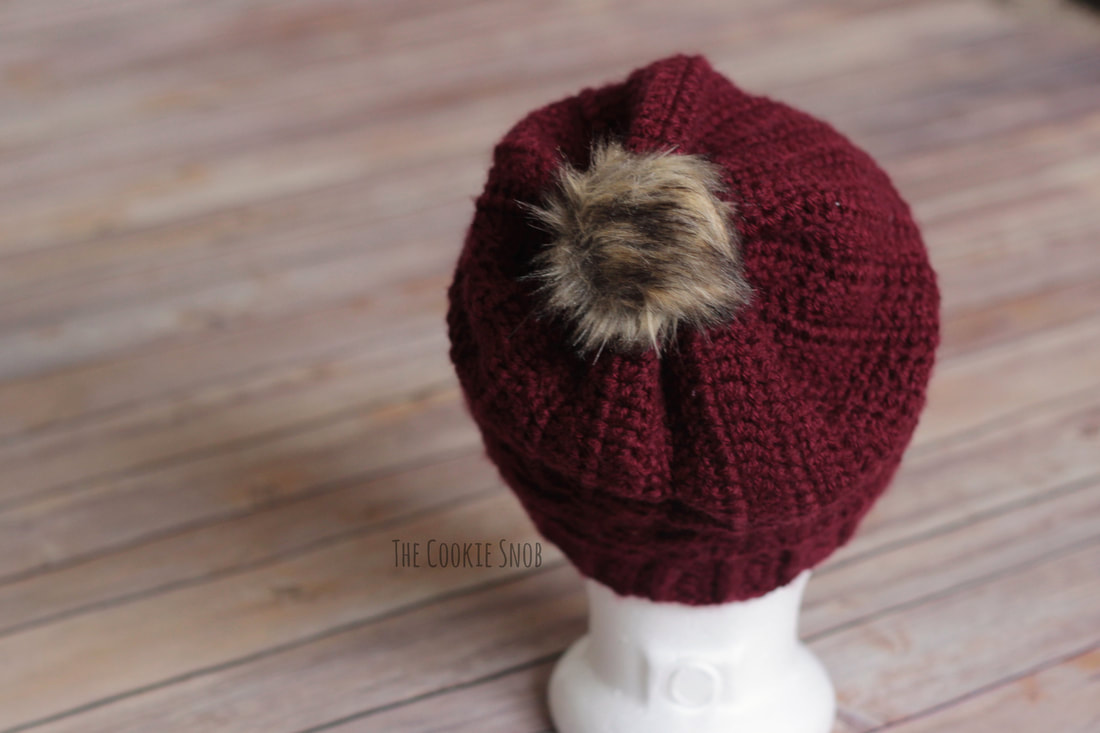 Ta-dah! Now you have your own Cabled Horizon Beanie. If you like this pattern and want a printable PDF version (or if you just want to help support my blog), you can find one on Ravelry. If you come across any questions or have any comments, you can reach me in the comments section below or on social media. Happy hooking! 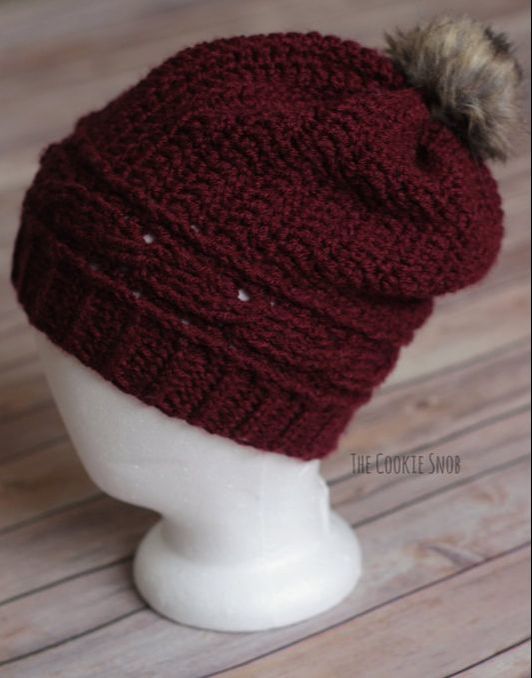 ***You're welcome to do whatever you'd like to with finished products made from this pattern but if you do sell them, I ask that you link back to my page. You may not copy this pattern, repost it anywhere (either altered or in its original form), or claim it as your own. You may not use any photos on this site for your own use. ***
17 Comments
Donna
12/1/2017 08:51:48 pm
Hi
Erin
12/1/2017 09:21:32 pm
Hi Donna,
Jennifer
12/4/2017 07:33:42 pm
You might want to add more "rows" then. The height is clearly marked but in building it from the side, how many rows did it take you to make the hat? Where your pattern stops creates the unfinished band at about the size of a sleeved shirt.
Erin
12/4/2017 07:50:06 pm
Hi Jennifer,
Jennifer
12/7/2017 08:56:53 am
Erin,
Erin
12/7/2017 12:04:09 pm
Thanks, Begonia! The cable is my favorite part too :) I hope your hat turns out well! :)
Jennifer
12/7/2017 09:01:21 am
I had to make 65 rows with worsted weight yarn and an I crochet hook in order for it to fit my head...
Erin
12/7/2017 12:02:55 pm
Hi Jennifer,
Courtney
12/10/2017 05:15:15 pm
Sizing was an issue for me as well. I have a rather small head and on top of that, I crochet pretty loosely. My gauge was right on target, however I could barely get the hat on my head. I might try the pattern again, but crochet about 40-42 rows instead of the 36 to get it to fit.
Erin
12/11/2017 12:21:11 pm
Thanks for your feedback! I'm not sure why the sizing isn't working out, but I'll be sure to look into it and revisit the patterns once I finish all the Christmas things I need to get done. In the meantime, I'll add a note. I hope you still enjoy your hat! :)
Erin
3/29/2018 08:50:16 pm
Thank you! I hope you enjoy the pattern and that your hat turns out well :)
Ruth
5/13/2019 12:54:43 pm
Well I'm going to make this hat for my grandchildren and since my son and his wife have 8 I know it will fit one of them. I'll make it in several different sizes too by adding more and less rows. I do hate seaming and mine doesn't usually look all that great but I'll try. It's a beautiful hat and you are sure creative! So anyway, despite what was said about the size, it's a perfect pattern for me. I also donate hats so they always find a home no matter what size they turn out. Thank you so much for sharing this and other patterns. That is extremely generous of you. Creating and writing patterns has to be a very time consuming project
Tricia
4/15/2020 10:37:20 pm
Hi!
Erin
4/17/2020 09:41:34 am
Hi Tricia! That's actually exactly correct. We want the 3rd loop to be in the front for this pattern. When you work in the 3rd loop in back and forth rows, it actually makes a really nice looking ribbed brim. You can find an example of what it should look like in this tutorial: https://www.cookiesnobcrochet.com/home/3rd-loop-tutorial-snail-coaster
Tricia Contreras
4/17/2020 10:28:15 am
oh! i'm sorry, i'm used to take the 3rd loop from the back side, Leave a Reply. |
Welcome!Thank you for stopping by to visit my own personal corner of the web! Feel free to take a look around and check out what I've been crafting, crocheting, or baking. Hopefully you'll find something to inspire your own creativity!   
Archives
March 2024
|
 RSS Feed