|
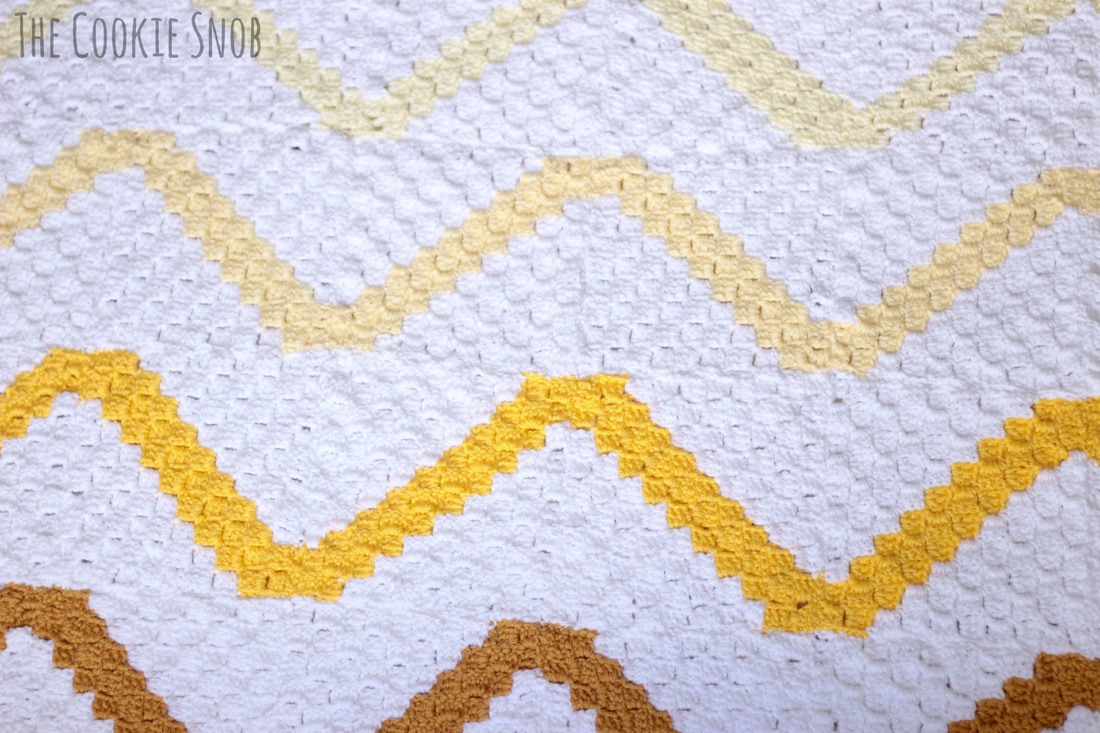
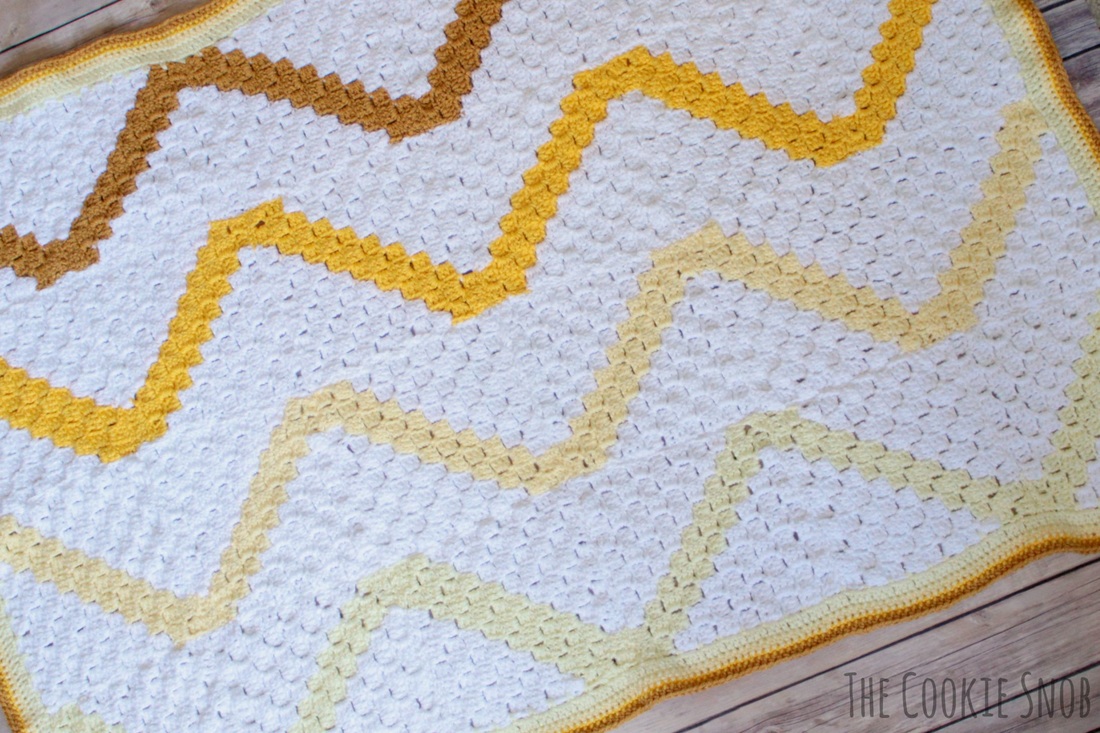
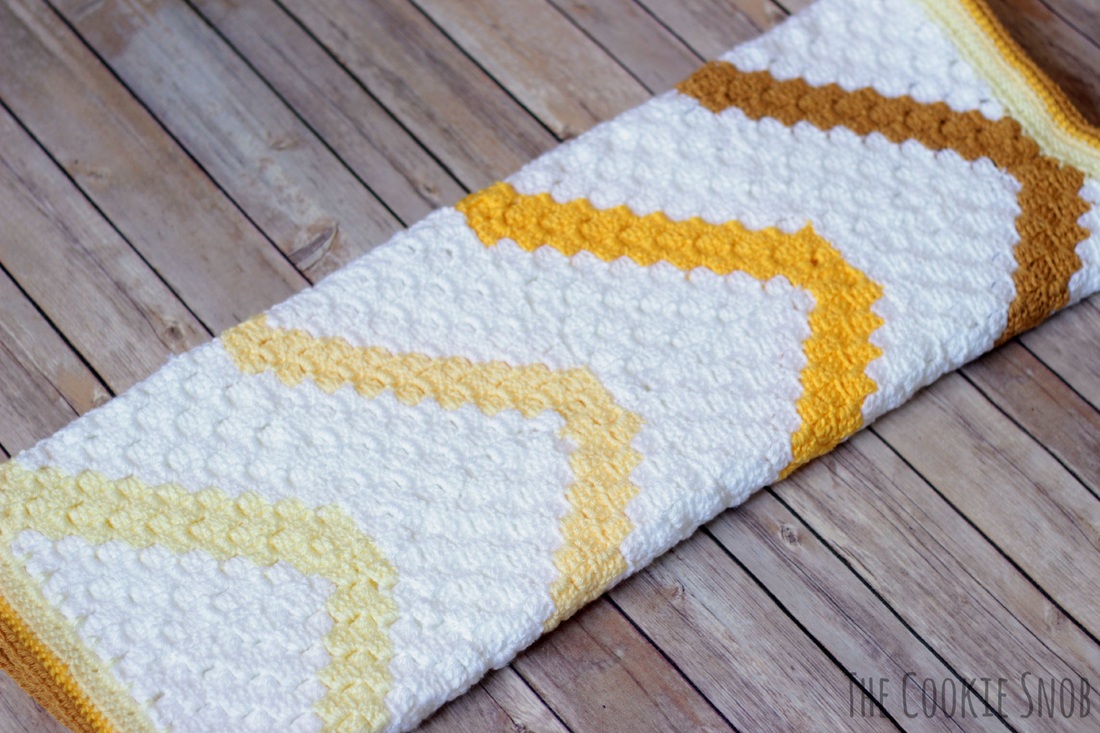
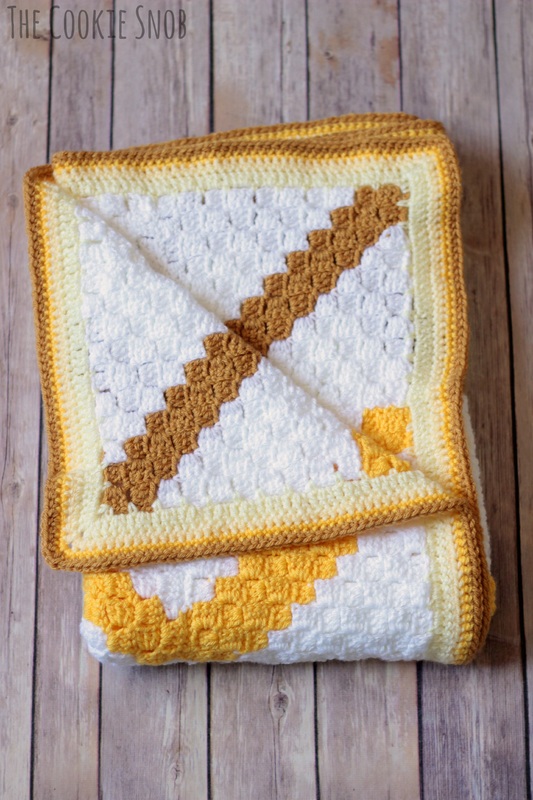
This is the blog post that almost didn't happen. SO many things went wrong with this blanket and I was definitely tempted to give up on it more than once. And after looking at the pictures just now, I found yet another mistake! Argh argh arrrrrrgh (don't mind me, just channeling my inner irate pirate). But despite all of its flaws, I still really love this blanket. There's just something about how cheerful and unique looking it is that makes my yarn-lovin' heart happy. So I'm going to share it with you anyway. And now that I've done just about everything wrong, I have some great tips for you if you want to make one of your own! Silver lining, right? If you're not already familiar with working corner-to-corner (C2C), go take a look at my C2C spotlight post first. It has a photo tutorial to help get you started, which is important since this pattern is written assuming that you already know how to do the diagonal box stitch. C2C Chevron Baby Blanket Pattern Materials:
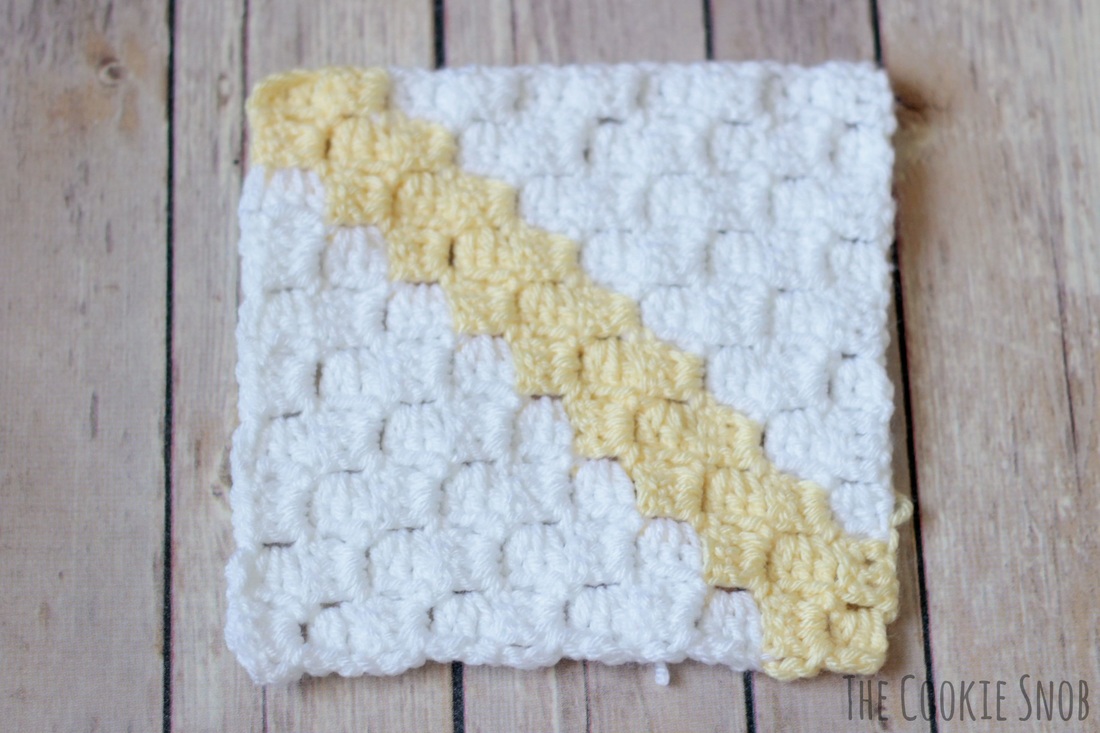
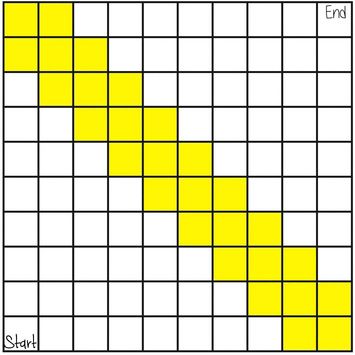
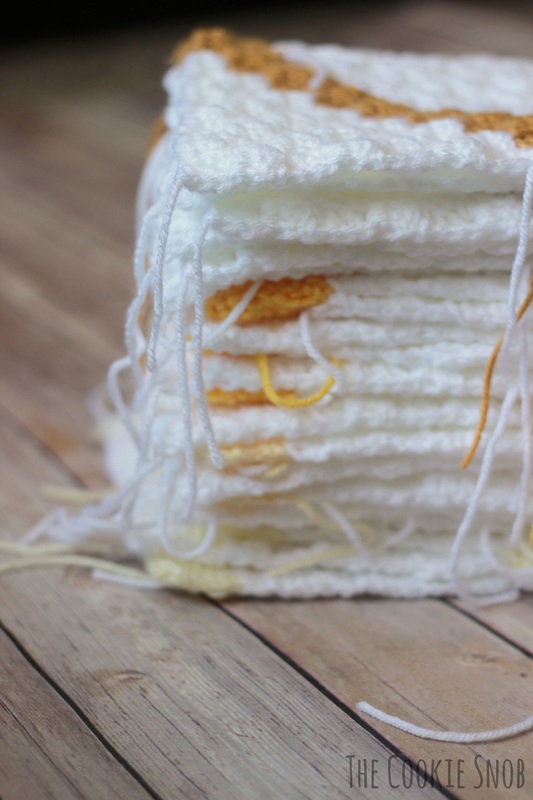
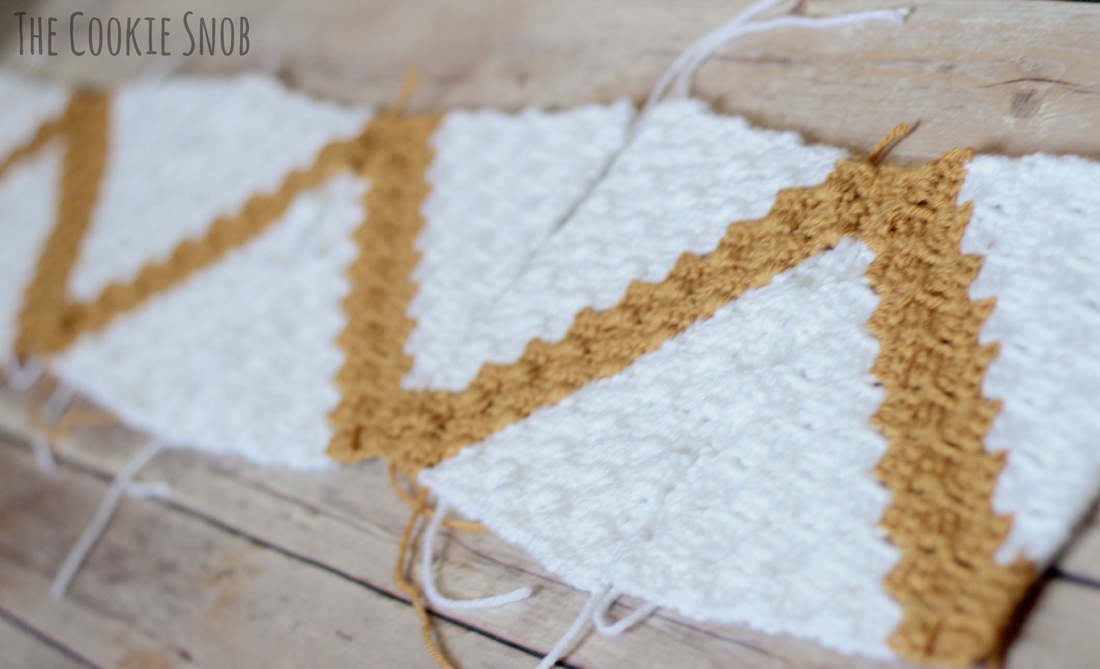
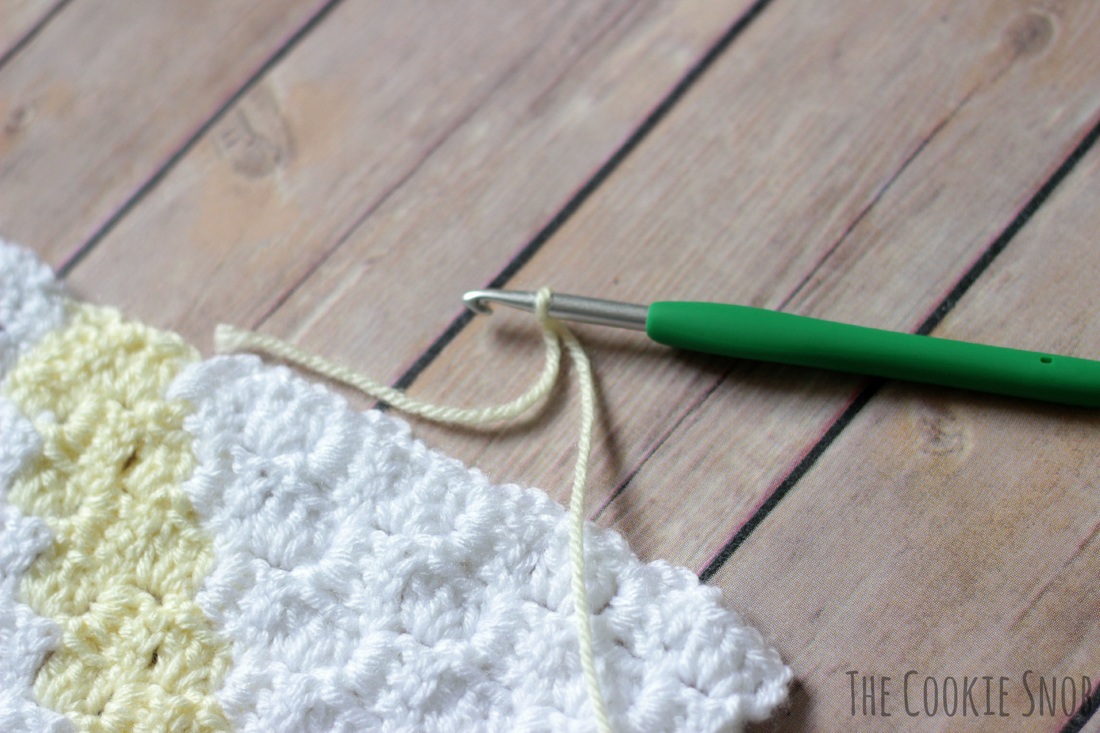
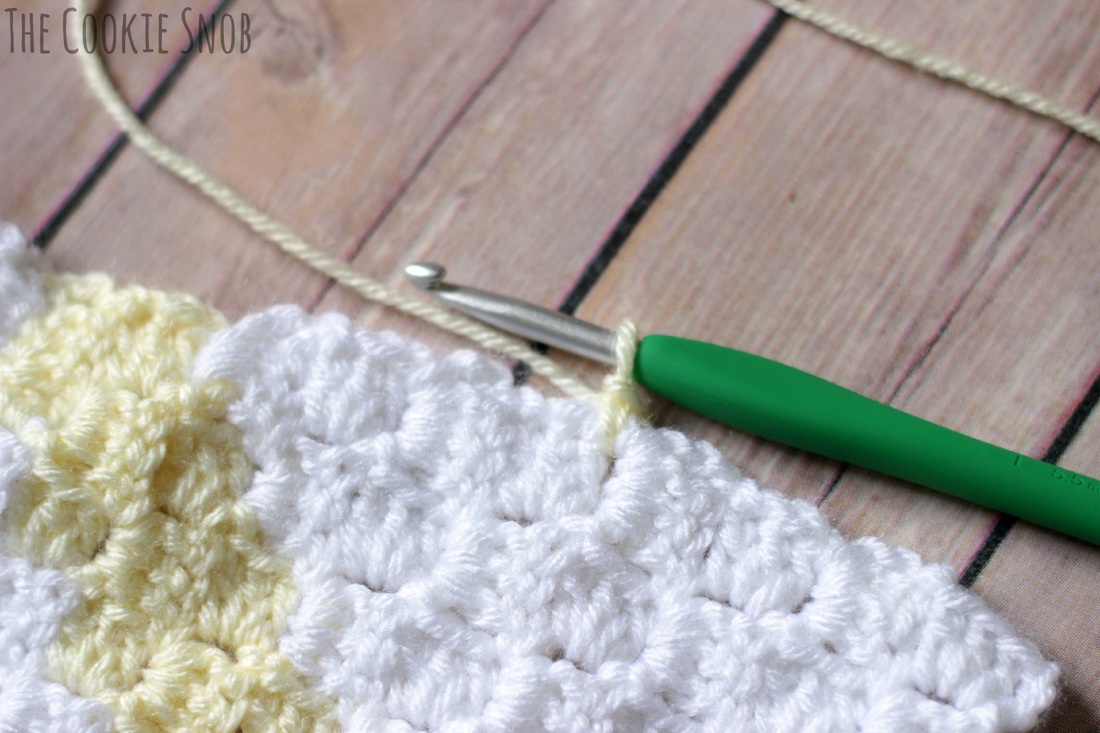
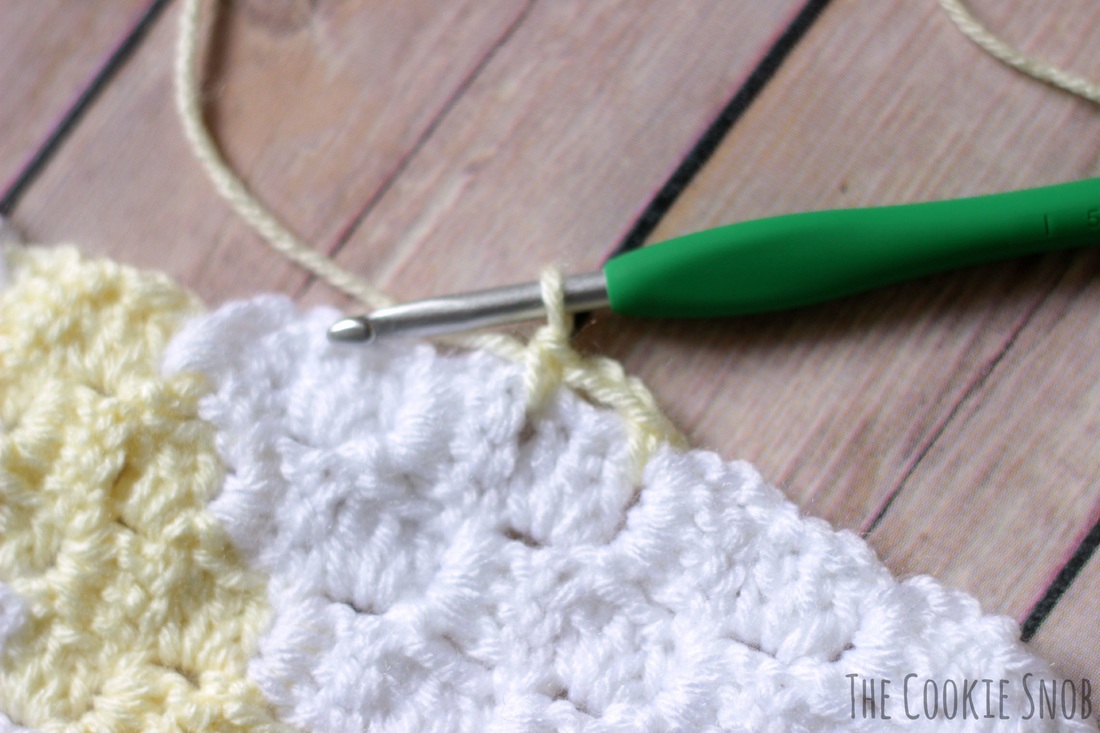
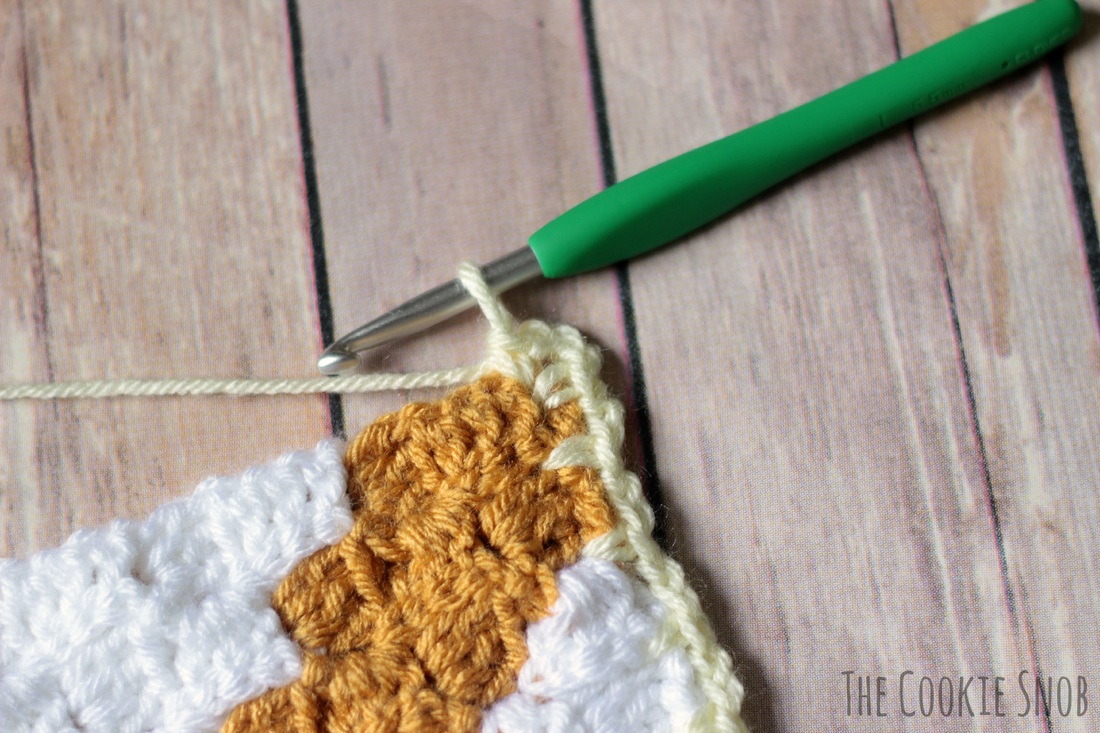
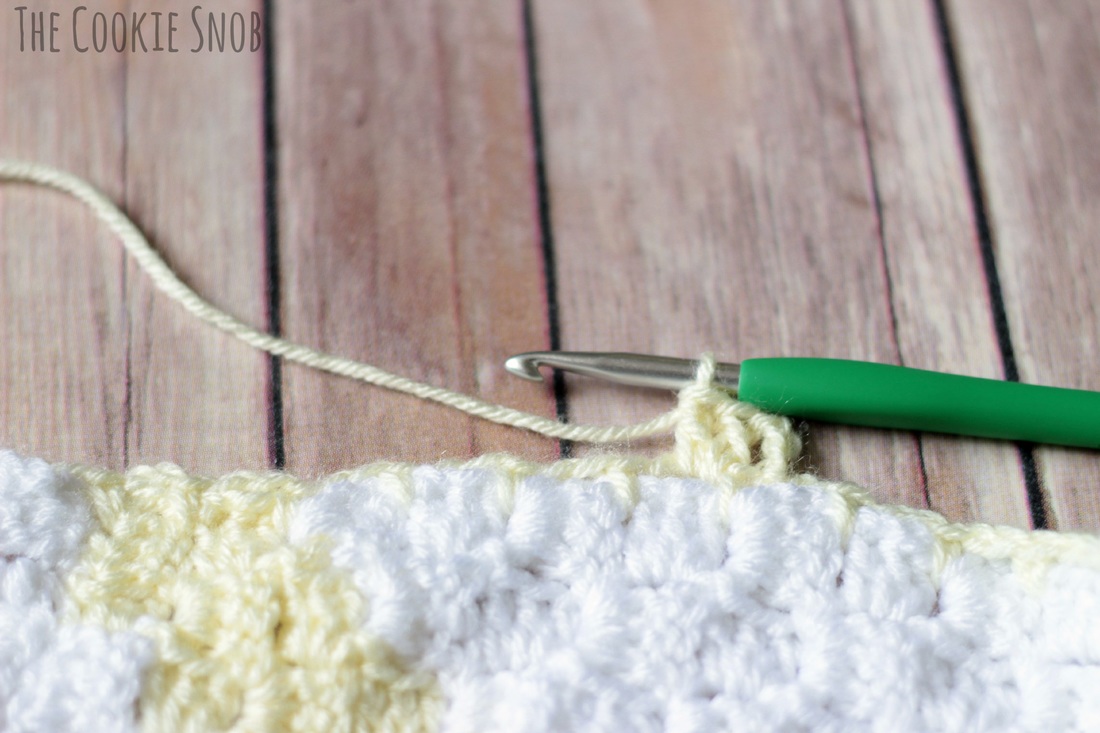
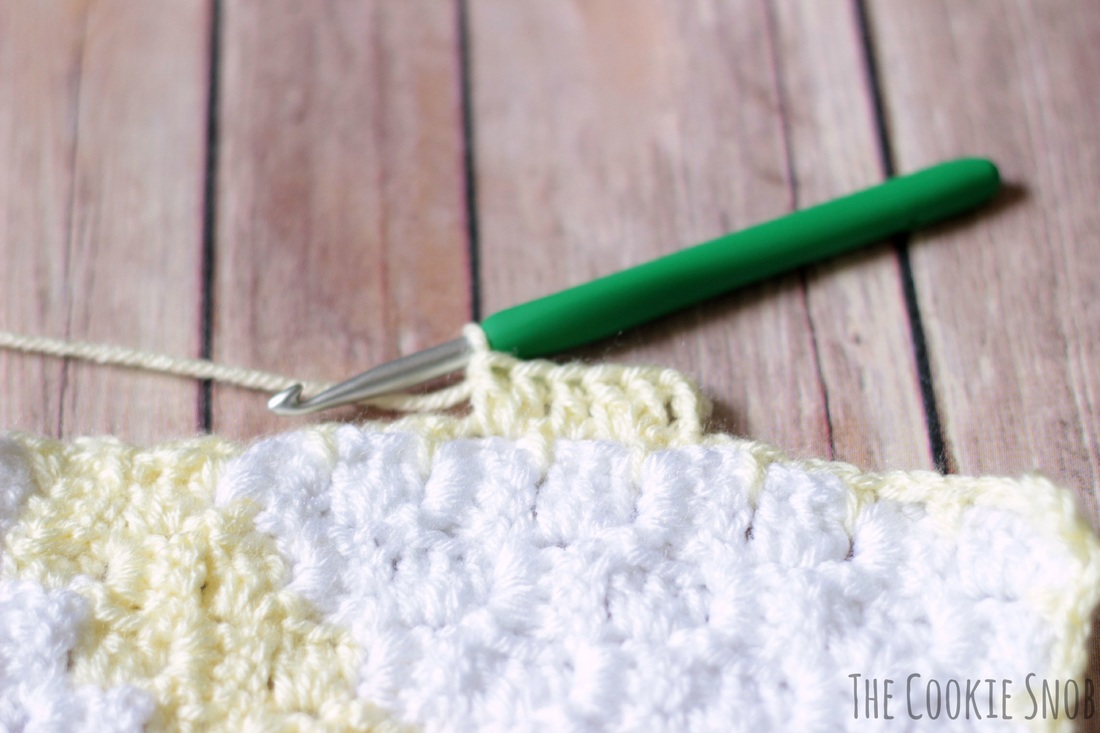
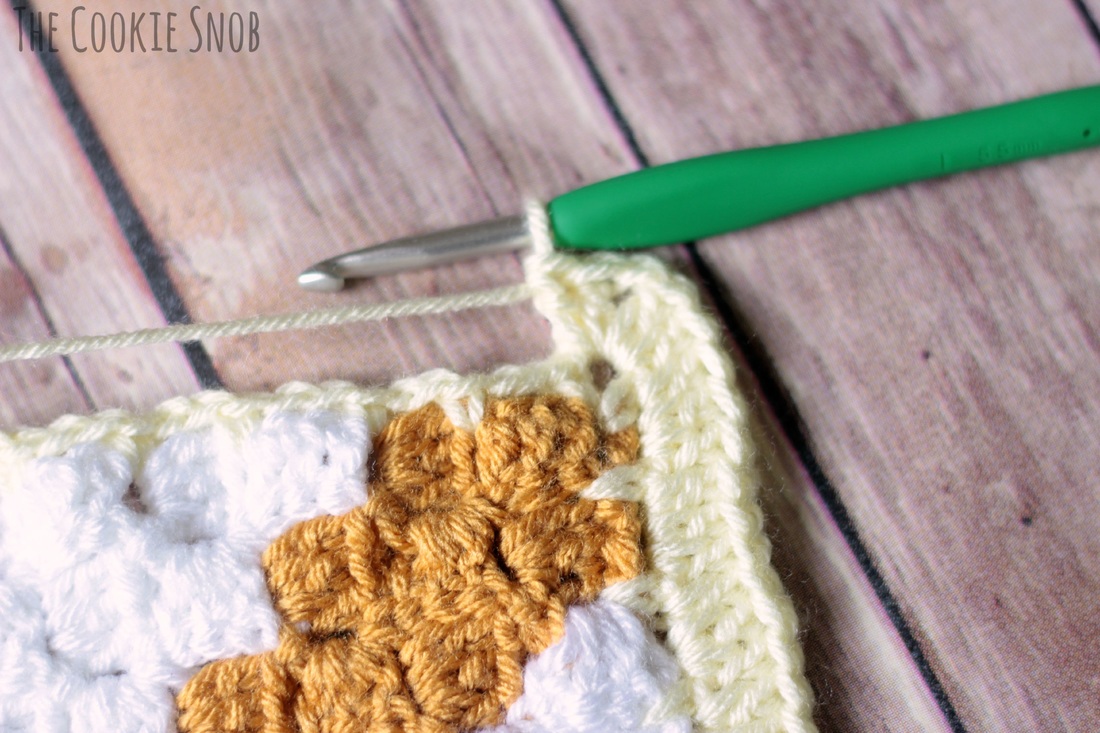
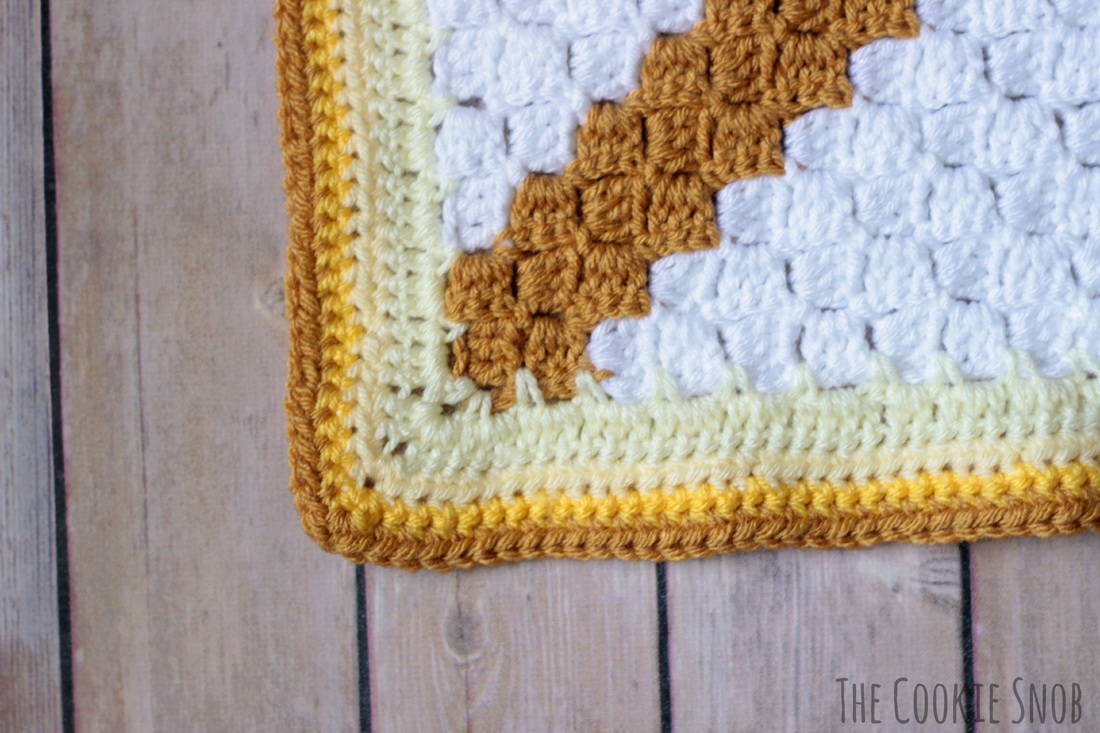
Squares: Make 6 of each accent color (24 total) Begin with white yarn. Increase until your row is 8 boxes wide. Switch to accent color. Increase until your row is 10 boxes wide. Begin decreasing. After your first decrease row (this should be 9 boxes wide when you're finished with it), switch back to white yarn. Continue decreasing until your square is complete. Helpful Hint: It's really easy to add an extra row of the accent color by mistake, which will make your chevrons uneven. So double check your squares before you finish them off! For those of you who prefer looking at charts, here's a computerized version so you don't have to squint at the picture of the actual square. And for those of you who prefer having every row written out, here's a breakdown of each row (W = white, Y = yellow): Row 1: 1 W Row 2: 2 W Row 3: 3 W Row 4: 4 W Row 5: 5 W Row 6: 6 W Row 7: 7 W Row 8: 8 W Row 9: 9 Y Row 10: 10 Y Row 11: 9 Y Row 12: 8 W Row 13: 7 W Row 14: 6 W Row 15: 5 W Row 16: 4 W Row 17: 3 W Row 18: 2 W Row 19: 1 W Assembly: Lay out your squares by color. Rotate your squares to form the chevron shape (the colored parts of the square should touch in a "v" shape). Join together the squares. I decided to use the mattress stitch to join mine to make the seam as invisible as possible and to ensure that it would lie flat. If you're not familiar with the mattress stitch, here's an excellent tutorial on Moogly that I highly recommend. You can join the squares in whichever order works best for you. I decided to use the long tails of colored yarn to join the colored sections together first. Then I cut a loooong strand of white yarn and joined the rows of different colors together (working horizontally across the blanket) and then used the long tails to join the white sections together vertically. I then chose to weave in all the ends before continuing on to the border. Helpful Hint: Don't pull your mattress stitches too tight. You want it to be tight enough to stay together, but don't pull it so tight that it puckers. If your stitches are too tight then the edges of your blanket won't be perfectly straight no matter how much blocking you do. Border: If you'd like to make the edge a little neater, I suggest adding a border to your blanket. You can use whatever method you prefer, but here's the approach I took: Start with a loop on your hook. Pick a spot on the blanket (anywhere is fine) and work a single crochet between the boxes. Chain 2, then work a single crochet between the next set of boxes. Continue this across the edge of the blanket until you get to a corner. When you get to a corner, work a single crochet, chain 3, and another single crochet all in the same spot of the corner. Then go back to what you were doing before: chain 2, single crochet in the gap between the boxes. When you get back to where you started, join with a slip stitch. Helpful Hint: You'll have to kind of force the hook into the sections where you joined the squares together, since there won't be an obvious gap between the squares anymore. The divisions between boxes should still be fairly obvious though, so it won't be hard to eyeball where you need to put your hook. I then added a row of double crochets for the next piece of my border. To do this, start by chaining 3 and then working 2 double crochets in the chain 2 space. Work a double crochet in the next single crochet and then work 2 double crochet in the chain 2 space again. Continue this pattern until you get to the corner. Once at the corner, work 2 double crochet, chain 1, and work 2 more double crochet into the chain 3 space. Then continue as before. Once you get back to the beginning, join with a slip stitch. For the third row of my border, I switched colors, chained 2, and then began to half double crochet around. In the corners, I worked 1 half double crochet, chained 1, and then worked another half double crochet in the chain 1 space. For the fourth row of my border, I switched colors, chained 1, and then began to single crochet around. In the corners, I worked 1 single crochet, chained 1, and then worked another single crochet in the chain 1 space. For the fifth row of my border, I switched colors, chained 2, and then began to half double crochet around. In the corners, I worked 1 half double crochet, chained 1, and then worked another half double crochet in the chain 1 space. Then I fastened it off and wove in any remaining ends. Helpful Hint: Be careful not to add too many extra stitches when you're working in the corners. This will increase the wobbliness of your border and no amount of blocking will give you the perfectly straight look you're dreaming of. And now you're done! Take a minute to sit back and admire all of your hard work. You are now the proud owner of a beautiful blanket, hooked with love. And if there are any flaws, well then that gives it character, right? (Hopefully yours has less character than mine. Mine is basically Mickey Mouse.) If you decide to make one of these blankets, I'd love to see a picture of it and/or hear about how it went. If you're having problems please drop me a line and I'll try to help you out! I try my best to post error-free patterns, but if you find a problem I'd like to correct it, so please let me know. You can reach me in the comments section below or on Twitter, Facebook, Ravelry, Pinterest, Instagram, or by email. Happy hooking! ***You're welcome to do whatever you'd like to with finished products made from this pattern but if you do sell them, I ask that you link back to my page. You may not copy this pattern, repost it anywhere (either altered or in its original form), or claim it as your own. You may not use any photos on this site for your own use. ***
16 Comments
Linnette
9/12/2015 10:31:04 pm
It's gorgeous
Reply
Erin
9/13/2015 04:11:35 pm
Thank you so much! :)
Reply
Melissa
10/1/2015 04:28:40 pm
This is amazing!! I love the chevron pattern and had the idea to make a christmas gift in the chevron. I spent hours on it and it looks horrible. So now I have been looking for the perfect pattern to use that i can do and like as well I was thinking the c2c and came across this! its like a crochet answered pryer. I plan to start this project soon. Thank you for sharing such an awesome project!
Reply
Erin
10/1/2015 05:47:26 pm
I'm so glad you like it! I hope your Christmas gift turns out great! :)
Reply
Melissa
10/2/2015 05:02:43 pm
I've started working on this lovely project but I was wondering if there was a simple way to convert it to a basic throw size? I've tried to figure it out but I'm new to crochet and it's a bit confusing. Thanks. :)
Reply
Erin
10/2/2015 06:20:40 pm
You have a couple of different options for making it larger. You could follow this pattern and just make more squares until it's the size you want. Or you could increase the size of the individual squares. Increasing the size of the squares shouldn't be hard since it's a pretty simple design, but there would be a lot more white space between the chevrons. So it depends on what kind of look you want for your finished blanket.
Reply
Melissa
10/3/2015 12:18:33 pm
If I made the squares larger would decrease the amount of white space between the chevrons? Or would it not matter which way I did it there would still be large amounts of white between the chevrons? Sorry to ask so many questions. Thank you for you help. :)
Reply
Erin
10/3/2015 07:30:20 pm
Unless you decided to make the colored stripe thicker, there would be more white space if you decided to make the squares larger (for example, if you decided to make a 20X20 square instead of the 10X10 square the pattern calls for). If you want to get a better idea of what that would look like, you can try drawing out a bigger square on graph paper to see what I mean.
Reply
Angie
10/3/2015 10:12:24 pm
What is the finished size of the blanket?
Reply
Shantel
3/7/2016 06:50:45 pm
Thank You! The pattern may have just saved my crochet mind. Was having trouble finding the perfect stitch & pattern to compliment a usual request for a baby blanket.
Reply
Bernice Cannon
6/9/2017 05:54:57 pm
I don't know when or how to switch contrasting colors as I assume on that I focus on the corner first. My dominant color is Teal and following 3 or 4 shades of yellow. A little confused. I could not find the video on this. Thanks in advance, Bernice
Reply
Erin
6/9/2017 09:40:48 pm
Hi Bernice! This tutorial by Make & Do Crew should be helpful for learning to change colors: http://makeanddocrew.com/change-colors-corner-to-corner-crochet-c2c/
Reply
kbrovo
12/26/2018 07:24:56 pm
How large is the finished product (in inches or yards)?
Reply
Sinthia Gray
4/19/2019 04:01:45 am
I know this is old but thank you for the idea! I am planning mine with equal white and color, maybe 4or5 rows. Also I noticed I could make them a long strip ( like a scarf ) and then just flip them ( mines 2 colors so I won’t have to invert the color scheme ) happy crocheting!
Reply
Erin
4/19/2019 05:15:26 pm
Hi Sinthia! That sounds like a great! I'd love to see how it turns out. And it's always nice to know that the old patterns are still getting some love :)
Reply
Leave a Reply. |
Welcome!Thank you for stopping by to visit my own personal corner of the web! Feel free to take a look around and check out what I've been crafting, crocheting, or baking. Hopefully you'll find something to inspire your own creativity! Archives
March 2024
|



 RSS Feed