
|
When we moved, we found ourselves puzzling over what to do with a big wall cutout in the living room meant for an old-style TV (you know, the kind we had way back when in the stone age before flat screens—reason #276 my kids will think I'm ancient). Shelves seemed an obvious answer, but given how low to the ground it was, it would immediately become the 1 year old's stomping grounds (aka useless for any actual storage). We brainstormed a bit and decided to turn it into a reading nook! Perfect for my little nerdlets-in-training who LOVE to read. So I designed this handy book basket to add to our new reading nook. It's sturdy, lovely, and ideal for storing and toting around books. 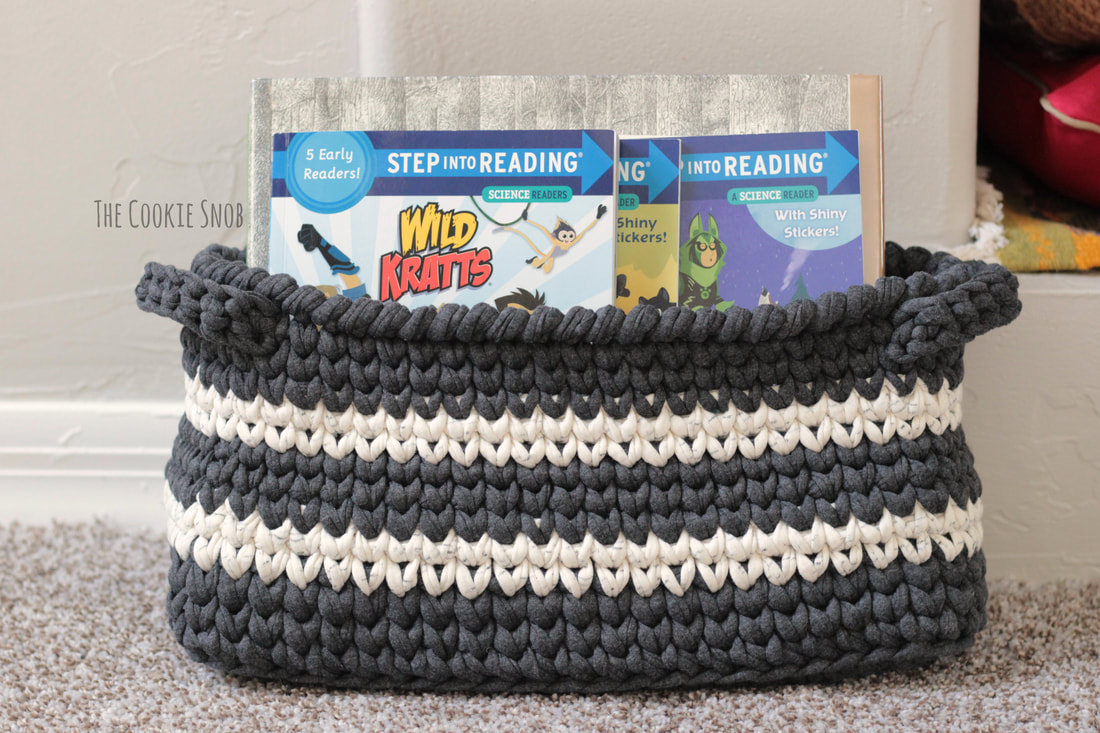 The basket is designed to accommodate even the largest kid's books with some wiggle room so that little hands can get books in and out independently. It's perfect for big picture books and also works great for stacks of smaller books. You can't fit an entire library in it, but it'll fit a good number of books at once without taking up too much room. You could also store magazines in it, if that's more your style. The book basket is pretty sturdy on its own, since it's made from t-shirt yarn, but I'd recommend storing it in a corner or against a wall, since books can get heavy quickly. 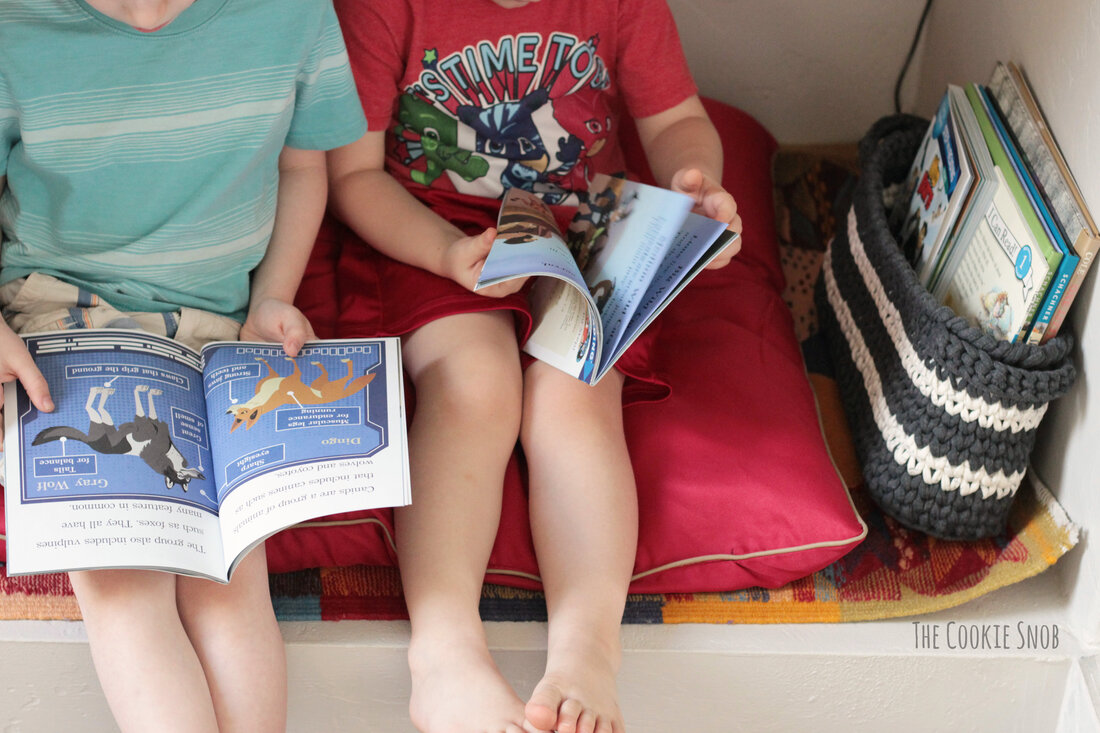 I made the sides of my basket using the waistcoat stitch because it's both lovely and sturdy, but if you're really not a fan of it, you can just use regular single crochet stitches instead. One tip for working with the waistcoat stitch: try not to pull your stitches too tight, or the next row will be difficult to work. Also, it's important to note that gauge will vary a lot for different t-shirt yarns even within the same brand, just based on the way that they're made. So don't stress if yours isn't the exact same dimensions. I've given you the gauge and dimensions for mine in the pattern below, but if you find your yarn isn't cooperating (or if you just want different dimensions), you can easily add or take away stitches to make it the size you want. This pattern is very forgiving. 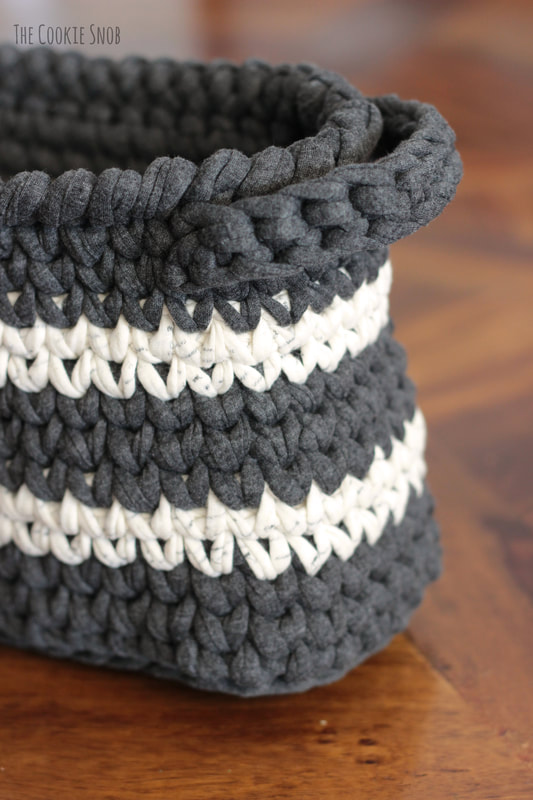 If you'd like an ad-free printable PDF version of this pattern, you can find one on Ravelry. Stitch glossary: st(s) = stitch(es) ch = chain ss = slip stitch sc = single crochet wc = waistcoat stitch rsc = reverse sc (crab stitch) BLO = back loop only Materials:
Gauge: (see note above) For a 13.5" x 4.25" x 6.5" basket: 4" = 7.5 wc sts 4" = 9 wc rows Note: I find that the simplest method for changing colors for the stripes is to leave the previous color yarn attached when it's time to change colors and then to just pick it back up again when the colors switch. The color floats are small and won't be terribly noticeable since they're inside the basket and this way you won't have to weave in as many ends; it also uses slightly less yarn than cutting off the yarn for each color change. Basket Base: Starting with the gray yarn: ch 21 Row 1: sc in the 2nd ch from the hook and in the next 19 sts, turn (20) Rows 2-5: ch 1, sc across, turn (20) Now we're going to work all the way around the rectangle, sort of like adding a border Row 6: ch 1, sc 3 times in the first st, sc in the next 18 sts, sc 3 times in the next st, sc 5 times evenly down the short side of the rectangle, sc 3 times in the back of the next st, sc in the back of the next 18 sts, sc 3 times in the back of the next st, sc 5 times evenly up the short side of the rectangle, ss to first sc to join (58)  Row 7: ch 1, sc around in BLO, ss to join (58) Rows 8-9: ch 1, wc around, ss to join (58) Switch to white yarn Rows 10-11: ch 1, wc around, ss to join (58) Switch back to gray yarn Rows 12-14: ch 1, wc around, ss to join (58) Switch back to white yarn Rows 15-16: ch 1, wc around, ss to join (58) Switch back to gray yarn Rows 17-19: ch 1, wc around, ss to join (58) Row 20: rsc around (58) Fasten off and weave in ends. You can use the yarn tail to join Row 20 together if there's a visible gap. 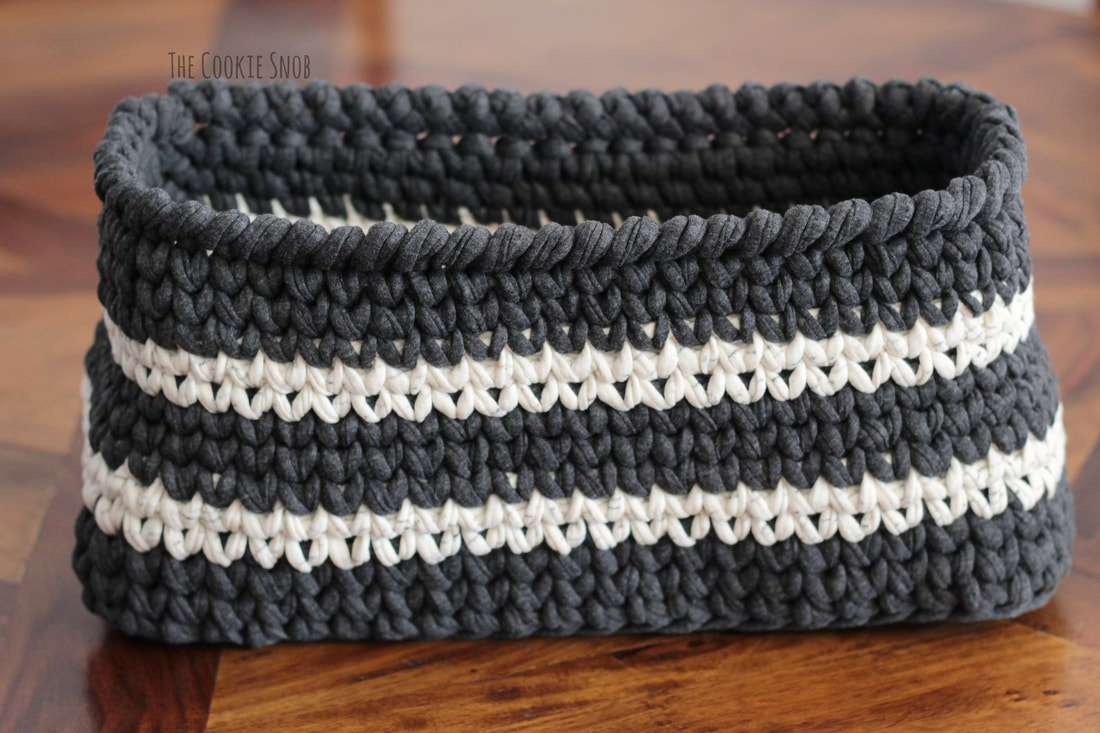 Basket Handle (make 2): Using the gray yarn: ch 13 Row 1: sc in the 2nd ch from the hook and in the next 11 sts (12) Fasten off, leaving a long yarn tail for sewing. 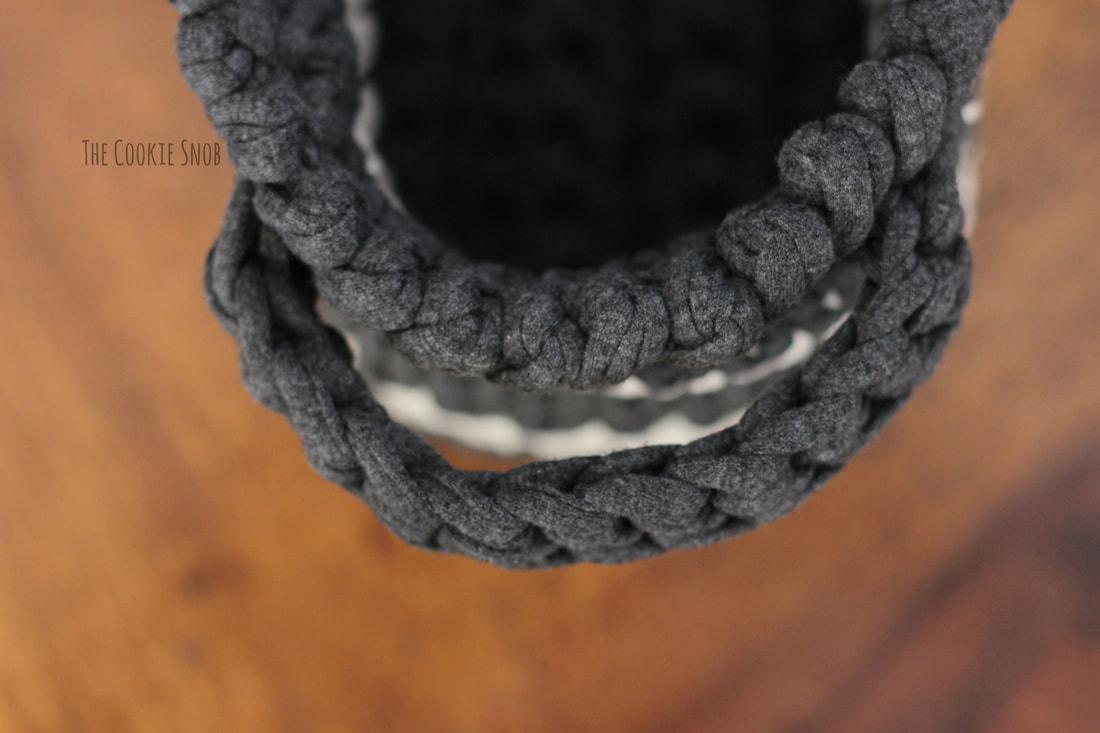 Assembly: Using a large tapestry needle and the yarn tail, sew the handles in place on the short ends of the basket. I stitched mine onto Row 18 with about 8 sts between the two ends of the handle. Weave in any remaining ends. 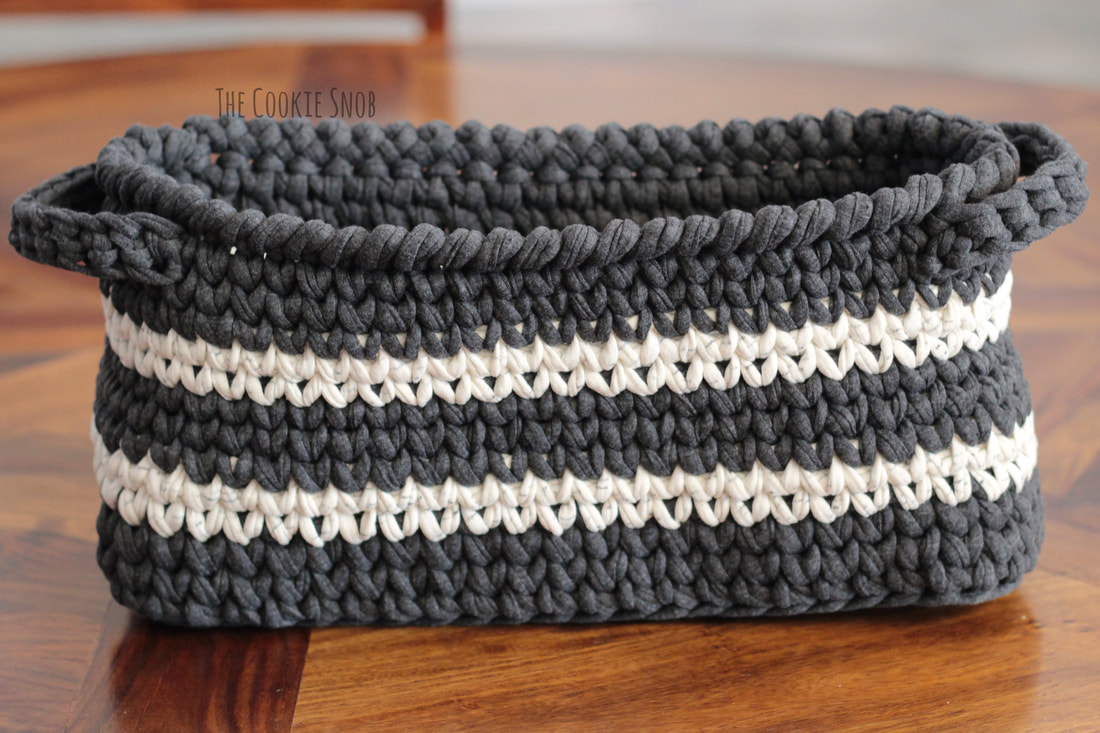 And you're finished! Woohoo! I hope that you enjoy your new book basket. If you have any comments or questions about this pattern, you can reach me in the comments section below, by email, or on social media. It sometimes takes me a bit to respond, but I do my best to answer any/all questions I get. Also, if you decide to make one of these beauties, please share! Seeing your lovely crochet work always makes my day. Happy hooking! Want to make sure you don't miss any future blog posts? Join my mailing list! (Spam-free, I promise!) 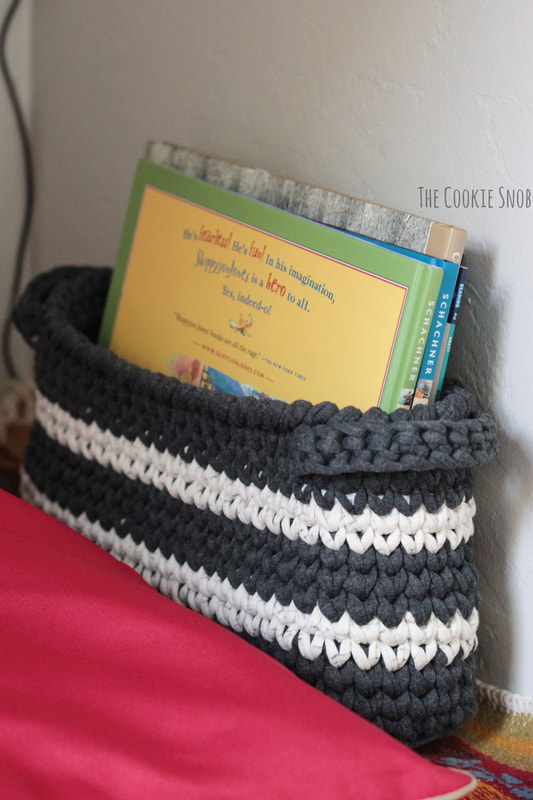 ***You're welcome to do whatever you'd like to with finished products made from this pattern but if you do sell them, I ask that you link back to my page. You may not copy this pattern, repost it anywhere (either altered or in its original form), or claim it as your own. You may not use any photos on this site for your own use. *** 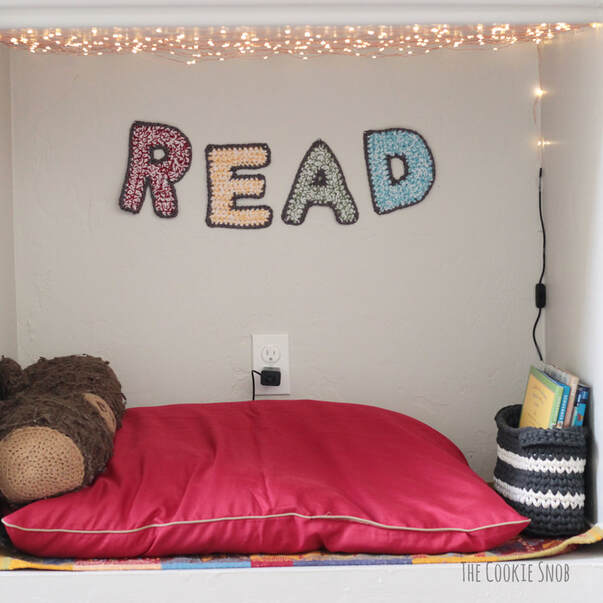
2 Comments
Janice
7/31/2020 12:29:43 pm
I love this idea! Thank you! I always read a lot to my children. I am alone now, but when the grandchildren come I read to them. This has inspired me to fix a reading corner for them,
Erin
7/31/2020 02:41:56 pm
Thanks, Janice! I hope your reading corner turns out well! I'm sure your grandkids will love it :) Leave a Reply. |
Welcome!Thank you for stopping by to visit my own personal corner of the web! Feel free to take a look around and check out what I've been crafting, crocheting, or baking. Hopefully you'll find something to inspire your own creativity!   
Archives
March 2024
|
 RSS Feed