|
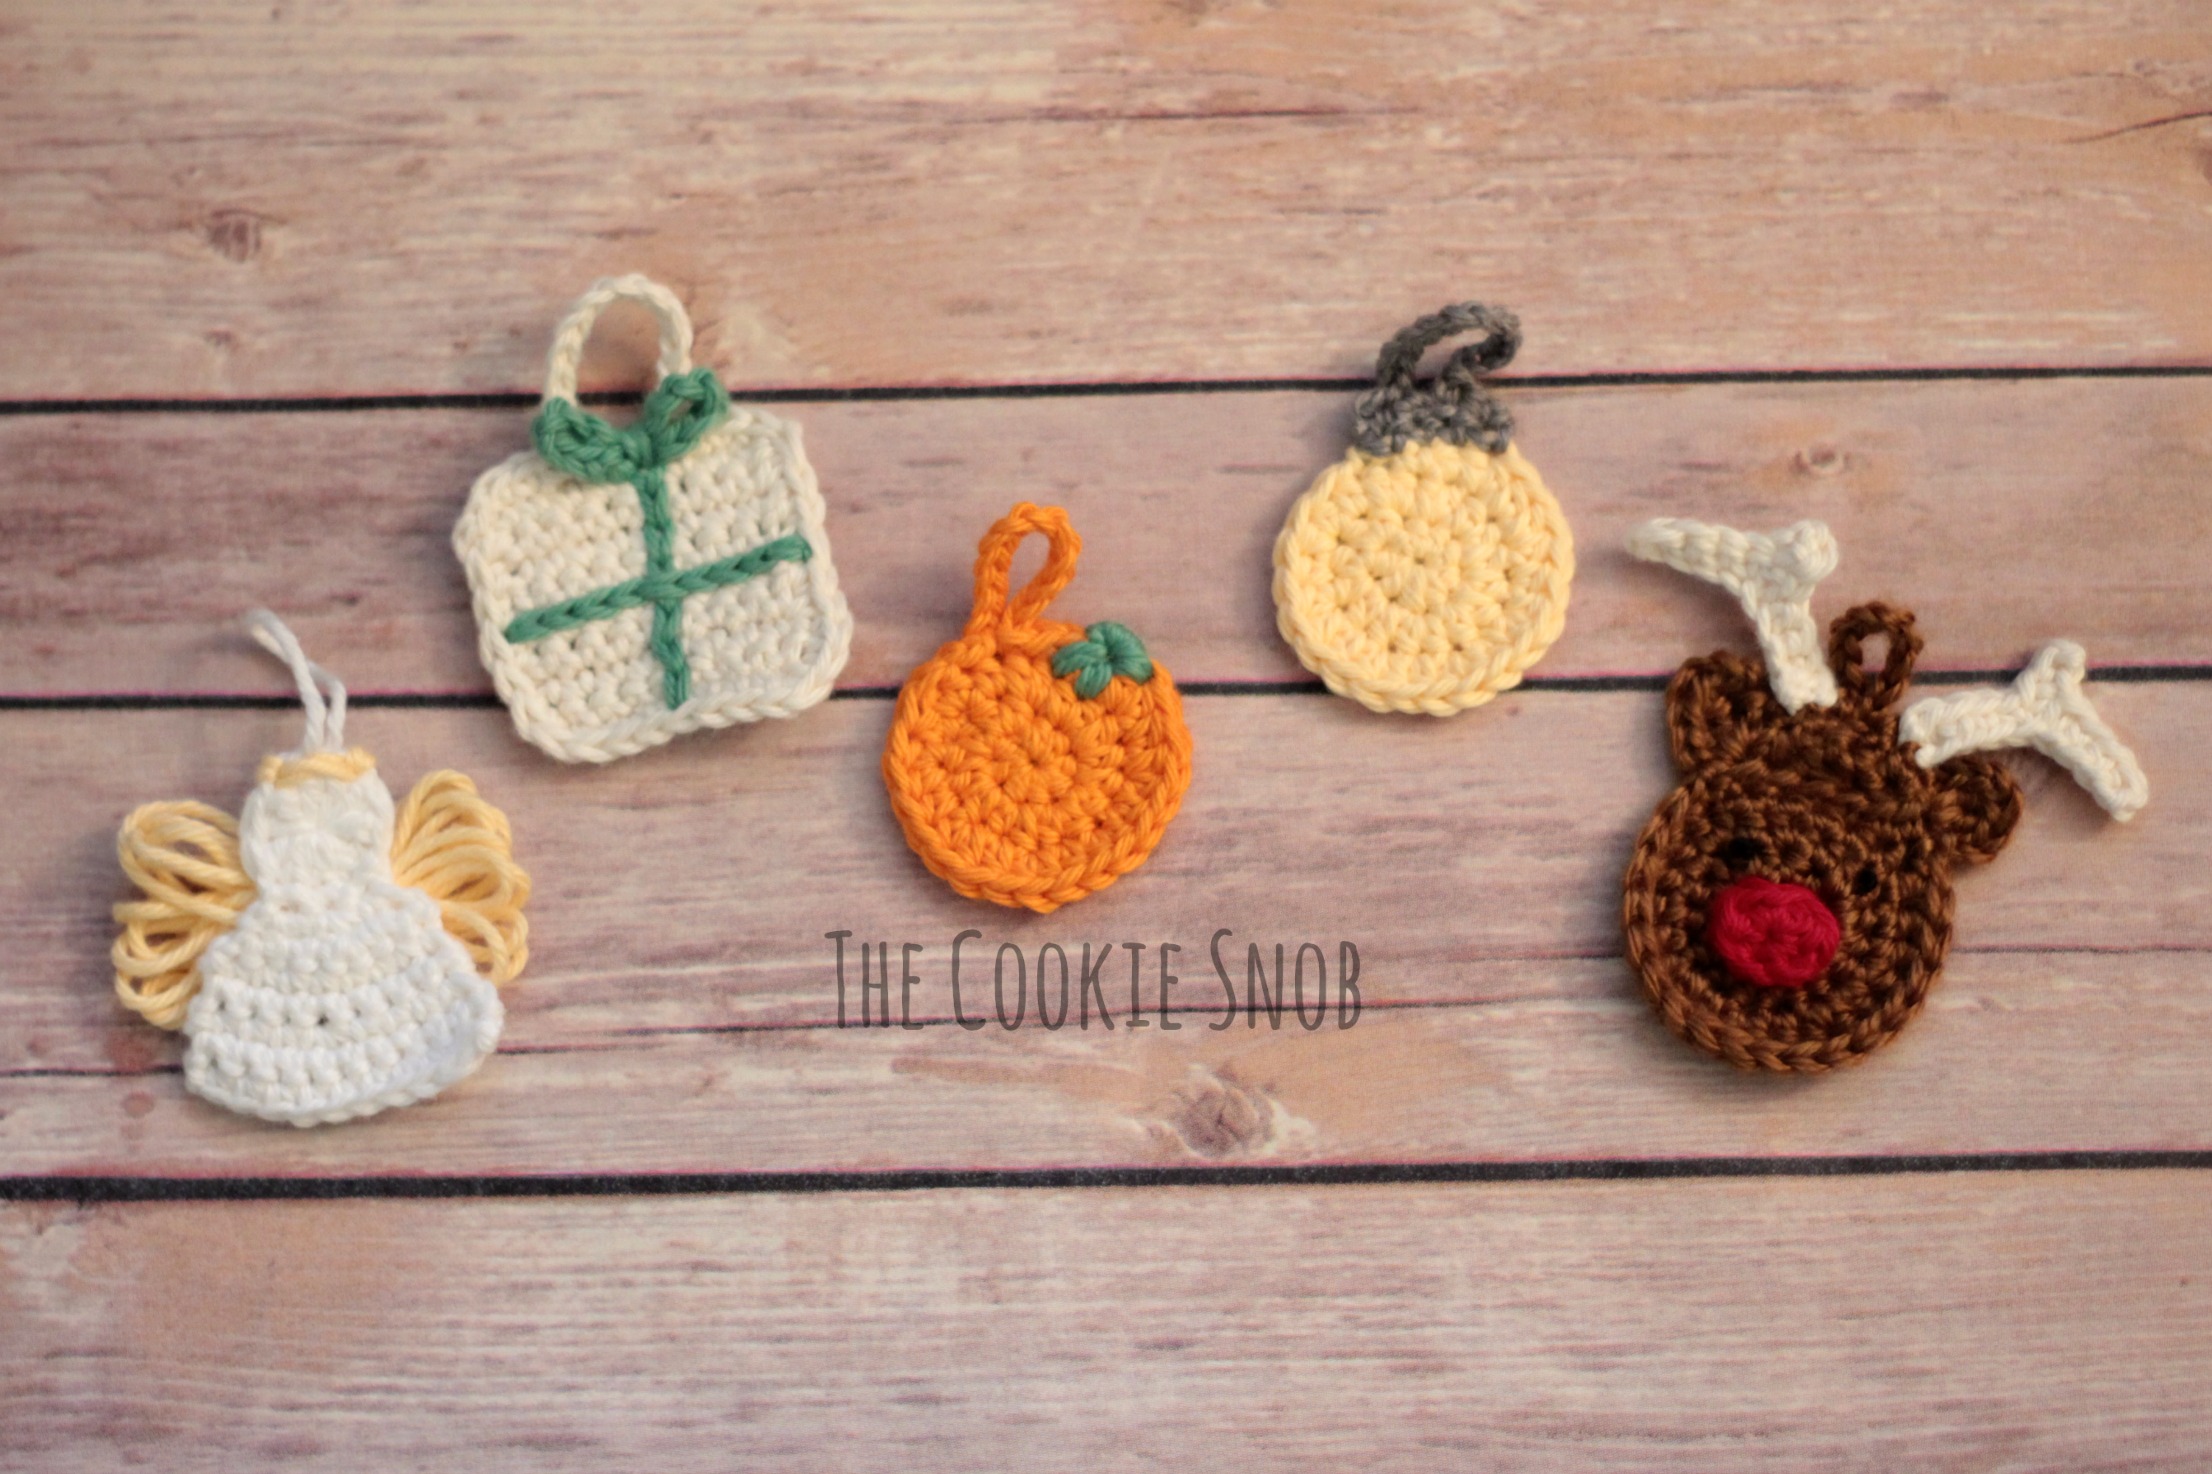
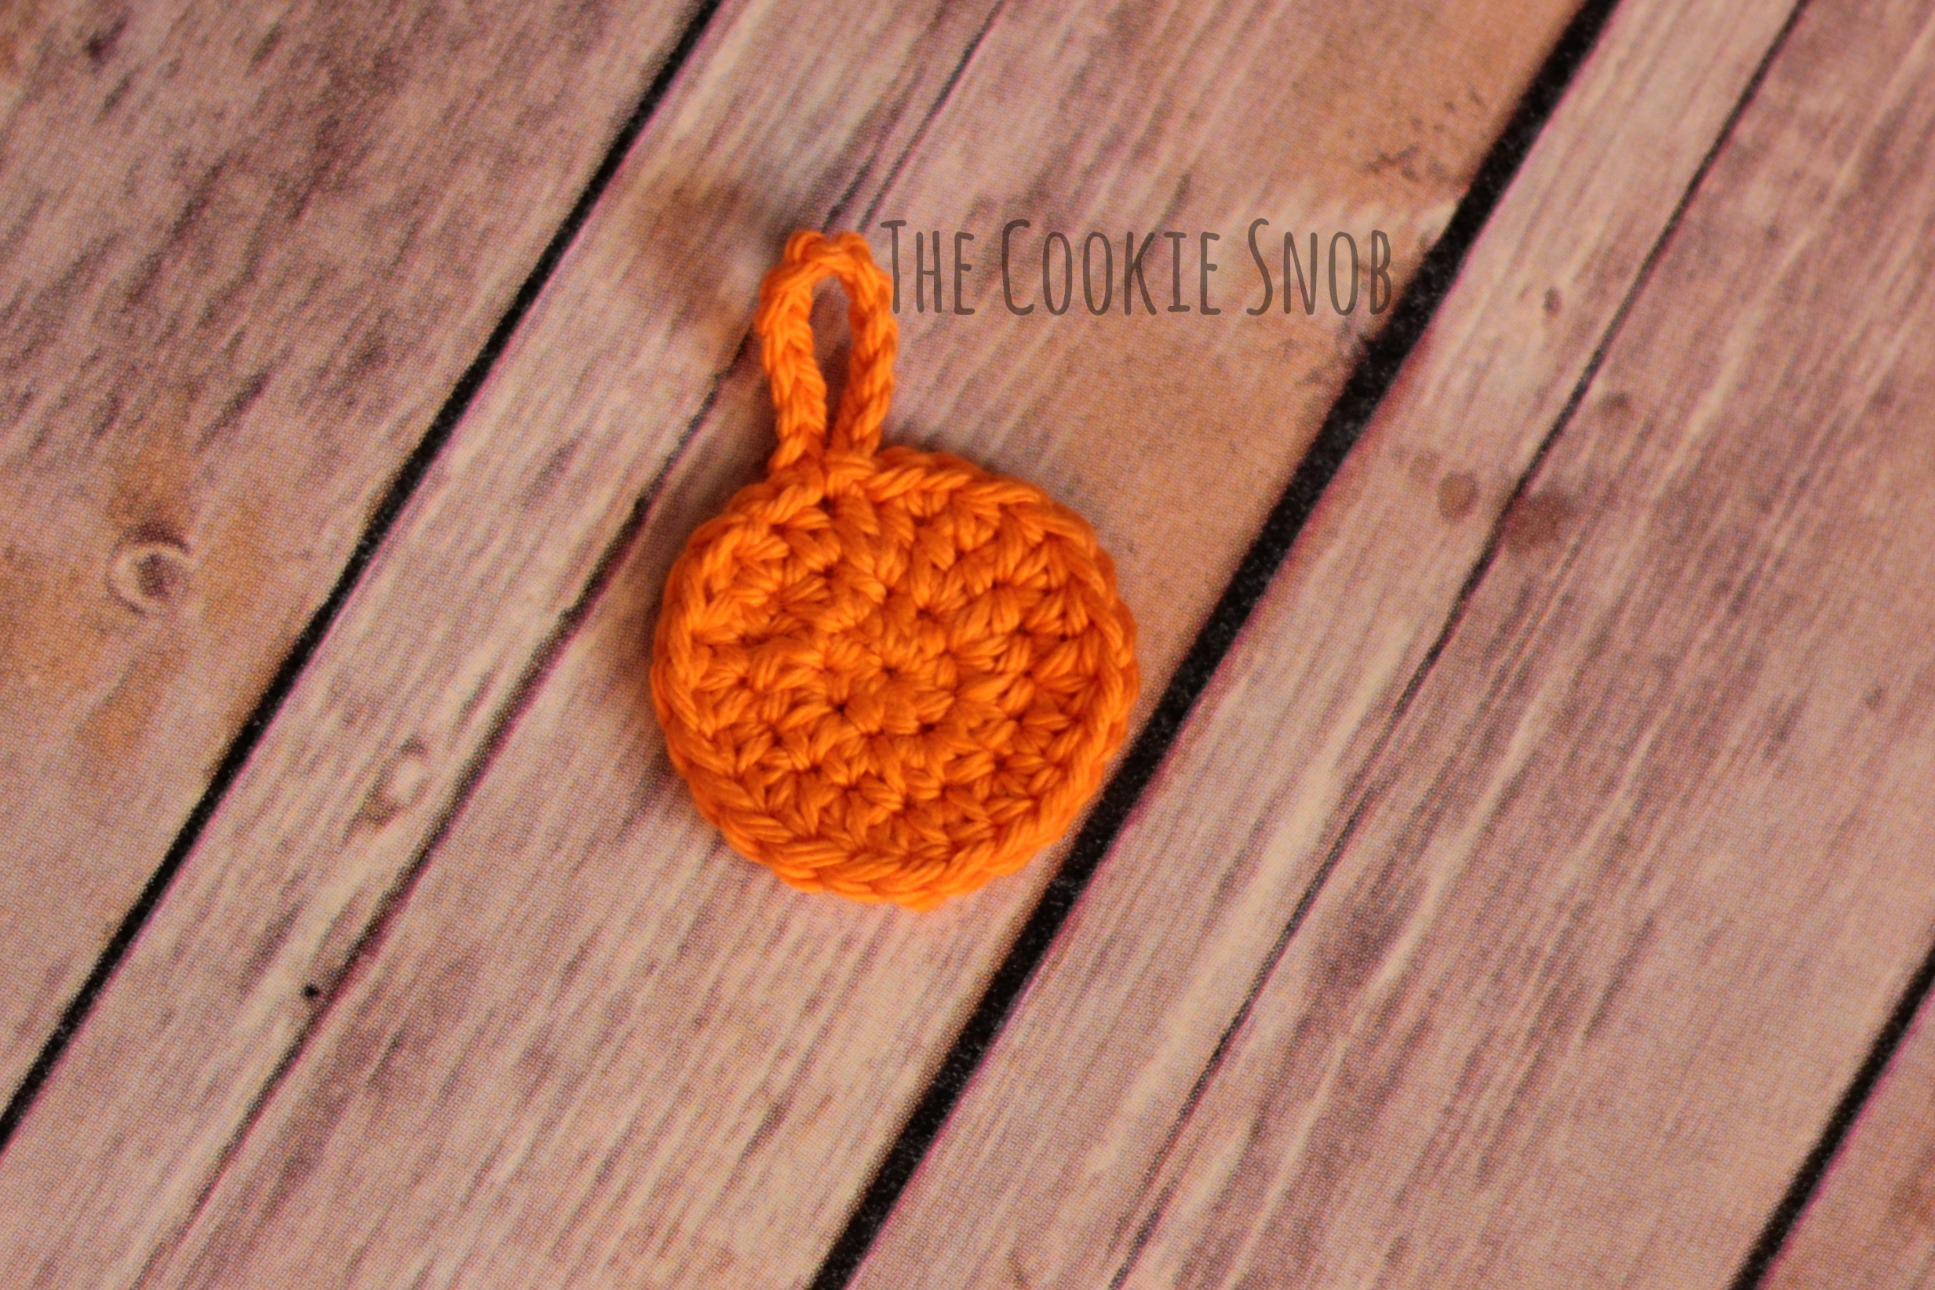
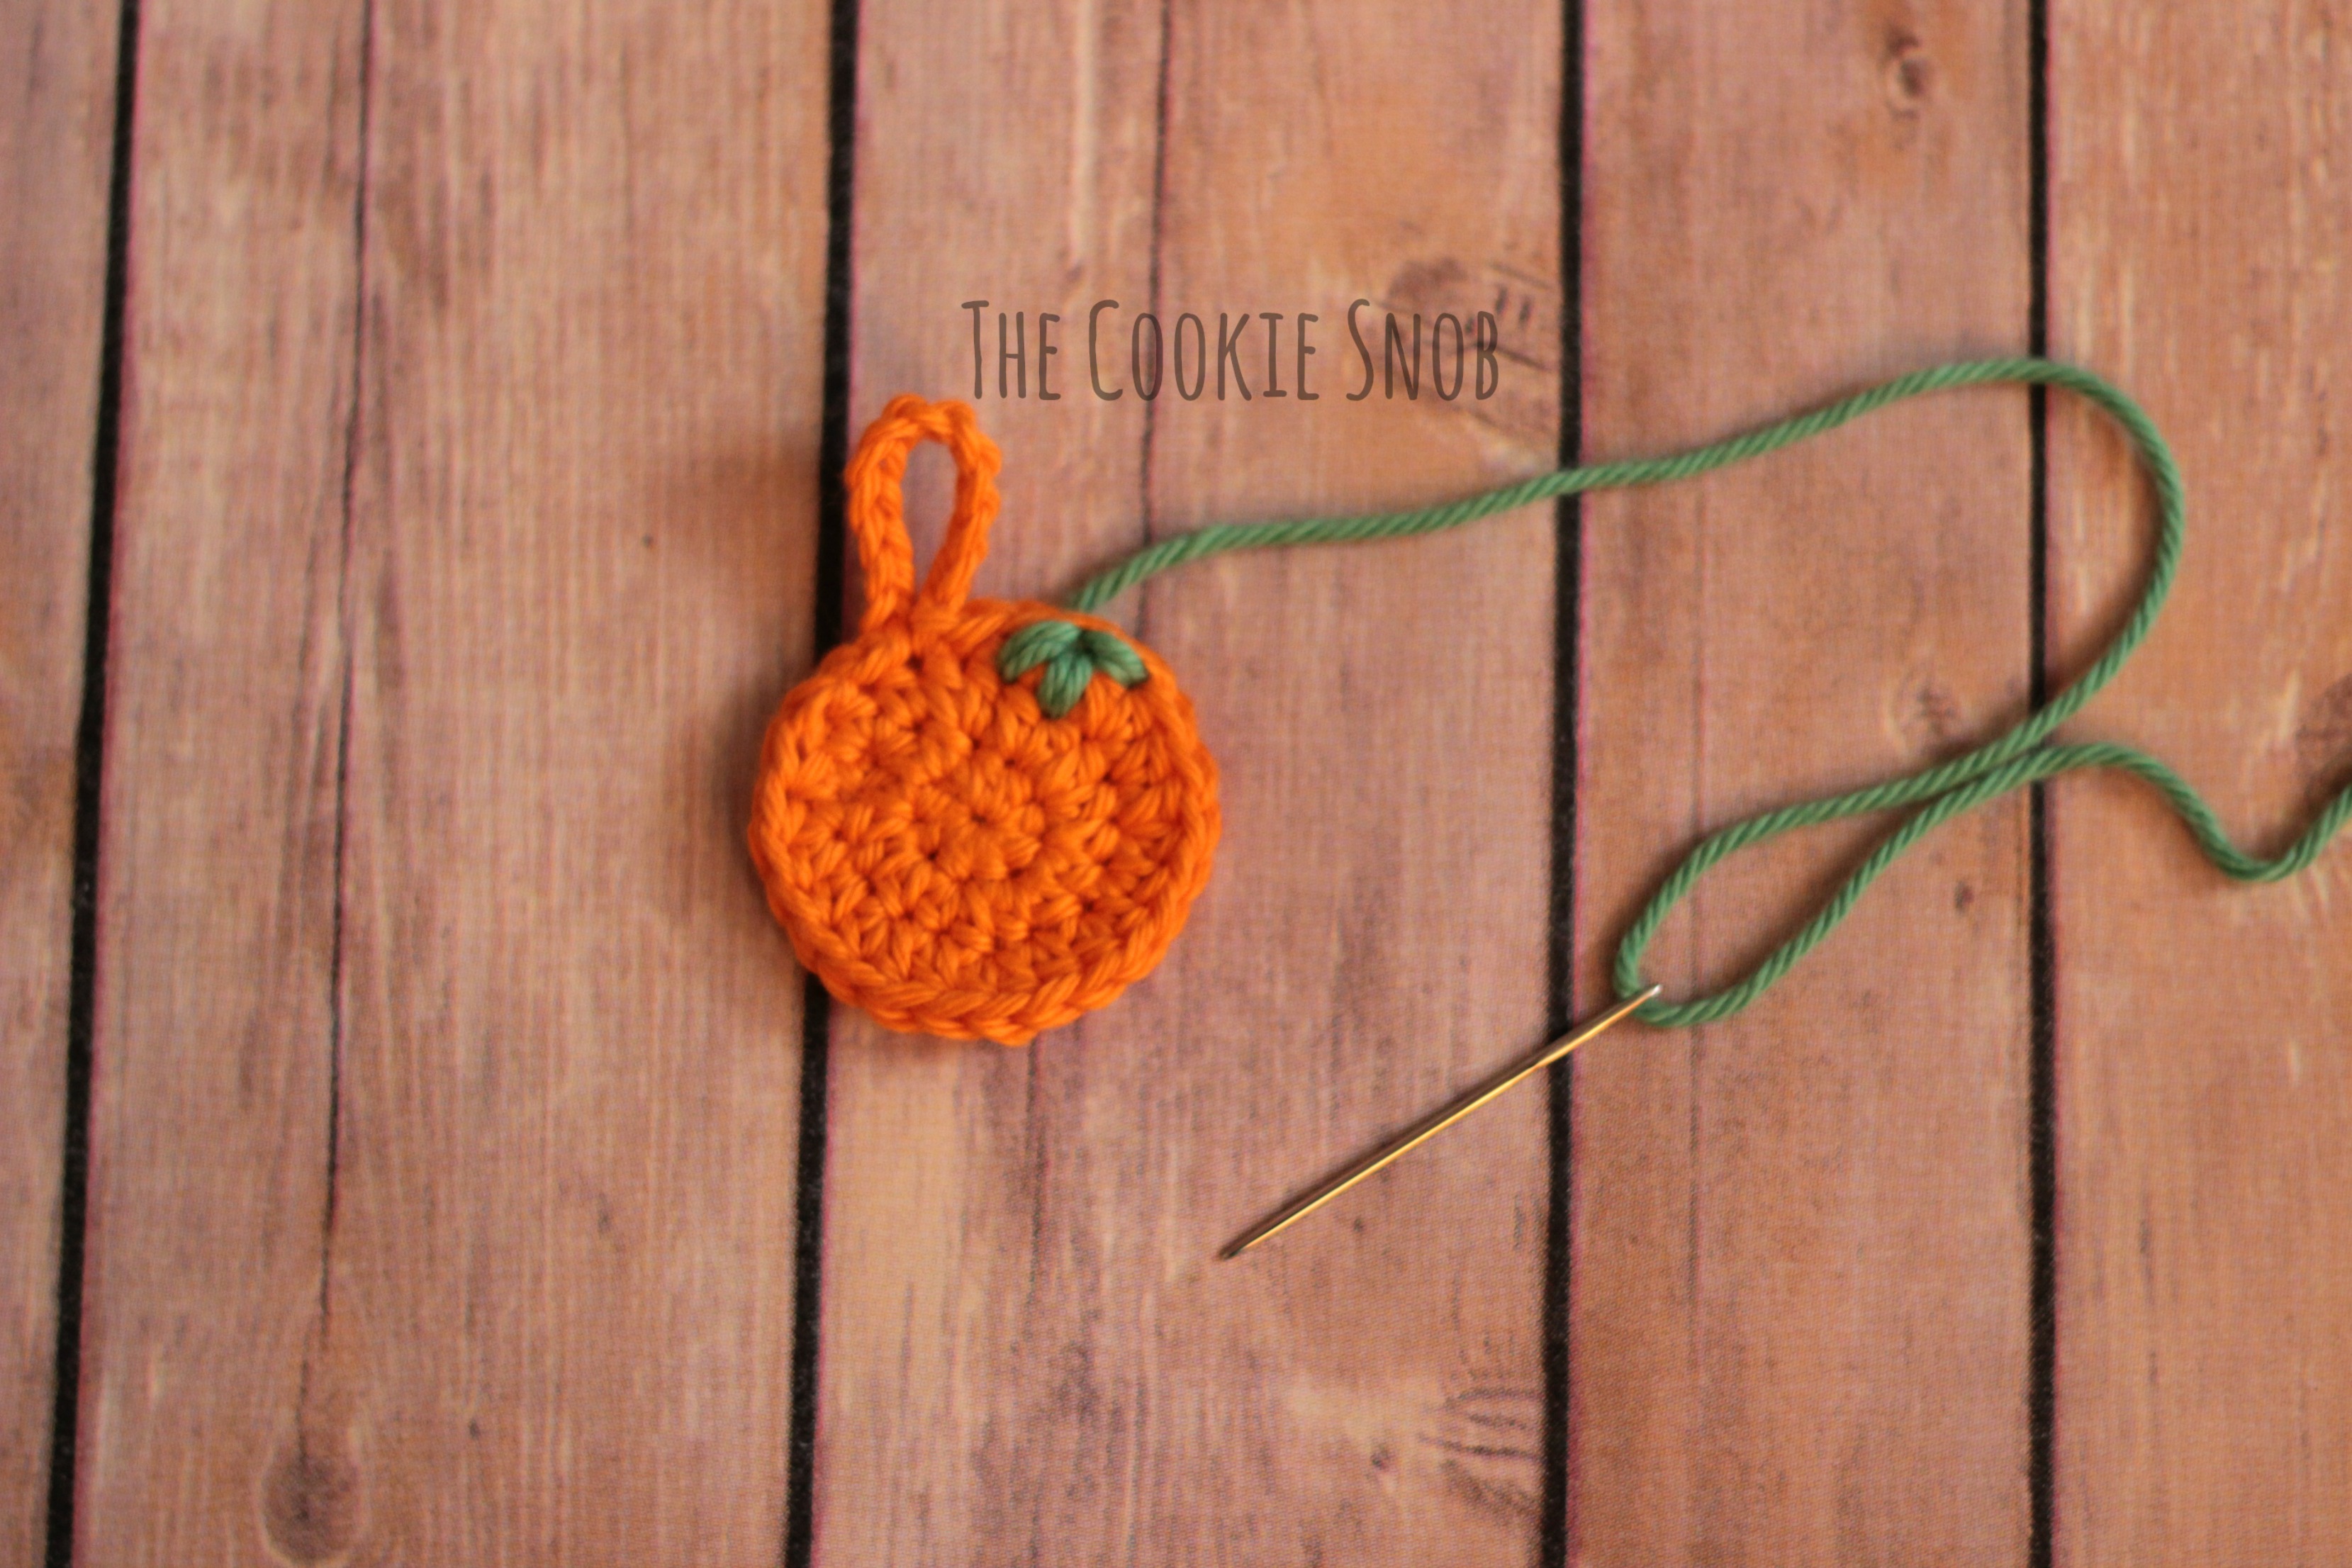
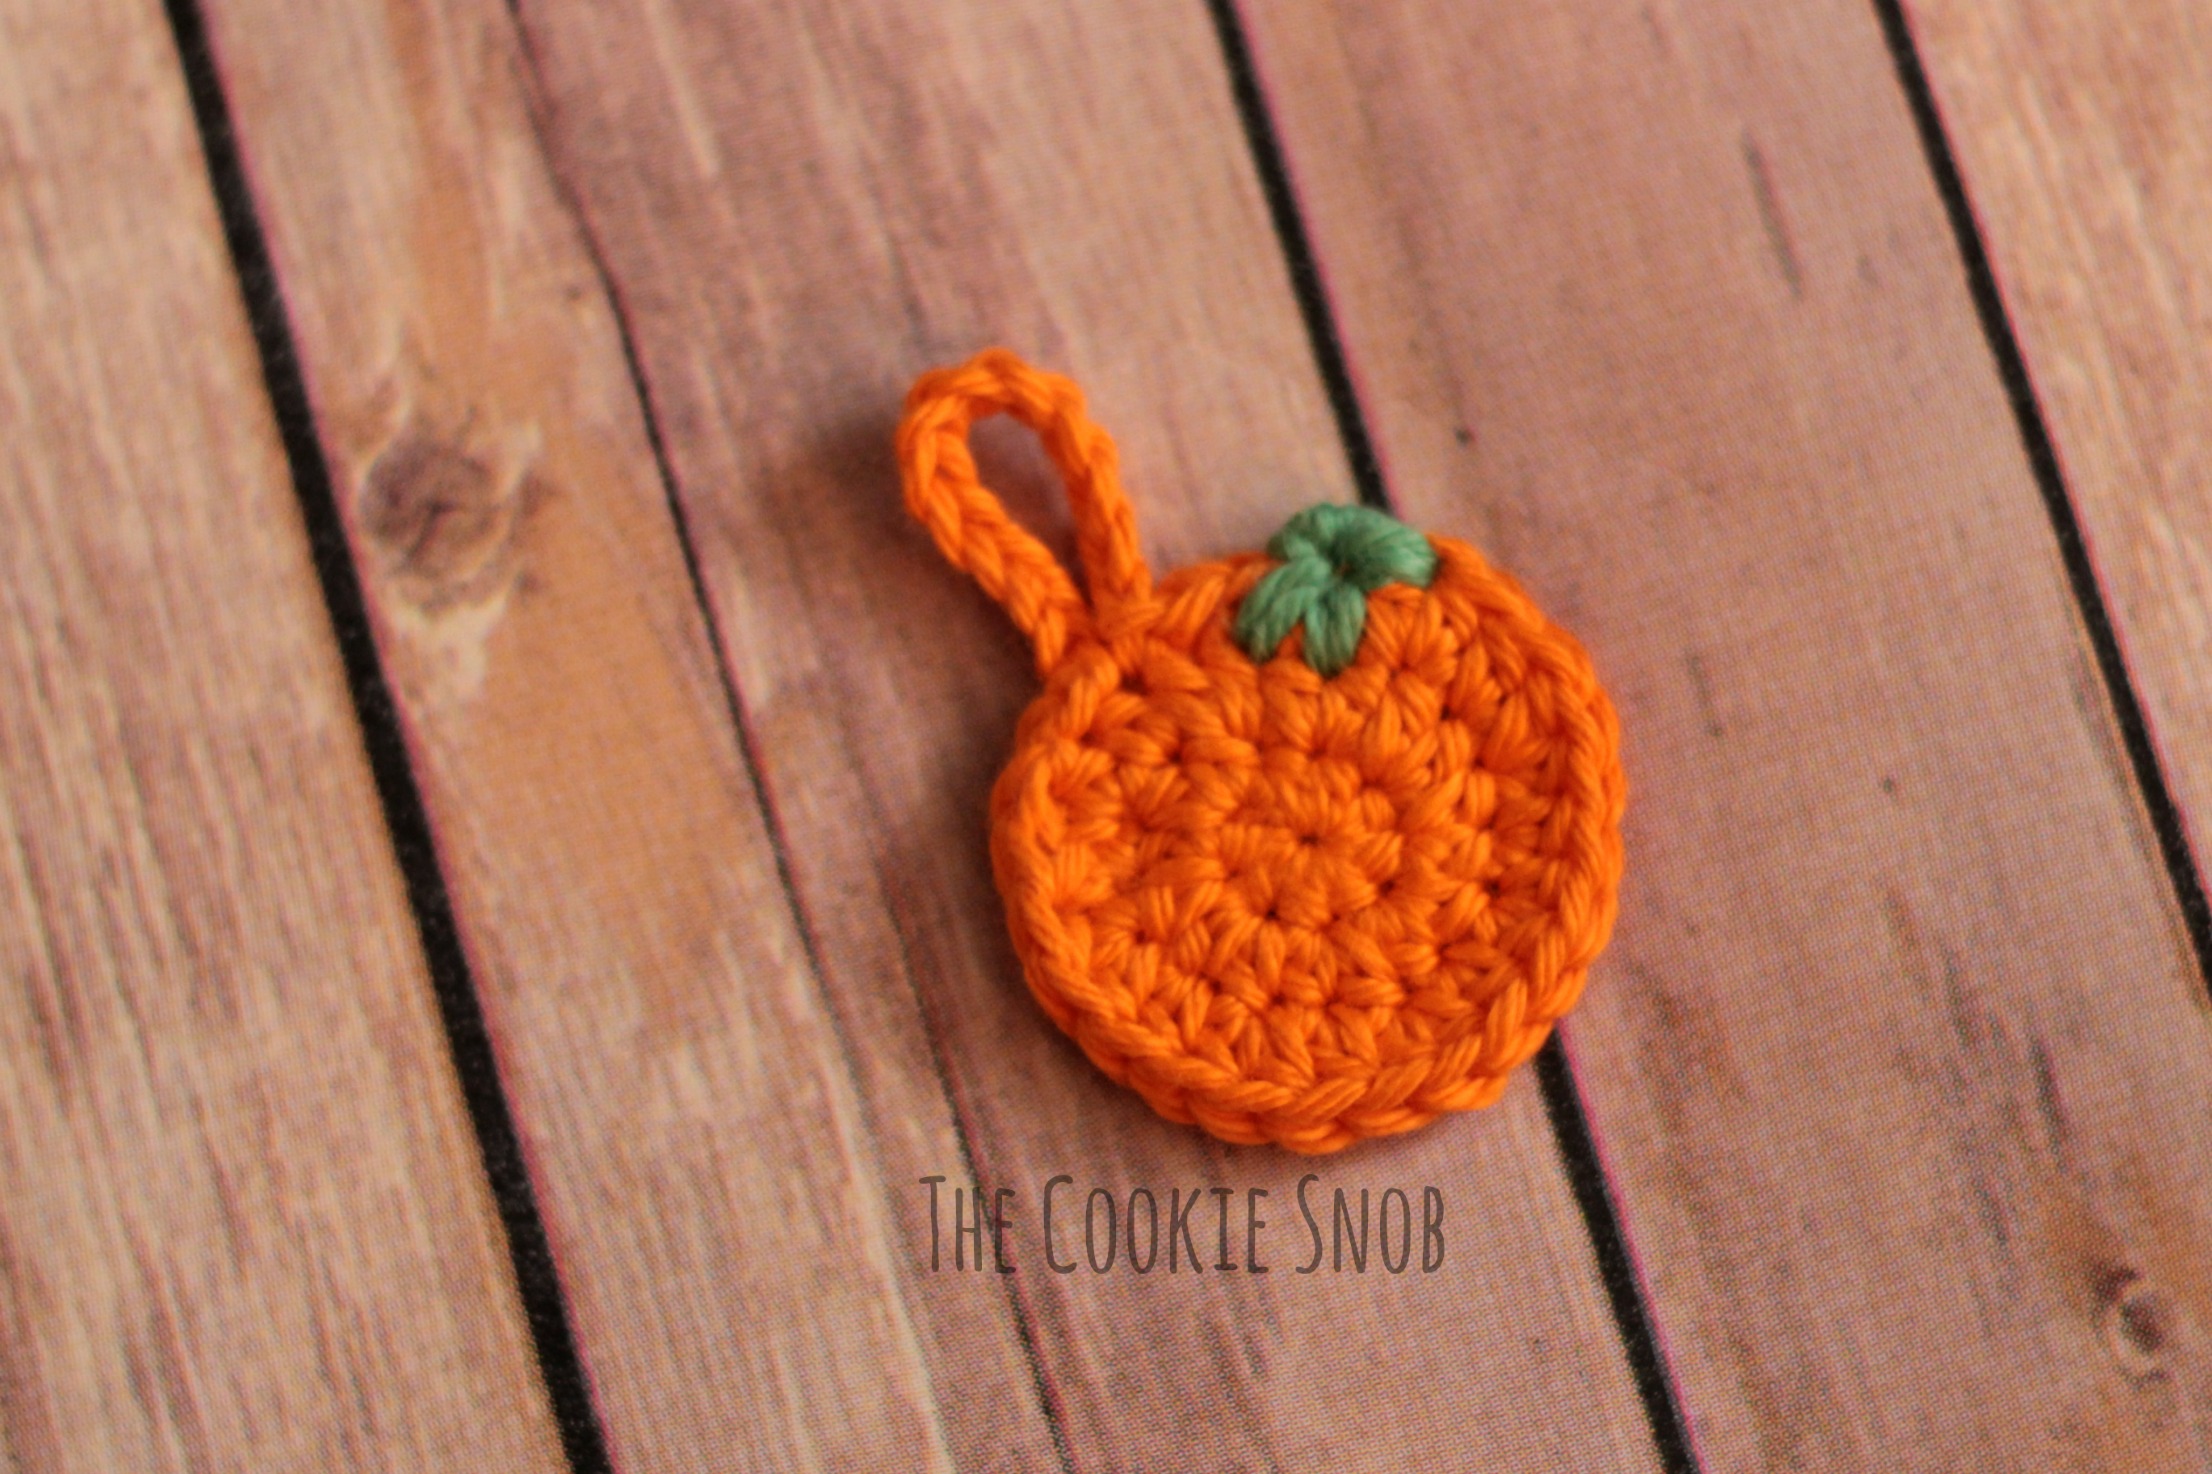
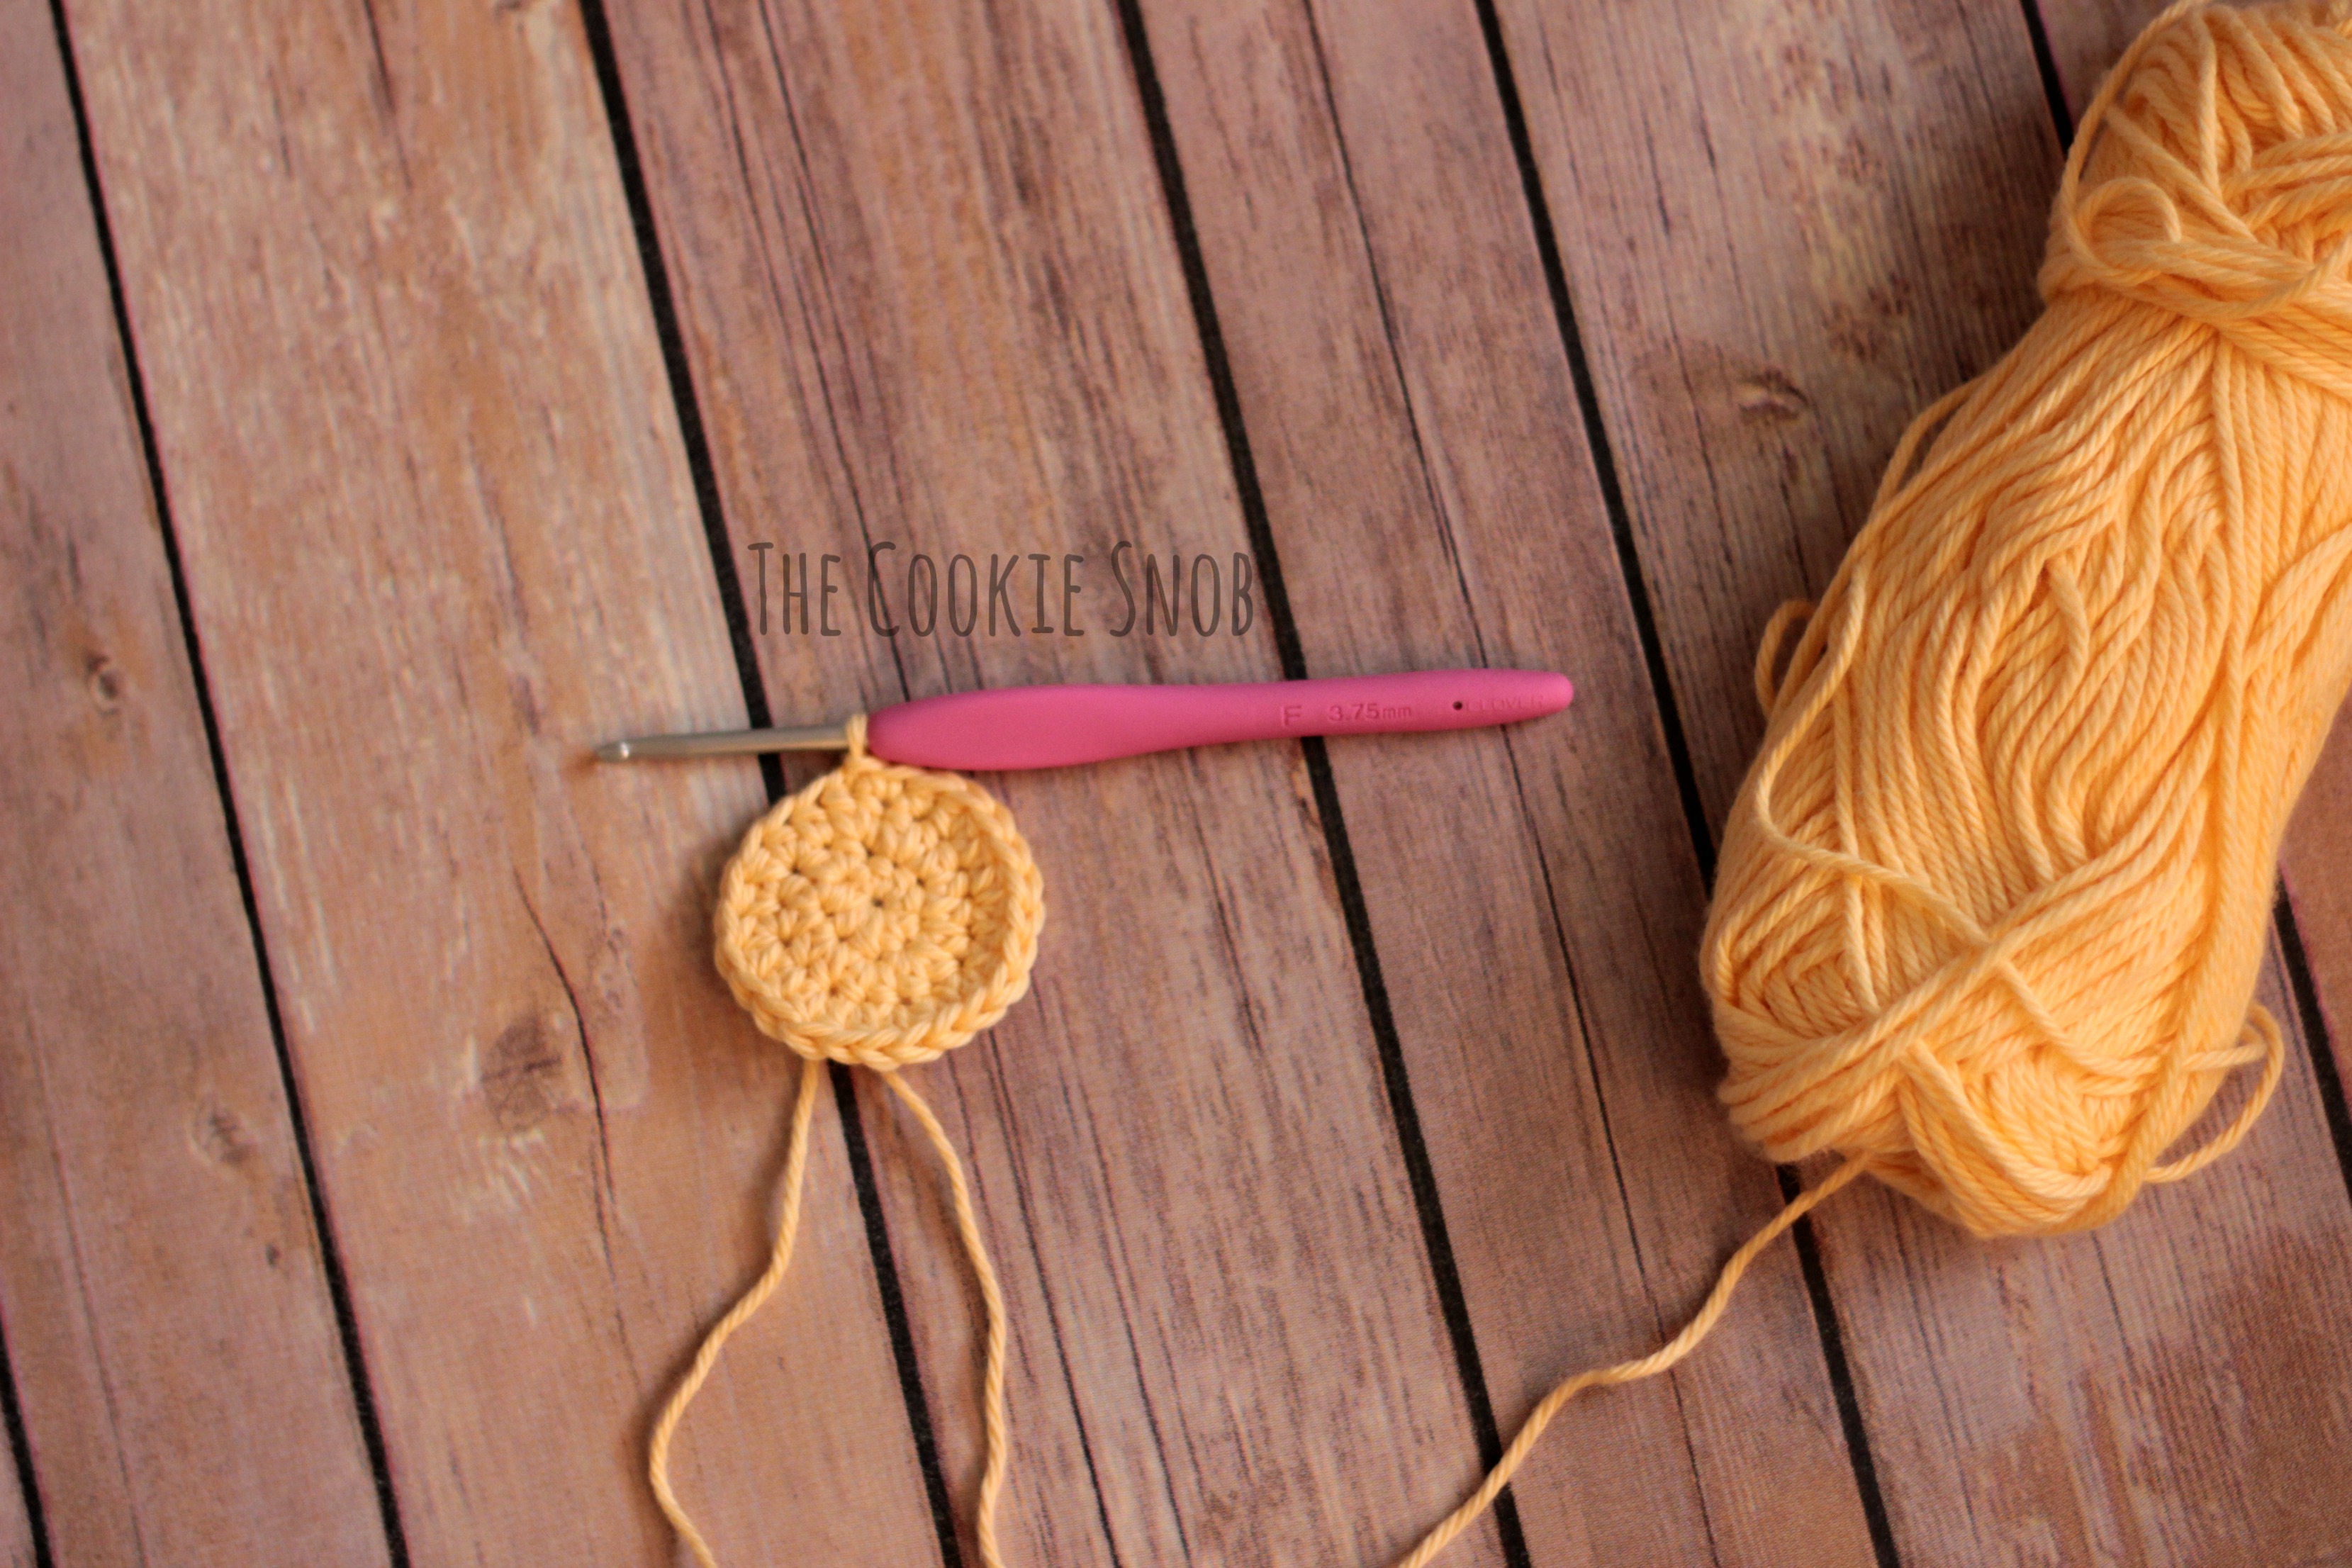
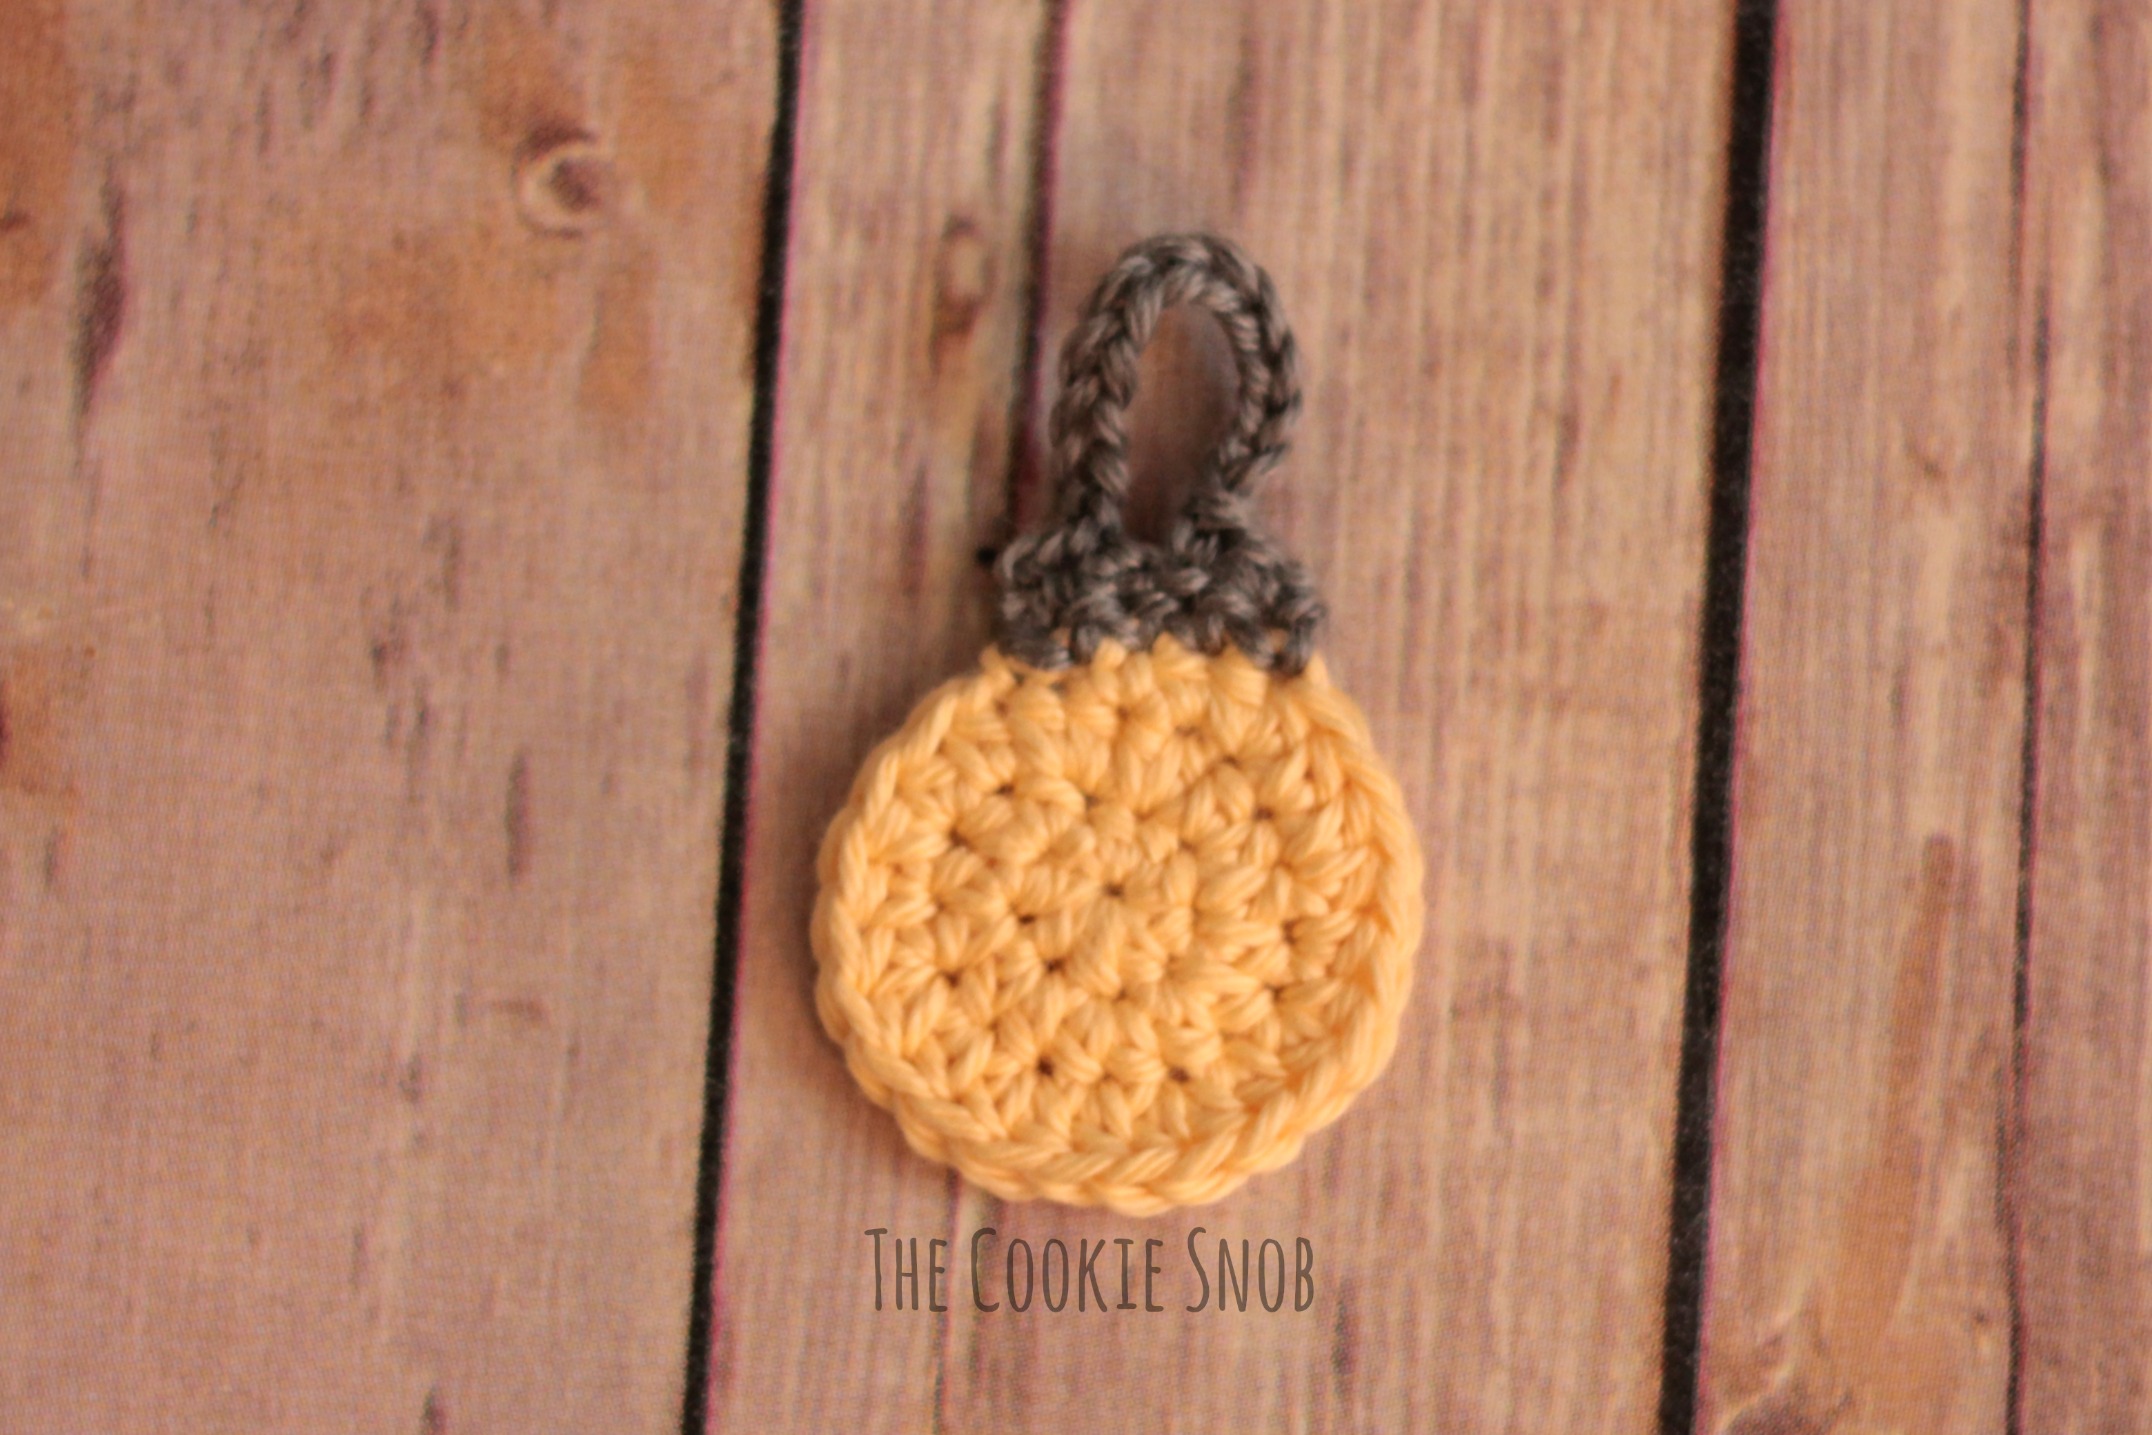
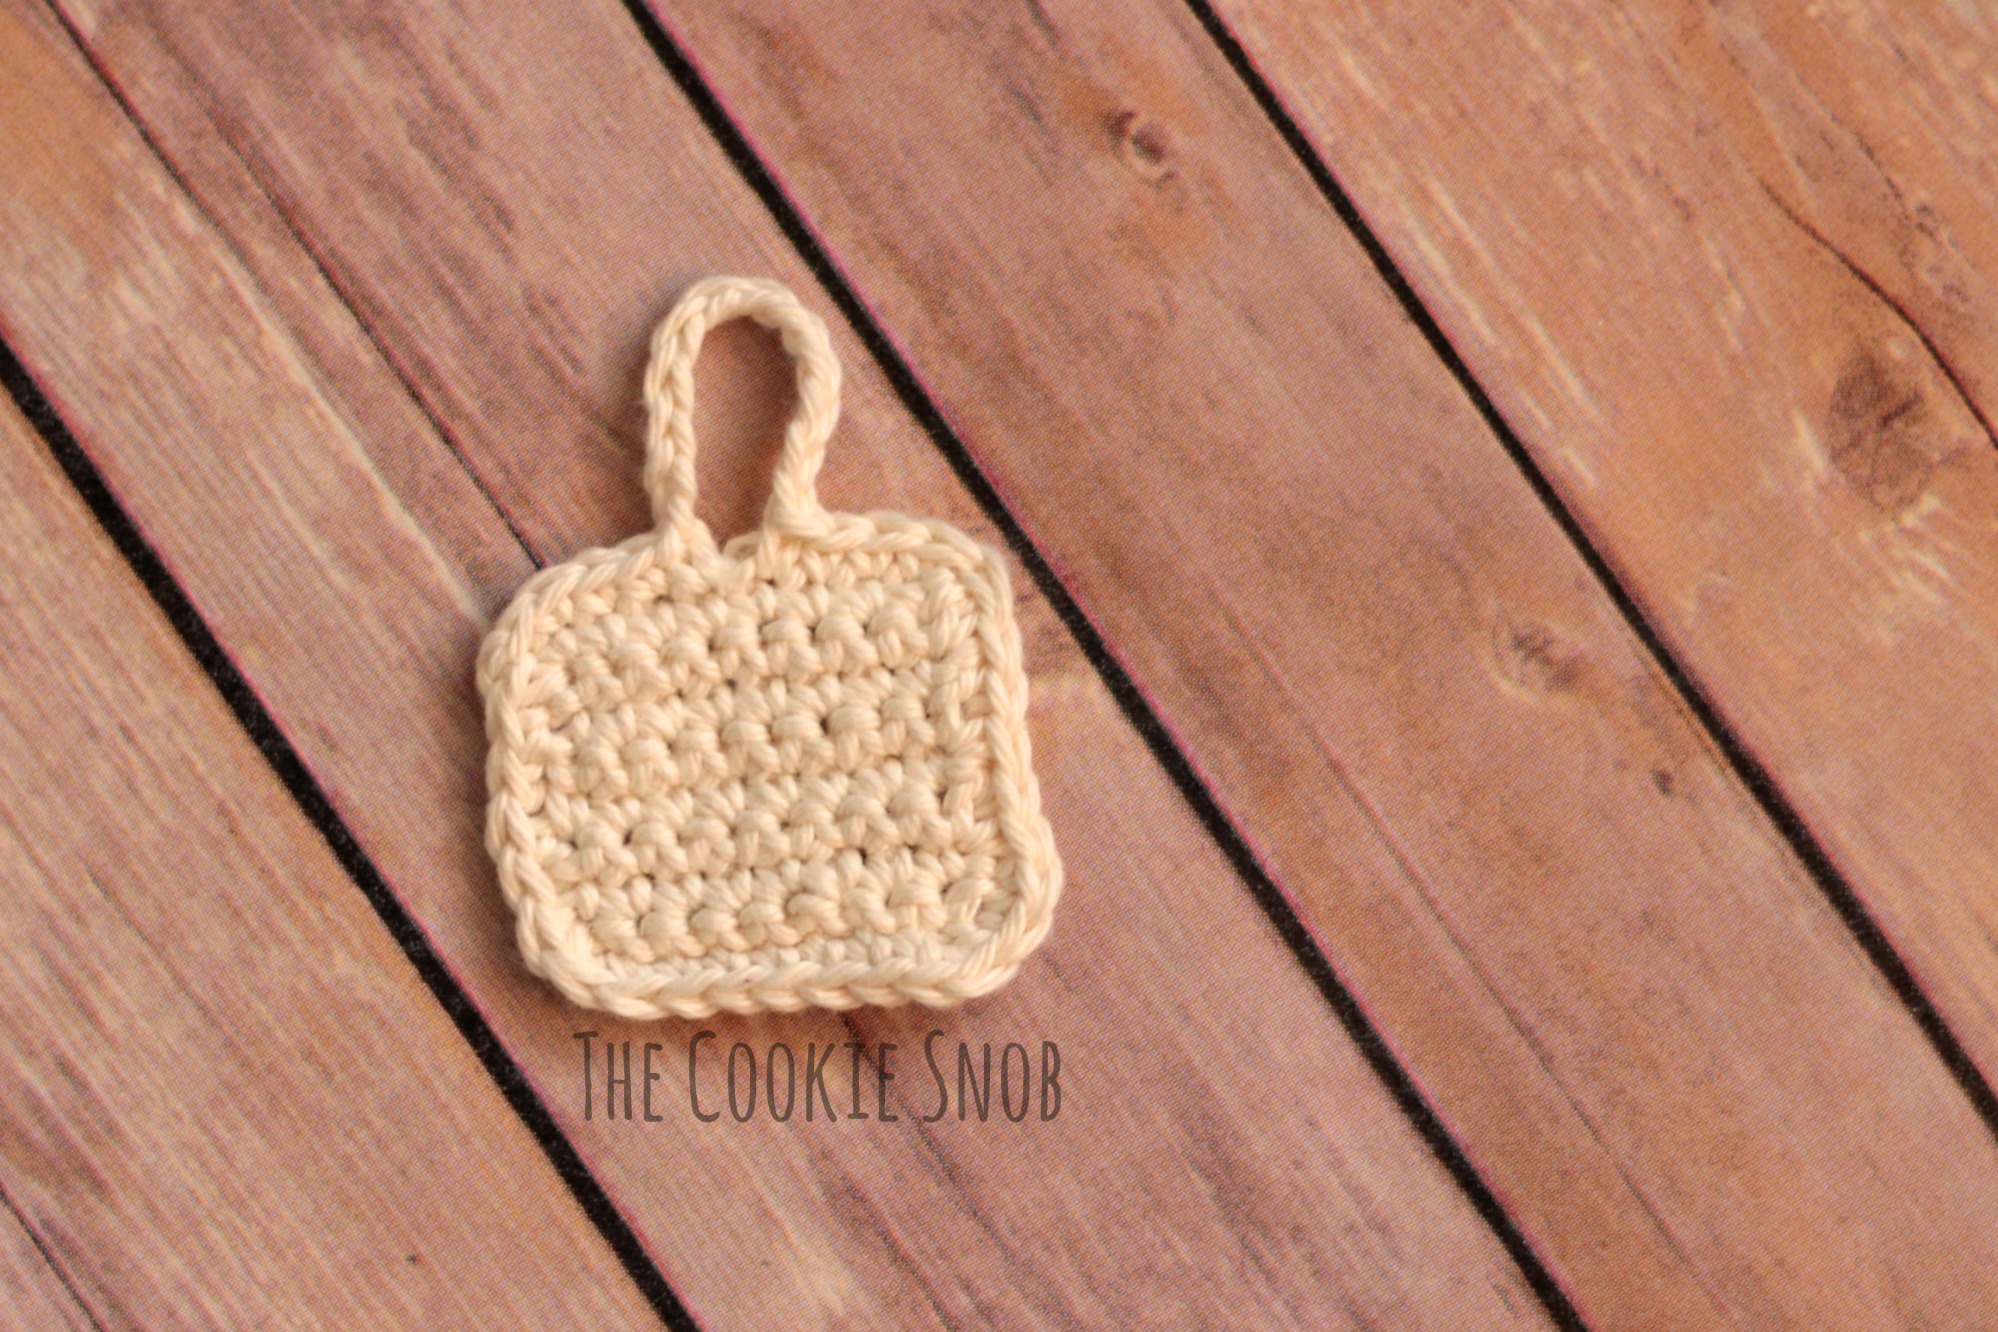
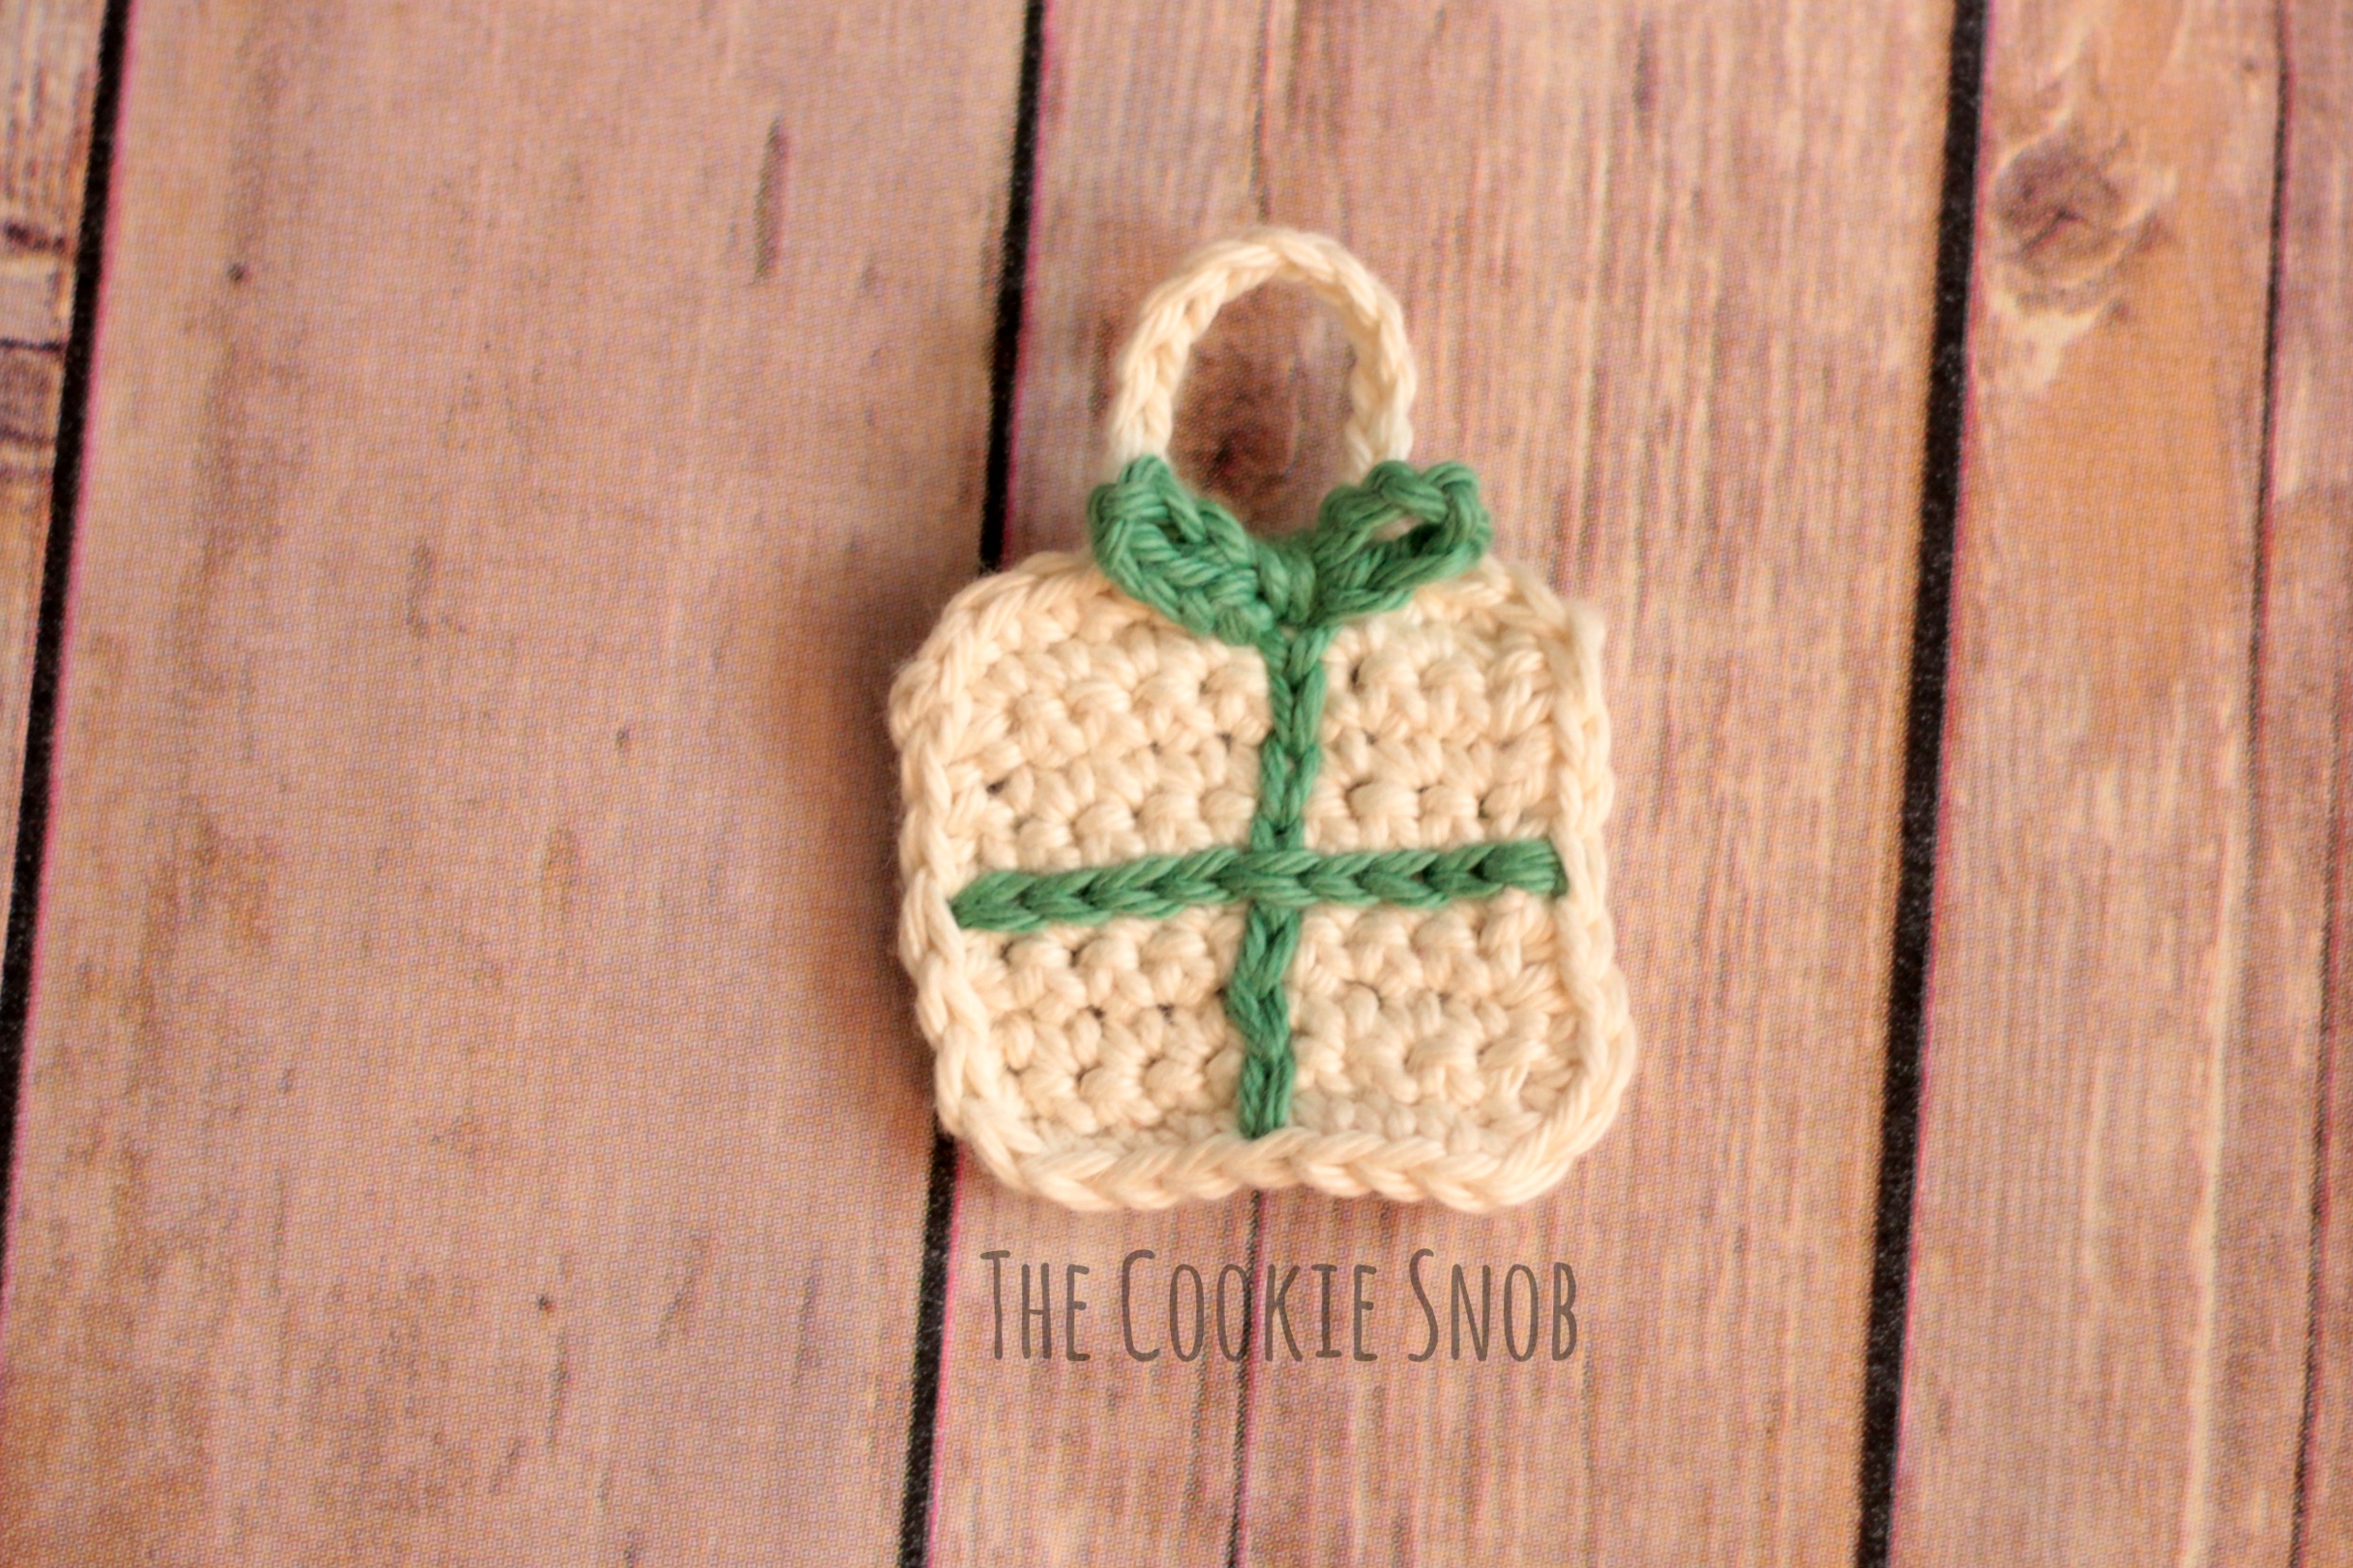
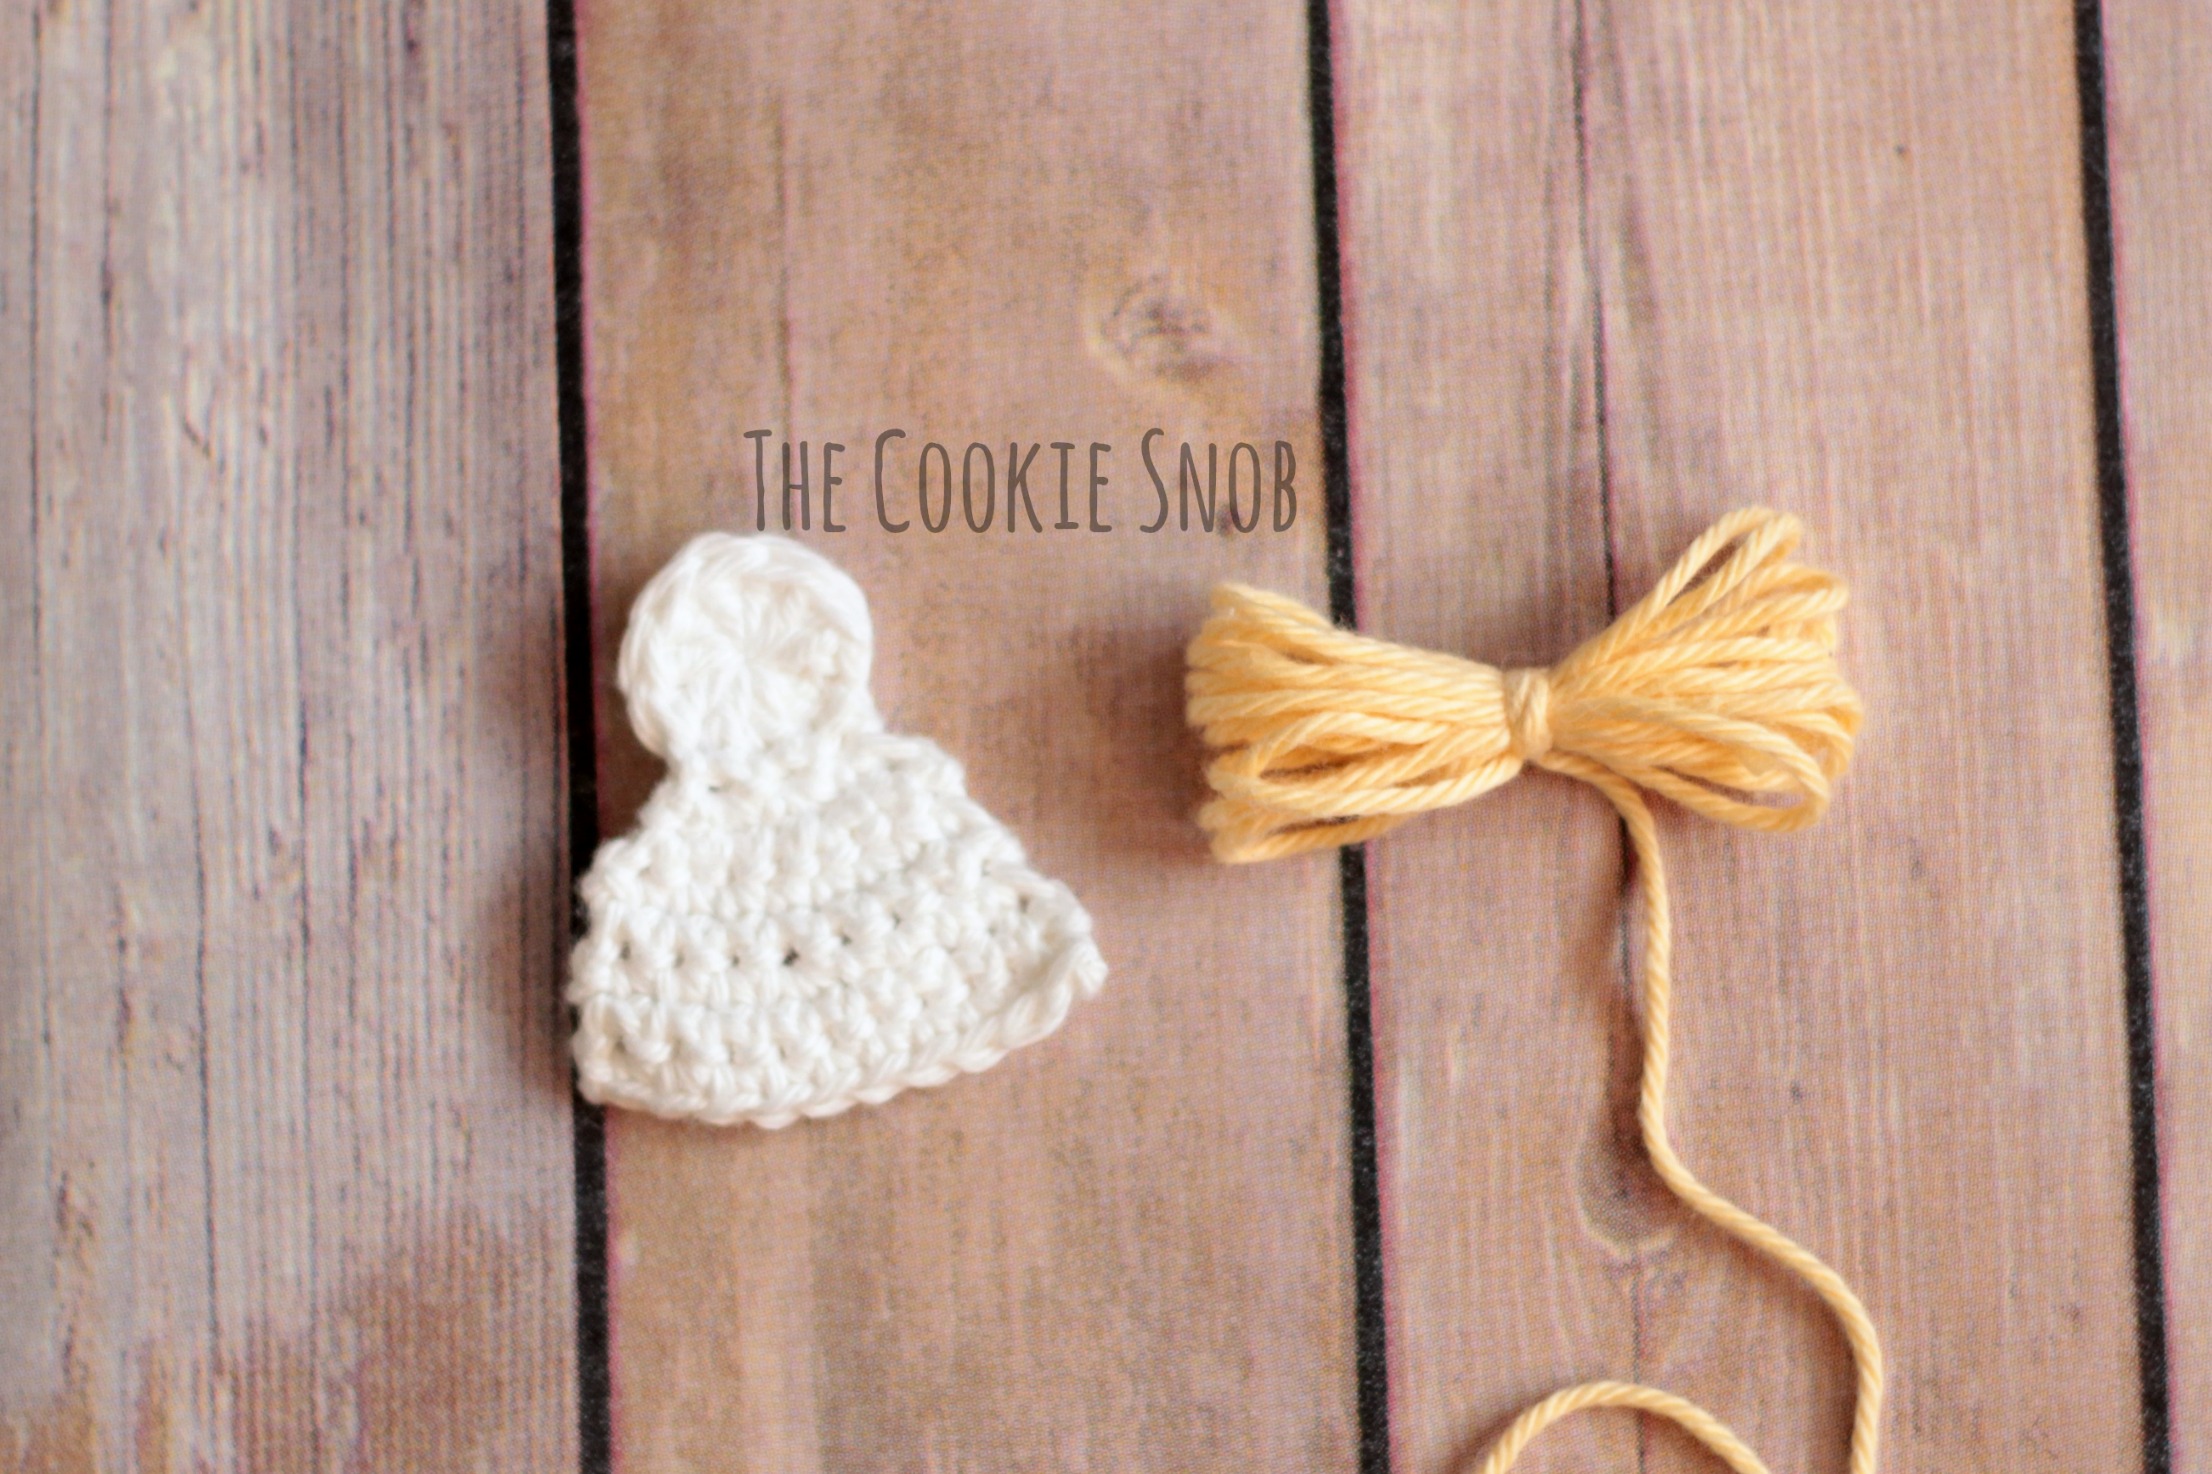
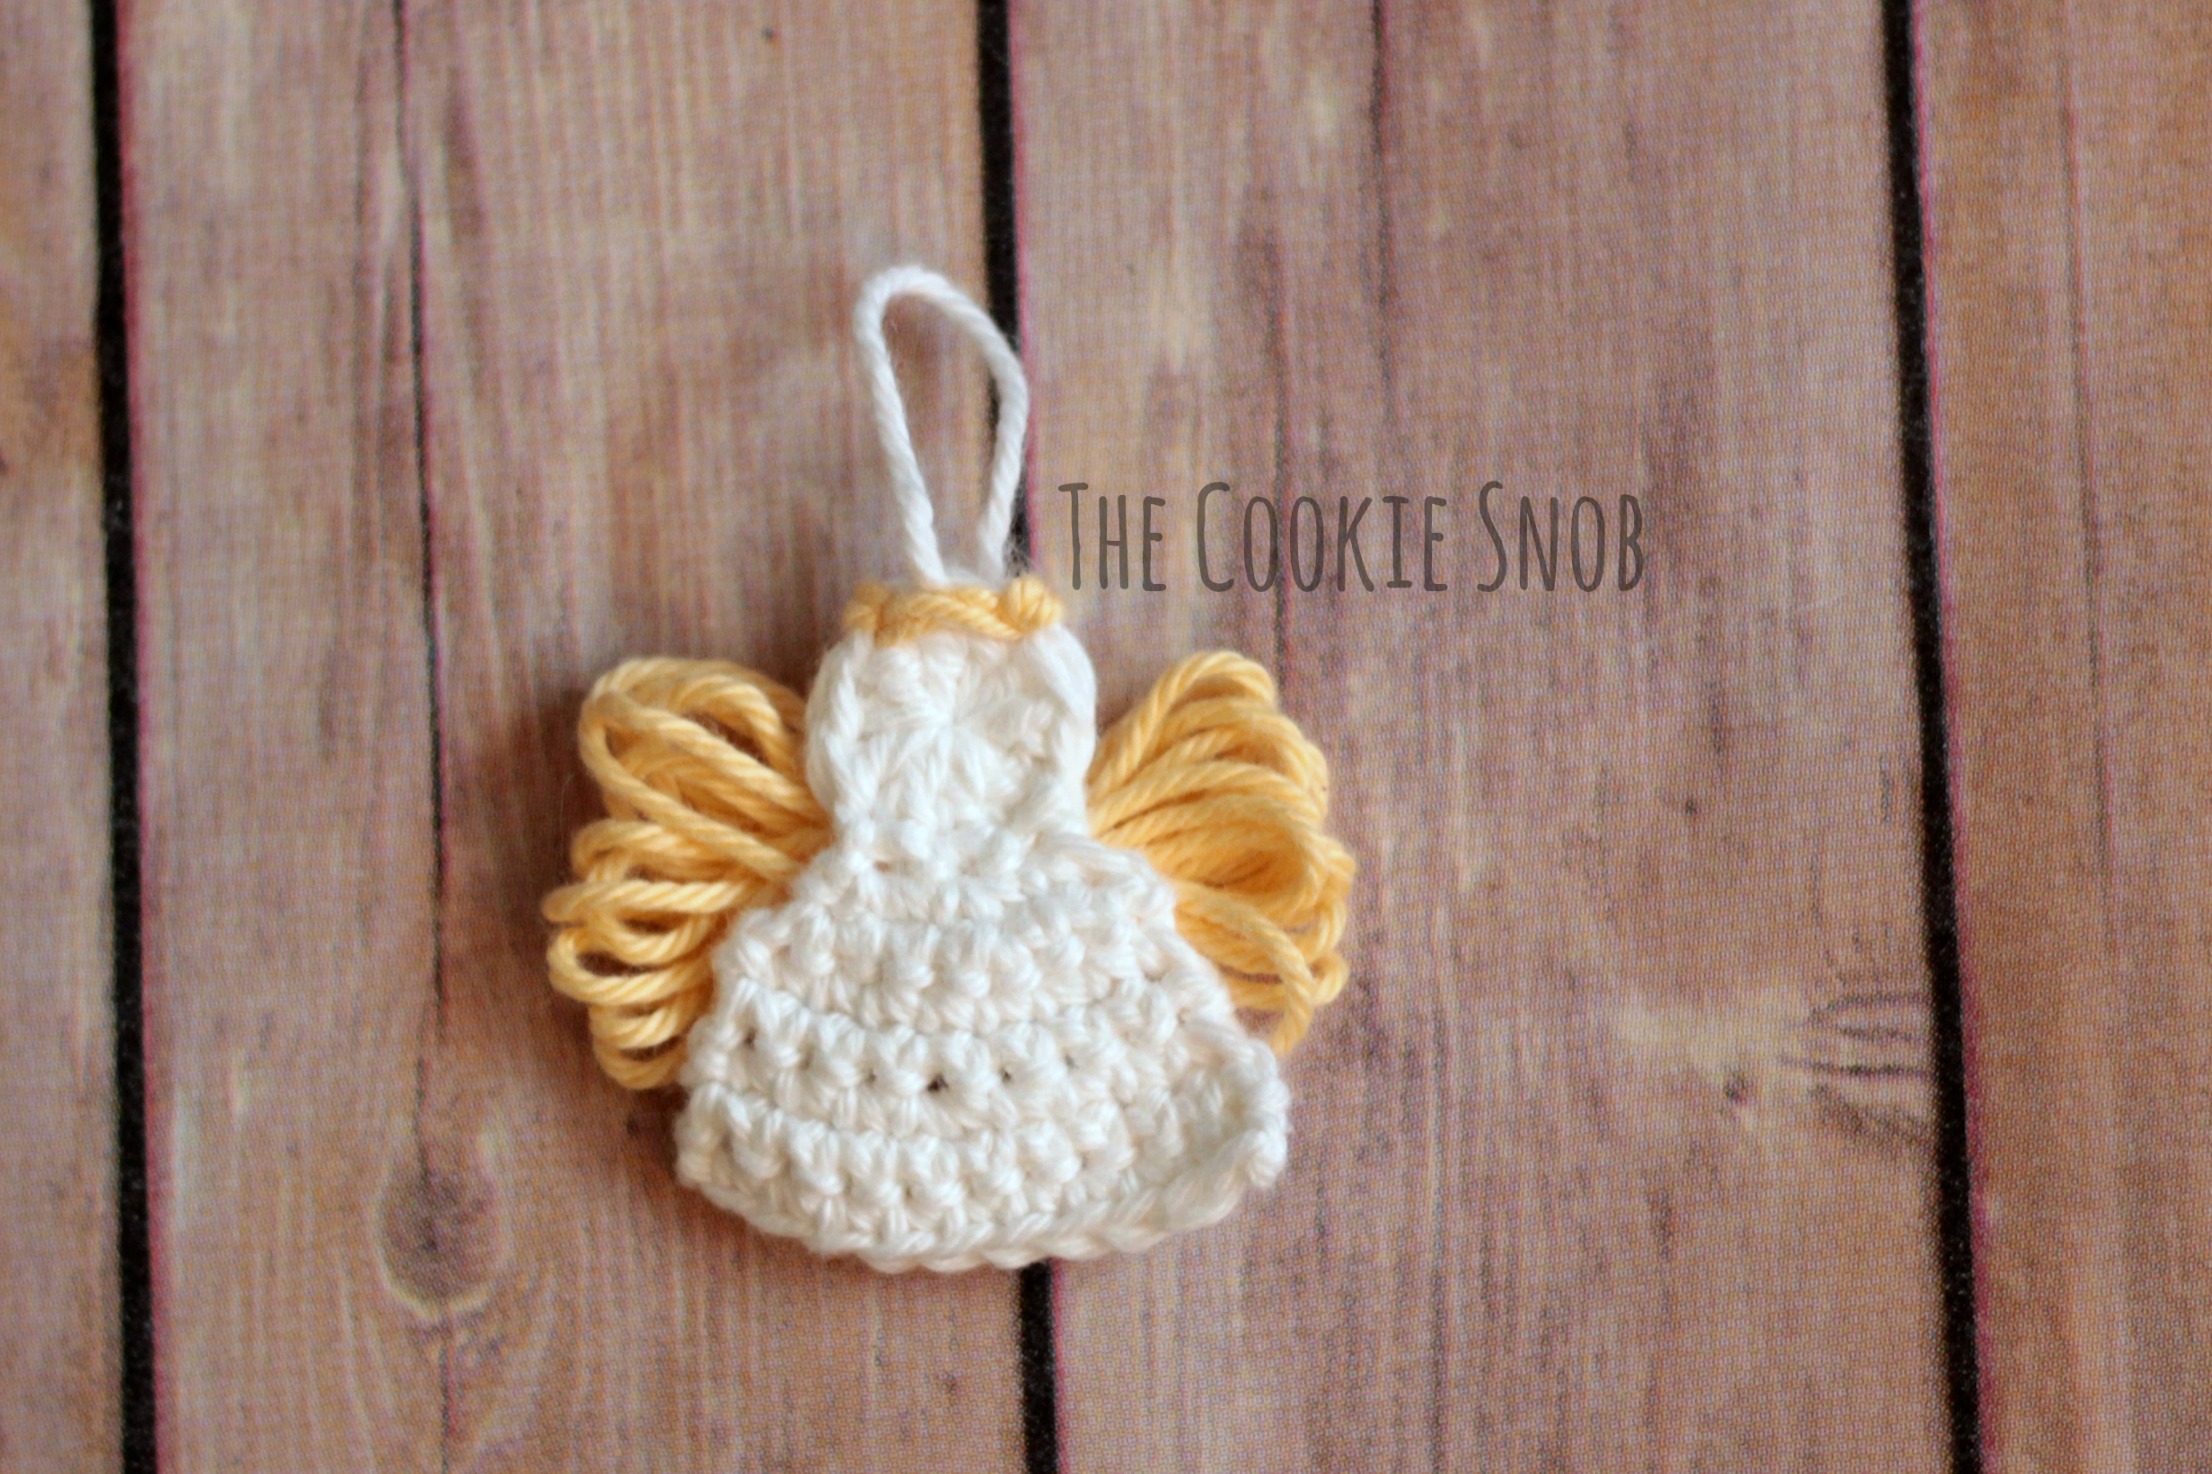
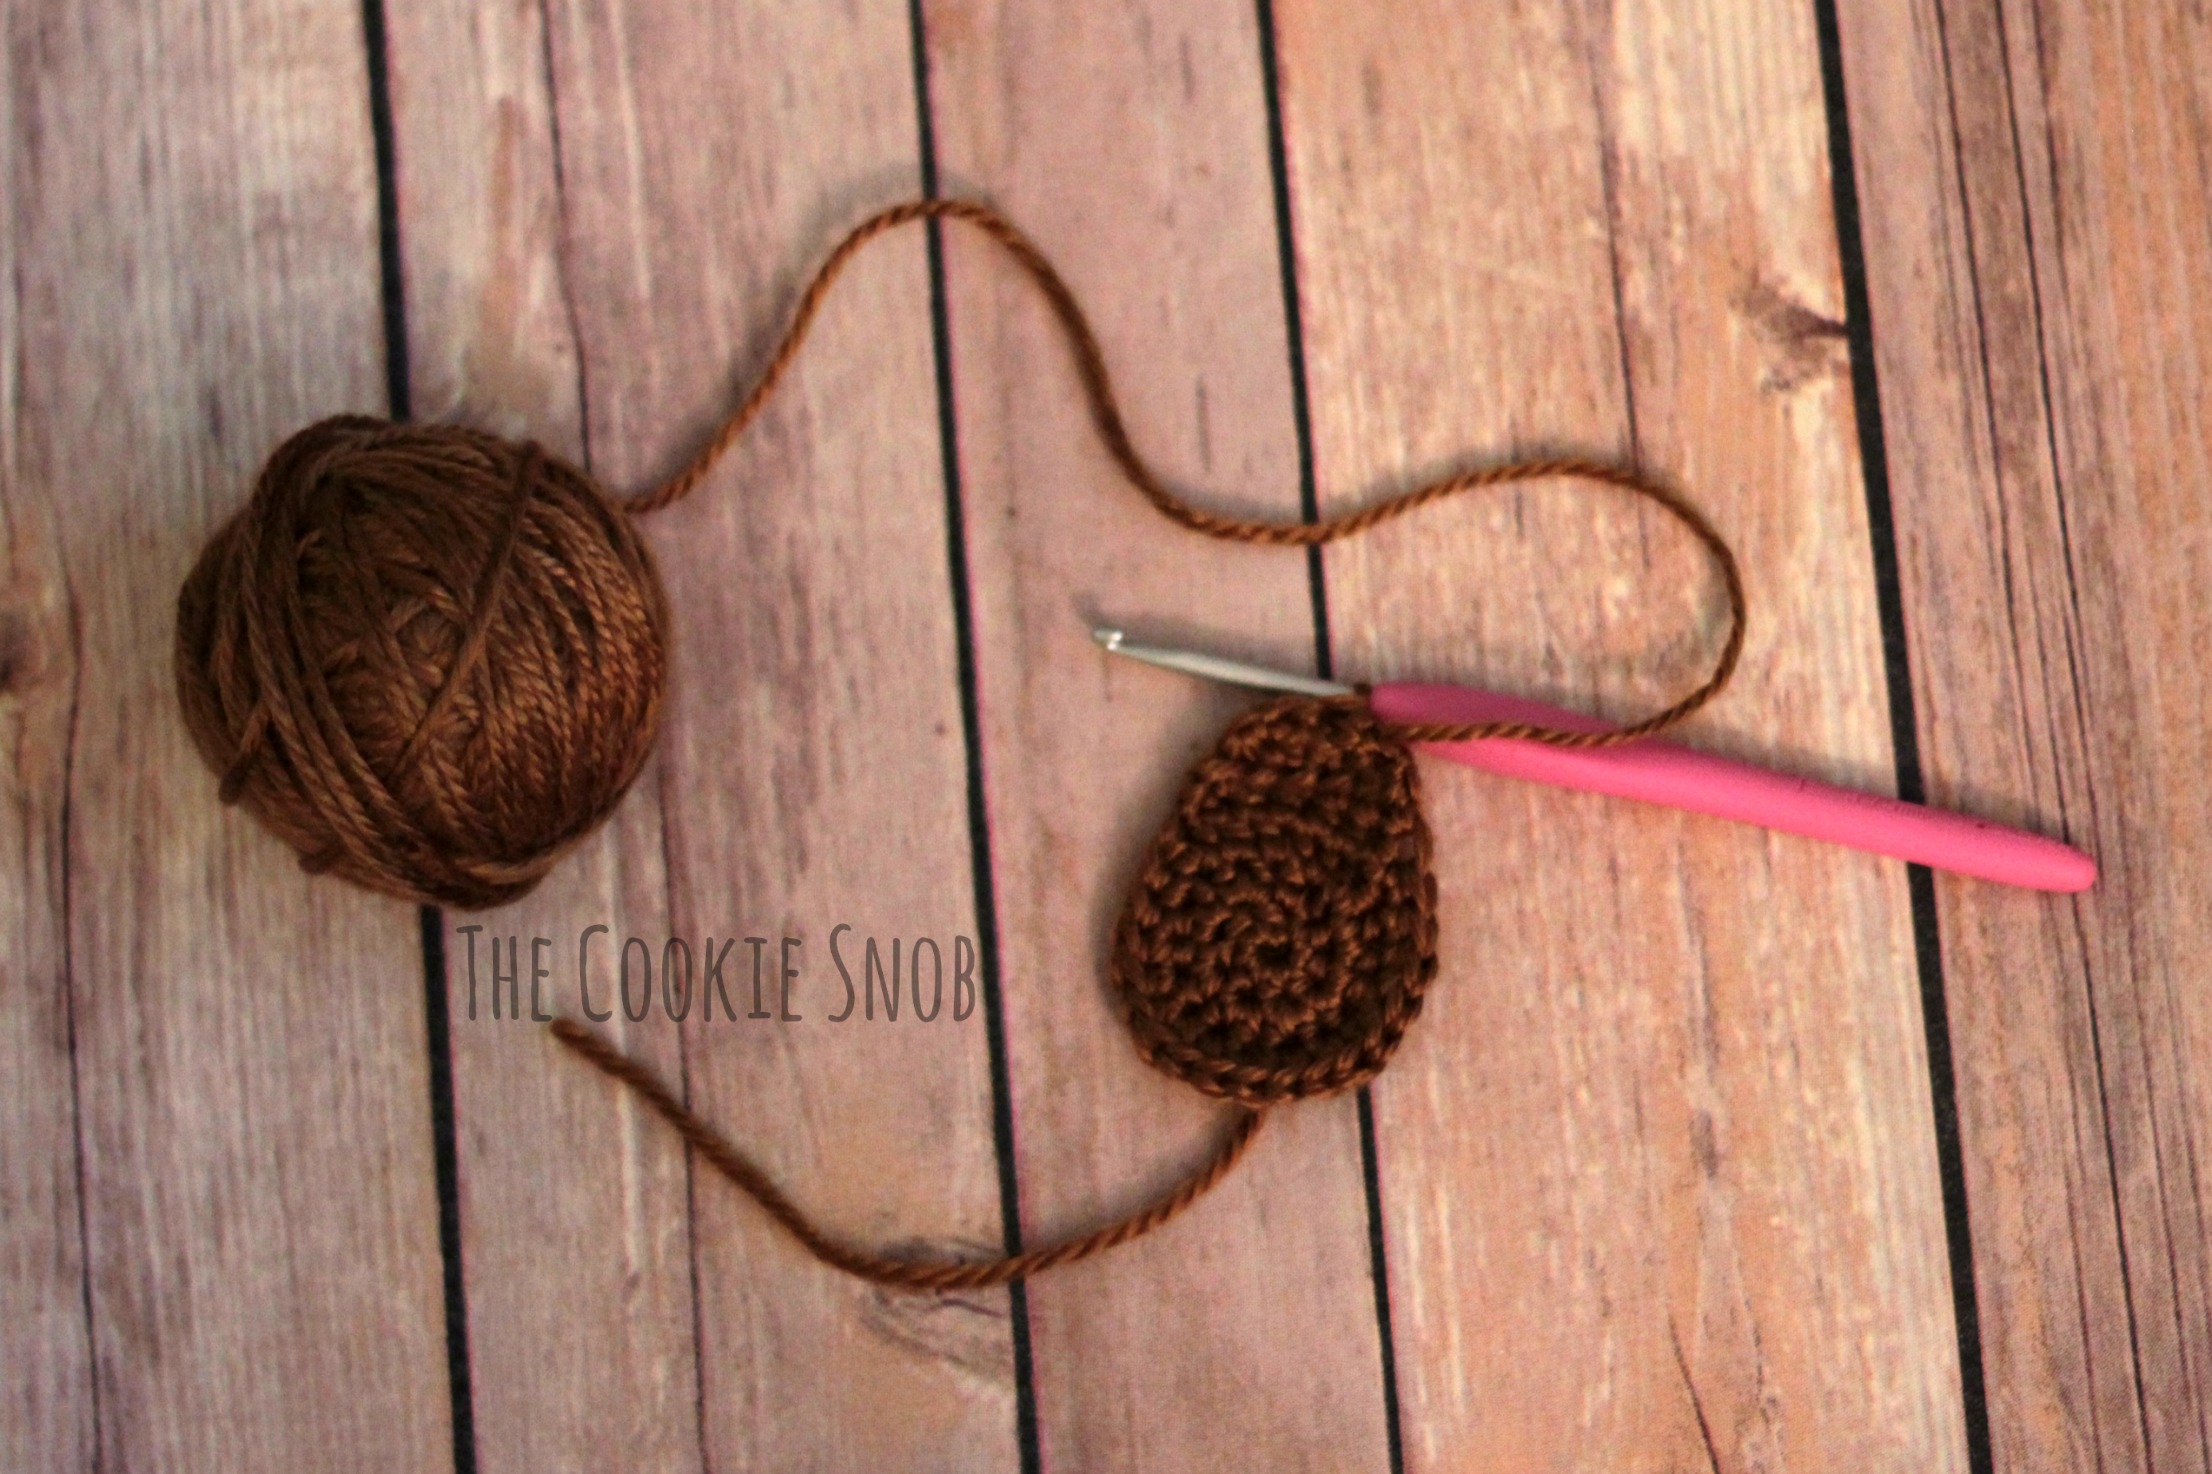
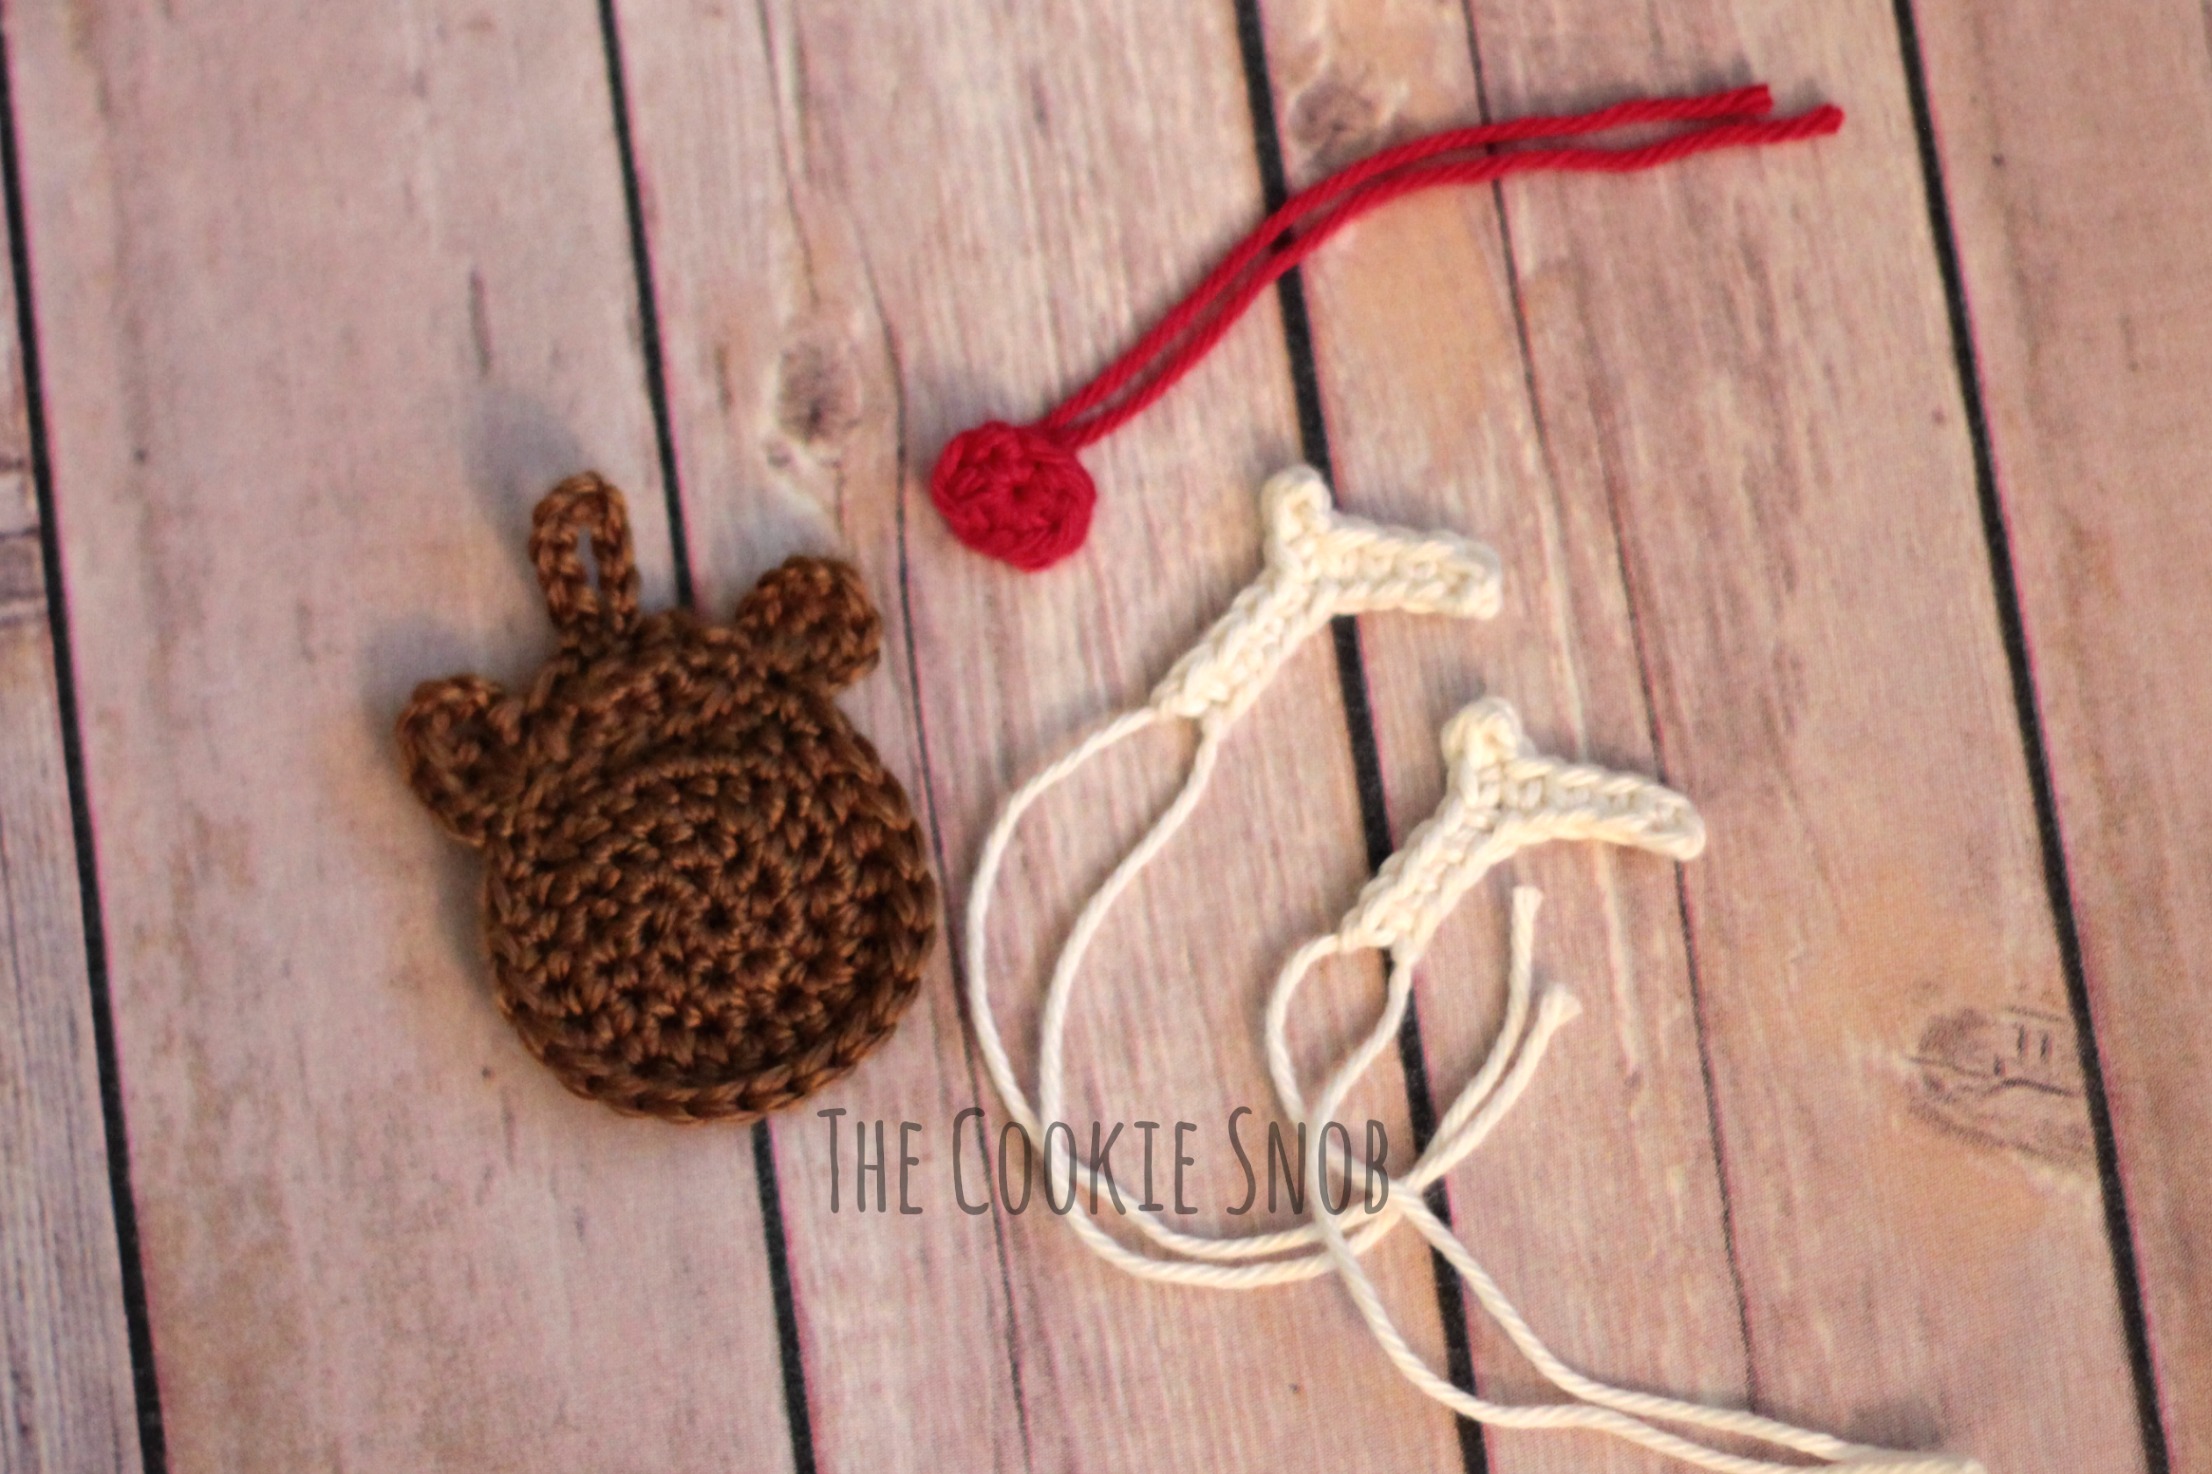
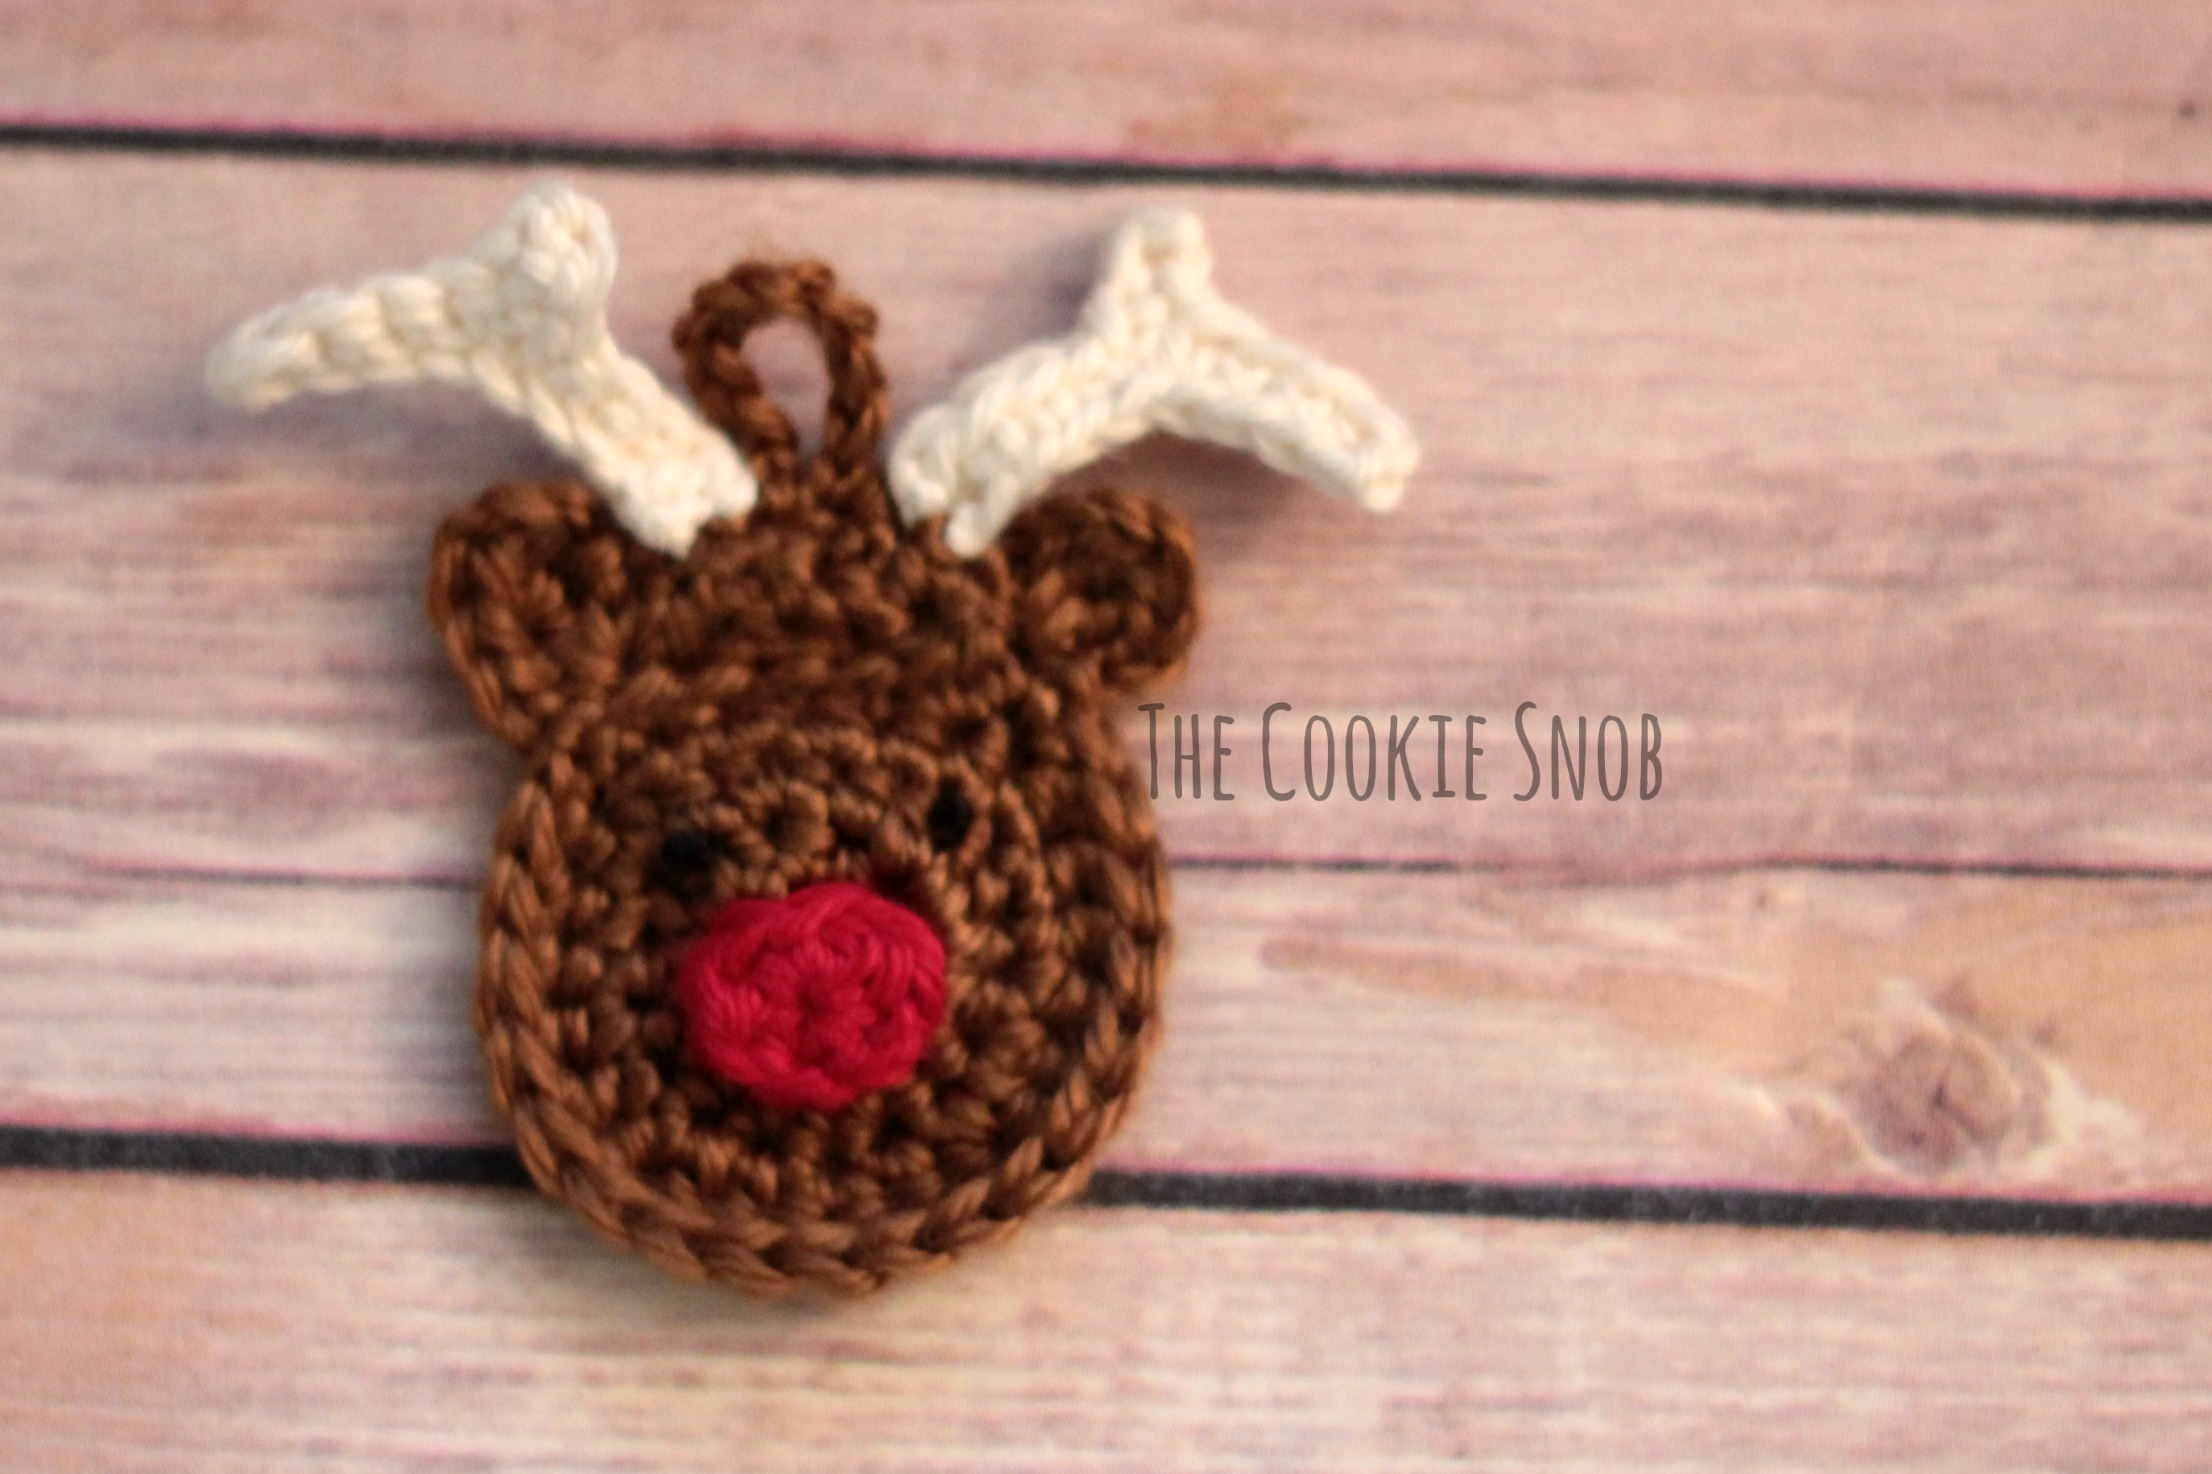
I love our Christmas tree advent calendar, but there definitely came a point while I was making it when I was just tired of crocheting yet another tiny ornament. So I decided to take a shortcut and design a few simplistic ornaments for the set. Which may not sound easier, but these ornaments come together really quickly with minimal amounts of joining (meaning fewer ends to weave in). So I thought I'd share the free patterns in case you want to make your own! All of these patterns are made using worsted weight yarn (I used mostly I Love This Cotton! Yarn in various colors) and a size F (3.75 mm) crochet hook. You'll also need a tapestry needle and I'd recommend a stitch marker for some of the patterns. The orange, ornament, and Rudolph all start with working in the round, meaning you won't join in between the rounds. I kept mine smallish to fit on my advent tree, but you can easily increase the size by using a larger hook. Stitch glossary: st(s) = stitch(es) ch = chain ss = slip stitch sc = single crochet hdc = half double crochet hdc inc = 2 hdc in the same st dc = double crochet tr = treble (triple) crochet Christmas Orange: Round 1: Make a magic circle and ch 2; work 8 hdc into the circle and pull taut to close (8) Round 2: hdc inc around (16) Round 3: [hdc inc, hdc] around (24) To finish off, sc, ss in the next 2 sts, ch 12, and then ss back to the same st. Fasten off. Now stitch on the stem of the orange using green yarn and a tapestry needle. I like to stitch the pieces of the stem all coming out from the same spot so that it makes a sort of star shape. Fasten off and weave in ends. Simple Ornament: Round 1: Make a magic circle and ch 2; work 8 hdc into the circle and pull taut to close (8) Round 2: hdc inc around (16) Round 3: [hdc inc, hdc] around (24) Round 4: sc, ss in the next 2 sts, switch to the gray yarn, turn. Round 5: ch 1, sc in the next 4 sts, turn Round 6: ch 1, sc in the next 2 sts, ch 12, sc in the last 2 sts Fasten off and weave in ends. Gift: Ch 9 Row 1: sc in the second ch from the hook and in remaining sts, turn (8) Rows 2-8: ch 1, sc across, turn (8) To create a cleaner edge, sc around the border of the square. At the middle of the top side of the square, ch 12, then continue to sc until you return to where you started; join and fasten off. To create the ribbon, surface crochet starting at the bottom up towards the top. When you reach the top, ch 8, ss to the middle, ch 8, and then ss back to the same spot. Fasten off. You can use the yarn tail to stitch around the middle of the bow. Then surface crochet the horizontal line of the ribbon through the middle of the gift. Fasten off and weave in ends. Simple Angel: Row 1: Make a magic circle and ch 2; work 10 dc into the circle and pull taut to close, turn (10) Row 2: ch 1, sc in the next 3 sts, turn (3) Row 3: ch 1, inc across, turn (6) Row 4: ch 1, [inc, sc in the next 2 sts] across, turn (8) Rows 5-6: ch 1, sc across, turn (8) Row 7: ch 1, [inc, sc in the next 3 sts] across, turn (10) Row 8: ch 1, sc across (10) Fasten off. To make wings, wrap yarn across 4 of your fingers 10 times and then tie off in the middle (like the beginning of making a pompom). Leave a long yarn tail for sewing. Sew on the wings to the back of the angel. If desired, stitch on a halo as well. Weave in ends. Rudolph: Round 1: Make a magic circle and ch 2; work 8 hdc into the circle and pull taut to close (8) Round 2: hdc inc around (16) Round 3: [hdc inc, hdc] around (24) Round 4: hdc in the next 6 sts, sc, ss, turn Round 5: ch 1, hdc in the next 6 sts, turn (6) Round 6: ch 1, hdc dec, hdc in the next 2 sts, hdc dec, turn (4) Round 7: ch 1, dec twice (2) Now we're going to add a border and the ears. Turn the piece so that the right side is facing you (as in the picture above). Ch 1, sc, ch 12, sc until the spot where you want the first ear (I did 3 more sc for mine). For the ear, ch 4, tr, dc, ch 2, and ss all in the same spot. Then continue to sc around until you get to the spot for the second ear. For the second ear, ss, ch 2, dc, tr, and ch 4 all in the same spot. Then sc until you meet back up with the start of the round. Join, and fasten off. Antlers (make 2): ch 9 Row 1: sc in the second ch from the hook and in the next 3 sts, ch 3, sc in the second ch from the hook and in the next st, sc in the remaining sts. Fasten off, leaving a long tail for sewing. Nose: Make a magic circle; work 2 sc, 2 hdc, 2 sc, and 2 hdc into the circle and pull taut to close. Join and fasten off, leaving a long tail for sewing. Using the tapestry needle and the long yarn tails, join the antlers between the ears and loop for hanging and attach the nose in the middle of the face. Using a bit of black scrap yarn, stitch on eyes. I used French knots to make mine. And there you have it! 5 simple but sweet crochet ornaments. I hope that you enjoy them! If you have comments or questions about them, feel free to contact me in the comment section below or you can reach me on social media. Happy hooking!
***You're welcome to do whatever you'd like to with finished products made from these patterns but if you do sell them, I ask that you link back to my page. You may not copy these patterns, repost them anywhere (either altered or in their original forms), or claim them as your own. You may not use any photos on this site for your own use without permission. ***
2 Comments
Sharon
9/24/2018 11:44:18 am
My weaver's guild does an "ornaments" workshop in December. I volunteered to teach the "crochet" table - and some people may never . I have two other patterns, and your "Rudolph" will be PERFECT for the third one. Thank you so much!
Reply
Helen
9/4/2021 01:02:21 am
I belong to a group on FB called "Random Acts of Kindness" & want to make your little angel - sooo cute! Was wondering how u made the halo for it - any help u can give me wud be great. Also want to make the reindeer - I hv severe osteo-arthritis in my rt. hip & lymphedema in my legs so don't go out much & belonging to this group I want to make various items so I can give my PSW's (Personal Support Workers) to hand out to their other patients. Also I hv a friend who works in a nursing home so thought I wud giver her a care pkg as well to distribute to the seniors lwhere she works. Many tks.
Reply
Leave a Reply. |
Welcome!Thank you for stopping by to visit my own personal corner of the web! Feel free to take a look around and check out what I've been crafting, crocheting, or baking. Hopefully you'll find something to inspire your own creativity! Archives
March 2024
|



 RSS Feed