|
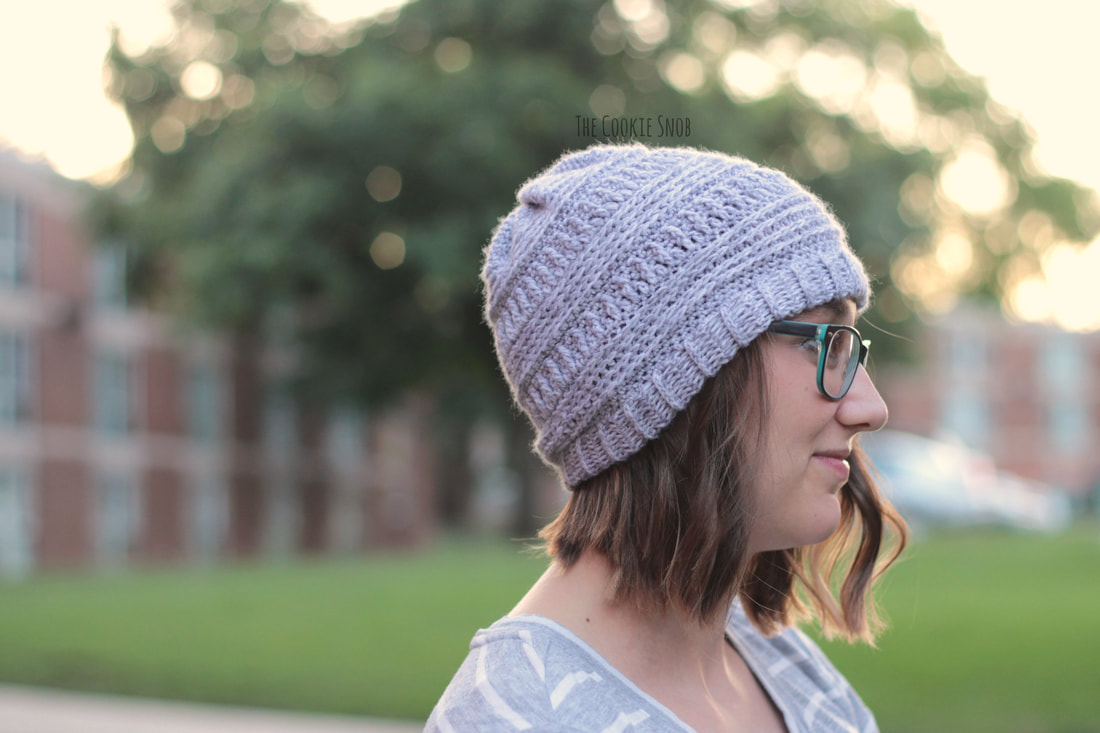
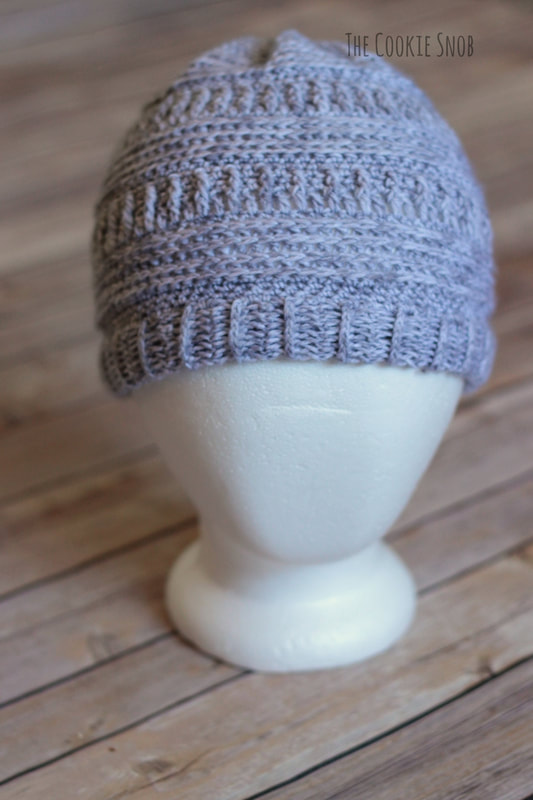
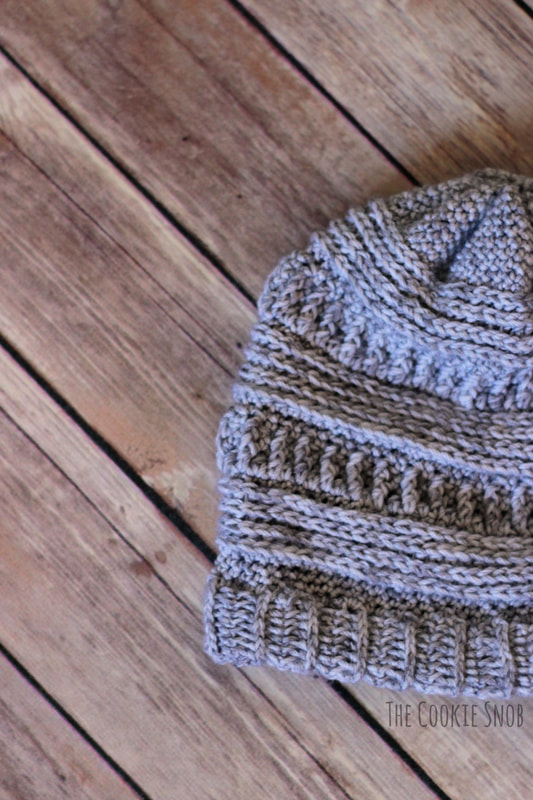
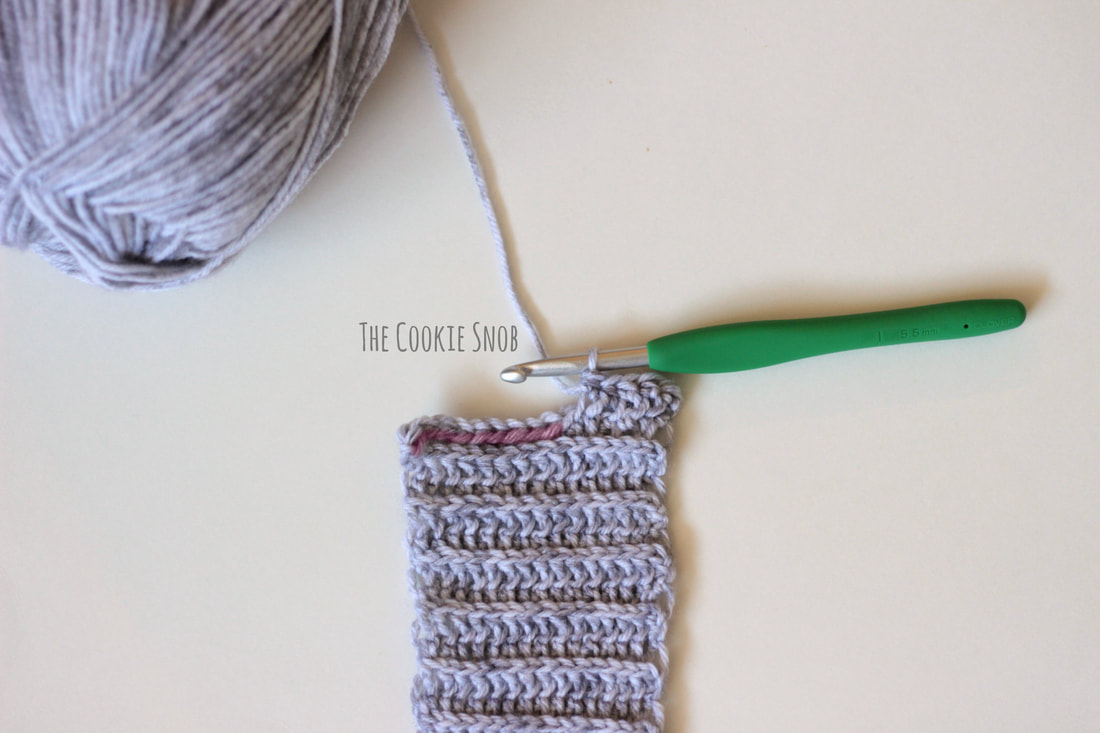
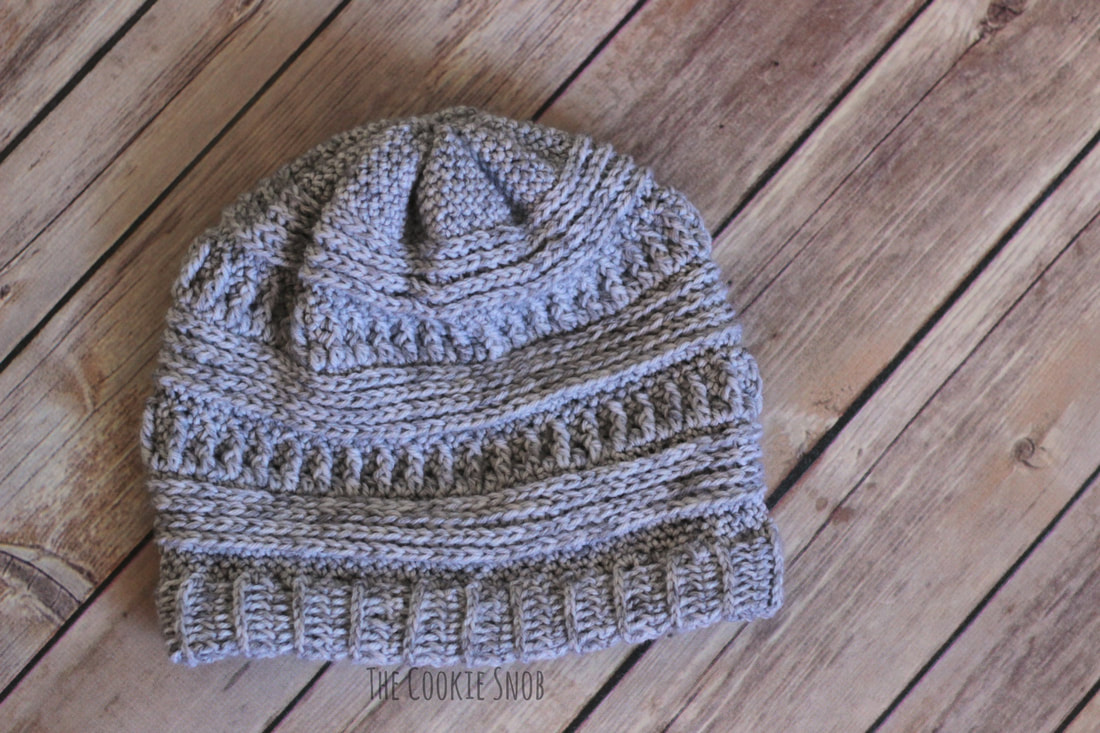
Back in January, I shared a pattern for a crocheted copy cat version of a knitted copy cat version of those cute CC beanies, dubbed the 3mL Beanie (for nerdy reasons explained in the original post). This last week I decided to revisit the pattern and I was not happy with it. It was actually STRESSFUL to crochet it! Which is just plain wrong. So I went back to the drawing board to reinvent this hat. And I think I finally figured it out. This new version has a tighter band for a better fit, lovely drape, and (most importantly) it's actually easy to crochet. There are a couple subtle differences from the original inspiration, but the overall look is the same, so I'm going to call this one a huge win. This version of the pattern is for .a tighter-fitting beanie. If you're looking for something slouchier, I also designed a slouchy version of this pattern, which I'll be posting next. And trust me when I say that you'll definitely want to check it out—it's gorgeous. Edit: You can now find the slouchy version here. Anyway, back to this hat. I designed this one to fit my head, which is definitely smaller than average (I can basically share hats with my 3 year old, if that gives you any indication), but you can really easily modify this design to fit any head size. I'll be sure to note potential modifications in underlined text throughout the pattern, so keep an eye out for those. One thing that's important to note is that this pattern is designed using light weight (3) yarn, in order to improve drape. If you try to use worsted weight for this design, it will probably end up too stiff. Although I also tend to crochet really tightly, so if you're a looser crocheter it might work out better for you. But it definitely works with the light weight yarn. (The slouchy version uses worsted weight, if that's more your style). Another important note for this pattern: a lot of the hat will be worked in the "3rd loop." Now I know what you're thinking: "Not this again! That was the nightmare of the last version!" But have no fear. You can do it. Because this is the 3rd loop of a hdc and I promise it's SO much easier. Just "Try them and you may, I say" (to quote Dr. Seuss). If you're not familiar with the technique, you'll be inserting your crochet hook in a different spot than you normally would. instead of using the "v" looking stitch consisting of the front and back loops, you'll be working into the extra loop (aka the 3rd loop) just below the "v." I've highlighted the 3rd loops for the rest of the row in the picture below, as a visual. If you find that this is tricky or you'd like more guidance on this, take a look at this quick tutorial that I put together. If you're interested in a printable PDF version of this pattern, you can find one on Ravelry (it includes both this pattern and the slouchy version in the same PDF). Now on to the pattern! Materials:
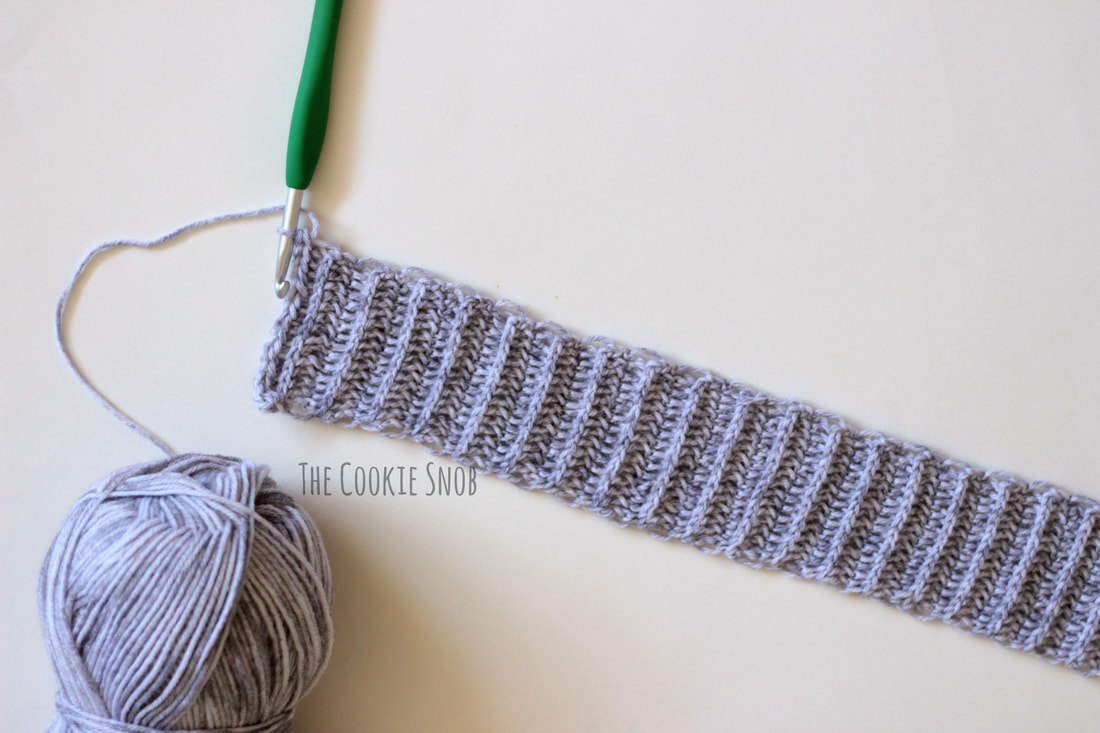
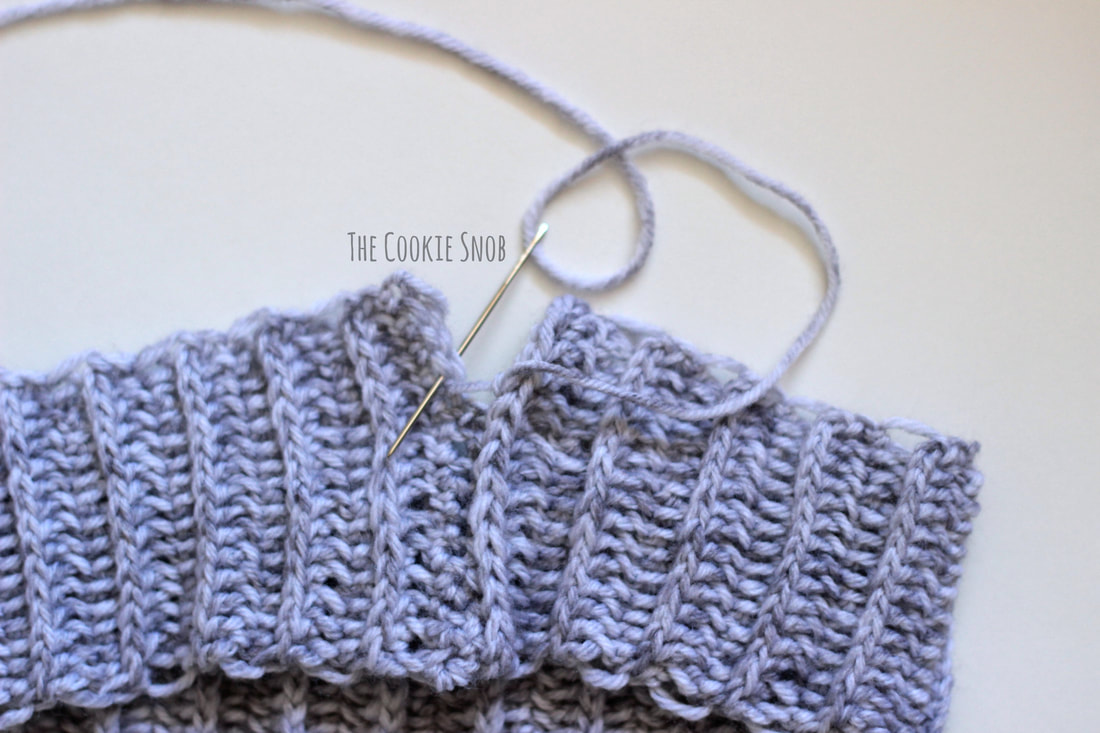
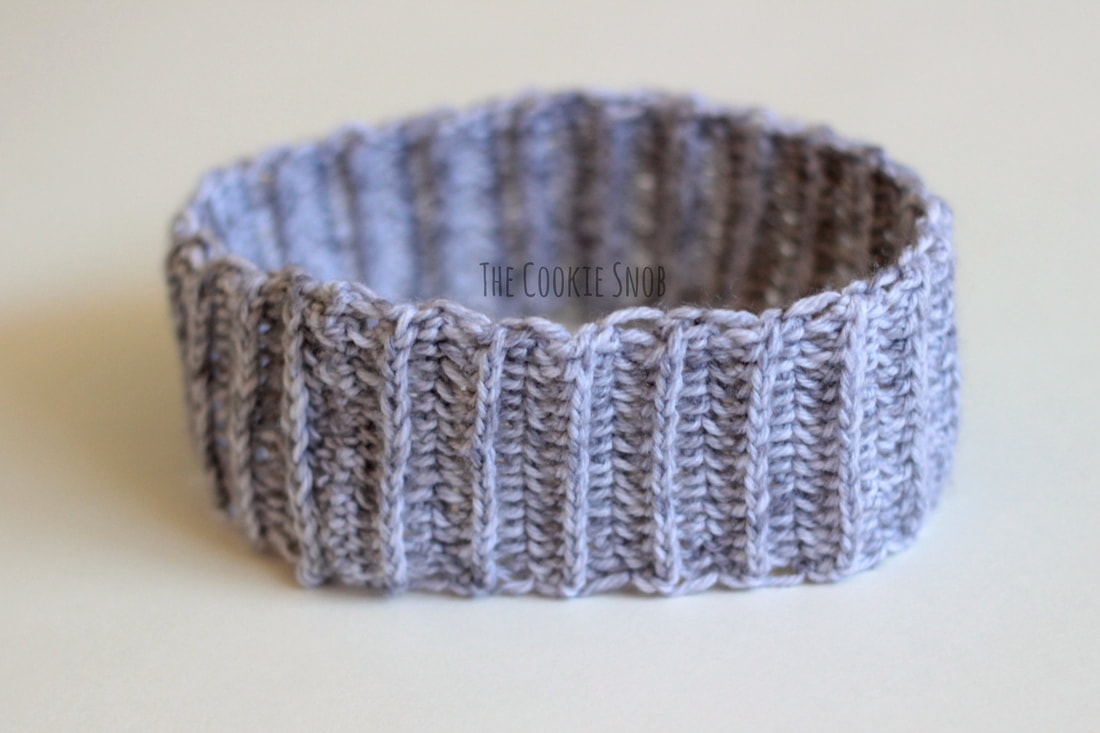
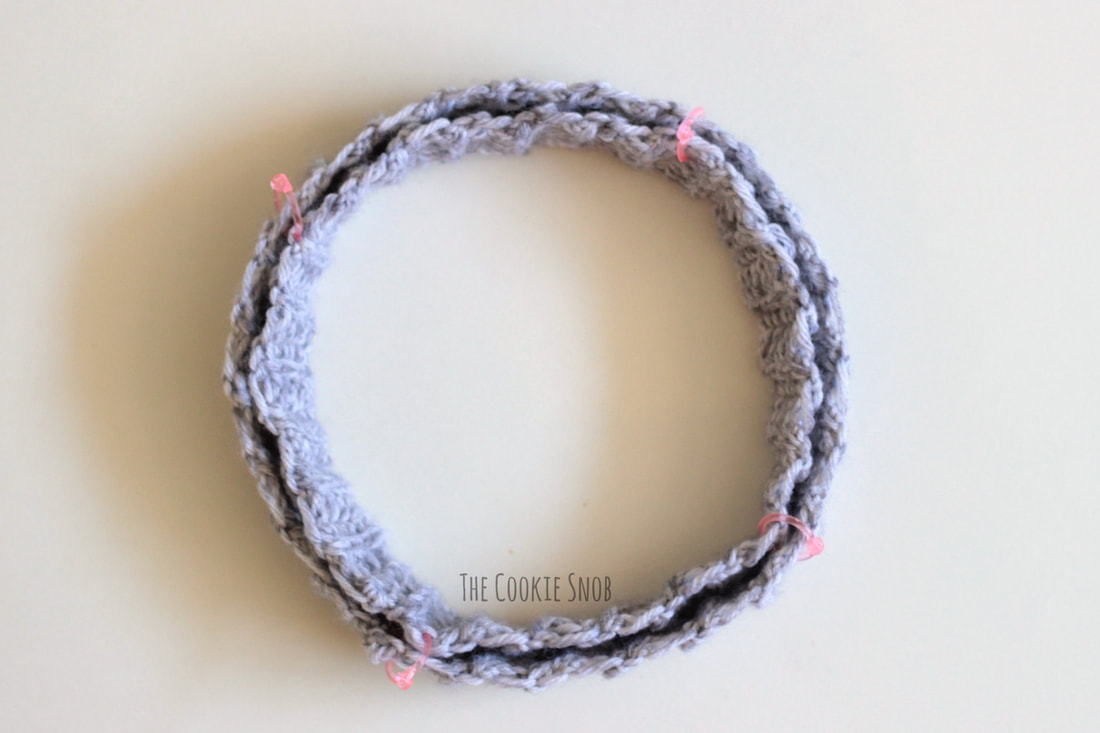
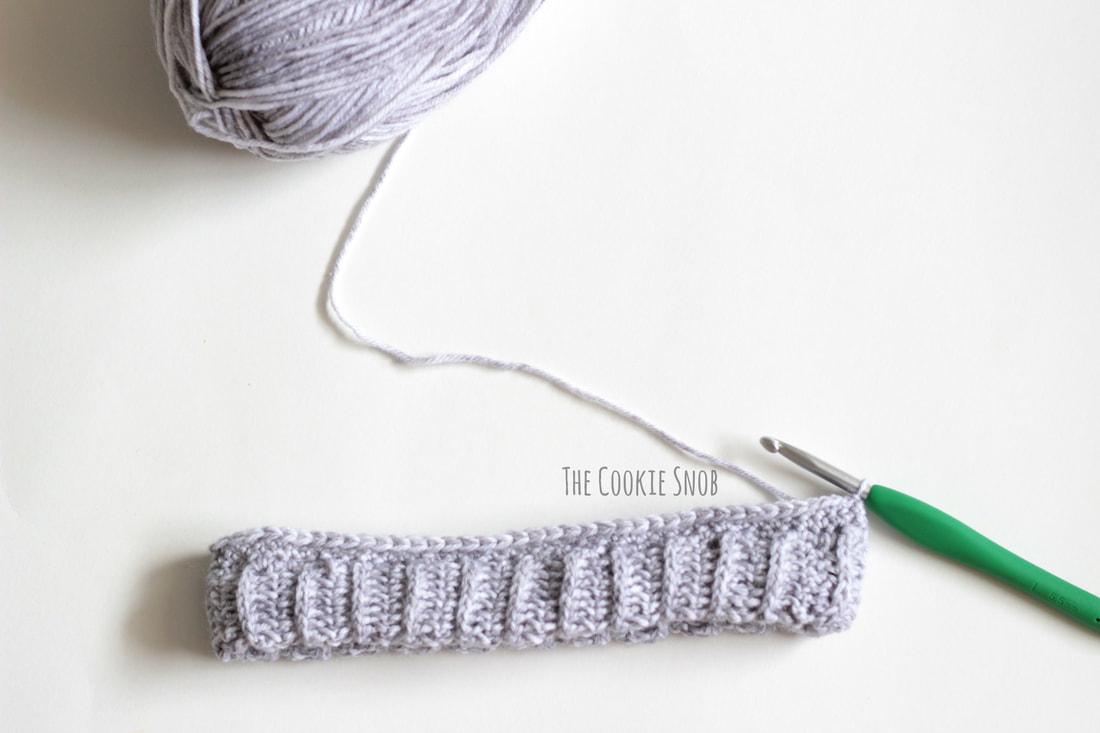
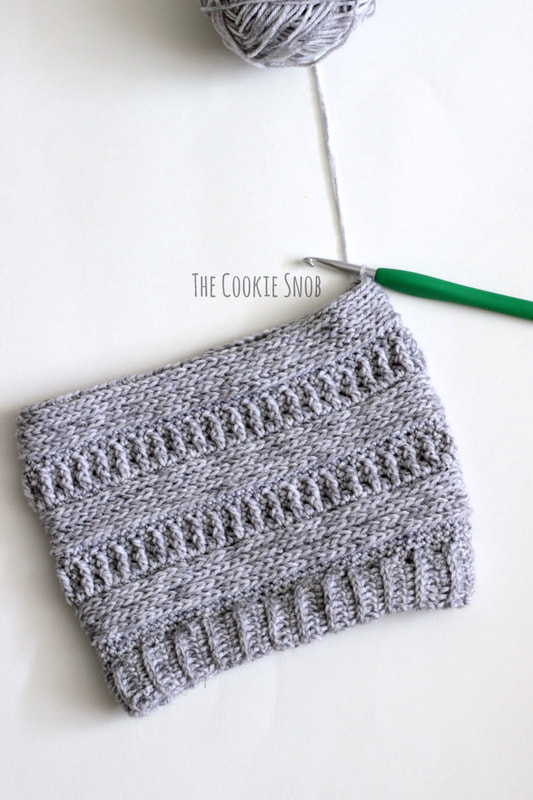
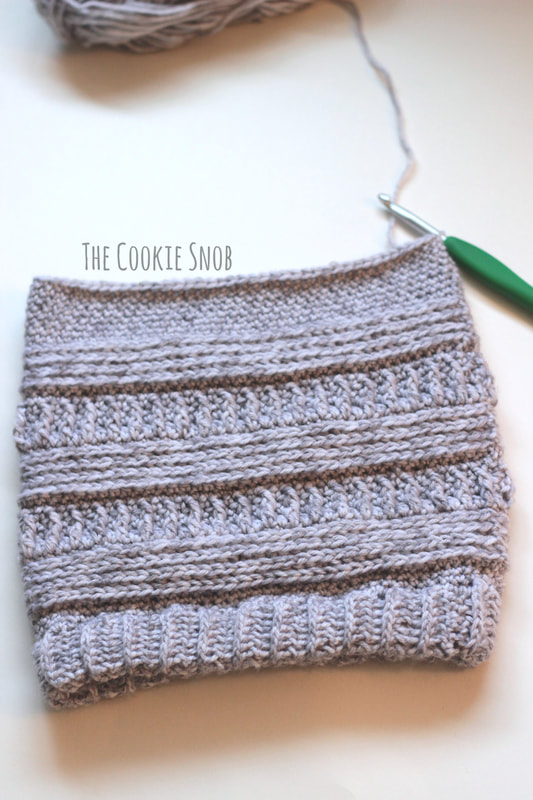
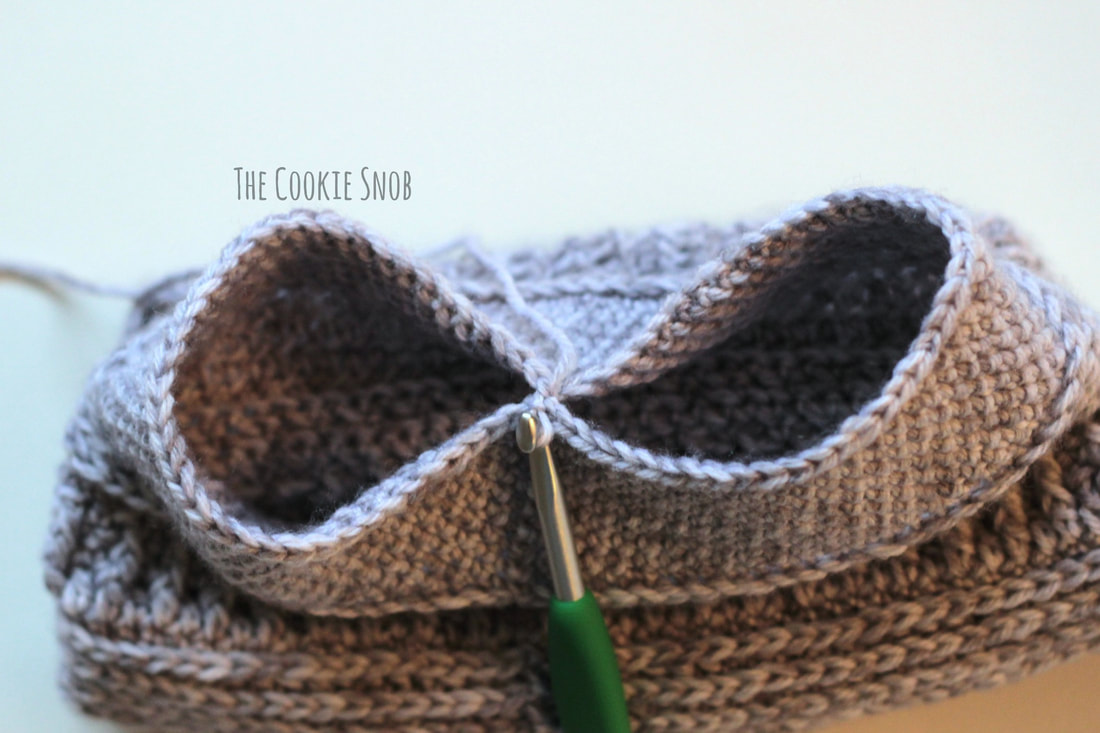
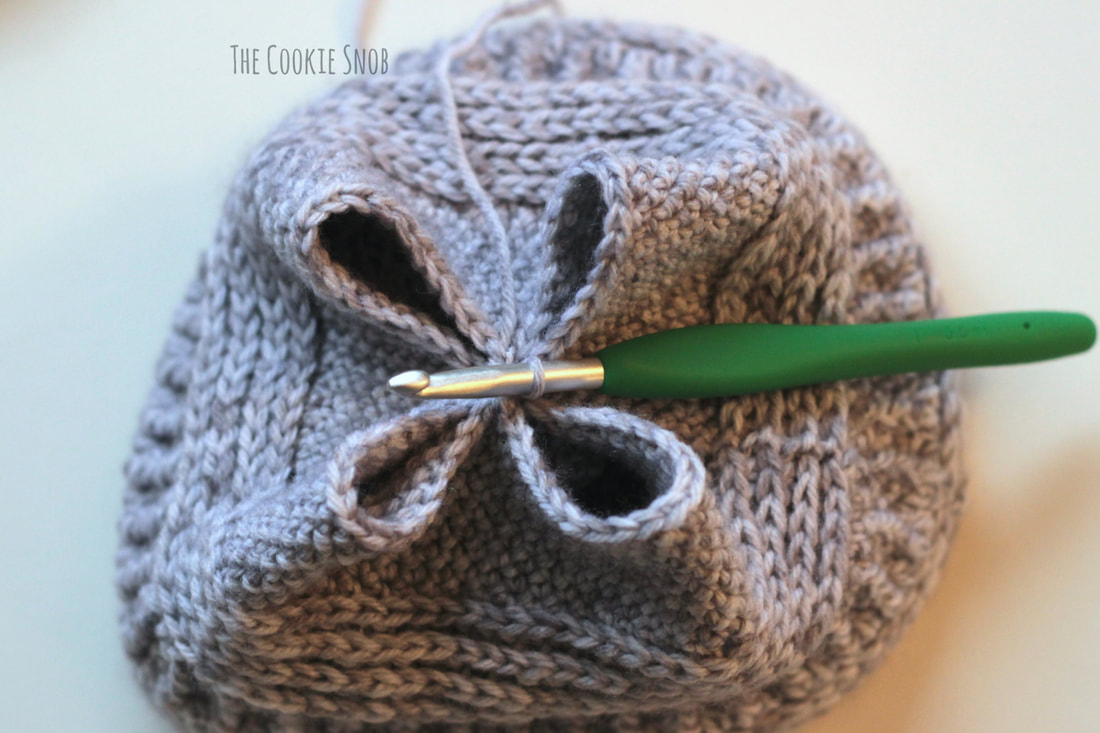
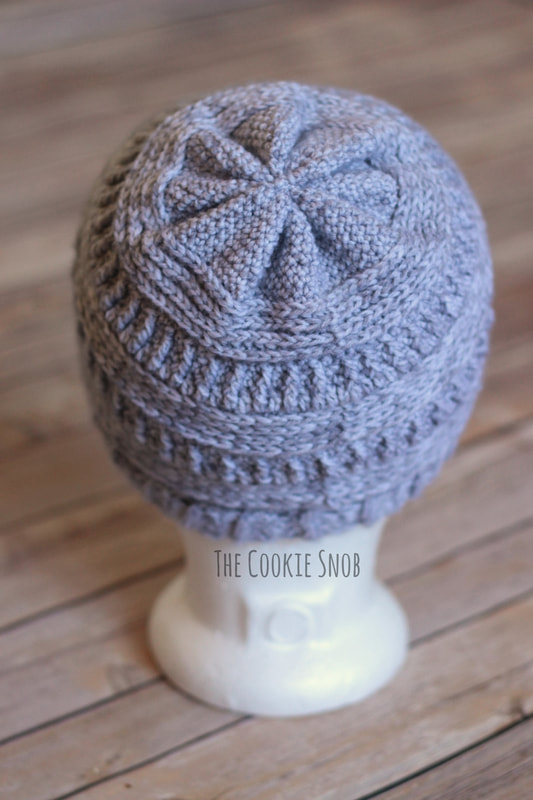
Stitch Glossary: st(s) = stitch(es) ss = slip stitch ch = chain sc = single crochet hdc = half double crochet dc = double crochet fpdc = front post double crochet flo = front loop only Brim: Using the smaller (5.5mm) hook: Ch 16 Row 1: hdc in the 2nd ch from the hook and in each st across, turn (15) Row 2: ch 1, hdc across in 3rd loop (see note above), turn (15) Repeat row 2 until the brim is your desired length. I made mine 22" when lightly stretched. Make it as long as you need to fit comfortably on your head, but please keep in mind that the brim will stretch a bit with use (although it will lose some of its potential stretchiness as you fold it and crochet over the top later on). If it's simpler, you can also use the alternative brim from the slouchy version. Fasten off, leaving a long tail of yarn for sewing. Place the two short ends of the brim together and sew them into a loop with the tapestry needle and the yarn tail. I recommend using the mattress stitch for neatness. Make sure to fasten off tightly, but don't worry about weaving in the ends yet. Fold the brim in half length-wise. If you tuck your yarn ends inside of the fold, you won't need to worry about weaving them in later (score!). I recommend using stitch markers to hold the folded ends together in place. I prefer to use 4 stitch markers to divide the brim into 4 equal sections, since it makes the next step easier (but it's not required). Body of the hat: Round 1: Inserting the hook through both ends of the folded brim, work 84 sc evenly across the top, with the right side facing out. This will close it off, leaving a thicker brim. If you've divided your brim into 4 sections, you can evenly work 21 sc into each section (or you can just eyeball it if that works better for you). Join to the first sc with a ss. (84) Or, if you want to make the circumference of the hat larger, you can increase the number of stitches over the top of the brim (just be sure that it's an even number of stitches). Rounds 2-3: ch 1, sc across, ss to join (84) Switch to the larger (6.0mm) hook. Round 4: ch 1, hdc across in flo, ss to join (84) Rounds 5-7: ch 1, hdc across in 3rd loop, ss to join (84) Switch back to the smaller (5.5mm) hook Round 8: ch 1, sc across in 3rd loop, ss to join (84) Round 9: ch 2, dc across, ss to join (84) Round 10: ch 1, [sc, fpdc] around, ss to join (84) Round 11: ch 1, sc around, ss to join (84) Round 12: ch 1, [sc, fpdc] around, ss to join (84) Note: The fpdc from round 12 should be worked into the fpdc from round 10 Round 13: ch 1, sc around, ss to join (84) Rounds 14-23: Switch back to the larger hook. Repeat rounds 4-13, switching hooks as written. Rounds 24-28: Switch back to the larger hook. Repeat rounds 4-8, switching hooks as written. Rounds 29-38: ch 1, sc around, ss to join (84) The closing at the top of this hat is a little different, but really simple once you get the hang of it. Keeping the loop on your hook (do NOT fasten off yet), fold the top of the hat in half, with the hook in the center. Ss into the stitch opposite your hook, creating a figure 8-type shape. Pinch the far end of the "8" to the center and ss into it; repeat on the other end of the "8". This will create a shape that resembles an "x" (with four arms). Ss into the center point of each "arm." Continue to ss into the opposite ends of loops formed until the top of the hat is closed. Or, alternatively, you can thread a long piece of yarn back and forth through the top round of the hat and then pull taut to close. Fasten off and weave in any remaining ends. Ta-dah! You've now made your own adorable beanie! Please consider supporting my blog by buying the printable PDF version on Ravelry (the PDF includes the patterns for both this hat and the slouchy style version); your support allows me to keep designing patterns for you all! If you end up making one, I'd love to hear about it. And please share pictures! Or, if you have any questions or comments, you can reach me in the comments section below or on social media. Happy hooking! ***You're welcome to do whatever you'd like to with finished products made from this pattern but if you do sell them, I ask that you link back to my page. You may not copy this pattern, repost it anywhere (either altered or in its original form), or claim it as your own. You may not use any photos on this site for your own use. ***
14 Comments
Katie Leigh
7/17/2017 10:21:19 pm
This is so awesome! Beautiful hat! Thanks so much for sharing :)
Reply
Erin
7/17/2017 10:54:09 pm
Thank you! I'm glad you like it! :)
Reply
Suzan Kuipery
9/16/2017 01:04:27 am
Your hat looks beautiful, I am working on this and I'm stuck at row 10. Pattern calls for doing sc and fpdc and I end up with too many stitches. Could you clarify on how you did this row? Thanks
Reply
Erin
9/16/2017 07:36:08 pm
You want to make sure that you only work one st in each st from the previous row; if you work both a sc and a fpdc in the same st, you'll double the number of stitches, which is not what you want. Instead, you should alternate between the two. So you'll work a sc in the first st, then a fpdc in the 2nd st, then a sc in the 3rd st, and a fpdc in the 4th st...and so on. Hopefully that makes sense. Let me know if you still have questions :)
Reply
Jenny
11/18/2018 09:15:45 pm
Thank you! I was a little stuck on this as well. Beautiful hat!
Shelley
10/2/2017 12:58:33 am
For row 8, it says to change back to the smaller hook. It never states after that row to go back to the larger hook. So I finish all rows from 8 and after with the smaller hook?
Reply
Erin
10/2/2017 10:22:45 pm
When you repeat rounds 4-7, you'll use the larger size hook. Then you'll switch back to the smaller size again when you repeat round 8. I'll add a note to the pattern to clarify. Thanks for your question and good luck with your hat!
Reply
Sheena Martin
11/21/2017 03:04:45 pm
This is my favorite beanie pattern yet! And I’ve made a lot of beanies! Thank you for sharing
Reply
Jessie
11/24/2017 10:16:52 pm
The rows 29-38 what size hook do you use? Love this pattern! thank you!!
Reply
Erin
11/24/2017 10:39:54 pm
Rows 29-38 use the smaller hook, although the pattern should work either way, since that section just get cinched shut. Thanks for asking! I'll add a note to clarify.
Reply
Anna
1/18/2018 12:34:13 pm
Can you use 16 foundation half double crochet to start vs chaining 16?? The fhdc seem to have a bit more stretch to them.
Reply
Erin
1/18/2018 02:00:05 pm
Yes, you can definitely use foundation hdc instead. It'll still work great! And I agree; the foundation stitches are way stretchier than working from a starting chain.
Reply
Emily
11/11/2023 11:20:53 pm
Is the hdc in the 3rd loop in rows 5-7 supposed to be in the round? Because mine doesn’t look like your picture.
Reply
Amelia
12/19/2023 12:21:14 am
Made matching hats for my Brother In-law and Niece for Christmas. Very easy to adjust the size. Love the design, thank you.
Reply
Leave a Reply. |
Welcome!Thank you for stopping by to visit my own personal corner of the web! Feel free to take a look around and check out what I've been crafting, crocheting, or baking. Hopefully you'll find something to inspire your own creativity! Archives
March 2024
|



 RSS Feed