
|
After knitting a copy cat version of the popular C.C. beanie, I decided that it would be a fun challenge to design a crochet version. With a bit of trial and error, I came up with something that I think mirrors the main elements of the original hat. So, I give you the Copy Cat Copy Cat C.C. Beanie. Er, the CC CC C.C. Beanie. The 3 CC Beanie? Well, since 1 cc = 1 mL, I'm calling this the 3 mL Beanie. If there can be 10 gallon hats, then there can be a 3 mL Beanie. (Yes, I know I'm a giant nerd. Thanks for noticing.) 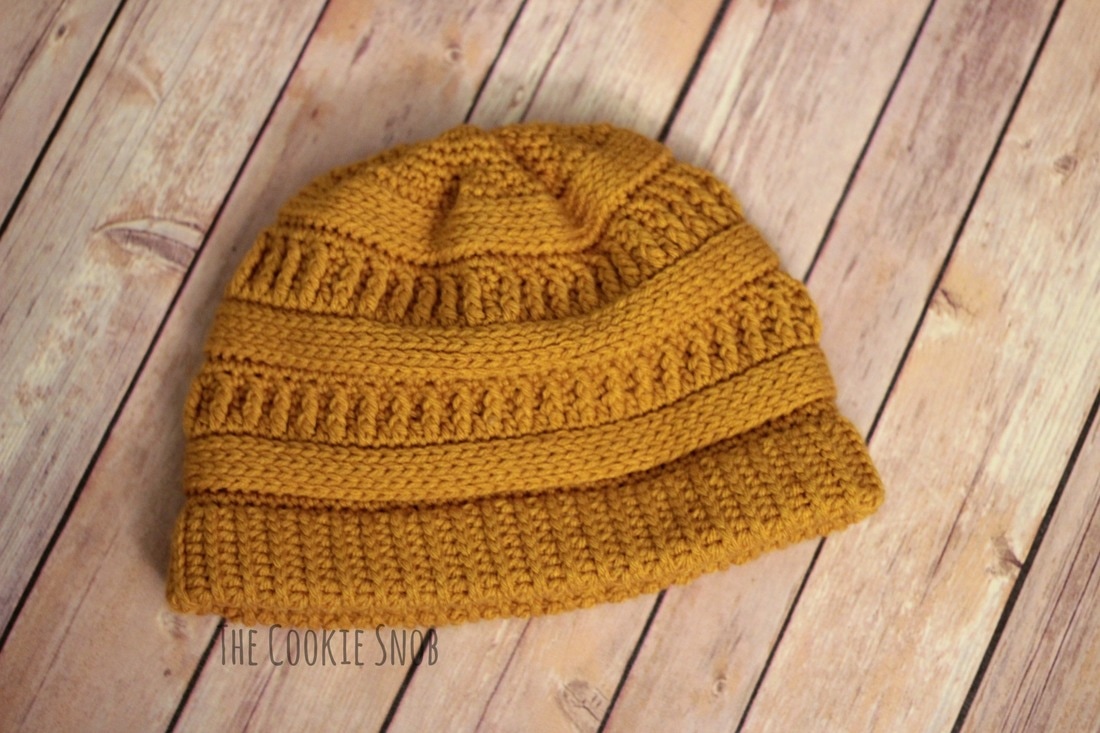 It's not an exact duplicate since the original is knit, but I think it has a similar enough look. There are a couple of methods that could give a more authentic "knit" look, but for the sake of simplicity, I opted for crochet stitches that were a bit easier/quicker. I do wish that the brim was a bit tighter, so if anyone has any ideas please share! I also think that it may have better drape with a lighter weight yarn, but haven't had a chance to test it yet. 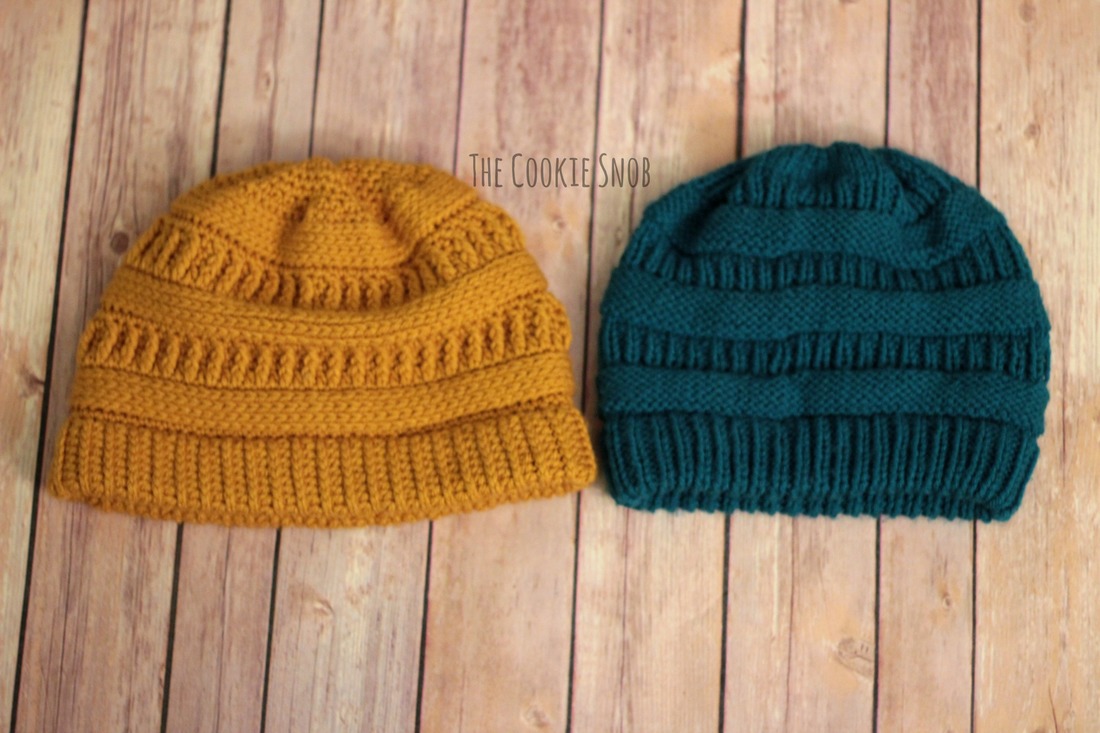 This slouchy-style hat is designed to fit an average sized women's head, but if you need a larger size, you can easily add more stitches to increase the width (just keep an even number of stitches) or increase the number of rows in the pattern; you can also change the hook size. Feel free to contact me if you have questions. 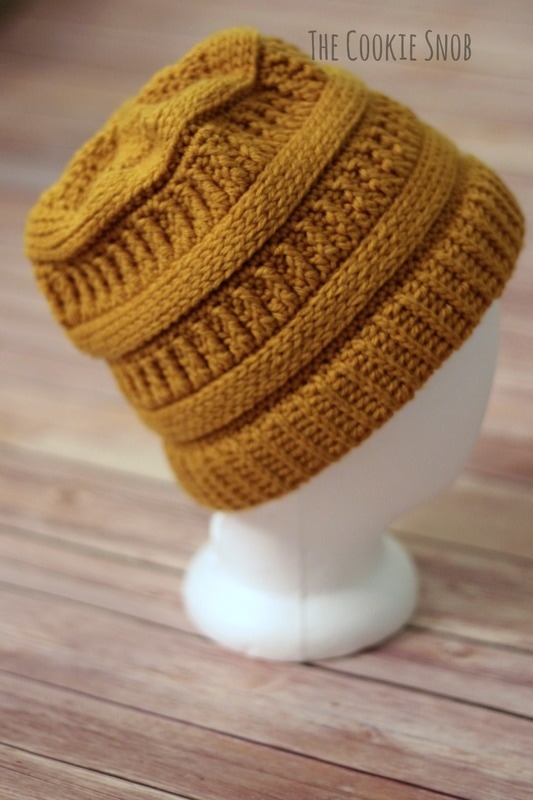 Edit: I recommend checking out the new and improved version of this hat. It's SO much easier to crochet. Materials:
st(s) = stitch(es) ss = slip stitch sc = single crochet hdc = half double crochet dc = double crochet fpdc = front post double crochet dec = single crochet decrease (I prefer the invisible decrease method for this pattern) flo = back loop only blo = back loop only Start by creating the brim of the hat using the smaller (4.5mm) hook Chain 16 Row 1: ss in the second chain from the hook and in remaining sts, turn (15) Row 2: ch 1, ss across in blo, turn (15) (This is the wrong side) Row 3: ch 1, hdc across in blo, turn (15) (This is the right side) Repeat rows 2-3 until the piece measures 21" long (or desired length). Fasten off, leaving long tail for sewing. 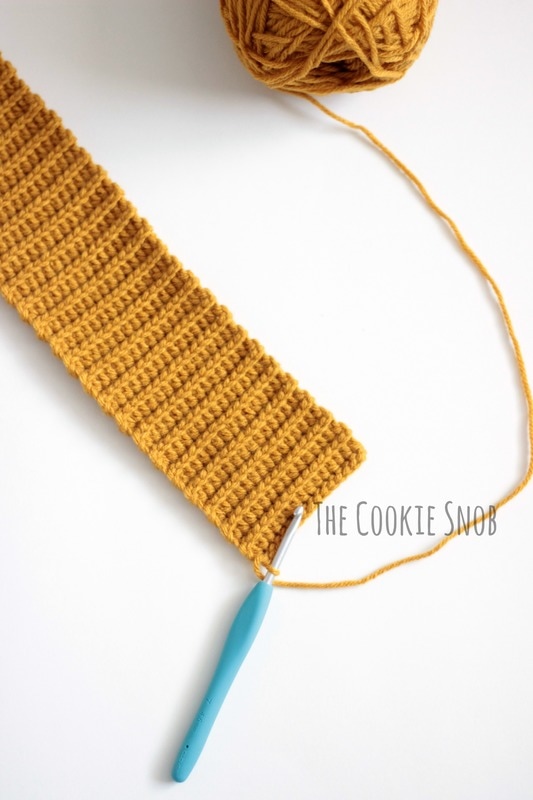 Now we're going to sew the ends of the brim together into one continuous piece using the long tail of yarn. Don't worry about weaving in the ends just yet. 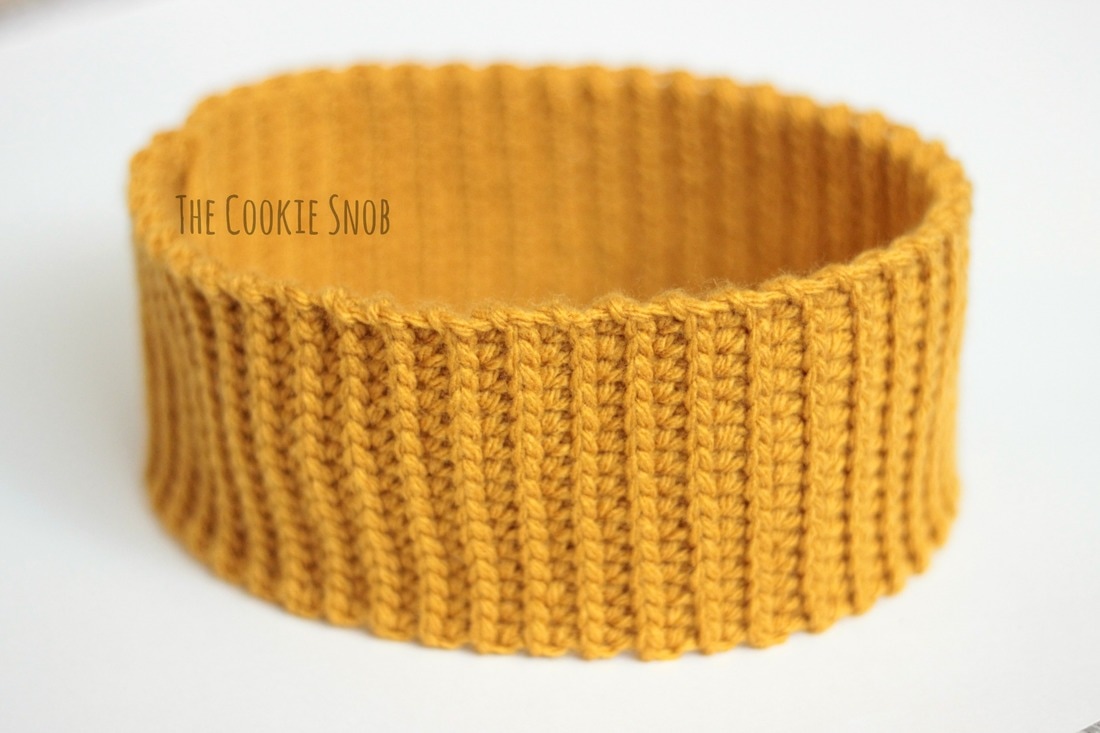 Fold the brim in half lengthwise, keeping the right side facing out. If you tuck your yarn ends inside of the folded brim, it'll hide them so you don't even have to weave them in later. I recommend using stitch markers to hold the fold in place. I like to use 4 stitch markers to divide the brim into 4 equal sections; this makes the next step a bit easier but isn't required. 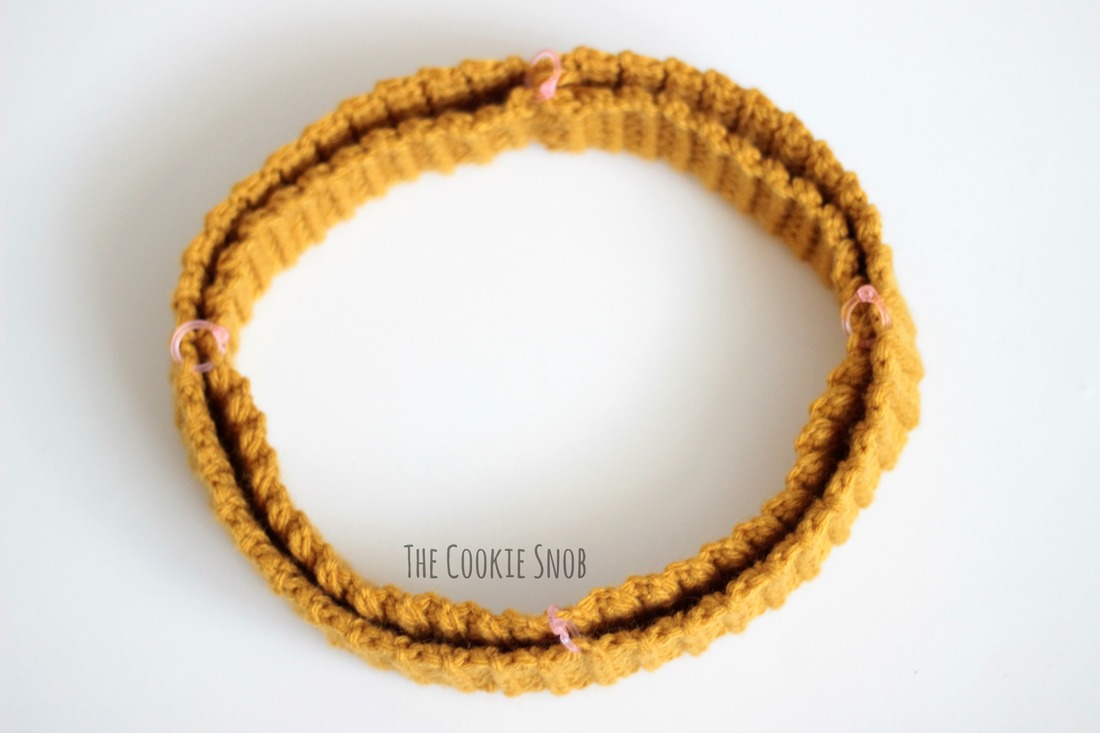 Round 1: Inserting the hook through both ends of the folded brim, work 84 sc evenly across the top. This will close it off, creating a nice thick brim. If you've divided your brim into 4 sections, you can just work 21 sc into each section (or you can just eyeball it if that works for you). Join to the first sc with a ss. 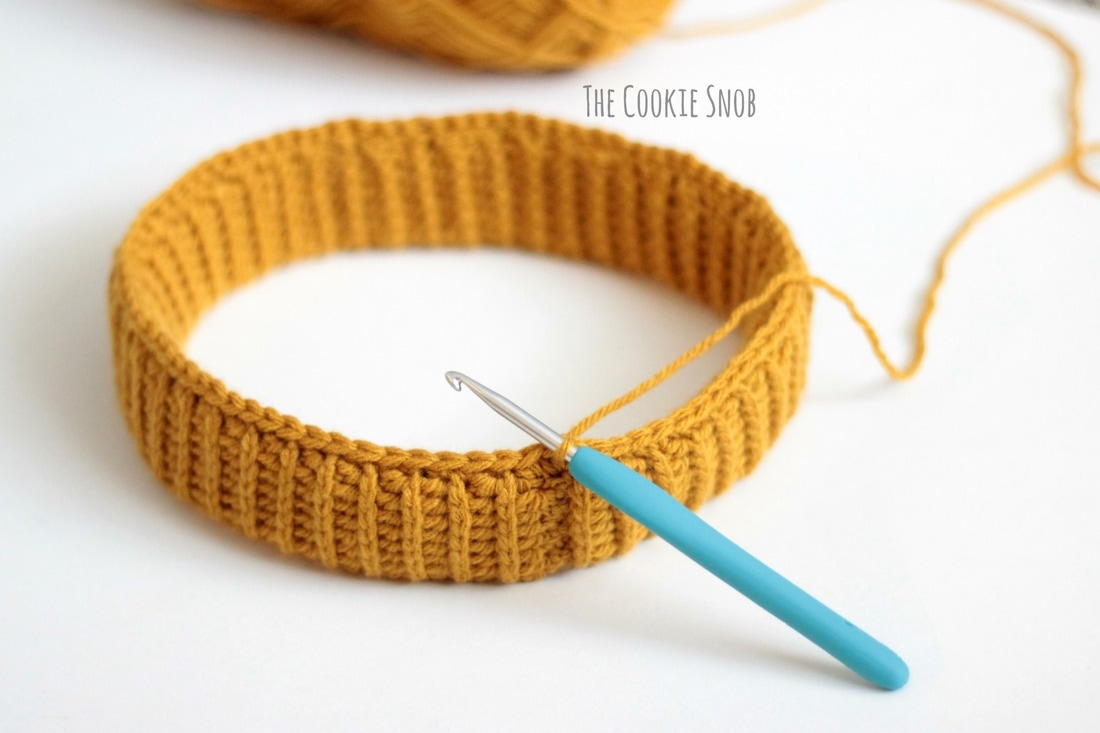 Round 2: ch 1, sc across, join with a ss (84) Now switch to the larger (5.0mm) hook. Round 3: ch 1, sc across in flo, join with a ss (84) The next few rounds are worked in the 3rd loop of the round below. Instead of working into the "v" of the stitch like you normally would, work into the loop below (marked in red in the picture below) *Note: The picture showing you the 3rd loop is taken facing the inside of the hat (aka the wrong side), so it'll be facing the other way when you're crocheting it. It was just easier to show the 3rd loop from this perspective* Rounds 4-6: ch 1, sc across in 3rd loop, join with a ss (84) 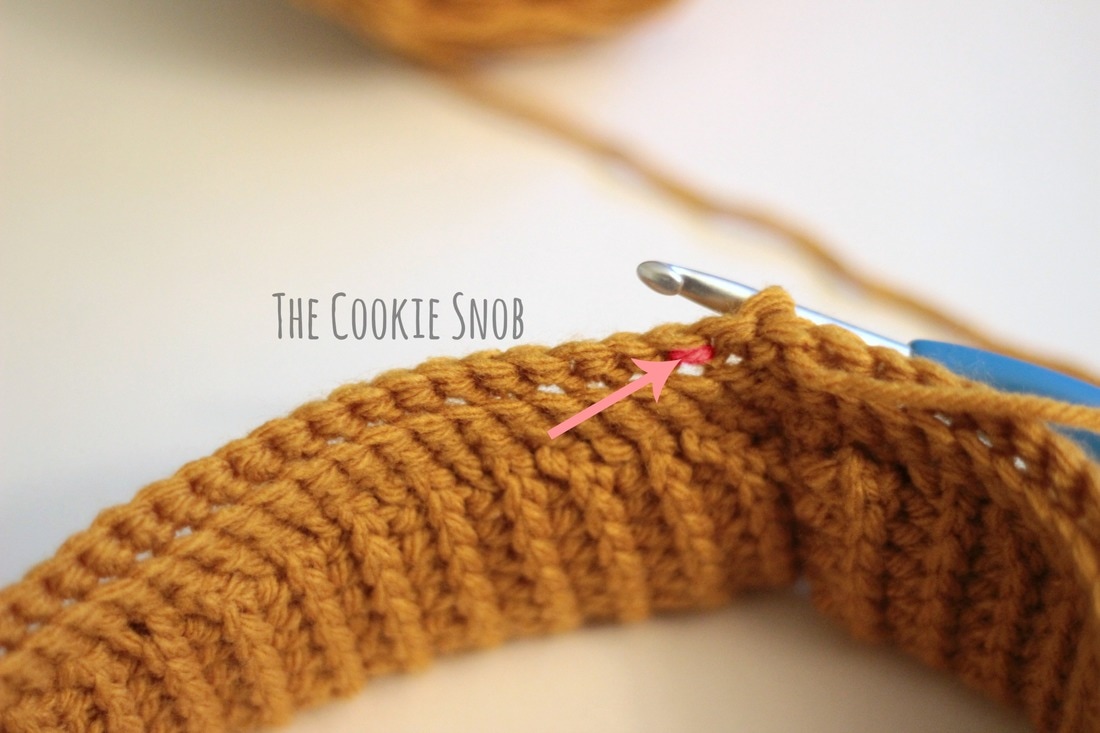 Now switch back to the smaller (4.5mm) hook. Round 7: ch 1, sc across in 3rd loop, join with a ss (84) Round 8: ch 2, dc around (working in both loops as normal again), join with a ss (84) Round 9: ch 1, [sc, fpdc] around, join with a ss (84) Round 10: ch 1, sc around, join with a ss (84) Round 11: ch 1, [sc, fpdc] around, join with a ss (84) Round 12: ch 1, sc around, join with a ss (84) Rounds 13-17: Repeat rounds 3-7 Rounds 18-22: Repeat rounds 8-12 Rounds 23-27: Repeat rounds 3-7 Round 28: ch 1, sc around, join with a ss (84) 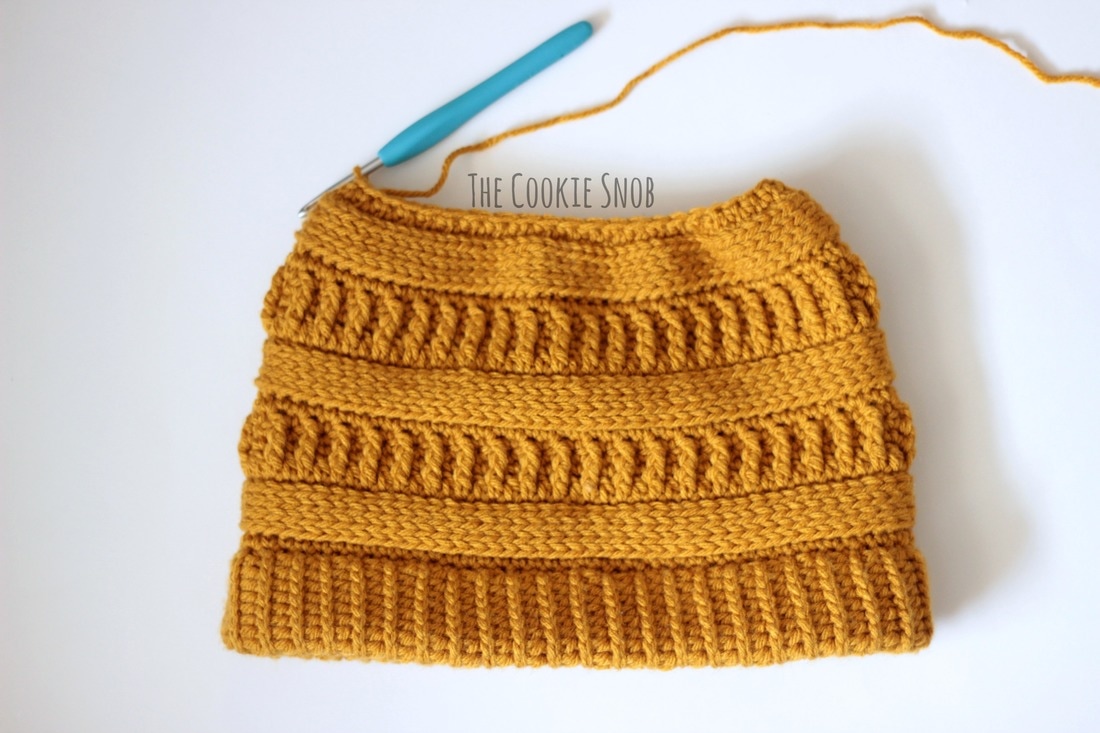 And now it's time to start decreasing. As mentioned above, I would recommend using invisible decreases, but you can do whichever method works best for you. Round 29: ch 1, dec around, join with a ss (42) Rounds 30-32: ch 1, sc around, join with a ss (42) Round 33: ch 1, dec around, join with a ss (21) Round 34: ch 1, sc around, join with a ss (21) Fasten off, leaving a long tail. 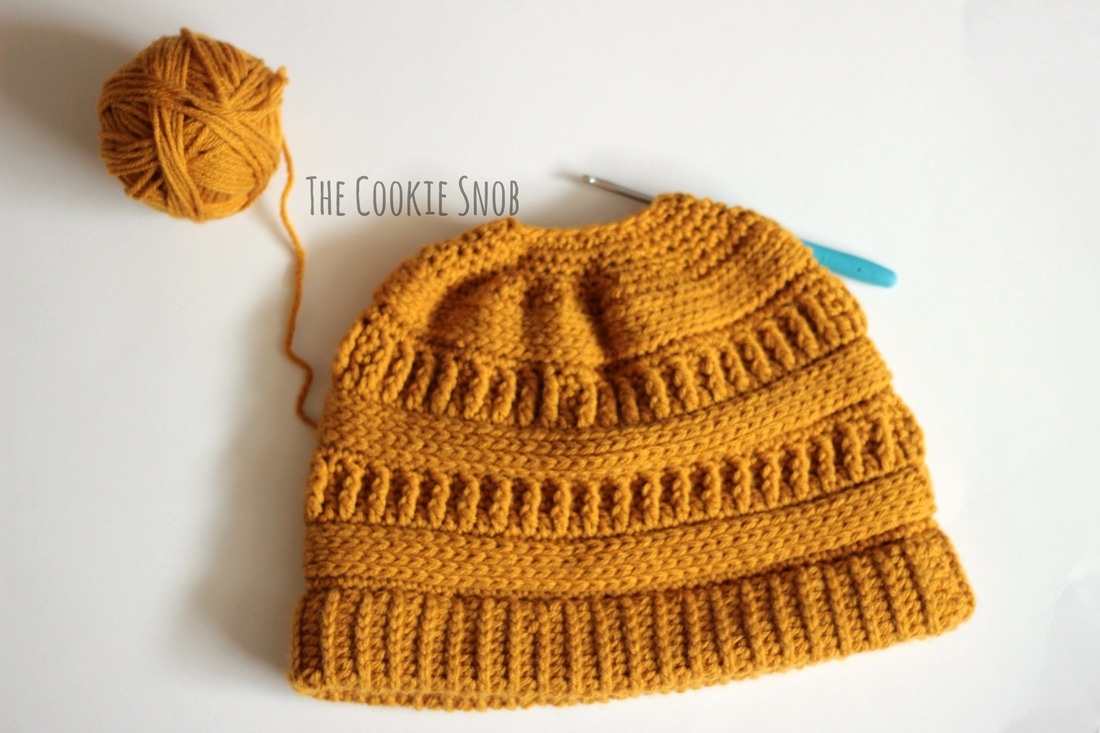 To close off the top of the hat, use a tapestry needle to thread the yarn through the remaining loops. Pull taut to close the hat. Bind off and weave in ends. 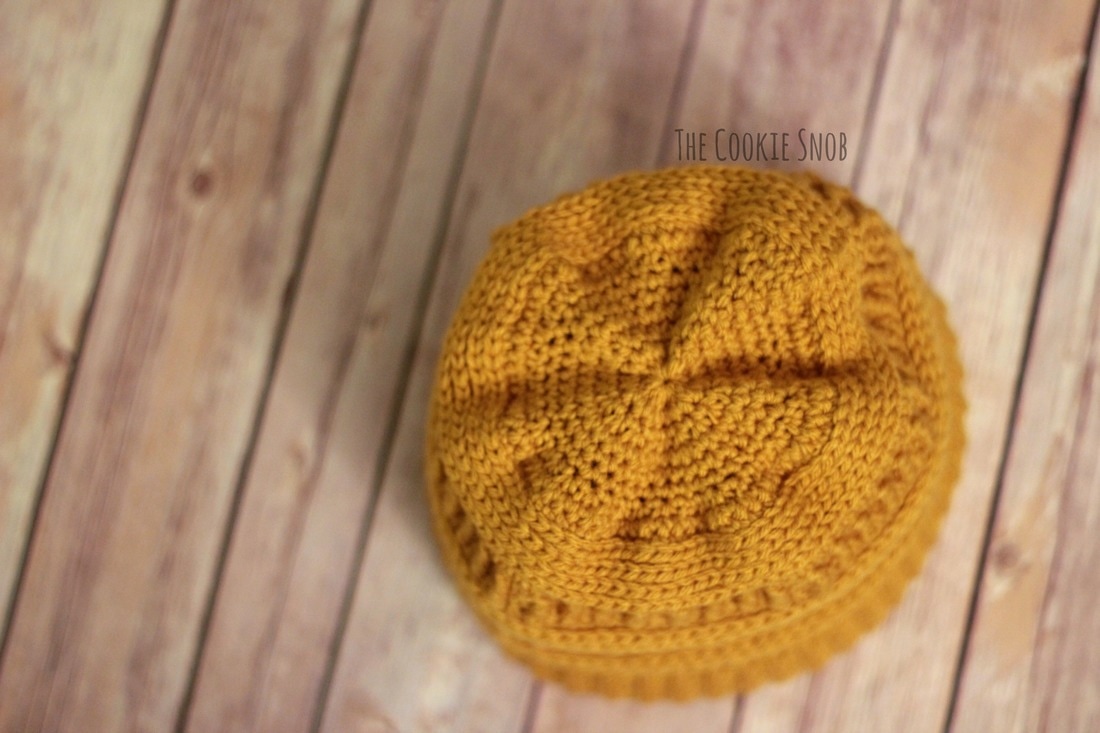 Ta-dah! You've now know how to make your very own 3 mL Beanie! If you end up making one, please share a picture! Or, if you have any questions or comments, you can reach out to me in the comments section below or on social media. It always makes me day to hear from y'all, so don't be shy. Happy hooking! 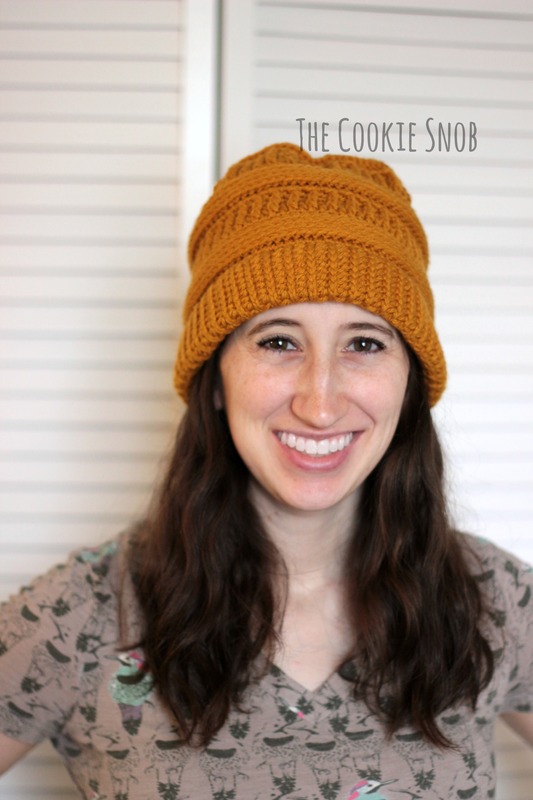 ***You may not copy this pattern, repost it anywhere (either altered or in its original form), or claim it as your own. You may not use any photos on this site for your own use. ***
29 Comments
carol
1/22/2017 06:21:17 am
beautiful
Erin
1/30/2017 08:42:35 pm
Thank you!
Haley White
1/24/2017 05:49:56 pm
This is Beautiful! I cant wait to start it! thank you!
Erin
1/30/2017 08:42:59 pm
Thanks! I hope it turns out well for you! :)
Laura
1/30/2017 02:51:49 am
After round 3, I can't seem to get where I'm suppose to put my hook like the picture showed, is there a video tutorial? It's S beautiful beanie!
Erin
1/30/2017 08:48:52 pm
Working in the third loop can be tricky if you've never done it before, but once you figure it out it'll be a cinch.
Erin
10/19/2017 07:08:45 pm
Hi Maryann! I'm glad you like the hat! I would definitely recommend making the new and improved version of it though, since this older pattern can be really frustrating. If you want to do it anyway, then more power to you. But the newer pattern is SO much easier. The link's at the top of the post, but just in case, you can find it here: http://thecookiesnob.weebly.com/home/32-ml-beanie
CAROL
10/31/2017 03:52:02 pm
BEAUTIFUL. will try make tonight.. Where is the PRINT BUTTON? TY
Erin
11/8/2017 11:05:13 am
Hi Carol,
Christina
1/1/2018 11:33:11 am
Thank you for taking the time to create this pattern for us. I made one in cherry swirl sweet roll. Last minute I turned it into a messy bun hat. I got to the second round of 8-12 and started shrinking there.
Erin
1/1/2018 08:11:58 pm
I'm so glad you enjoyed the pattern! Thanks for sharing! And I love that you adapted yours. I actually have a pattern for the messy bun version of this hat on this site, so great minds think alike! :)
Ashley
1/1/2018 08:23:34 pm
Hi! I can’t seem to figure out how the brim is supposed to be folded and stitched shut. I did my length to 20 inches for my daughter and can’t seem to figure it out. Thanks!
Erin
1/3/2018 12:02:43 am
Hi Ashley! For this version of the pattern, fold the long ends of the brim together so they're touching. Then position it so the folded end is at the bottom and the open end is facing toward you (like the pictures above). Then you can sc through both sides of the open end.
Uyvonne
1/12/2018 08:25:53 pm
Thank you so much for this pattern. I live in Baltimore and the stores here sell this exact hat & I have bern trying to find a crochet pattern for it thank you thsnk you. I will send you a pic when im done
Kristin
1/27/2018 09:44:41 pm
I think a note is missing from your pattern. In your new pattern you mention them at the fpdc from one row should be down around the one the lower row. It seems that is how this pattern should work as well.
Erin
1/28/2018 07:16:02 pm
Hi Kristin,
Alexis
12/16/2018 08:20:06 pm
That is what a front post double crochet (fpdc) stitch is. It's when you insert your hook around the front post of the stitch in the previous row.
Mandy
2/5/2018 04:31:30 pm
I just wanted to say I love this pattern! I've made 3 hats using it and I have read thru the comments and I feel like you are being way too hard on yourself. I've had no issues with it at all. This is a great pattern! I may one day try the new one but I love how this one turns out and will keep using it if I decide I'd like to make another color. Thanks again for the great pattern!
Erin
2/6/2018 02:38:43 pm
Well, thanks! I'm glad you've been enjoying the pattern! I definitely recommend checking out the new version at some point, but I think it's awesome that you're happy with this one :)
Uyvonne Scott
3/17/2018 05:06:41 pm
I think i goofed. Am I supposed to sc & fpdc on same stitch or sc in 1 stitch and fpdc in next
Erin
3/17/2018 07:33:27 pm
Hi Uyvonne,
Uyvonne Scott
3/19/2018 04:44:39 pm
Thank you. I thought so i was just making sure. Thank you
Uyvonne Scott
3/19/2018 04:50:32 pm
I dont mean to keep bothering you. For some reason I never count the stitches right with the brim or band so I just made a fpdc bpdc brim and then the hat . i will send a pic
Erin
3/26/2018 07:47:53 pm
No problem! If you found a variation that works for you, then that's awesome :) If you want to send me a picture, feel free to drop me an email.
Uyvonne Scott
3/31/2018 06:42:51 pm
Ok im doing it ur way. But i will try 1 on my loom. Well I will loom the brim take it off & crochet the body. I just catch hell trying to count in it
Blaire
12/1/2018 02:59:36 pm
Curious - in order to make the brim tighter, what about sizing down to a smaller crochet hook? And then switching to a larger one after the brim is complete.
Erin
12/3/2018 12:34:15 pm
Hi Blaire, Leave a Reply. |
Welcome!Thank you for stopping by to visit my own personal corner of the web! Feel free to take a look around and check out what I've been crafting, crocheting, or baking. Hopefully you'll find something to inspire your own creativity!   
Archives
March 2024
|
 RSS Feed